

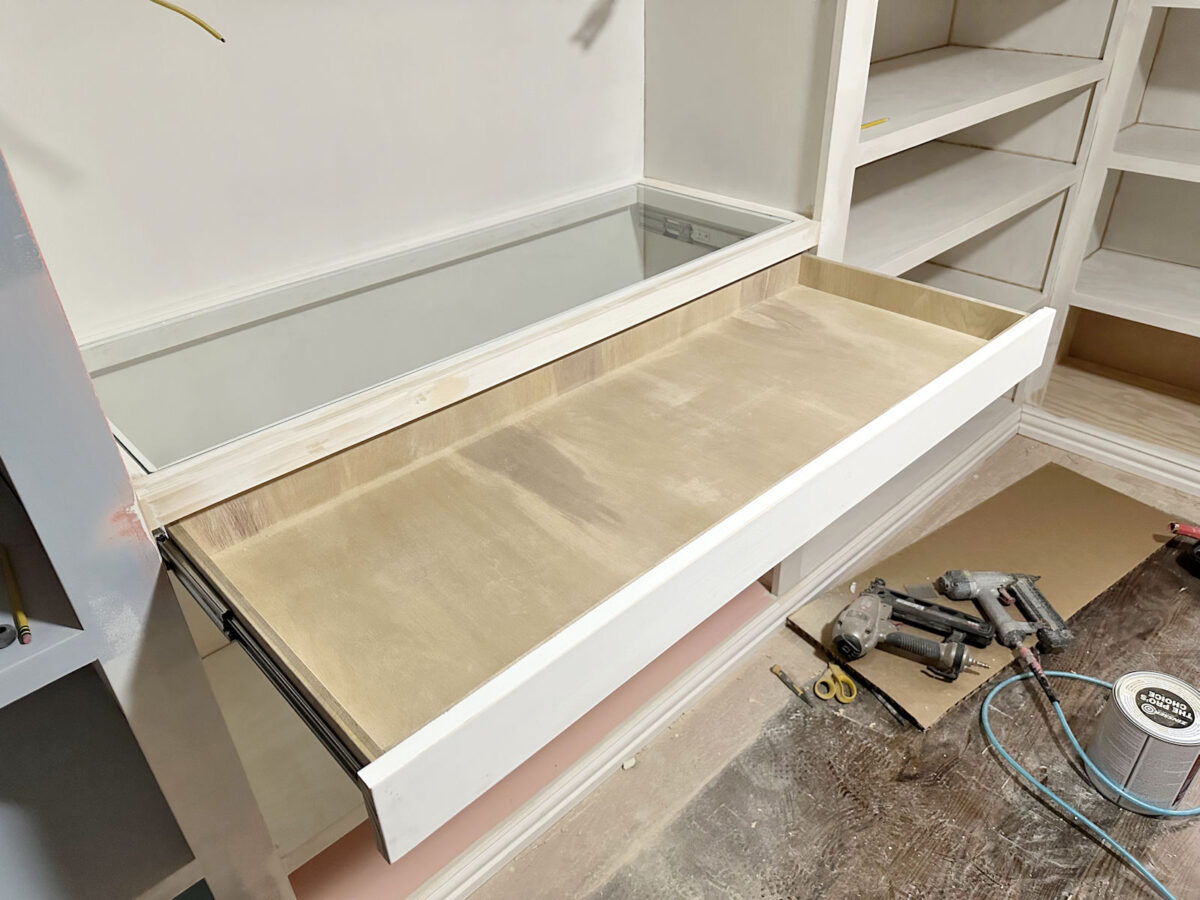
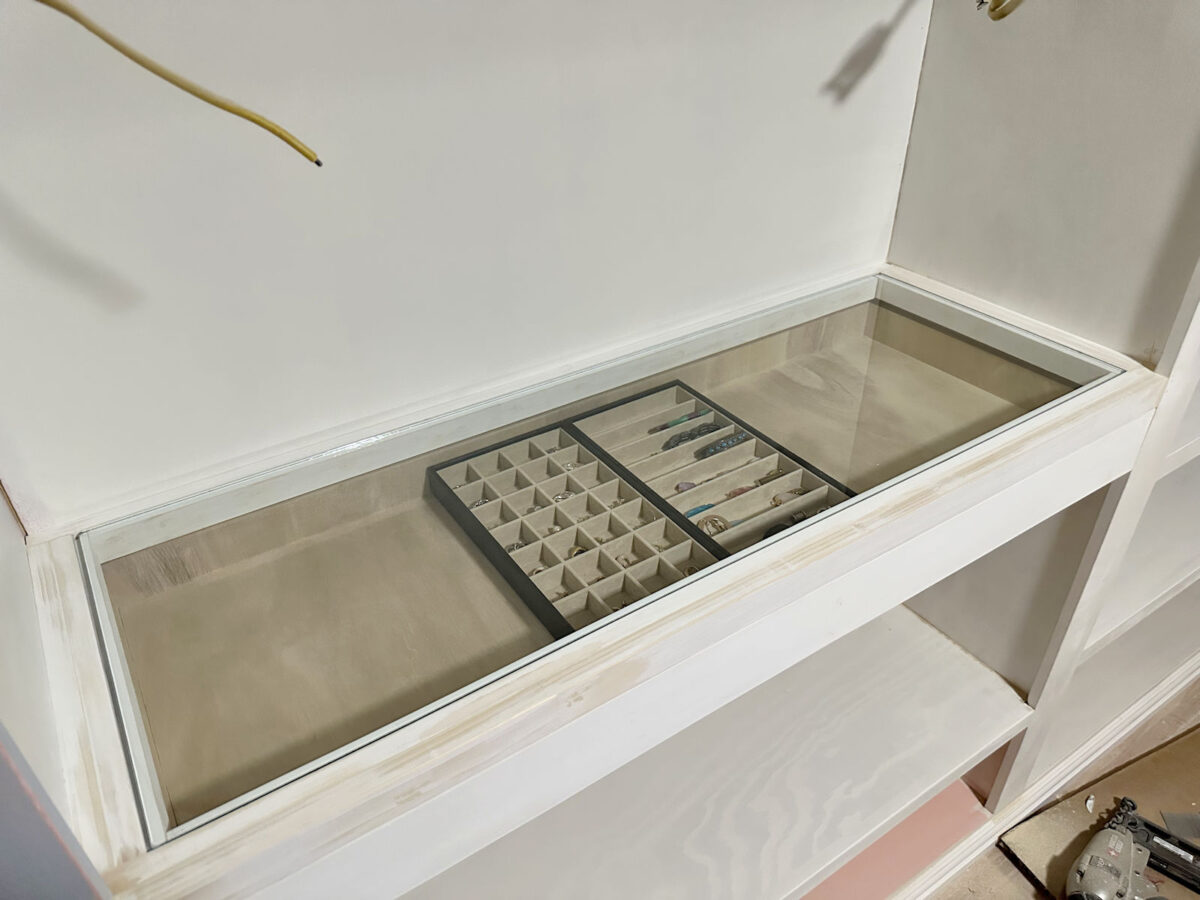
Yesterday, I completed one of many final remaining tasks on the perimeter cupboards of my walk-in closet. I constructed the primary a part of my DIY jewellery organizer — the jewellery drawer with the glass prime. This drawer is particularly for earrings, rings, bracelets, pendants, and so forth. I haven’t but added the person compartments to the drawer, so I put a few my present jewellery organizers within the drawer so we may get an thought of the way it will look. And naturally, it nonetheless must be primed, caulked, and painted, together with the remainder of the cupboards.
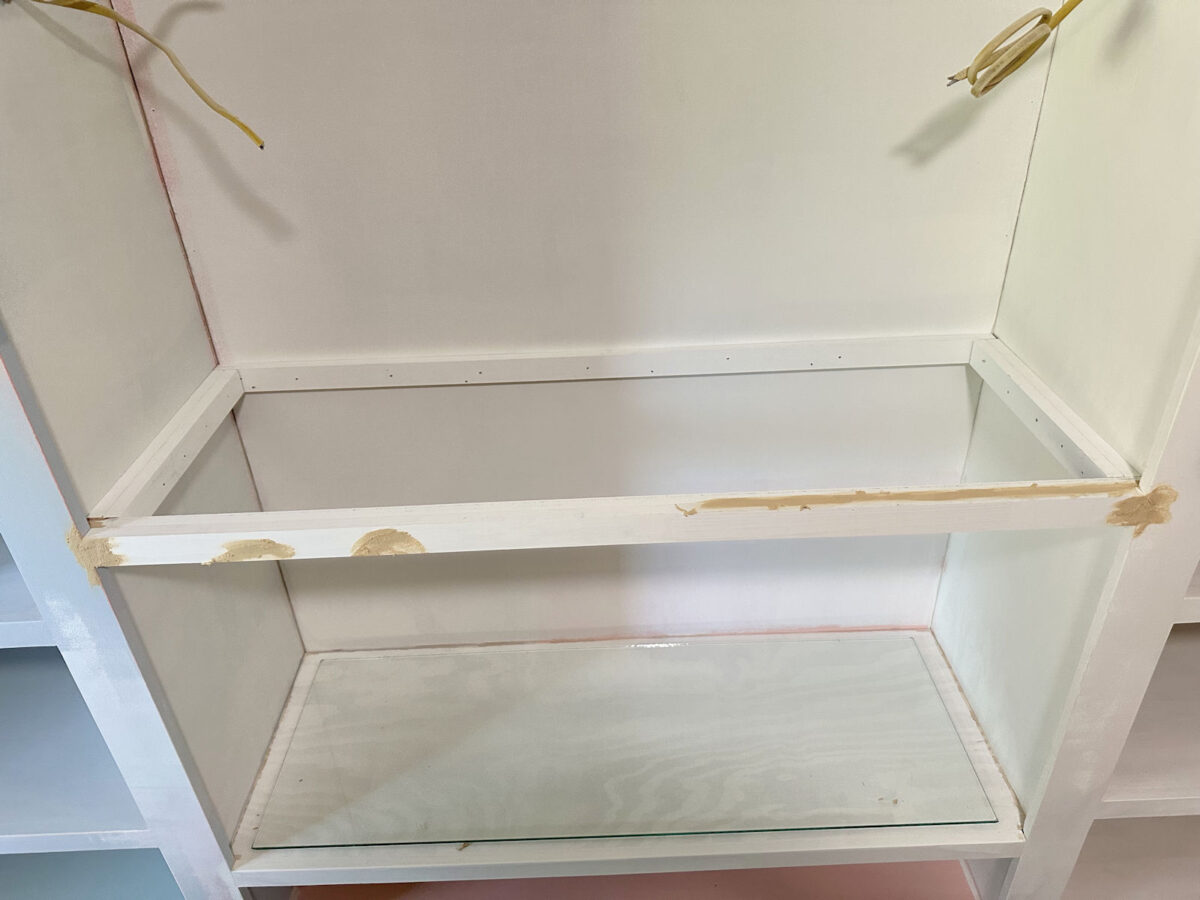
So with that in thoughts, right here’s how the entire setup appears proper now.
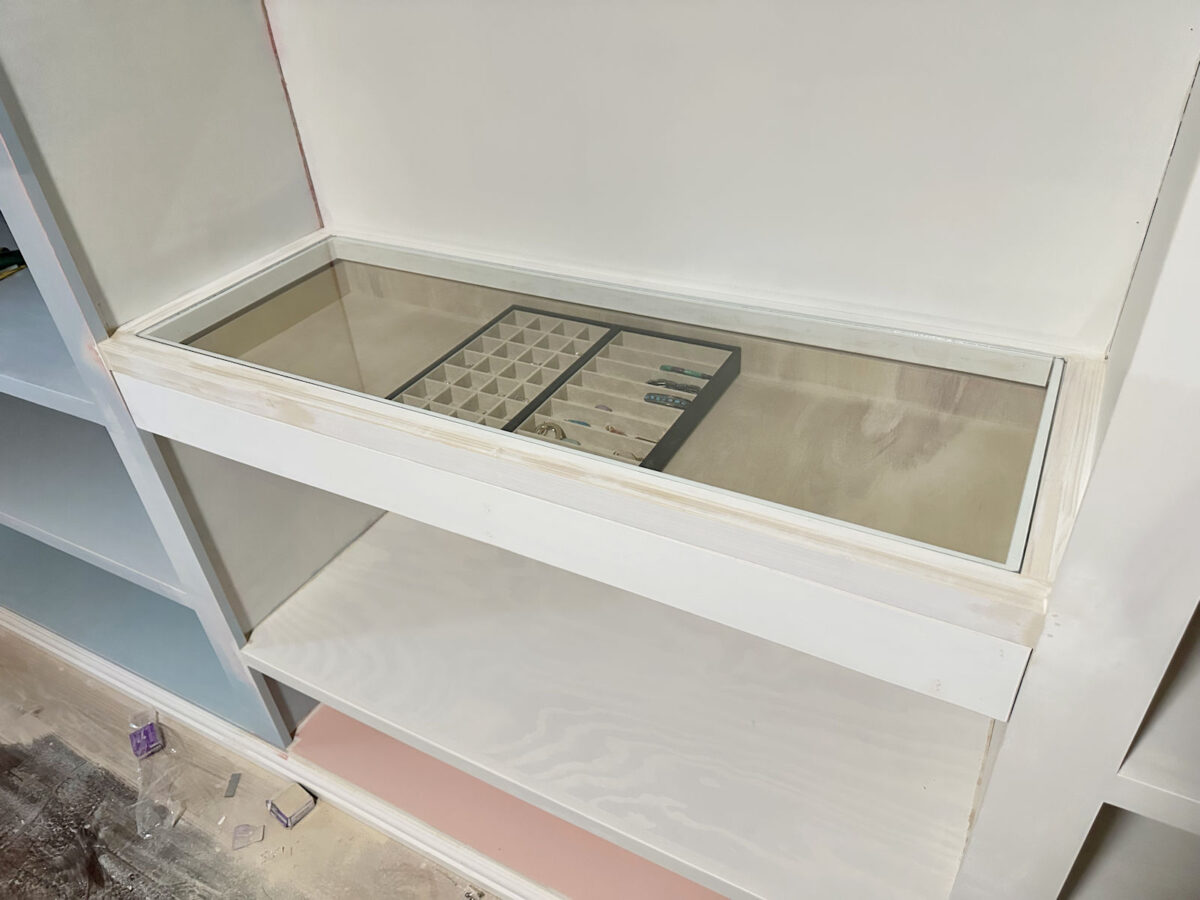
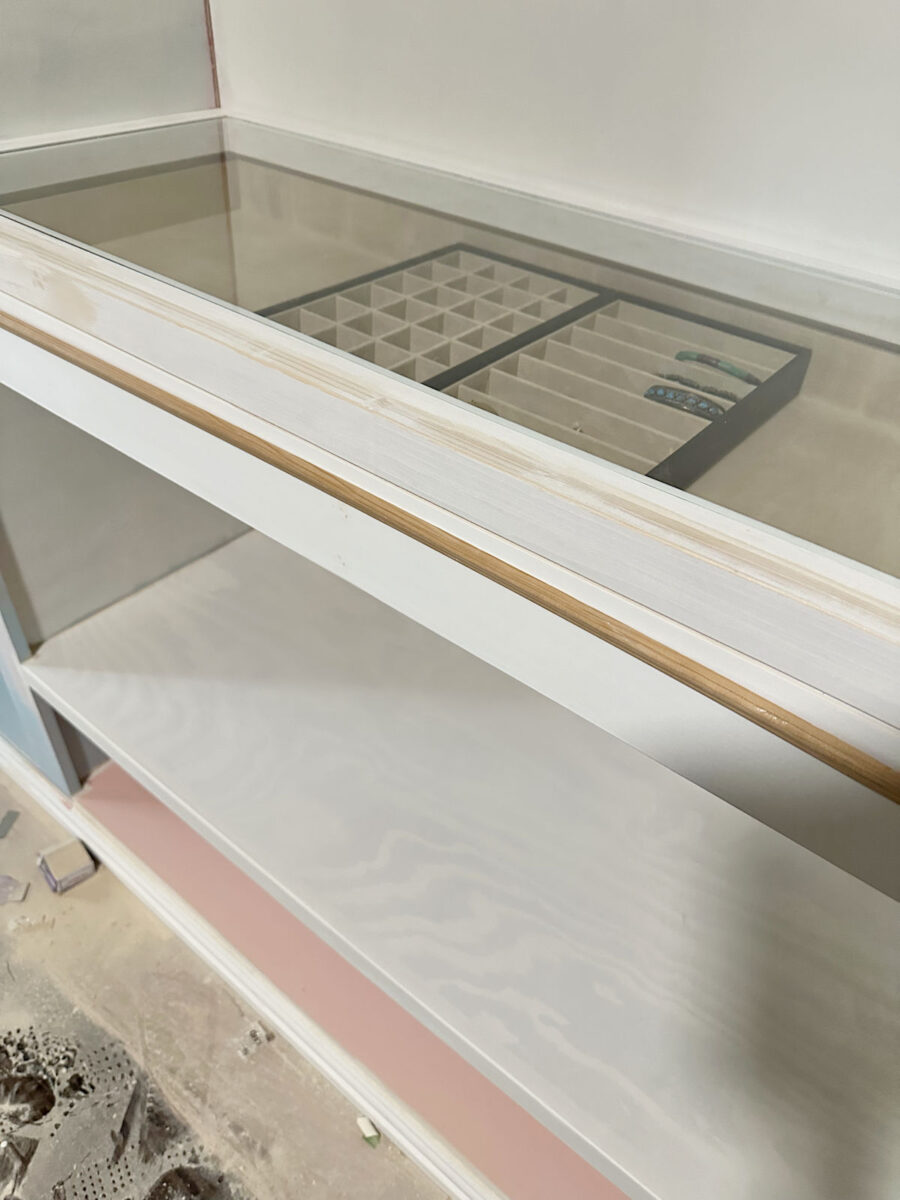
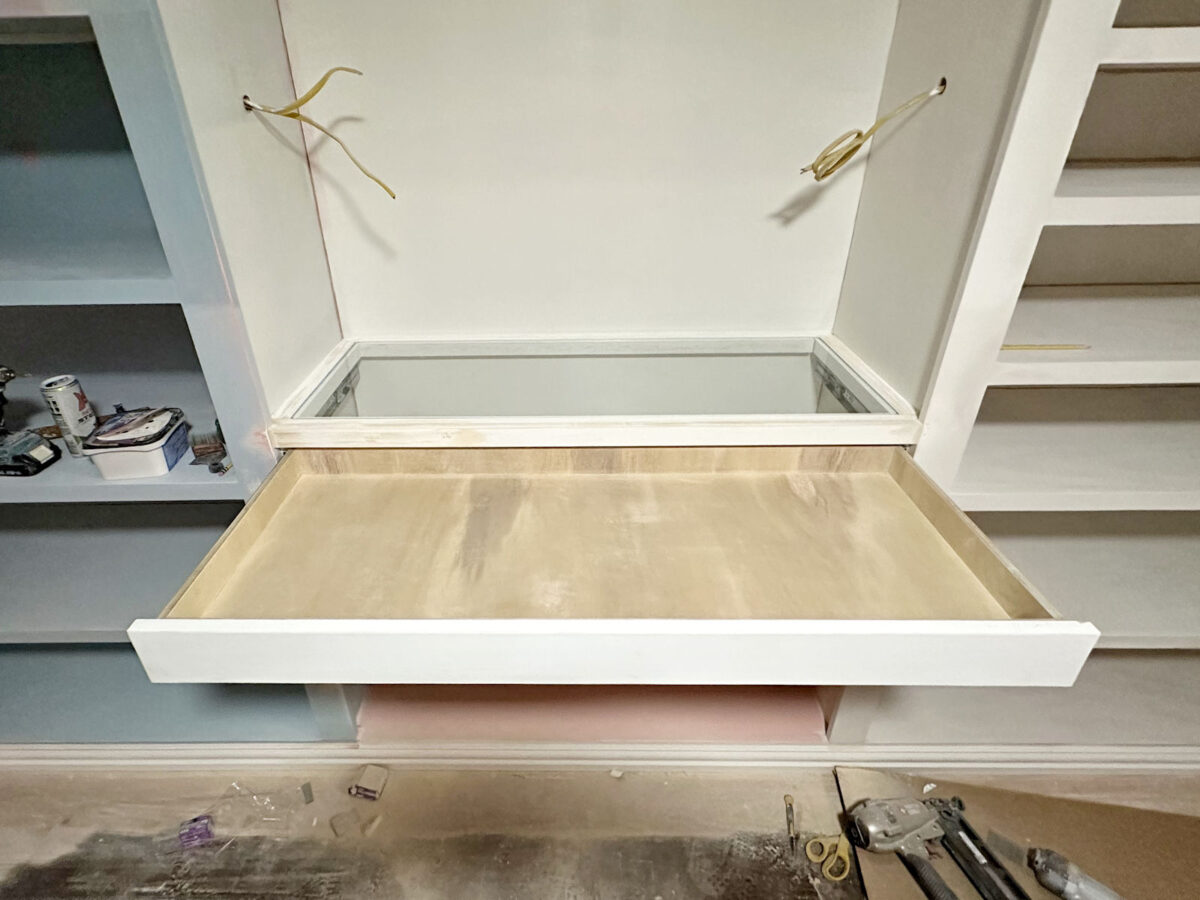
Once I completed constructing the drawer final night time, I wasn’t positive if I wished so as to add trim to the entrance. However this morning, I made a decision that I’ll most likely add this tiny trim to the drawer simply to present it a little bit one thing further.
And I additionally haven’t picked out drawer and cupboard {hardware} for the room, so as soon as I choose that out, I’ll add two pulls or two knobs to the drawer. I can’t resolve if I need to use one thing actually particular, or if I need to maintain it easy with the drawer and door pulls. I’m nonetheless wanting.
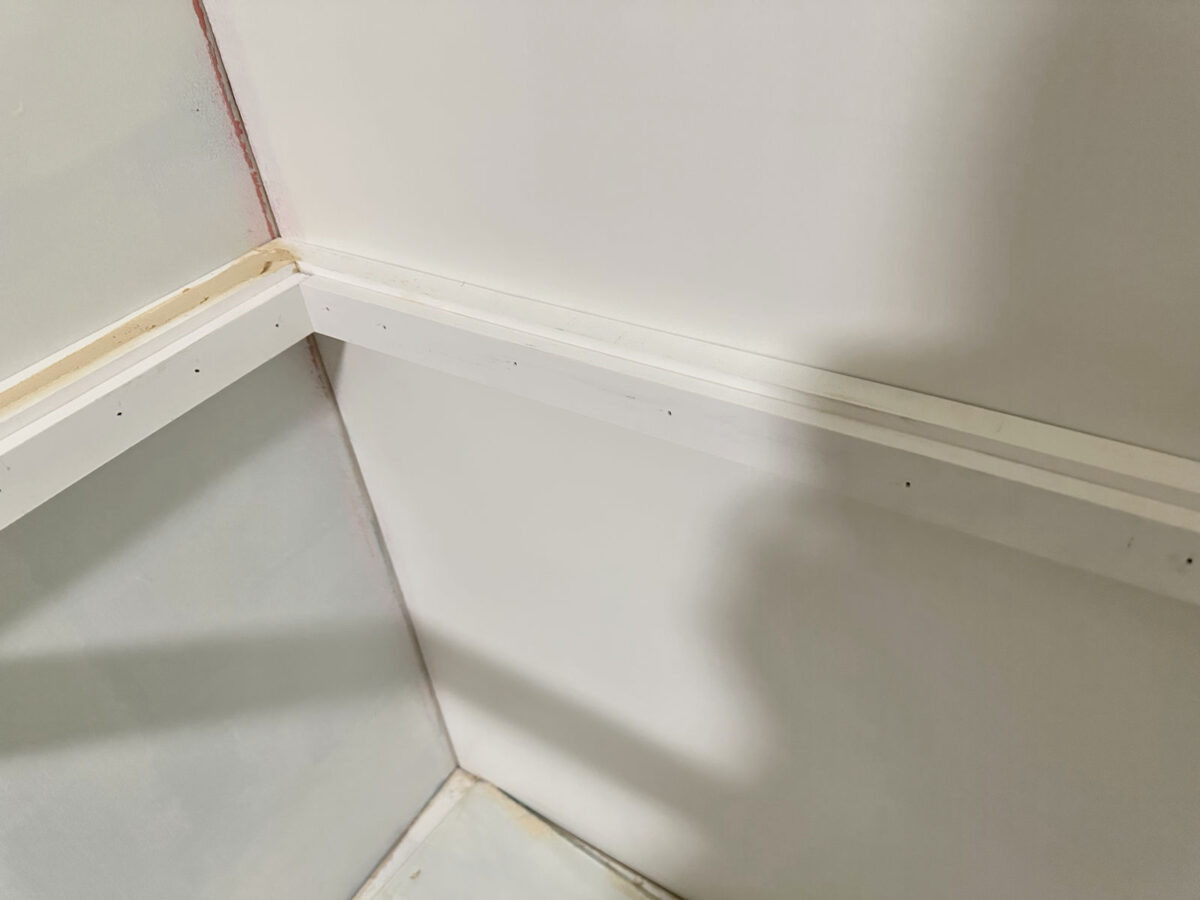
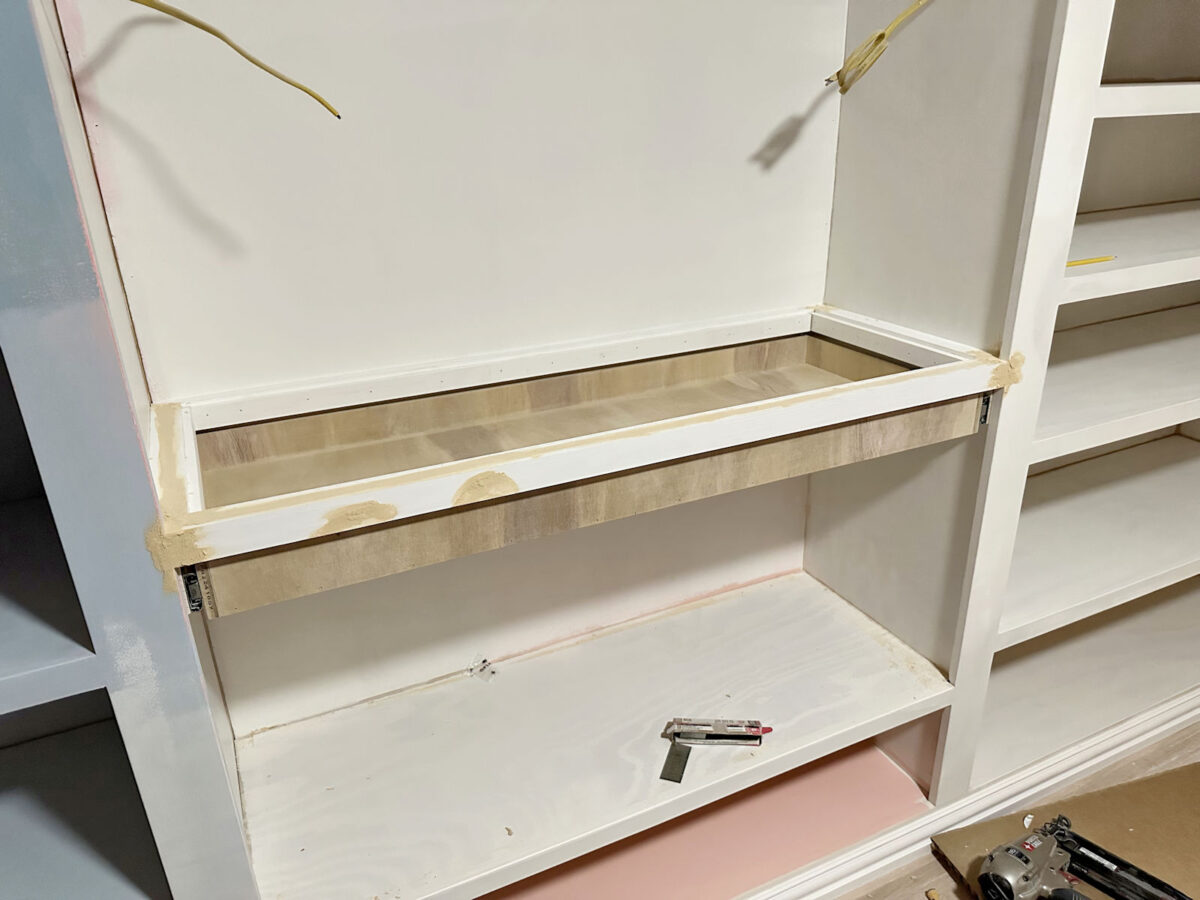
So let me present you ways I constructed this jewellery organizer. I began by figuring out the peak of the glass shelf, and I lower and nailed a 1″x2″ simply behind the cupboard trim in that cupboard.

After which utilizing extra 1″x2″ lumber, I continued including the body across the sides and the again of the cupboards. To assemble your entire body, I used two layers of 1″x2″ lumber on the entrance, two layers of 1″x2″ lumber on all sides, and only one 1″x2″ on the again of the cupboard. I nailed all of those in place utilizing 16-gauge nails in my nail gun. And you may see that the second 1″x2″ piece on the entrance of the body sat flush with the entrance trim on the cupboard.
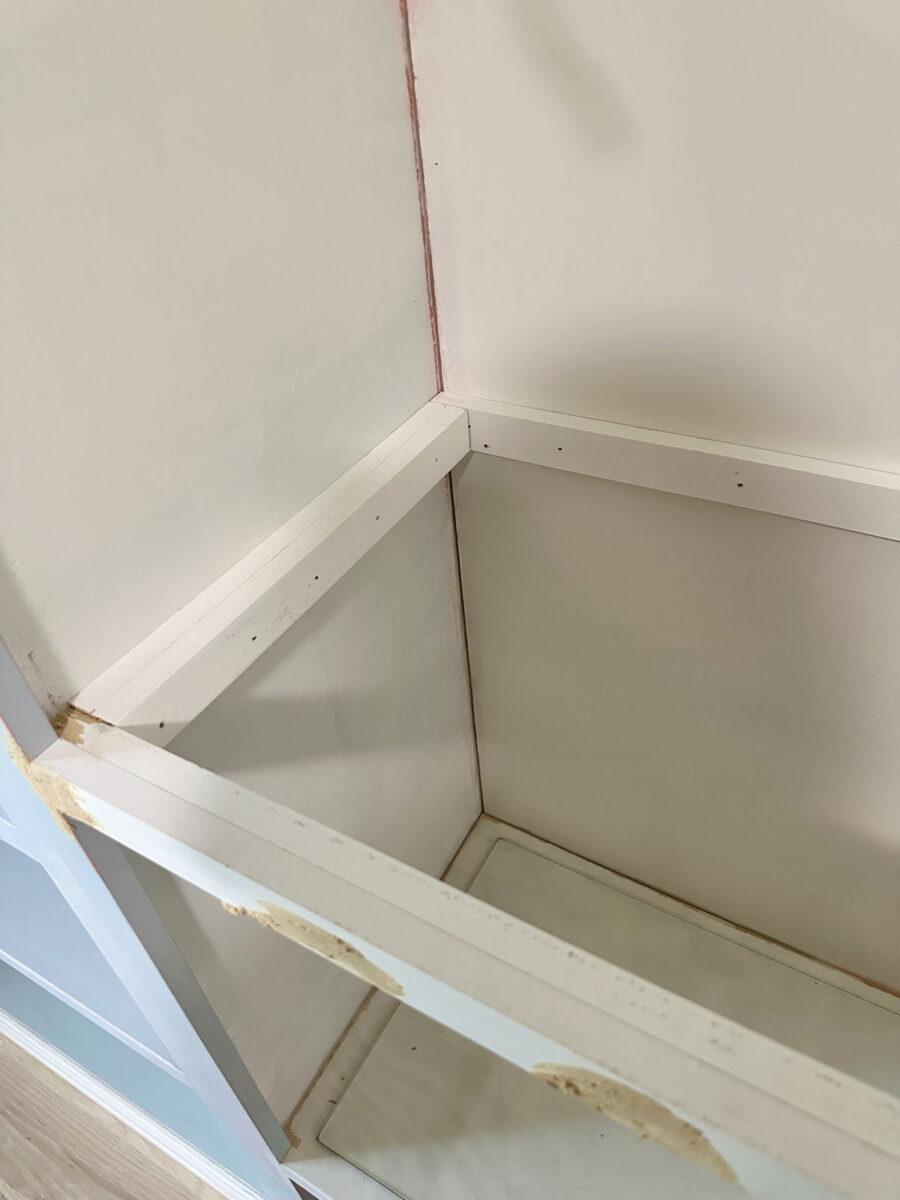
I received a little bit forward of myself and began including wooden filler earlier than I took the photographs, however you may nonetheless see the final building.
With that fundamental body in place, right here’s the way it seemed inside the cupboard. The opening inside that body is the precise measurement of the glass that I ordered, plus about 1/8-inch in every route in order that I’d have 1/16-inch wiggle room on all 4 sides of the glass…
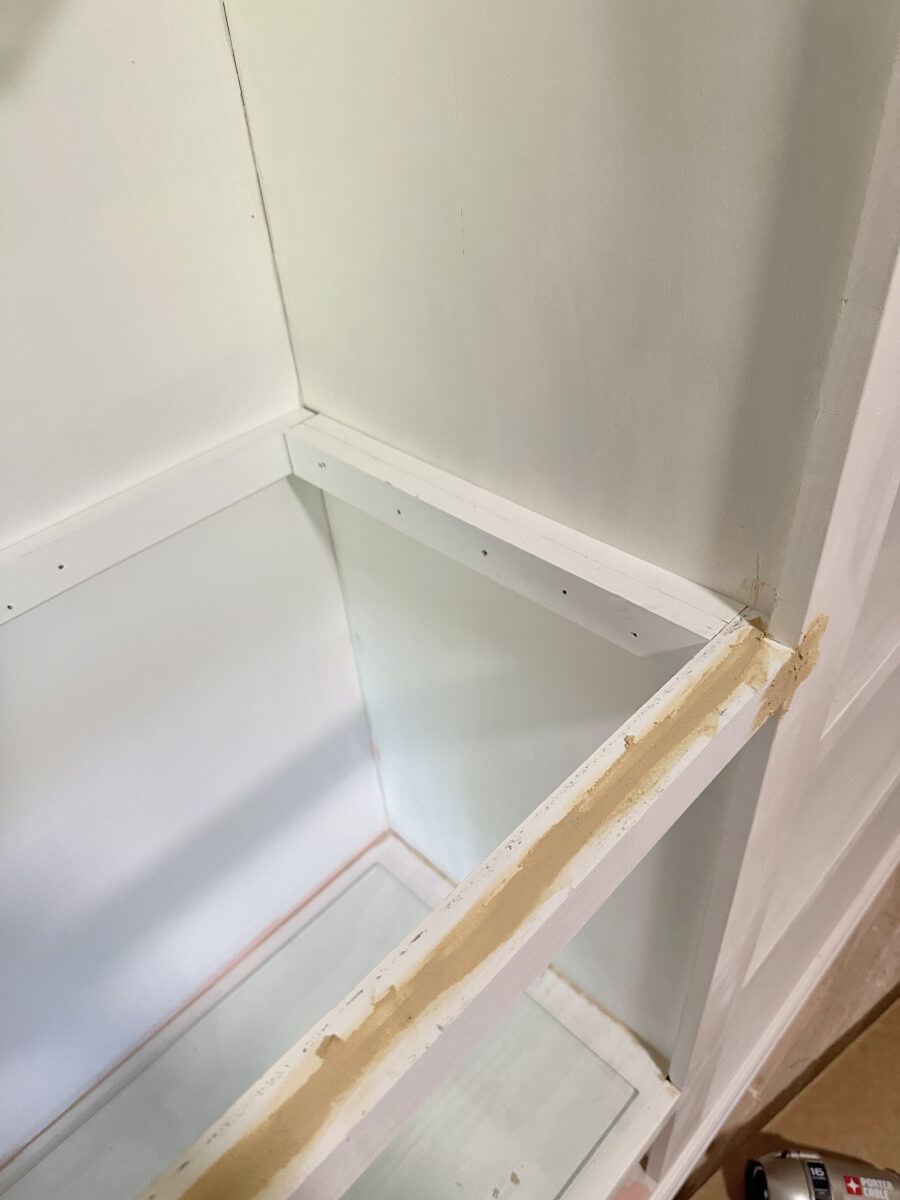
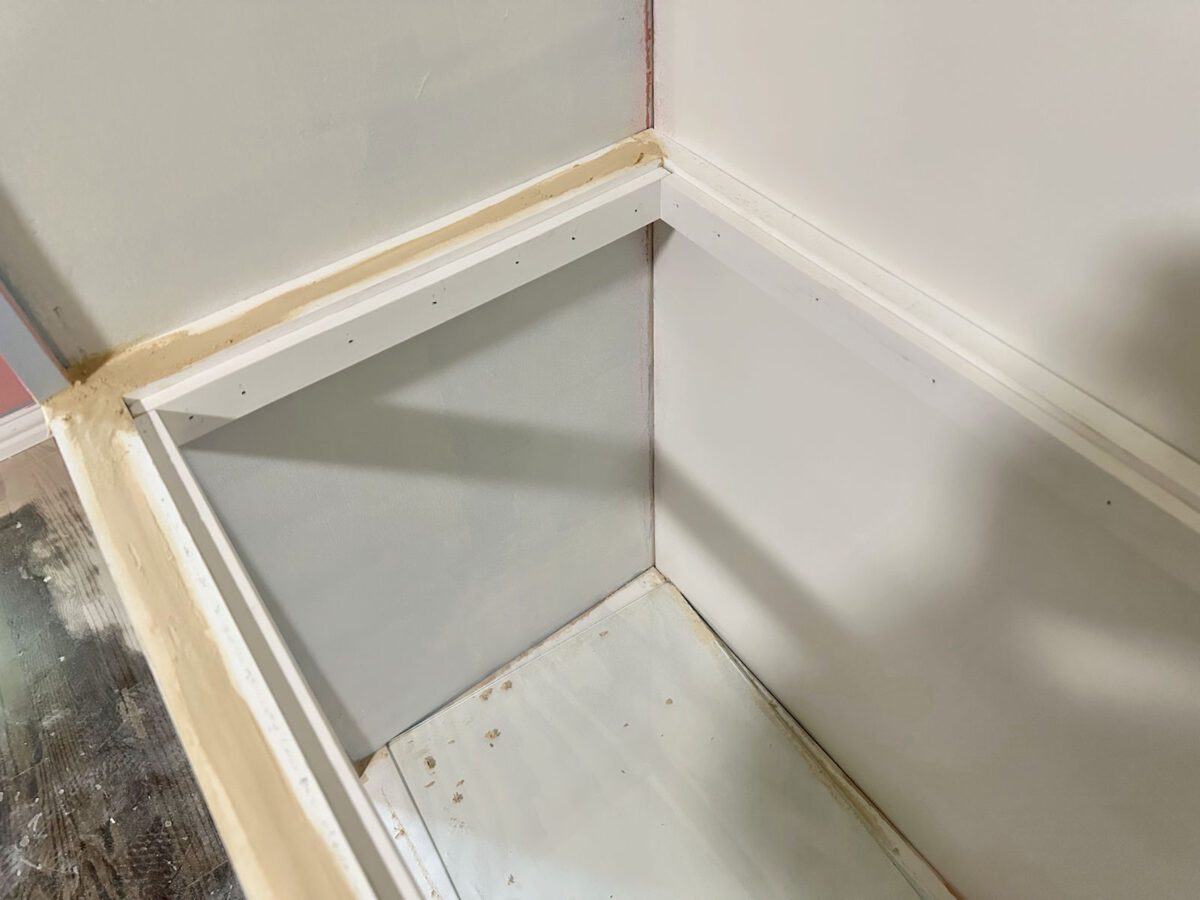
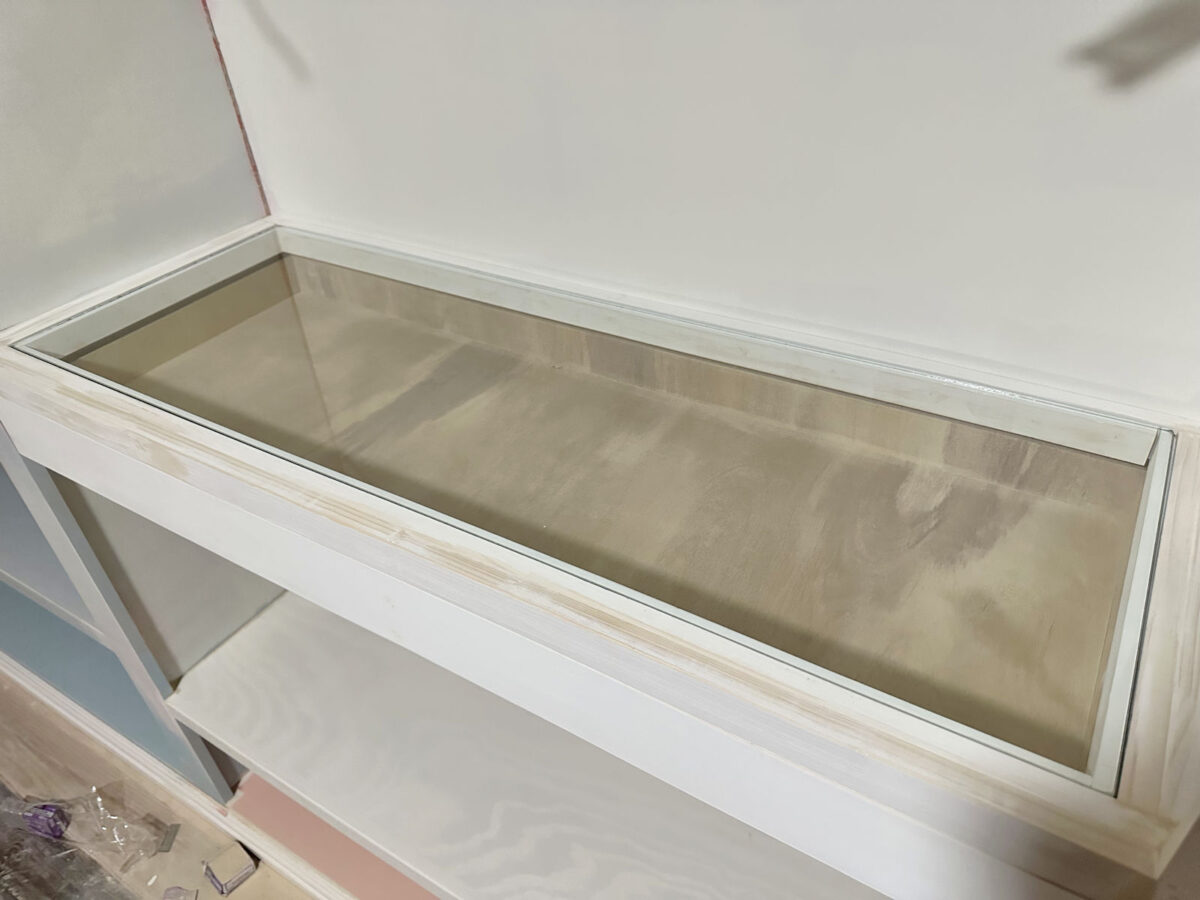
After which I wanted so as to add the assist for the glass. For this, I used my desk noticed to tear items of 1″x2″ lumber (which are literally 1.5 inches vast and never 2 inches vast) in order that they have been 1.25″ vast and 1/2″ thick. I lower these with my miter noticed to the right lengths to suit inside that body, after which I connected them in order that the underside edges of these items have been flush with the underside edges of the body items, leaving a 1/4-inch rabbet on prime to assist my 1/4-inch tempered glass.
Once more, I received a little bit forward of myself with the wooden filler, however I believe you may nonetheless see the general building. So once more, on the entrance and sides, I had two layers of 1″x2″ lumber (which are literally 1.5 inches vast), and simply inside these I connected one layer of strips ripped to 1.25″ x .5″.
As soon as that body with the rabbet was constructed, I examined the match of the glass. It was good!
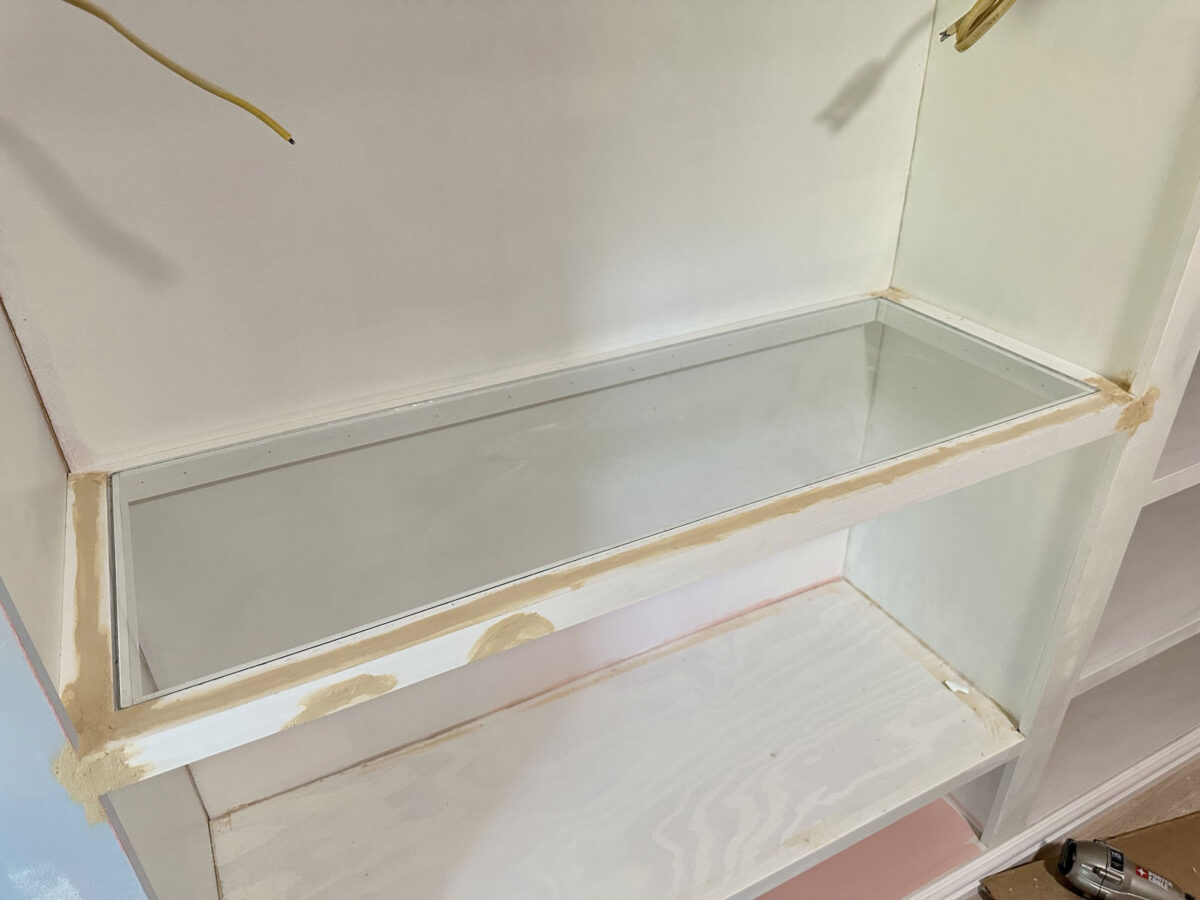
After testing the match of the glass, I eliminated it for protected storage and constructed the drawer, which I made out of 1/2-inch plywood.
I didn’t take photos of the method for constructing the drawer just because I’ve constructed so many drawers previously which you could refer again to should you want that data.
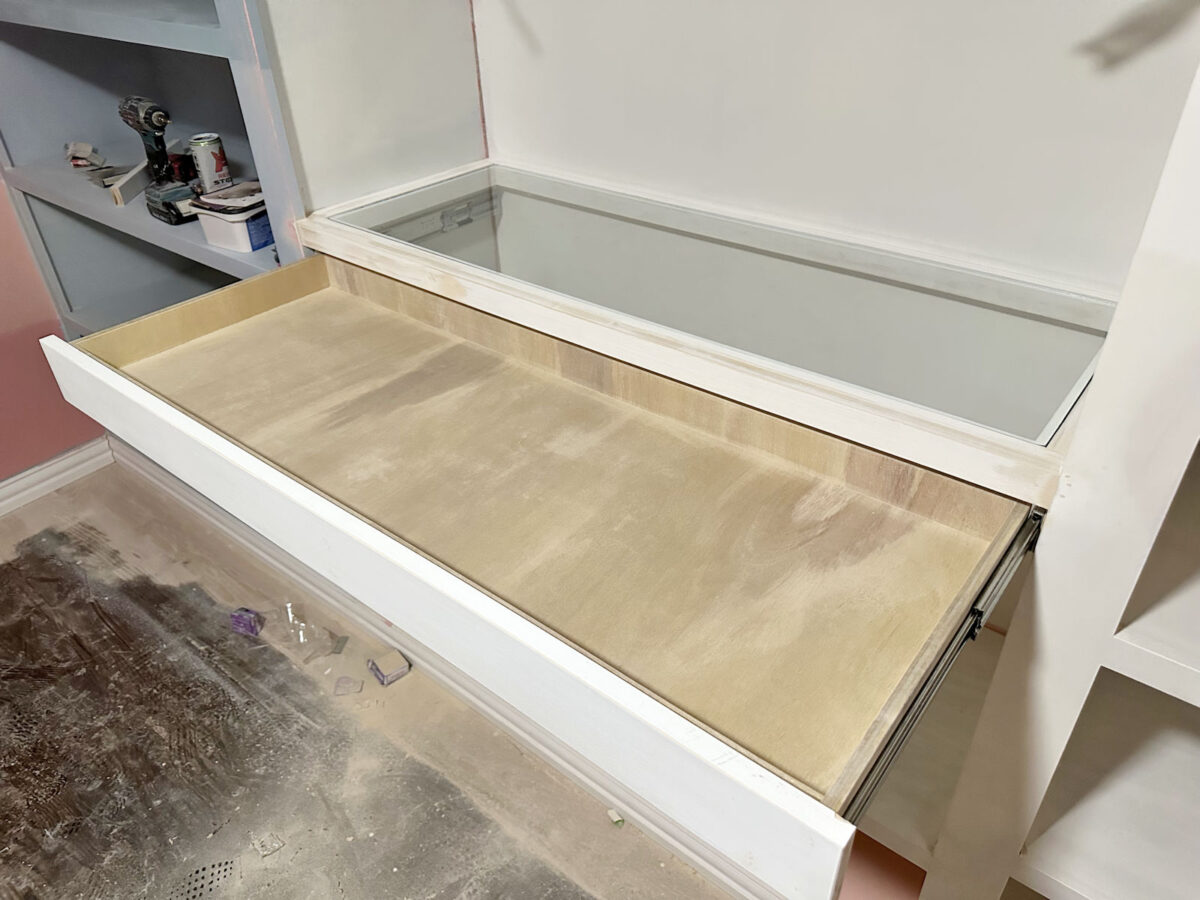
Earlier than constructing the drawer field, I put in the drawer slides. To make it possible for my drawer slides would clear the facet trim on the cupboards, I first connected items of 1″x3″ lumber (which is definitely 3/4″ x 2.5″) behind the entrance cupboard trim just under the glass countertop body, nailed in place utilizing 16-guage nails, after which I put in the drawer slides on prime of these 1″x3″ items. Then I measured the gap between the drawer slides (that distance for this drawer was 42 5/8″), and I constructed my drawer to suit that width. So the skin dimensions of the completed drawer field is 42 5/8″ x 16″.
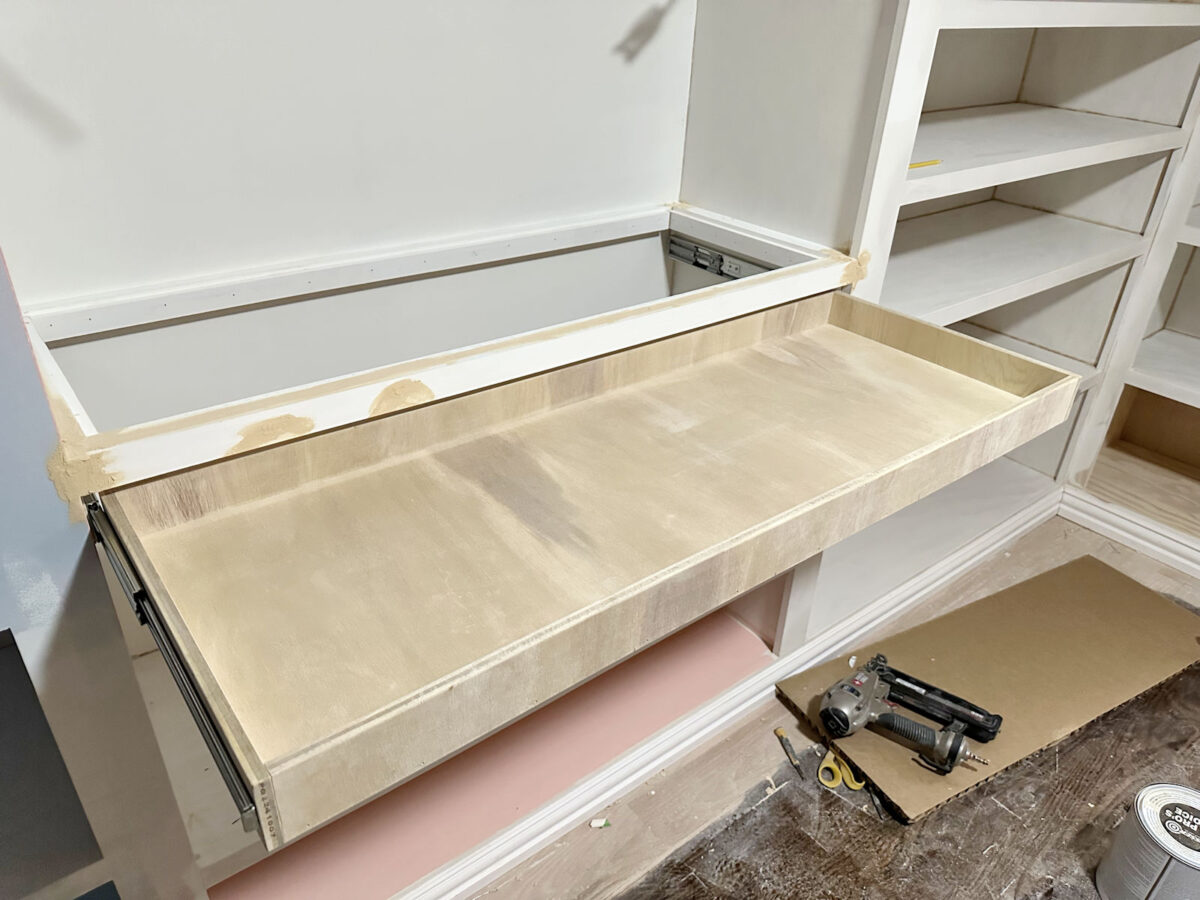
And eventually, I lower a chunk of 1″x4″ (precise measurement is 3/4″ x 3.5″) pre-primed lumber to make use of because the drawer entrance, and I connected it to the entrance of the drawer field, first tacking it into place utilizing 18-gauge nails, after which screwing it to the drawer entrance utilizing 1″ wooden screws which might be screwed by way of the within of the drawer field and into the again of the drawer entrance to safe it into place.
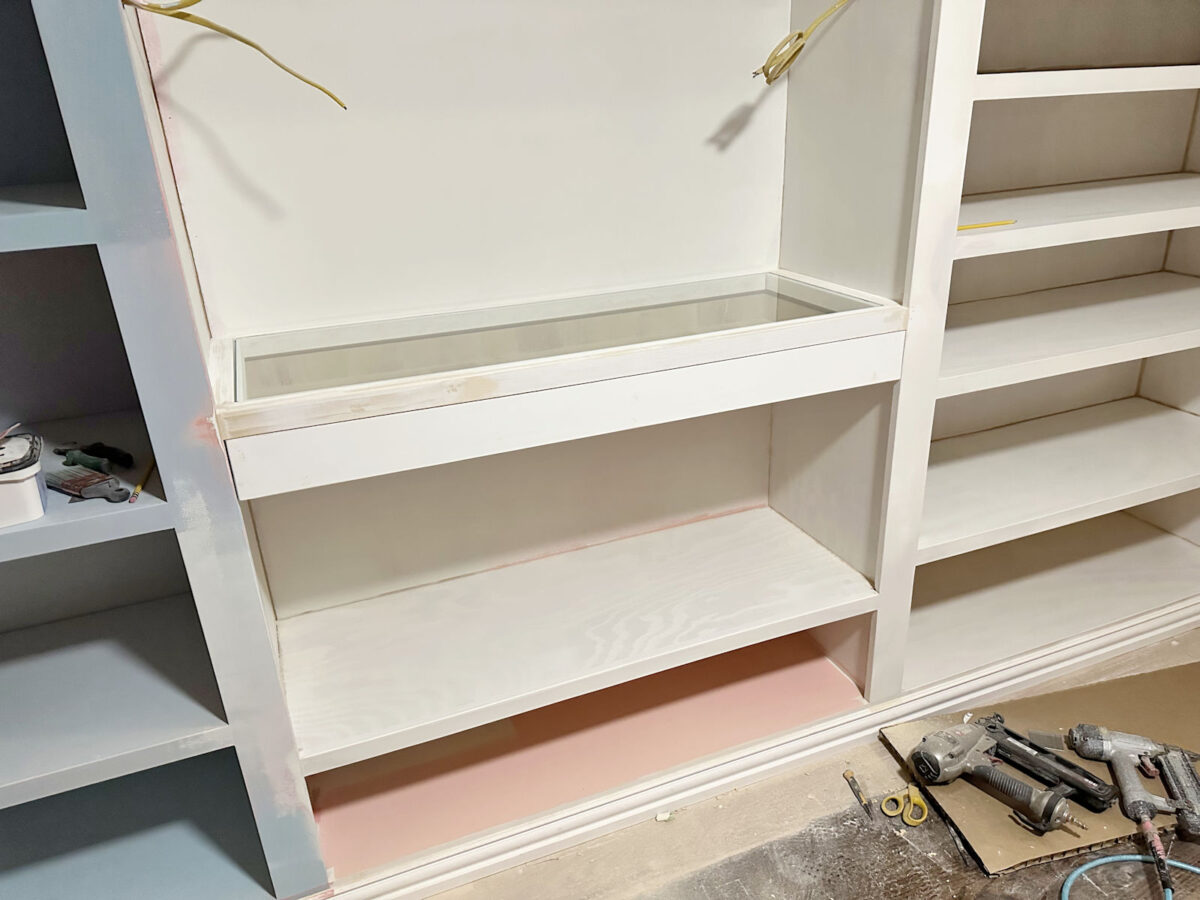
And with that, the fundamental construct of my jewellery drawer with the glass countertop was completed!

I’m so pleased with how this turned out. I’ve to confess that I used to be nervous about this undertaking as a result of I’ve by no means constructed something like this earlier than, and I knew it needed to be excellent in order that it didn’t appear to be an apparent DIY undertaking. Nevertheless it turned out precisely as I envisioned it.
And, in fact, it’ll look even higher as soon as every part is caulked and painted. I haven’t determined precisely how I need to customise my DIY drawer organizer but. I do know that the majority customized jewellery drawers are lined with velvet or one thing fancy like that, however I actually don’t have the persistence or the will to spend days of my time masking tiny items of wooden to create small velvet-lined compartments. It’s simply not that necessary to me. So I’ve thought of simply lining the underside of the drawer with velvet or velveteen or one thing like that (if I may even discover a good coordinating coloration) after which portray the wooden that makes up the small compartments in the identical coloration.
Or I may simply paint the entire thing and forgo the flamboyant velvet altogether. If I paint it the entire thing, I believed it is perhaps enjoyable to color it one of many corals that I examined out for the cupboards simply so as to add a contact of a coordinating coloration to this space. In spite of everything, the part of cupboard simply above this glass-top countertop can be wallpapered, so it’d look nice to convey that coral coloration in with this drawer.
I’m so enthusiastic about how this turned out. This undertaking was truly a lot simpler than I believed it will be.
However I do suppose I would like so as to add some trim to the drawer entrance simply to make it apparent that it’s a drawer. In fact, including drawer pulls will even make it apparent that it’s a drawer.
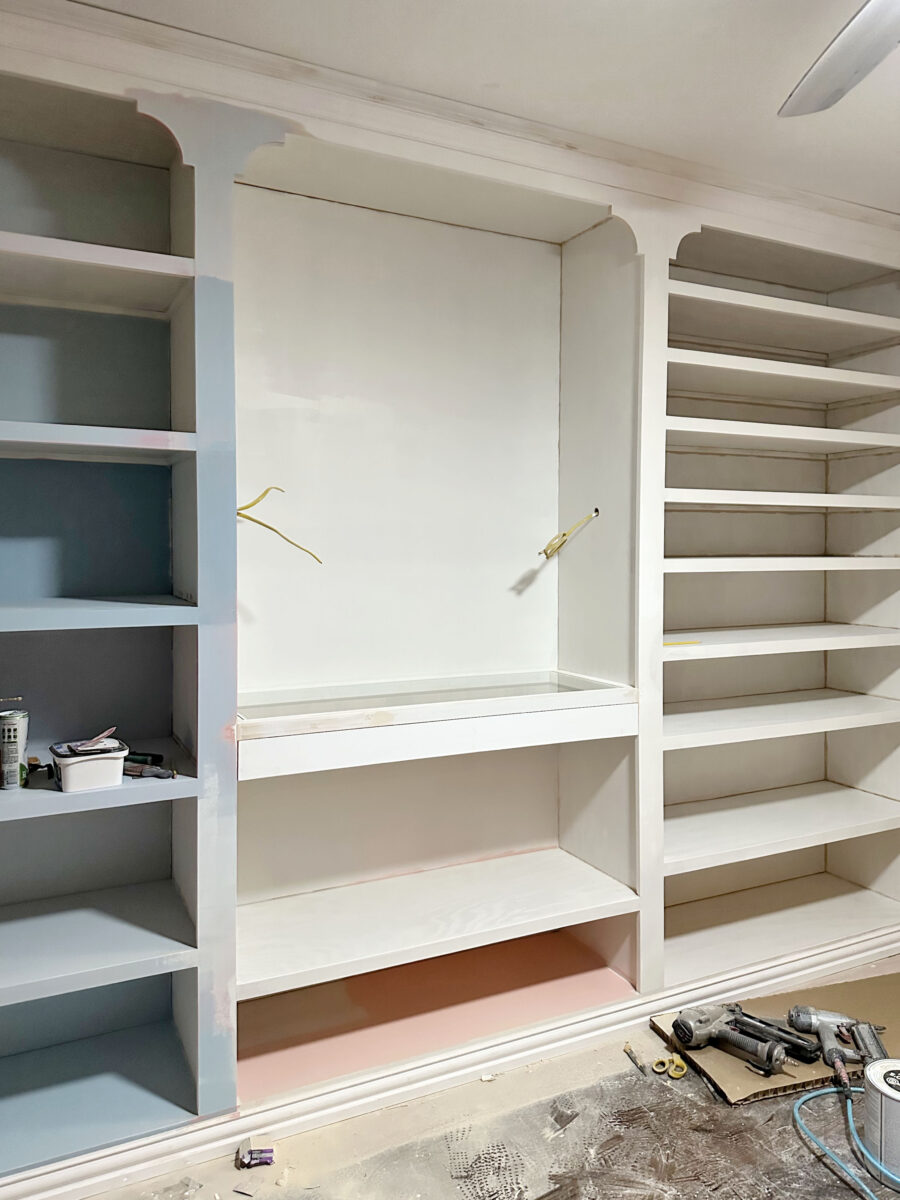
And now the ultimate factor that I have to construct to complete up my jewellery storage is the necklace storage that can go within the open part just under the jewellery drawer. I’m nonetheless attempting to work out the main points of that. I believe I virtually have it, however I’m not fairly there but.

And I additionally want to determine the main points of how I need to end the within of this DIY jewellery organizer — what number of compartments, what number of of every measurement, what coloration/end, and so forth. However the hardest half is completed.
The A2D Each day:

Addicted 2 Adorning is the place I share my DIY and adorning journey as I rework and adorn the 1948 fixer higher that my husband, Matt, and I purchased in 2013. Matt has M.S. and is unable to do bodily work, so I do the vast majority of the work on the home on my own. You’ll be able to be taught extra about me right here.


")


")

")


