

It’s Might! Gardening season is in full swing this month. And whether or not you have got bought seedlings or began them from seed, you will want to transplant them this month. Listed below are a couple of suggestions for transplanting success.
Images by Pleasure Yagid, until in any other case famous.
1. Analysis, analysis, analysis.
You’ll need to study as a lot in regards to the plant as attainable. Analysis its soil wants and preferences. It’s nearly at all times a good suggestion to amend the soil previous to transplanting. Know which of them are frost-tolerant and which of them can’t tolerate a late spring chilly snap. Control the prolonged forecast and ensure it’s favorable to your crops earlier than planting them. This consists of rain and wind. Seedlings don’t have an intensive root system, so the shortage of rain or an excessive amount of wind might be detrimental.
2. Harden off your seedlings.

This often takes one or two weeks, so plan forward. Hardening off is the gradual acclimatization to the skin world, specifically to the solar but in addition to the wind. Begin by shifting the potted crops exterior within the shade and progressively growing the quantity of solar over the week or two. Carry them in at evening if the temperatures drop too low. When you see your crops’ leaves are getting burnt leaves or dropping, transfer them again to the shade and restart the method.
3. Choose the precise day to transplant.
A cloudy cool day is greatest to scale back transplant shock. When you don’t have the choice for a cool and cloudy day, second greatest is later within the day, when temperatures are cooler and the solar is much less intense. Further credit score if rain is within the forecast for the subsequent day. Water properly if there’s no rain within the forecast.
4. Select the strongest seedlings.

Skinny out all however the strongest, largest seedlings. Ensure that your seedling has no less than two true leaves, and extra could also be higher. Unsure what this implies? The primary two leaves are known as cotyledons. They don’t seem like the grownup plant’s leaves. The subsequent set of leaves are true leaves and seem like smaller variations of the plant’s grownup leaves.
5. Prep the location.

Make the outlet deep sufficient in order that the seeding will sit on the identical soil stage. The exception for this rule is tomatoes: You may bury tomatoes deeper since they are going to sprout new roots alongside the buried stem, resulting in a stronger root system. (Notice: For grafted tomatoes, you by no means bury the graft; in any other case the whole plant can fail.) Amend the soil if planting in a mattress.
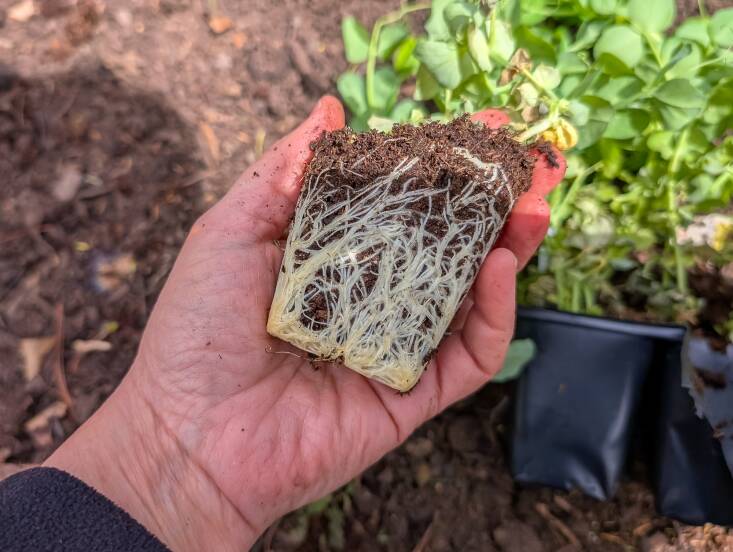
6. Transplant.

The first goal is to keep away from transplant shock. Water properly earlier than beginning. Disturb the roots as little as attainable. Deal with the plant gently. Don’t take away the plant by pulling it out of the pot. Place your hand on the soil along with your fingers unfold out across the stem(s). Flip the pot the other way up and faucet till you may carry the pot off. For bigger pots, lay the pot on its aspect and faucet the perimeters till the plant is free sufficient to slip out, and pull the pot away from the plant. When you use transplantable fiber-based pots, you could need to take away them. My expertise is that they don’t break down as quick as wanted.
7. You’re not finished.
It takes some time for the seedling to regulate to its new in-ground residence. And even for those who had been very cautious, transplant shock (injury to the roots, which compromises the plant’s skill to take up water and vitamins) can nonetheless occur. Water the plant as wanted, however don’t over- or under-water. No drenched soil and no dried-out soil. If the plant was not correctly hardened off and also you see scorching on the leaves, present momentary shade. Fertilize as wanted. Observe the package deal instructions precisely.
See additionally:
(Visited 2 instances, 1 visits in the present day)


")


")


