

I’m making progress on the studio toilet, however I nonetheless haven’t gotten to something thrilling. In truth, right here’s just a little “behind the scenes” look into my running a blog course of. I begin by enhancing all the photographs for a submit (I edit each image on my weblog for lighting and brightness), after which I add them as a batch and add them to the submit as a batch. So earlier than I get the whole lot organized into an precise weblog submit with my commentary on every picture, the photographs are in a gallery type and seem as rows of small photographs.
So I uploaded all the photographs to this submit this morning after which checked out them as a batch and thought to myself, “Oh my gosh, that is terrible! There’s no COLOR!” 😀 all of these drab photographs collectively sort of sucked just a little little bit of life out of me. It gave me just a little glimpse into what it will really feel wish to dwell in a neutral-colored residence, and there’s simply no means I may do it. 😀
Anyway, I’m proper on the cusp of having the ability to add the wallpaper, however these partitions have given me extra hassle than I assumed they might. One subject is that the black Sharpie marker that I examined out to stipulate that authentic sq. spiral design retains bleeding by way of the primer.
I had hoped that the water-based primer would cowl it up (this Sharpie marker space already has three coats of primer), however I had already anticipated that the Sharpie marker could be an issue. It’s not an enormous deal. I simply have to go over these particular areas with some shellac-based primer, and it’ll be nice. And oil-based primer would in all probability work, however I do know for positive that shellac-based primer will care for it.
Whereas that primer was drying, I began including the trim to the highest portion of the wainscoting. I feel this total look will work. There are nonetheless two different trim items that I want so as to add to complete the look. However as soon as I added this primary trim piece to the highest board, I bumped into one other drawback.
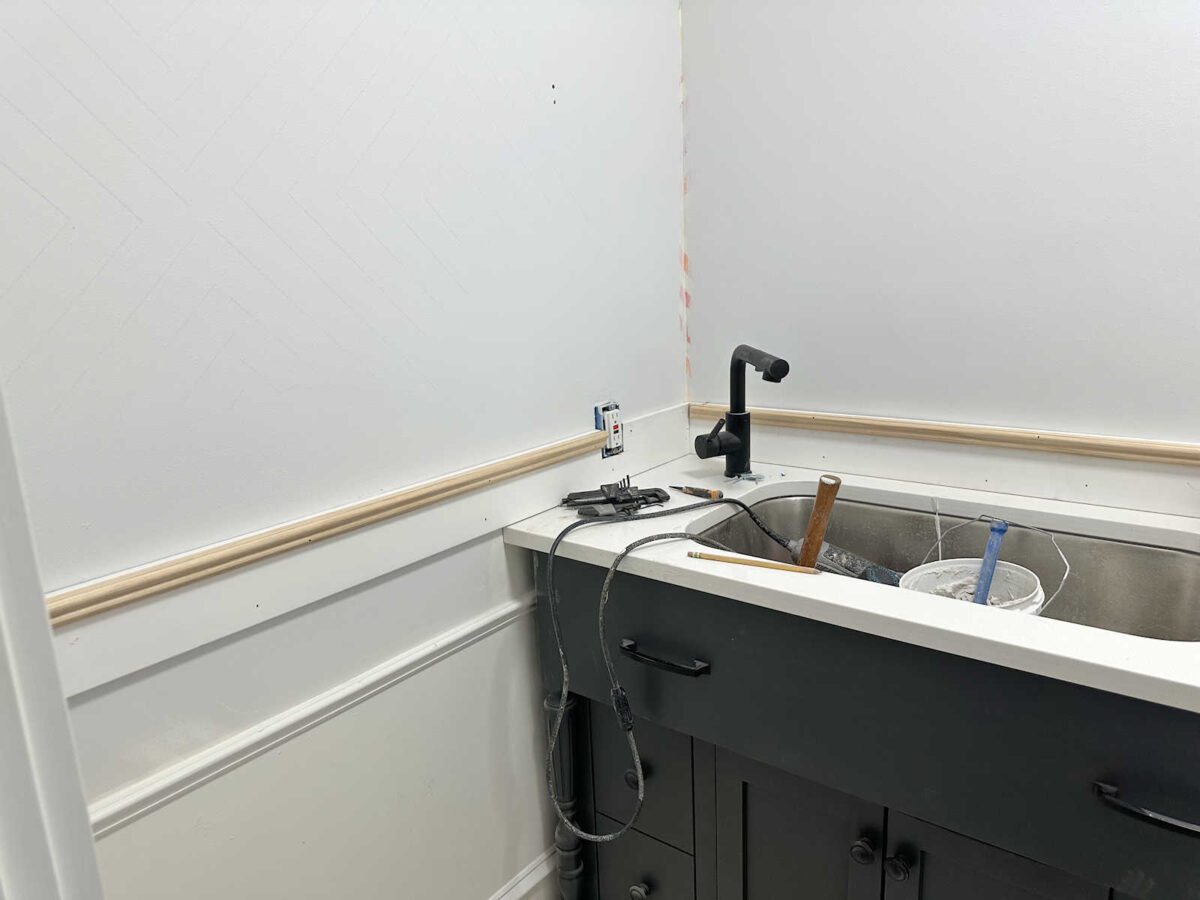
I don’t know how I’m going to trim round this outlet. It’s an adjustable outlet, so it may well come out from the wall to be flush with the trim, however then the highest half stands out from the wall. I could make it flush with the wall on the prime, however then it’s recessed into the trim.

So I have to determine that out. I do know the plain resolution is to maneuver the outlet up, however I’m not keen to do this. I don’t need to do any electrical work on this room, so the outlet is staying proper the place it’s, and I’ll determine an answer. Once I had the tile border, it was taller, so I simply needed to notch out a tiny little bit of the chair rail to make it match.
However this time, I wished the highest portion of the wainscoting to be shorter, however I didn’t fairly assume by way of this space after I made that call. So now I’ve created a problem for myself. I’m not frightened about it. I’ll provide you with one thing. I simply want a bit extra time to assume it by way of.
One other concern that I’ve is that in some areas, the feel of the earlier design, the place I taped off the design to color it onto the wall, is exhibiting by way of. I do know it’s sort of arduous to see it in a photograph, nevertheless it’s noticeable (to me) when standing within the room.
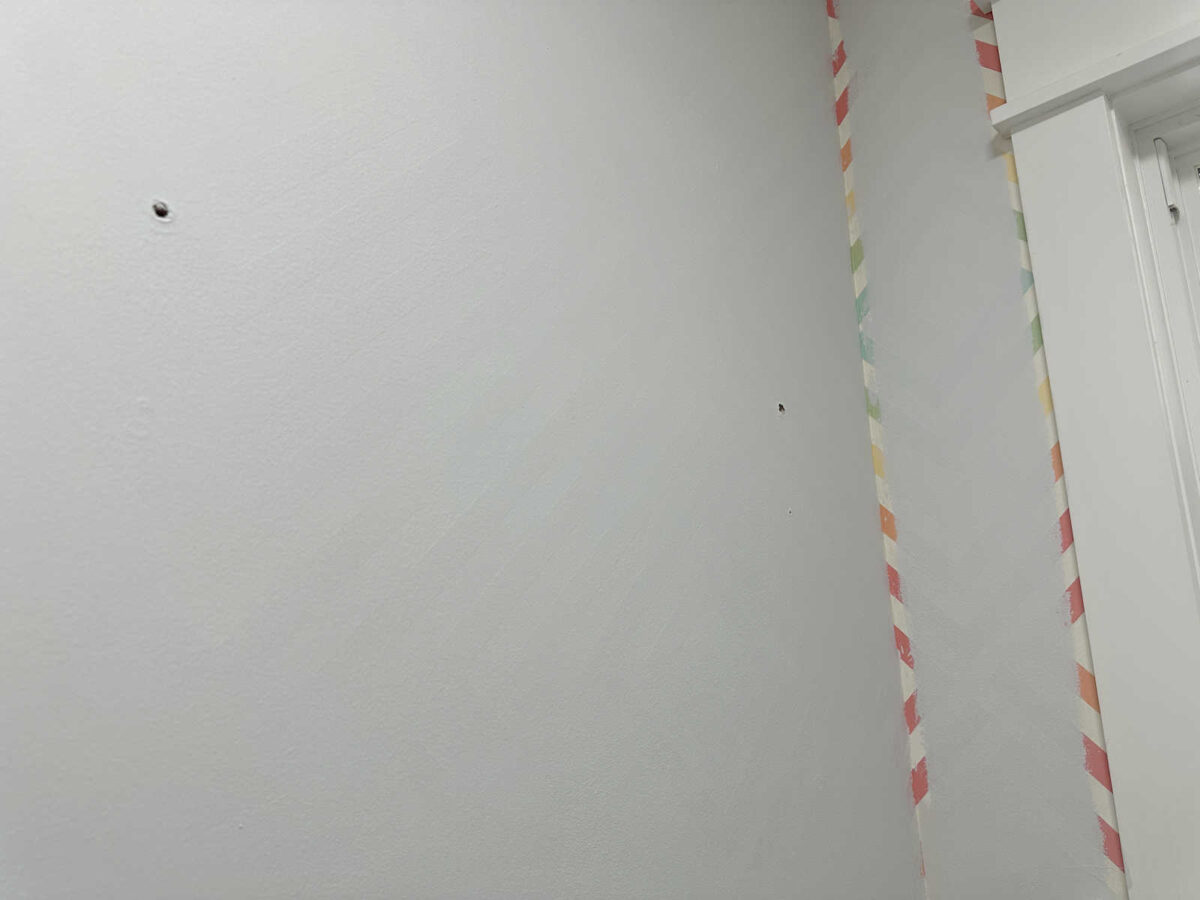
If I had been placing up a thick wallpaper, just like the grasscloth I used within the bed room, that quantity of texture wouldn’t concern me in any respect. However the wallpaper going on this room is way thinner, and the very last thing I need is for that texture to indicate by way of. So it appears to be like like a few of these areas are going to wish extra sanding after which extra primer.
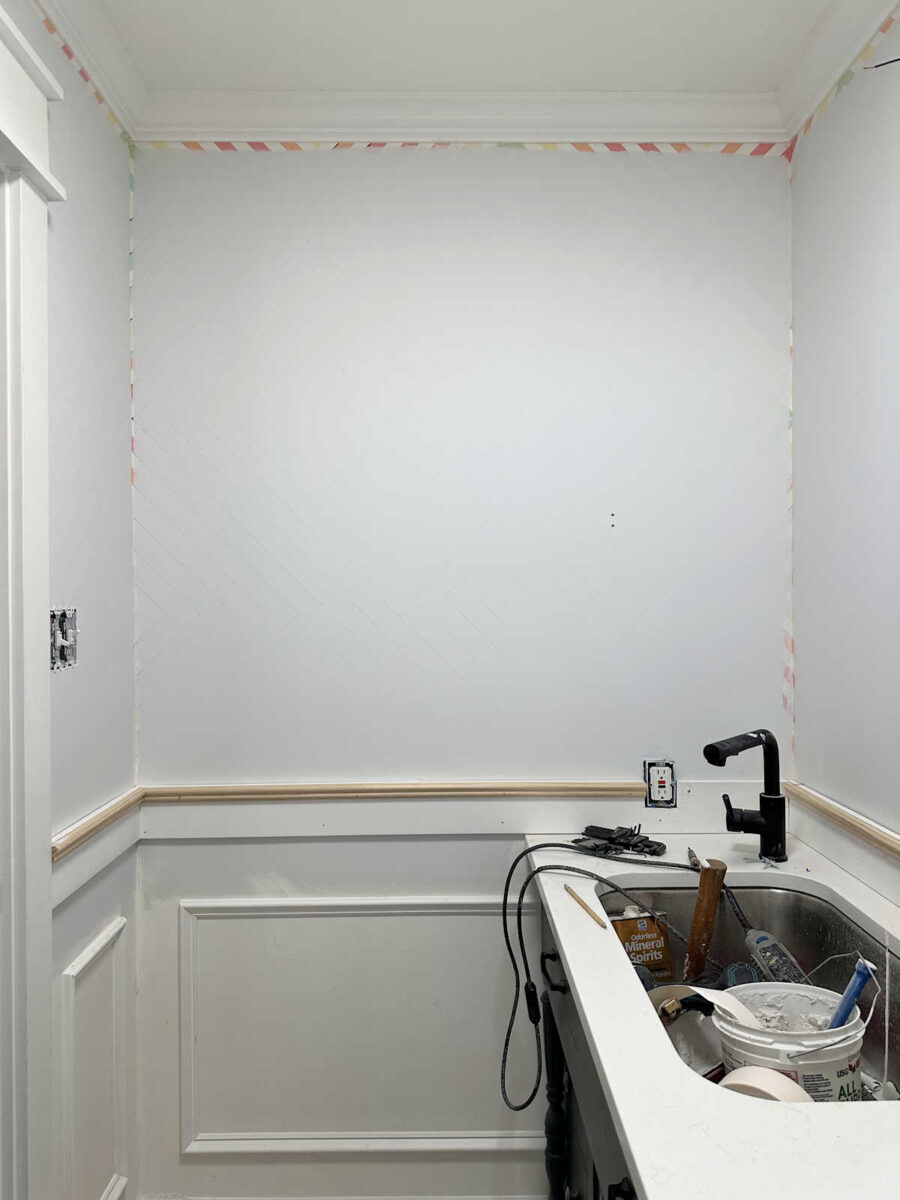
I nonetheless have to do all the reducing in with the primer. However within the meantime, I’ve to say that I sort of love this look. 😀 I want I had a room the place I may do a design like this. I feel it will be enjoyable to color a room a strong coloration, after which discover a enjoyable, colourful washi tape to stipulate the partitions and home windows. I’ll need to file that concept away in my inspiration folder.

In hindsight, I want I might have simply used the shellac-based primer from the beginning. These partitions have already got two coats of water-based primer, and the design continues to be exhibiting by way of. And the half with the Sharpie marker has three coats, and that’s nonetheless bleeding by way of. This could have been performed by now had I simply used shellac-based primer from the beginning.
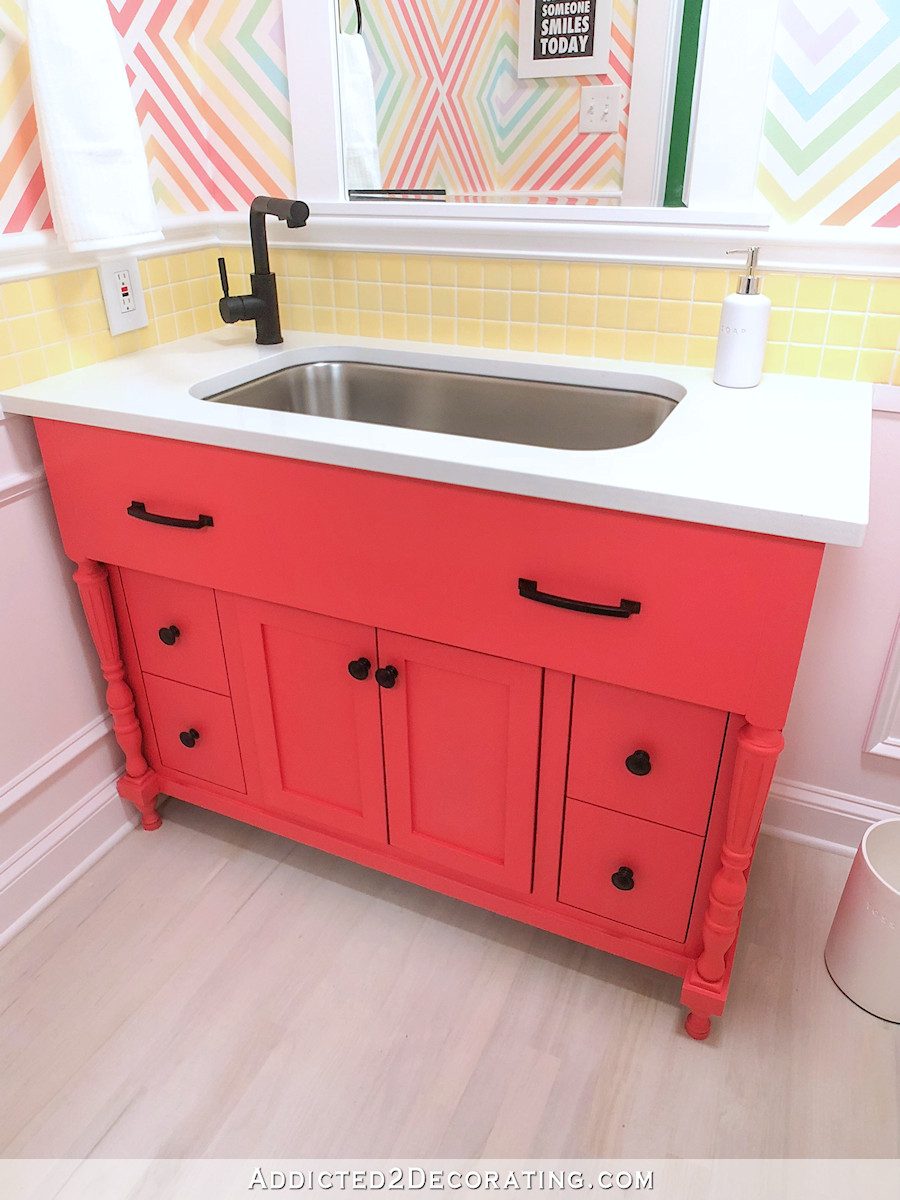
In different information, I’ve had questions in regards to the faucet and different black metallic parts within the room. I do plan to swap the tap, towel ring, and bathroom paper holder for gold or brass. I’ve by no means cherished this faucet anyway, and I don’t need the black fixtures anymore.
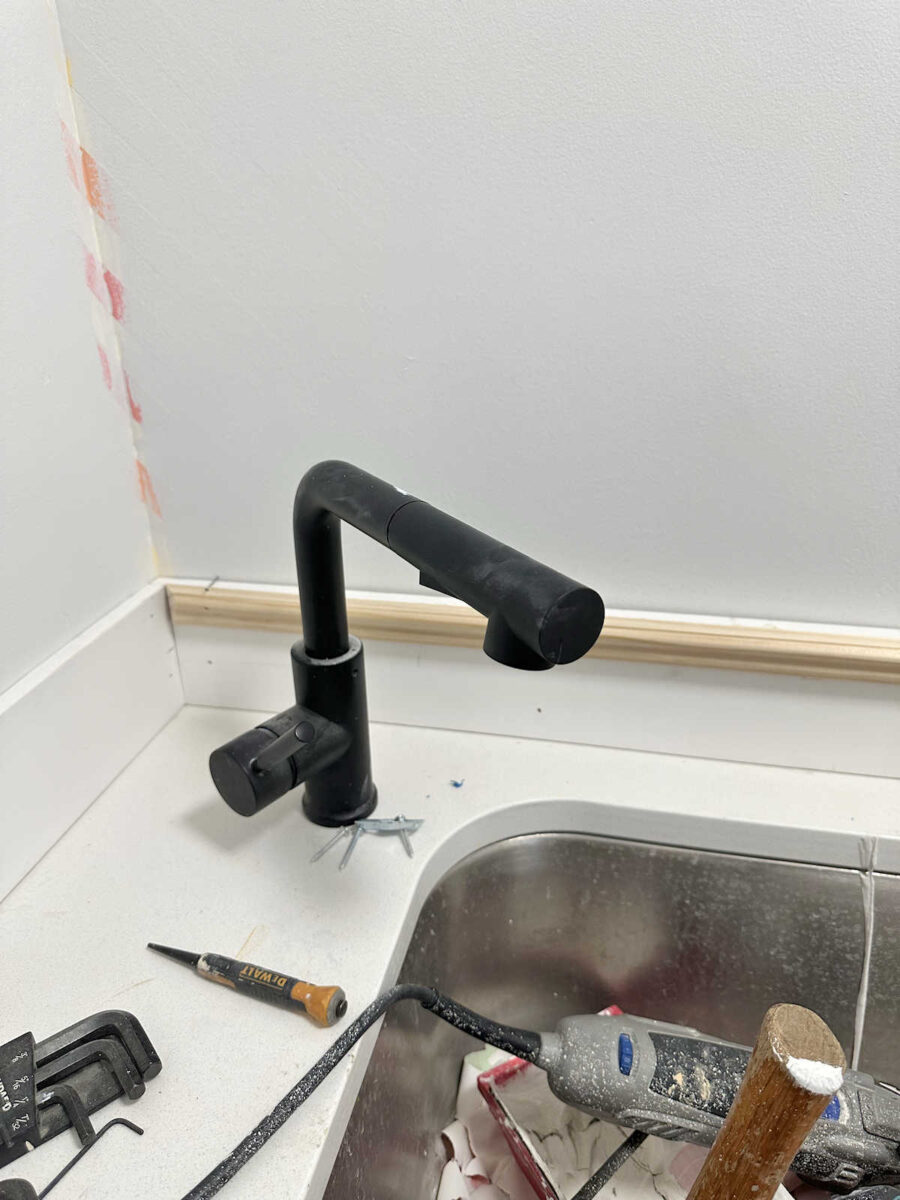
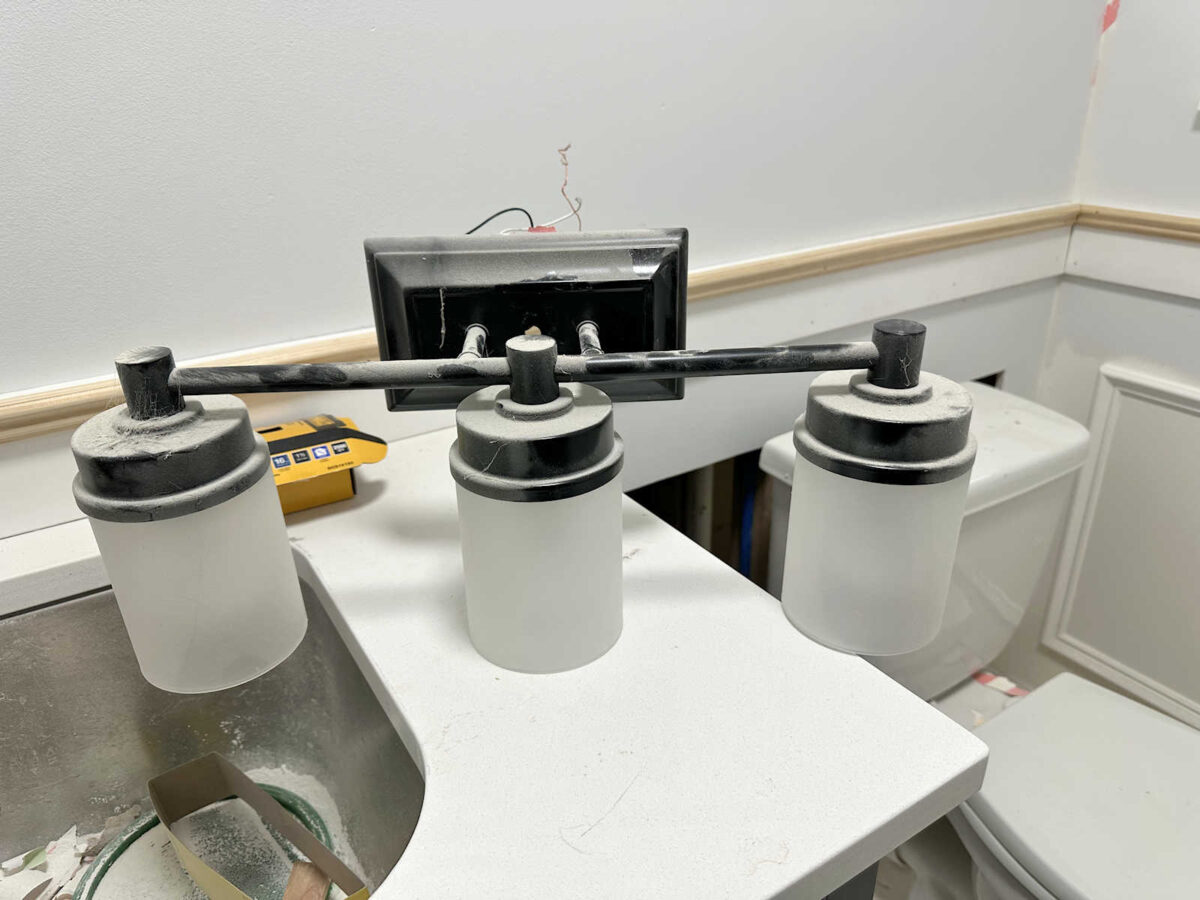
I selected the black again when the again entry of the studio had the black and white flooring design and the daring inexperienced partitions. However now, my studio has all gold/brass, and I feel the black is means too harsh for this room.
However as a result of I don’t need to spend extra money than vital, and I do like this mild fixture, I feel I’ll simply paint it (after giving it a great cleansing) and reuse it.
So there’s progress, nevertheless it’s been slower than I had hoped. There’s positively a problem when portray loopy designs on a wall. If you change your thoughts and need to paint over it, it’s important to cope with textures left behind from the painters tape and hard-to-cover colours. Shellac-based primer would have made this a lot simpler, however you then do need to cope with the actually sturdy scent. I hoped to keep away from that, nevertheless it appears to be like like I’ll have to masks up, open the doorways and home windows for good air stream, and simply get it performed.
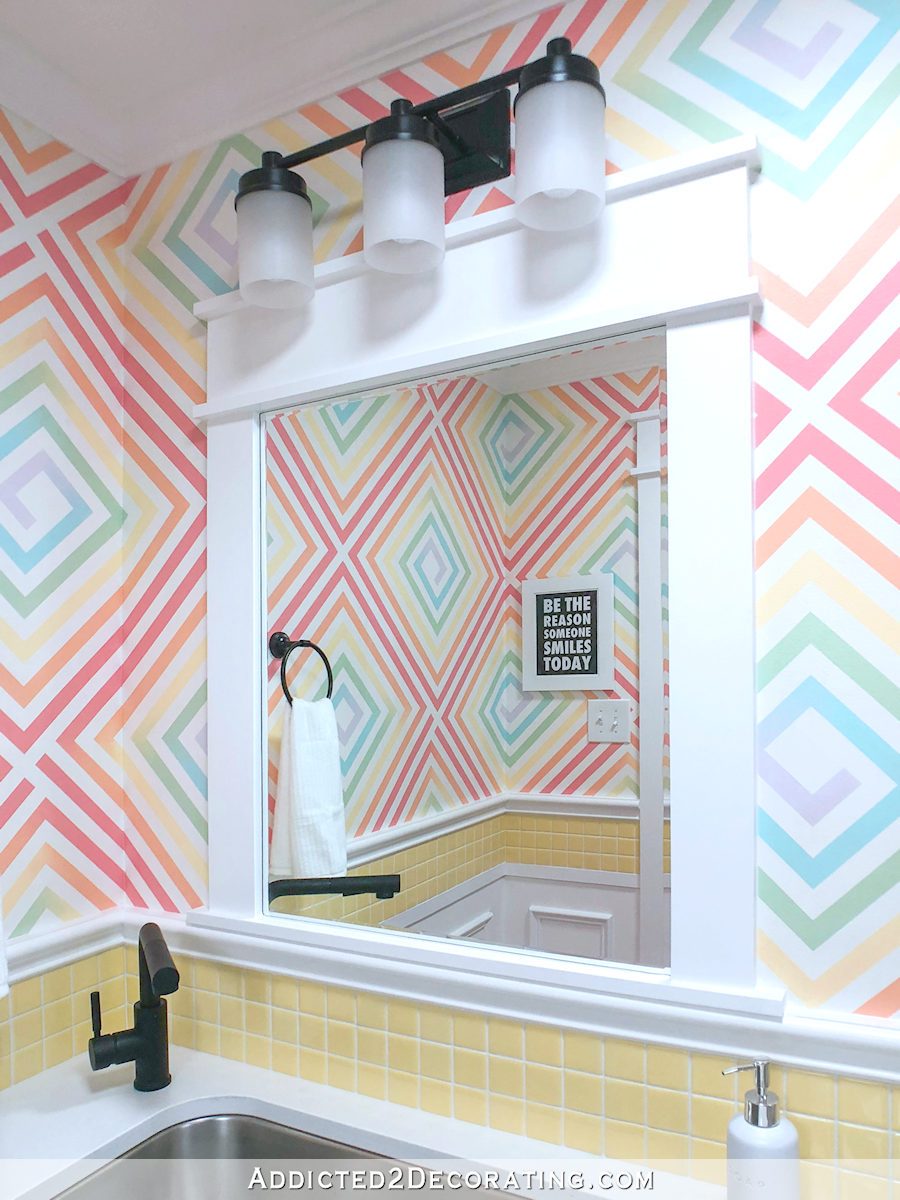
I’m so near having the ability to put the wallpaper up. That’s the factor that’s motivating me proper now. I want coloration on this room ASAP! 😀
Extra About My Studio Lavatory

Addicted 2 Adorning is the place I share my DIY and adorning journey as I rework and embellish the 1948 fixer higher that my husband, Matt, and I purchased in 2013. Matt has M.S. and is unable to do bodily work, so I do nearly all of the work on the home on my own. You possibly can be taught extra about me right here.


")


")


