

Have you ever ever purchased provides for a undertaking you had been excited to make, solely to have them sit untouched for years?
That’s precisely what occurred with a colourful quilt I deliberate to stitch a couple of summers in the past. I purchased stacks of gorgeous quilting materials with each intention of making it, however the undertaking by no means obtained past the starting stage. The reality is, whereas I really like cloth and colour, I don’t get pleasure from spending hours at a stitching machine.
Earlier this 12 months whereas organizing my craft provides, I got here throughout the bag of materials once more. Seeing all these cheerful colours collectively impressed me to lastly use them, simply not in the way in which I initially supposed.
Including Cloth Wall Artwork to My Powder Room
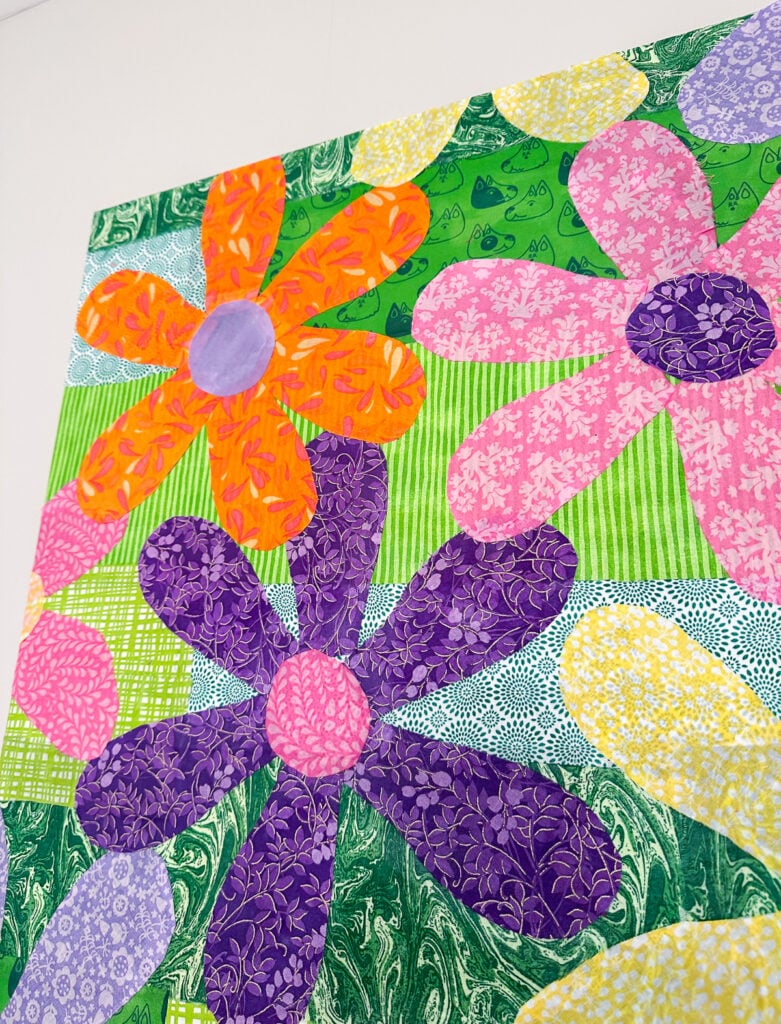
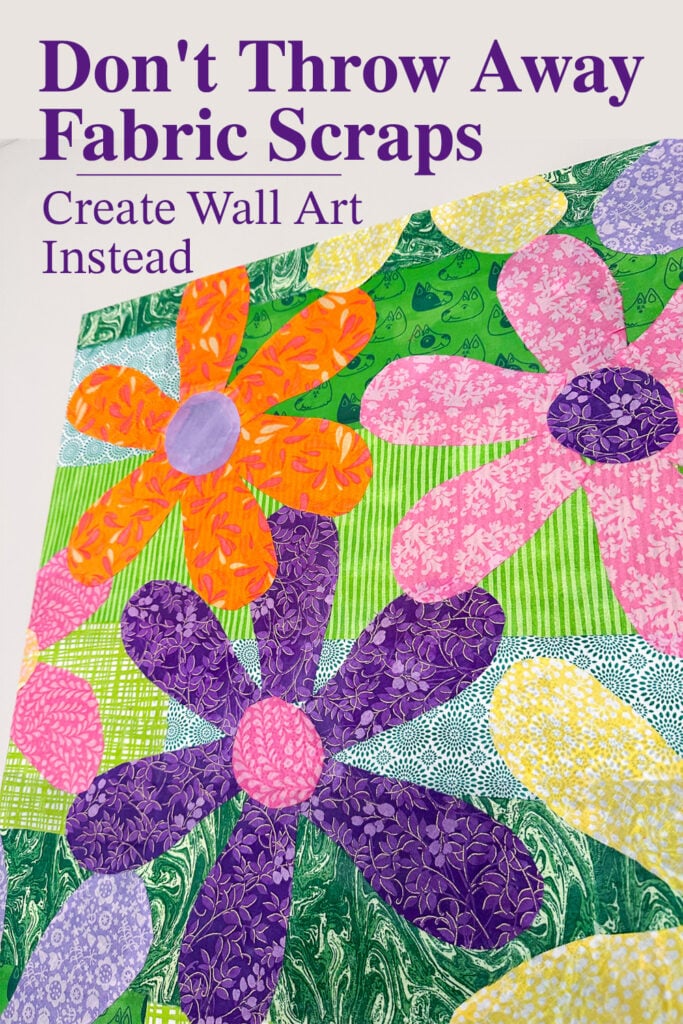
As a substitute of creating a quilt, I remodeled the material into colourful wall artwork for the powder room off my kitchen. The completed canvases add the proper splash of colour to the area, and better of all, they had been made utilizing provides I already owned together with a pair of thrift retailer canvases that price just a few {dollars}.
Throughout from the vainness in my powder room is a slender wall that’s mirrored within the mirror. Each time I seemed on the room, that wall felt unfinished. It wanted one thing tall and colourful to steadiness the area.
I attempted a couple of totally different sizes of canvases I needed to begin the undertaking, however none had been the suitable dimension for the wall. The wall wanted one thing tall or two gadgets hung vertically one above the opposite to proportionally fill the area in an eye-pleasing manner.
Ever since I discovered the designer technique to hold something on a wall, I all the time observe the recommendation and even wrote this publish about it: Dangle Artwork on a Wall The Method a Designer Does.

Then, throughout a visit to the thrift retailer, I noticed two printed canvases sitting close to the doorway. They had been precisely the scale I wanted and solely price $3 every.
I knew immediately I may cowl the present art work with primer and rework them into one thing fully totally different.

The completed canvases add cheerful colour to the room, and when mirrored within the mirror, they brighten your complete area. Years in the past I made the “Toilette” signal to resemble a classic French enamel signal, which additionally added somewhat persona to the room.
What I really like most in regards to the undertaking is that it lastly allowed me to make use of these materials I had saved for years. Whereas I by no means ended up making the quilt, I nonetheless get to get pleasure from all these colours collectively day-after-day. In a manner, the art work offers me the identical feeling a colourful quilt would have, simply hanging on the wall as a substitute of draped over my couch.
Learn how to Flip Cloth Scraps Into Colourful DIY Canvas Artwork
When making my very own wall artwork up to now I’ve used tissue paper, reward wrap and even paper napkins to cowl artist’s canvases that I purchase on sale on the craft retailer.
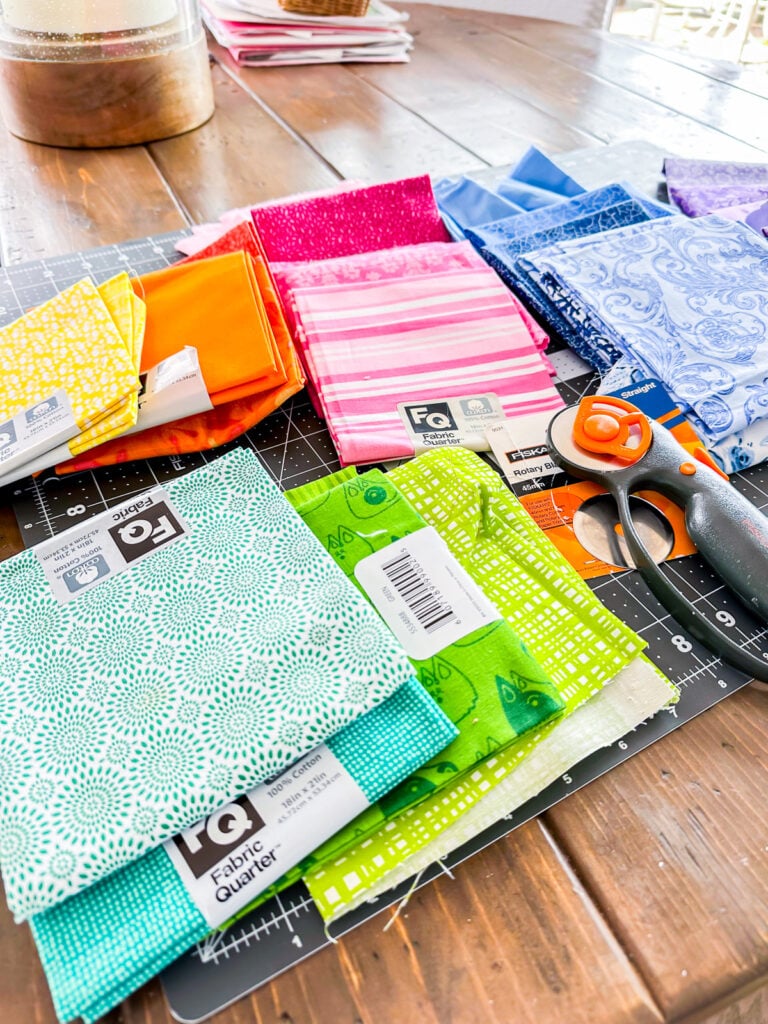
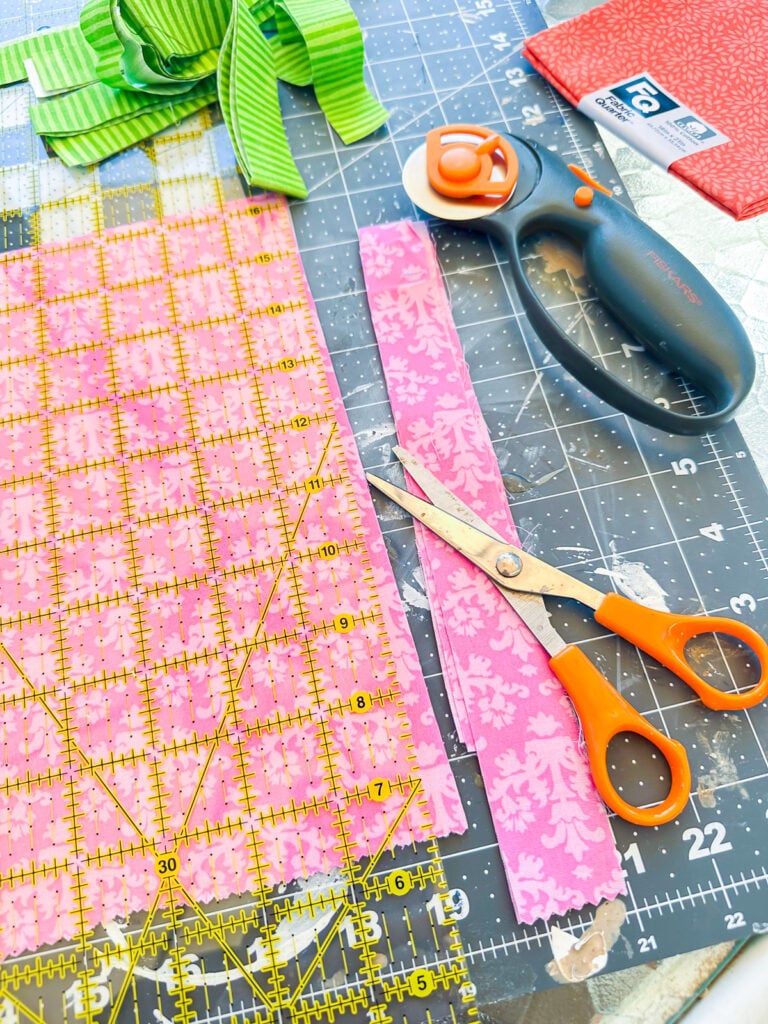
To make the material coated canvases, I purchased what are referred to as Fats Quarters used for quliting for my cloth. These are bought at craft shops and Walmart. They’re cheap and are available many patterns and colours.
For those who can’t discover these or cloth yardage you want, think about heading to the thrift retailer to see if you could find not solely a canvas to make use of, however garments in materials you want you can lower up to make use of.
When working with the material, I didn’t iron it first, however you are able to do this prematurely so you’ll be able to higher visualize what the location of the cut-out shapes of cloth and colours you select in your canvas.
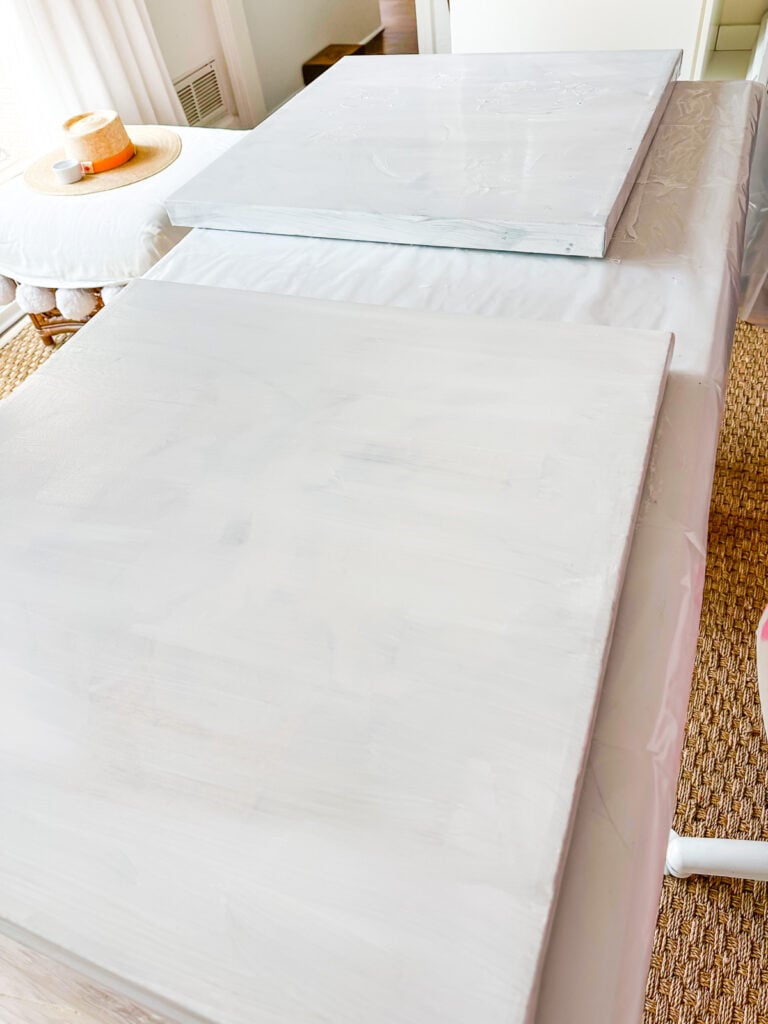
If utilizing a brand new canvas, skip this step. If utilizing a canvas that’s beforehand painted, clear it and let dry. As soon as dry, brush on a coat of paint primer. Let dry and apply yet one more gentle coat, let dry.
2. Collect all of your cloth. I used cloth quarters talked about above, but in addition used scraps of different cotton materials I had leftover from earlier tasks.
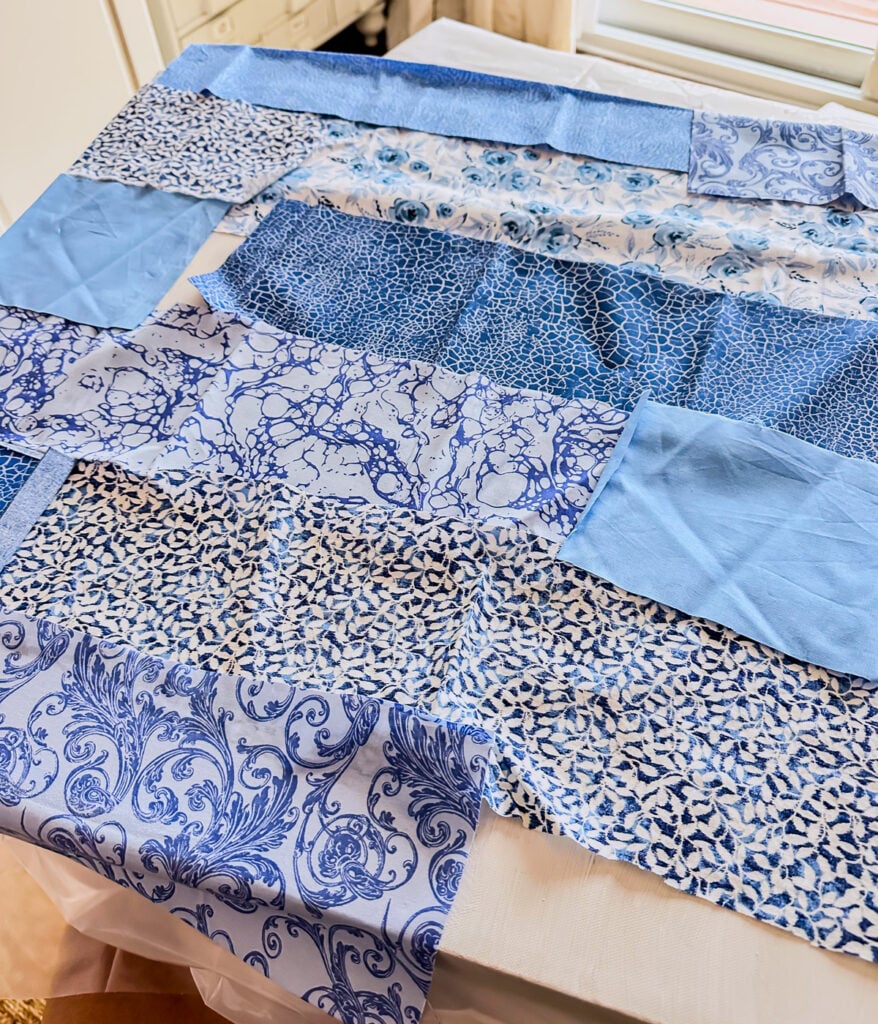
3. Earlier than reducing the material, resolve the way you need the completed canvas to look. For example, would you like the background to have a number of blended colours or solely use one colour.
Once I first began reducing my cloth for the background. I believed I wished skinny strips of cloth and used a rotary cutter to make the strips, however then I modified my thoughts and went with utilizing wider strips of cloth for the background.
4. I lower these wider strips of cloth in random sizes with a pointy pair of scissors. I didn’t fear about getting the cuts excellent.
I positioned them on the canvas and moved them round till I favored the steadiness of the colours and general colour combine.
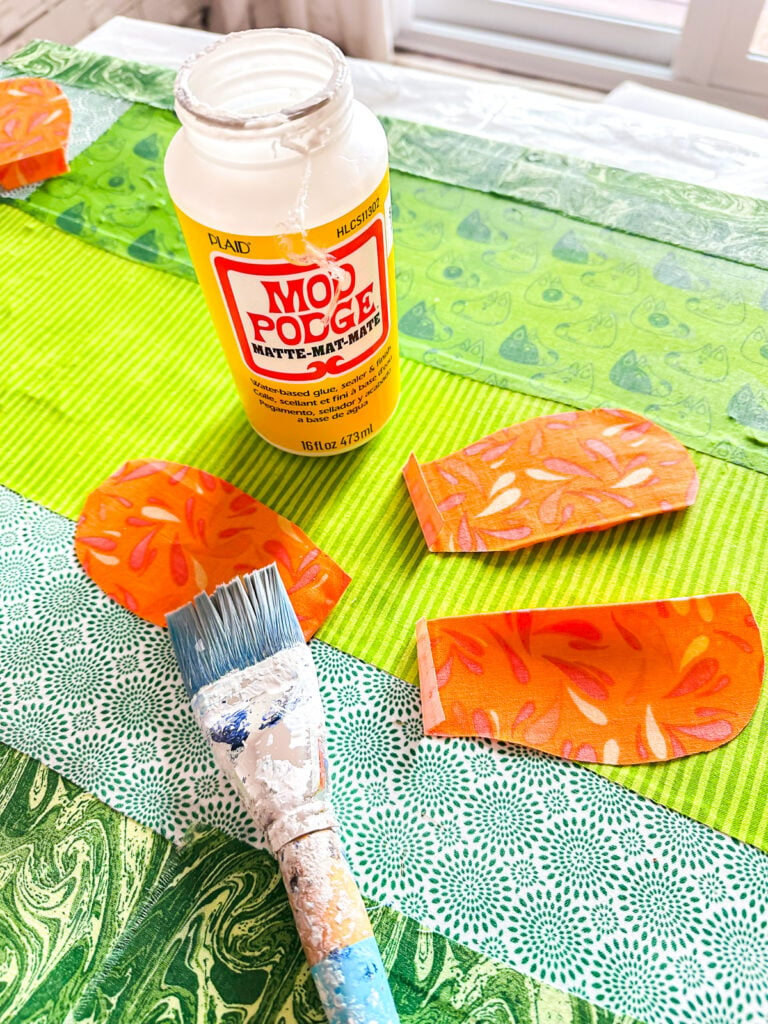
As soon as proud of the location, I connected each bit with Mod Podge and a large paint brush. I first utilized the Mod Podge to the canvas after which the again of the material and brushed over it with extra Mod Podge till the piece of cloth was easy. I additionally made positive that I coated all of the facet edges of the canvas with the material.
On the corners, I lower and folded the material like I used to be wrapping a present, then lower the surplus away. I made positive to make use of further Mod Podge underneath and over the material on the corners so it adhered effectively.
I repeated the method for each bit of cloth and barely overlapped them till the canvas was coated with the lower items of cloth. Then let it absolutely dry.
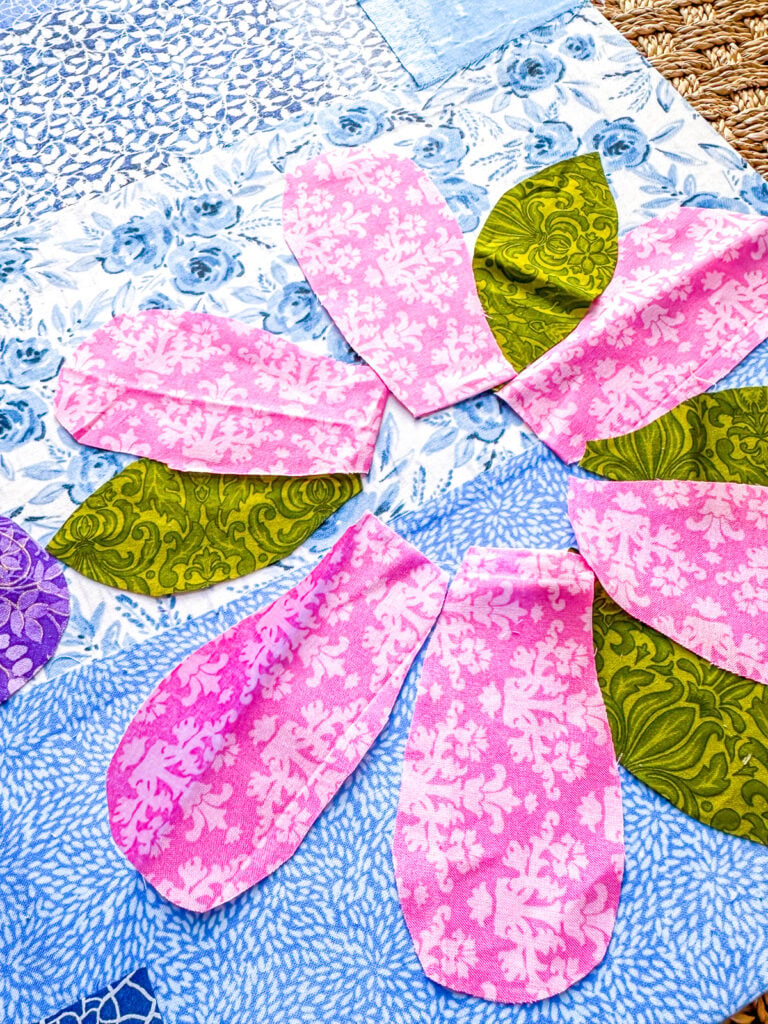
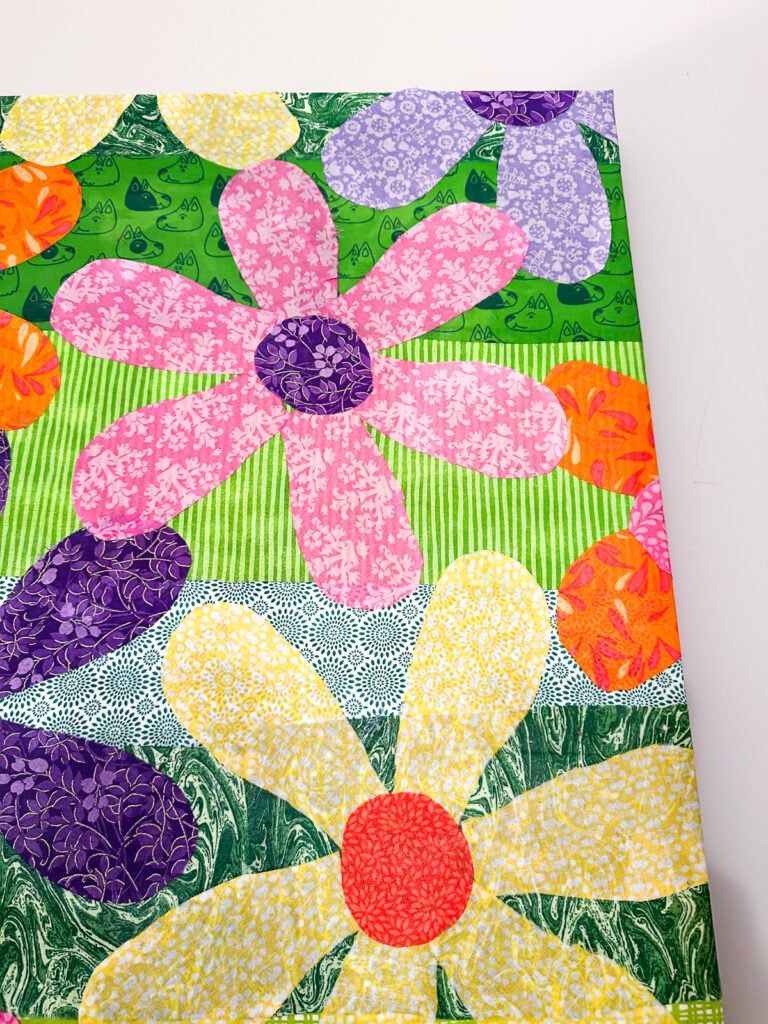
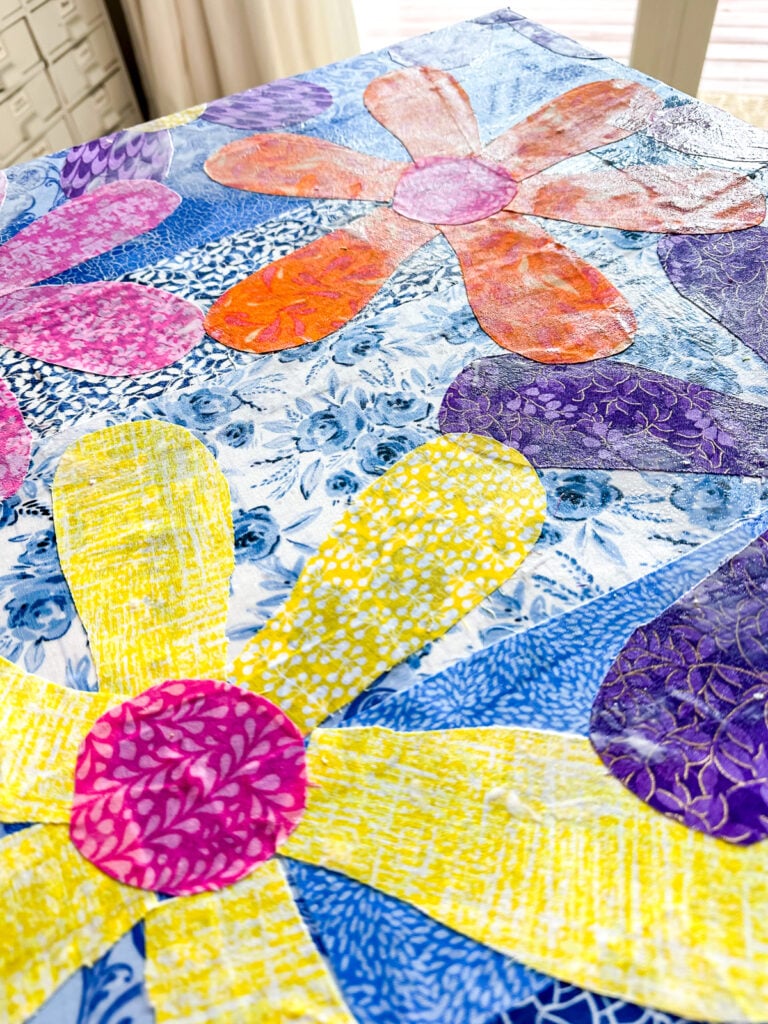
5. As soon as the background is dry, lower petals and circles for the middle of the flowers or no matter shapes you’re utilizing from the material and place on the canvas.
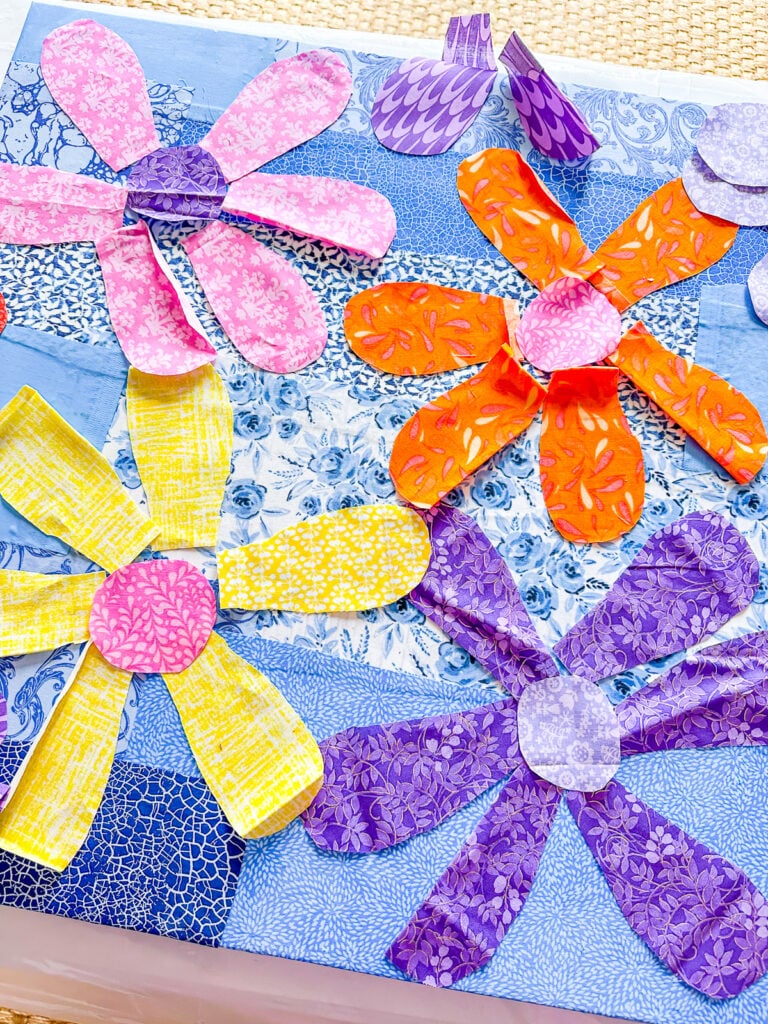
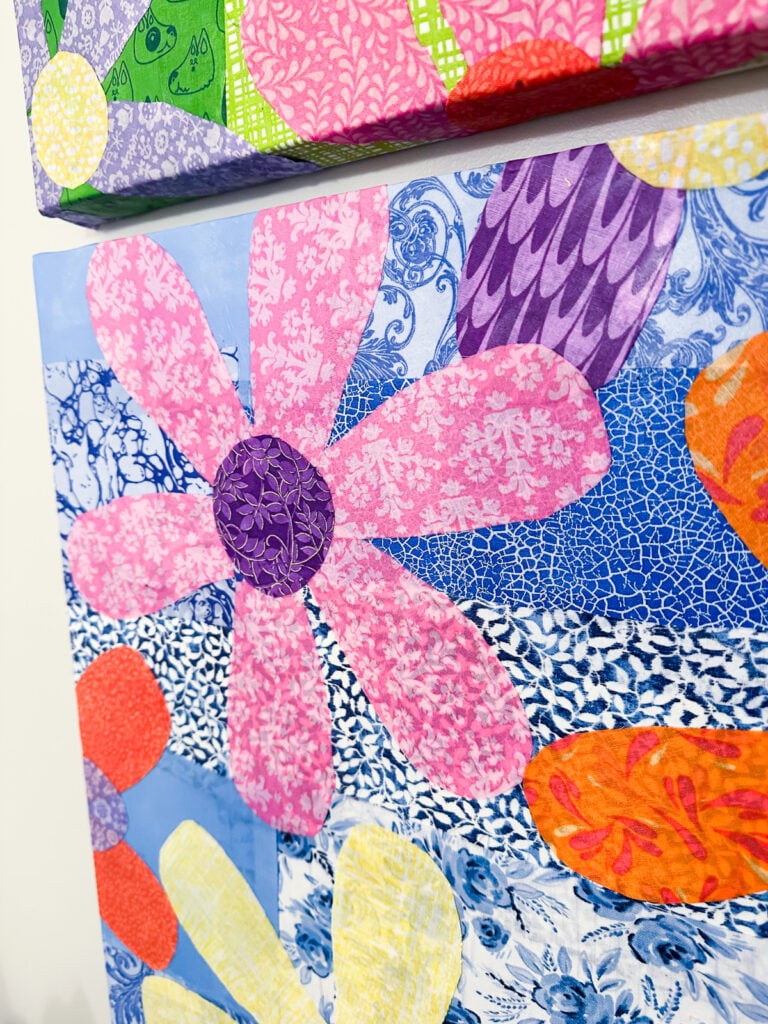
6. Mess around with placement of the flowers. In case your canvas is greater than an inch thick, think about permitting a number of the petals or shapes go over the sting and onto the edges of the canvas.
7. Use Mod Podge to connect every lower piece by first brushing over the realm the place the petal/form will go after which underneath each bit. As soon as utilized, go over the piece with one other coat of Mod Podge to easy.
8. Make sure that to easy out any air bubbles and let dry in a single day.
9. As soon as dry, hold and admire your creative creation.
Learn how to Dangle Your Canvas Artwork Simply on a Wall
When hanging something on the partitions in my home, I exploit a really useful DIY image hanging instrument that I made.
All it’s essential to make one is a paint stirring stick and a nail. You possibly can see make and use it on this publish – DIY Adorning Suggestions & Methods.
It’s OK If a Challenge Doesn’t Get Performed Proper Away
This completed undertaking for the powder room turned out even higher than I had imagined.
Trying again, I believe the lengthy delay was truly factor. It gave me time to consider what the room actually wanted and helped me provide you with an answer that feels rather more my fashion.
This undertaking is an efficient reminder that not each inventive concept must be finished immediately or end up precisely as deliberate.
For years, I believed these quilting materials had been destined to develop into a quilt. As a substitute, they grew to become one thing I get pleasure from seeing day-after-day now on the wall of my powder room. Generally the perfect tasks occur after we let go of the unique plan and take a look at what we have already got with contemporary eyes.
In case you have cloth scraps, quilting cotton, and even favourite items of cloth tucked away in a drawer, think about turning them into art work as a substitute. It’s a simple manner so as to add colour, persona, and a hand-crafted contact to your property with out spending a lot cash in any respect.
And who is aware of? That unfinished undertaking you’ve been laying aside may encourage one thing even higher.


")
")


![Gaudi’s Palau Güell is one of the most fascinating studies in parabolic arches [OC]](https://preview.redd.it/ykng9sifj45h1.jpg?width=140&height=140&crop=1:1,smart&auto=webp&s=b26ff60286ca801d37f1c5e5de967d5ea2866c82 "Gaudi’s Palau Güell is one of the most fascinating studies in parabolic arches [OC]")


")
