

My mother and I’ve been engaged on reupholstering my desk chair for the studio. She gave me an excellent head begin on the venture by beginning on it whereas I used to be nonetheless engaged on group, in order that was an enormous assist. The chair we’re reupholstering is one which I’ve had for a number of years, and I adore it. Once I began redoing my studio, I considered buying a brand new desk chair in the proper shade to avoid wasting myself the effort of reupholstering this one, however I couldn’t discover one which I appreciated as a lot as this one. It’s very comfy and has a excessive again, which I like. So my most suitable choice was to reupholster the one I’ve.
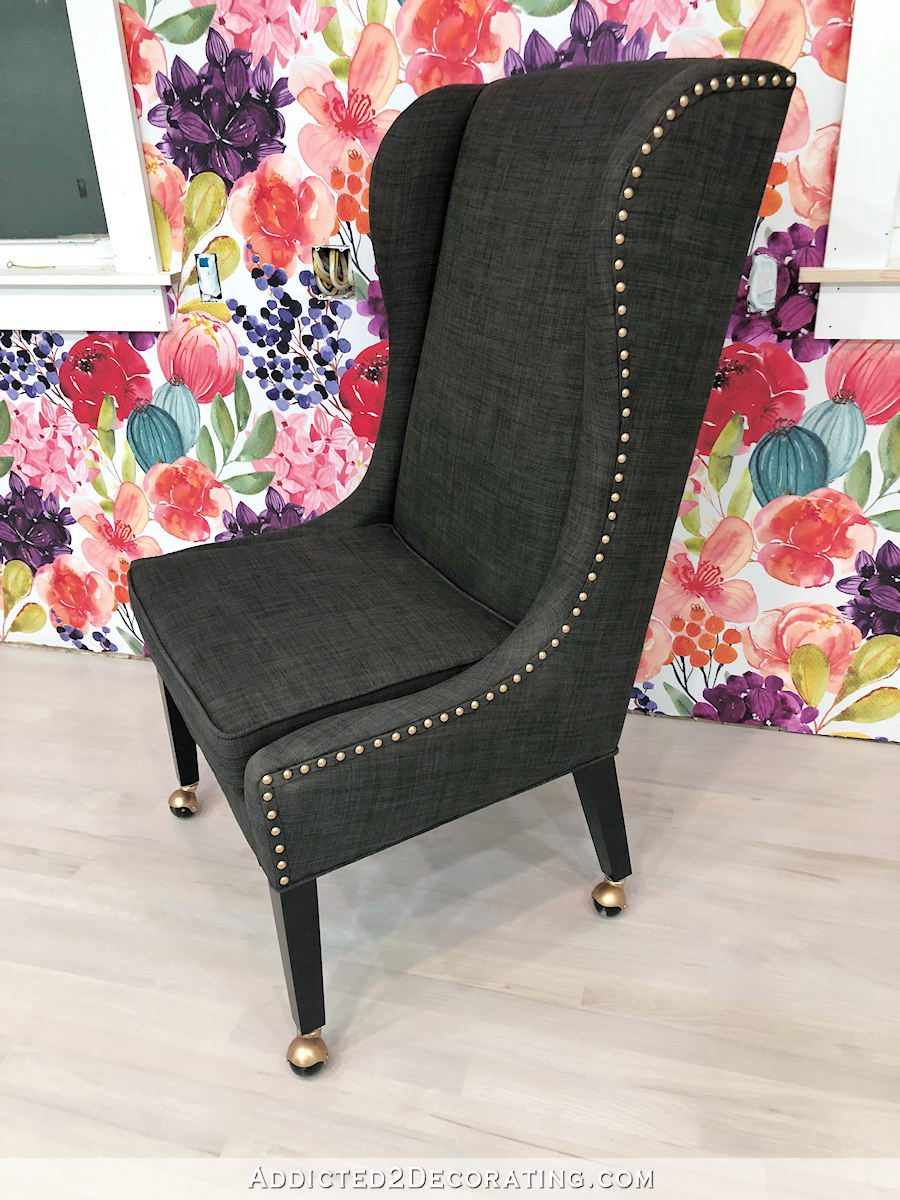
Right here’s what the chair seemed like when it was new…
However after having the chair for just a few years, my cat utterly tore it up. The woven cloth was good for her to get her little claws into. So even when the present shade went completely with my imaginative and prescient for my studio (it doesn’t), I’d nonetheless must reupholster it as a result of she has utterly shredded it. And naturally, I’ll be reupholstering it with velvet, which is my favourite cat-proof cloth.
My #1 tip for reupholstering chairs and sofas is to take the previous cloth off in an orderly trend. I’ll always remember the present Buying and selling Areas for a lot of causes (most of them not good 😀 ). However one factor I bear in mind very vividly is the shoddy reupholstery jobs these amateurs would do. And beneath the steerage of these designers (I’m taking a look at you, Hildi), they’d begin by ripping into the unique cloth, tearing it off as rapidly as doable. That will make for thrilling TV, however for those who’re a novice at reupholstering, and even for those who’re like me and also you’re not a novice, however you simply don’t do it usually sufficient to be actually proficient at it, you then’re going to wish to take your time in eradicating the unique cloth.
In eradicating the unique cloth in an orderly method, it can take extra time at the start, however it can additionally prevent time and frustration in the long term. First, taking it aside in an orderly method will show you how to see simply how the chair was upholstered within the first place. You may see precisely the place every bit is stapled into place. It provides you with the chance to take numerous photos of how the items match collectively. However most significantly, the unique items will function patterns that you should use to chop the brand new items of material.
Right here’s my mother fastidiously eradicating the material one piece at a time, beginning with the very again, after which the surface of the arms and wings.

A very powerful instrument in taking previous cloth off of an upholstered chair or couch is a flat head screwdriver. It will show you how to to take away the entire previous staples holding the material on.

However generally the staples are so deep into the wooden you can’t get a flathead screwdriver beneath them. In that case, I take advantage of a brand new and really sharp razor blade to chop the material across the staple, leaving the material as intact as doable.
I at all times take pictures of areas like this simply in order that I can bear in mind the way it seemed. With out a image to remind me, I’d begin reupholstering this half, see this bulk of material that gained’t lie flat, and assume that I’ve finished one thing improper. Having a photograph is useful to remind me that it seemed like this initially.

The material typically comes off of chairs and sofas on this order: the again facet of the chair again, the outsides of the arms (and wings on a wingback chair), the within of the arms (and wings), the entrance facet of the chair again, after which the seat. And as soon as the entire cloth was off of my chair, right here’s the way it seemed.

That is when it is advisable to assess for those who’re going to wish new foam or batting. I’ve seen chairs and sofas that had pristine foam and batting beneath previous cloth. And I’ve seen others that had previous and brittle foam and destroyed batting. Heck, I’ve even reupholstered a really previous daybed that was initially full of one thing that I can solely guess was straw. However on this case, the froth on my chair seemed fairly good, however the batting was wanting fairly skinny.

So a few layers of recent batting shall be wanted on this chair earlier than I add the brand new cloth.
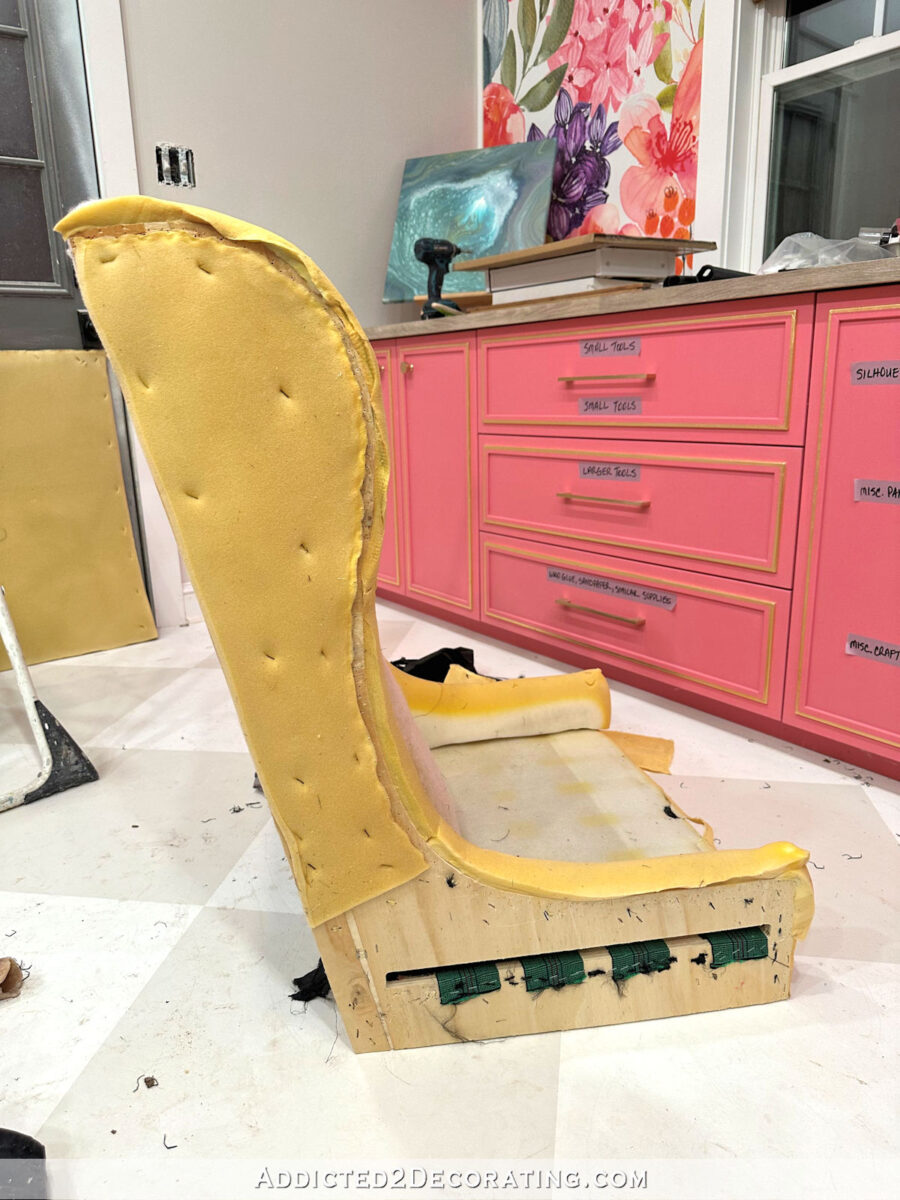
The material on the again had a thick piece of cardboard beneath it, so I’ll be reusing that to present some construction to the again.

As soon as we had the entire cloth off, I used to be able to take the items aside and put together them as my patterns for the brand new items. Right here’s a take a look at the piece that wrapped across the again of the chair and onto the surface of the arms and wings. You may see the injury my cat did.

This was three items sewn collectively, so I used my sew ripper to take them aside.

I additionally measured the seam allowance and made word of that measurement. This fashion I can resolve if I wish to use that very same seam measurement or add further allowance once I reduce the brand new cloth. These seams had been solely 3/8-inch, so I’ll in all probability add at the very least 1/8 inch to the seam allowances once I reduce the brand new cloth.

After the items had been taken aside, I ironed them in order that the seams allowances would lie flat.

After which I flipped the items over and used an enormous Sharpie marker to make notes. I famous which edges had been seams, which edges had been wrap-and-staple. On the middle piece, I famous which facet was the highest, since that is likely to be onerous to inform on a rectangle piece as soon as the items had been separated. Mainly, I simply made notes of every part I assumed is likely to be useful for me to recollect. And I don’t ever assume that one thing is so apparent or primary that I’ll simply bear in mind. I’ve had too many instances once I assumed I’d bear in mind one thing, solely to get in the course of the reupholstering venture and get confused about one thing as a result of I didn’t make notes or take photos to remind me of the small print.

I did the identical factor for the items that went on the entrance of the seat again and the within of the arms and wings. None of those items had been sewn to one another. As an alternative, that they had eight-inch strips of skinny black cloth sewn to many of the edges, and that skinny black cloth is what’s shoved into the crevices, pulled, and stapled into place.

These items of skinny black cloth aren’t seen on the completed chair. So after eradicating that black cloth, I made notes of which edges these items (which I name “pull cloth”) had been sewn to.

After which I made word of which edges required a wrap-and-staple.

And at last, I did the identical factor for the seat. This chair has a seat cushion which covers most of this piece, so there’s a big piece of the skinny black cloth. So earlier than taking these aside, I labeled which edge wanted to be sewn, and which one was a wrap-and-staple.

So now that I’ve all of my sample items, and so they’re all labeled, I’m prepared to make use of these to chop the brand new cloth. And all of my notes ought to turn out to be useful once I begin placing all of it again collectively.

It’ll return collectively within the actual reverse order that we took it aside. First, the seat, then the entrance of the chair again. Then the within of the arms and wings. And at last, the three-piece again and outdoors arms and wings piece that will get sewn collectively. And since I took photos of the difficult elements with complicated particulars, I can breeze by means of these difficult elements as properly. Keep tuned for the brand new and improved desk chair!

Addicted 2 Adorning is the place I share my DIY and adorning journey as I rework and beautify the 1948 fixer higher that my husband, Matt, and I purchased in 2013. Matt has M.S. and is unable to do bodily work, so I do the vast majority of the work on the home on my own. You may be taught extra about me right here.
")


 Is For Sale")


