

Putting in a wall-mounted air conditioner, also known as a mini-split AC, might be a superb alternative for householders in search of an environment friendly cooling resolution. This sort of air con system shouldn’t be solely energy-efficient but additionally comparatively easy to put in and keep. Not like conventional central air techniques, wall-mounted items don’t require in depth ductwork, which might considerably cut back each set up time and prices.
On this complete information, we are going to stroll you thru all the course of of putting in a wall-mounted AC unit. From choosing the precise instruments to the ultimate changes, every step might be defined intimately, guaranteeing a clean set up expertise. Whether or not you’re a seasoned DIY fanatic or a novice seeking to deal with a brand new challenge, this information will equip you with the data wanted to efficiently set up your wall-mounted air conditioner.
Earlier than diving into the set up course of, it’s vital to know why wall-mounted AC items are a well-liked alternative amongst householders.
Power Effectivity
Wall-mounted air conditioners are famend for his or her vitality effectivity. They make the most of superior know-how to offer focused cooling, which might result in substantial financial savings on vitality payments in comparison with conventional techniques. By cooling solely the rooms which can be in use, these items assist cut back vitality consumption.
Ease of Set up
Some of the interesting facets of wall-mounted AC items is their simple set up course of. Not like central air con techniques that require complicated ductwork, wall unit AC set up can usually be finished with out skilled assist, saving you cash on labor prices.
Area-Saving Design
These items are designed to be compact and unobtrusive, making them very best for small areas. They are often mounted excessive on partitions, releasing up helpful ground area whereas nonetheless offering efficient cooling.
Flexibility and Management
Wall-mounted AC items enable for exact temperature management in particular person rooms. This flexibility means you possibly can create a cushty atmosphere tailor-made to your preferences with out affecting all the house.
Earlier than beginning the set up of your wall-mounted AC unit, it’s essential to collect all needed instruments and provides. Having every little thing readily available will streamline the method and decrease interruptions.
Primary Instruments Required
Screwdrivers (flathead and Phillips)
Drill (with acceptable drill bits)
Degree (to make sure correct alignment)
Tape Measure (for correct measurements)
Stud Finder (to find wall studs)
Wrenches (for tightening connections)
Caulking Gun (for sealing gaps)
Hacksaw (if pipe changes are wanted)
Security Gear (gloves, goggles, masks)
Extra Provides
Mounting Plate (usually included with the AC unit)
Plastic Anchors (for securing the mounting plate)
Electrical Tape (for securing wires)
Insulation Strips (to forestall air leaks)
Drainage Pipe (to facilitate water drainage)
Choosing the proper location to your indoor unit is vital for optimum efficiency. Observe these tips to make sure you choose one of the best spot.
Concerns for Indoor Placement
Keep away from Direct Daylight: Place the unit away from direct daylight to reinforce cooling effectivity.
Proximity to Energy Supply: Make sure the set up space is close to {an electrical} outlet to keep away from issues with energy connections.
Clear Airflow: Choose a location that permits for unobstructed airflow across the unit. Ideally, there must be a minimum of 6 to 12 inches of area on both aspect.
Peak: Mount the unit roughly 7 ft (2.1 meters) above the ground for optimum air distribution.
Marking the Location
Upon getting recognized the best location, use a stud finder to find wall studs. Mark the spots the place the mounting plate might be put in, guaranteeing it’s degree each horizontally and vertically.
The mounting plate serves as the inspiration to your wall-mounted AC unit. Observe these steps to put in it securely.
Getting ready the Wall
Drill Holes: Use the drill to create holes within the marked spots. Be sure that the holes are aligned with the wall studs for max help.
Insert Plastic Anchors: When you’re drilling into drywall, insert plastic anchors into the holes to offer further help.
Attaching the Mounting Plate
Place the Plate: Maintain the mounting plate in opposition to the wall, aligning it with the drilled holes.
Safe with Screws: Use screws to connect the plate firmly to the wall. Double-check that it’s degree earlier than tightening fully.
To attach the indoor and out of doors items, it is advisable create an outlet gap for the refrigerant pipes and electrical wires.
Selecting the Proper Spot
Find the Drilling Level: Establish a spot immediately behind the indoor unit the place you’ll drill the opening. Guarantee there are not any hidden pipes or wires within the wall.
Drill the Gap: Use a keyhole noticed or drill to create a gap roughly 3 inches in diameter. Angle the opening barely downward to facilitate correct drainage.
Earlier than connecting the indoor unit, it is advisable put together {the electrical} connections.
Accessing the Wiring
Take away the Entrance Panel: Fastidiously raise the entrance panel of the AC unit to entry the inner wiring.
Safe Connections: Join the wires to the corresponding terminals, guaranteeing they match the wiring diagram supplied within the unit’s guide.
With {the electrical} connections made, it’s time to run the required cables and pipes.
Operating the Strains
Thread the Pipes: Feed the refrigerant pipes, energy cable, and drainage pipe by the outlet gap. Use electrical tape to safe them collectively, conserving the drainage pipe on the backside for optimum water circulation.
Keep away from Bends: Be sure that the pipes and cables don’t bend sharply, as this will result in lowered effectivity.
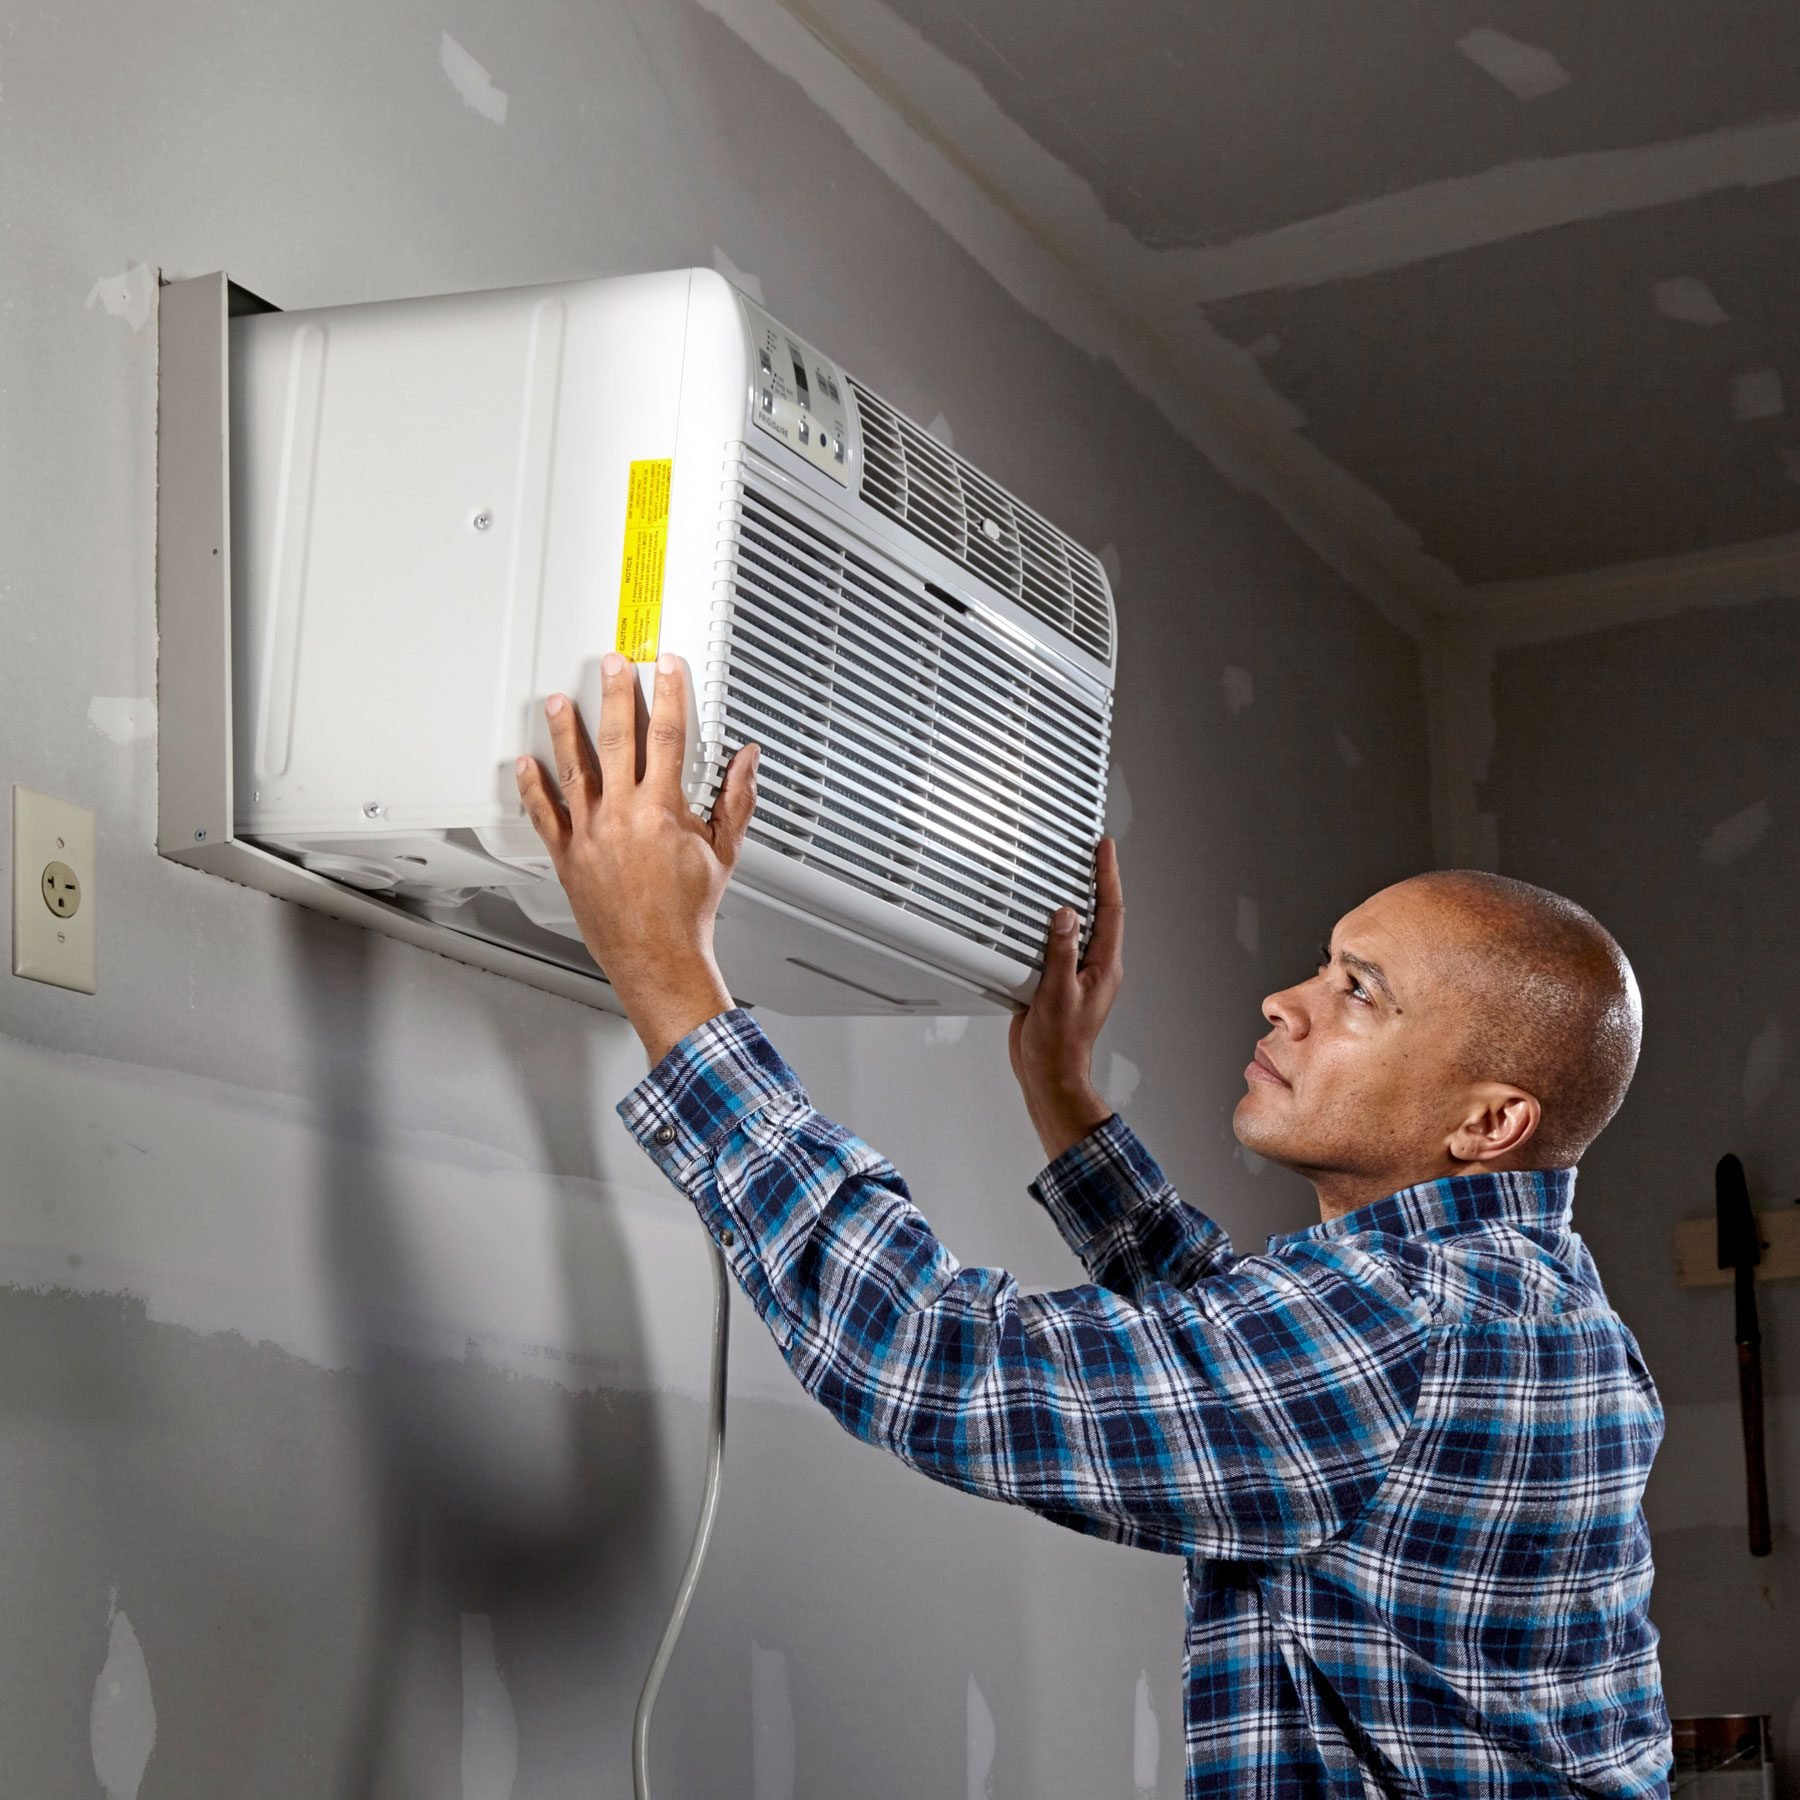
Now that the connections are in place, it’s time to mount the indoor unit.
Aligning the Unit
Raise and Place: Fastidiously raise the indoor unit and align it with the mounting plate. Be sure that the connections on the again match securely.
Tilt for Drainage: Tilt the unit barely backward (about 2-3 levels) to facilitate correct drainage from the condensation pipe.
After putting in the indoor unit, you can begin getting ready for the out of doors unit set up.
Components to Take into account
Air flow: Choose a well-ventilated space for the out of doors unit, away from direct daylight and obstructions.
Distance: Make sure the out of doors unit is inside a 50-foot distance from the indoor unit for efficient operation.
Clear Area: Preserve a minimum of 12 inches of clearance across the out of doors unit for optimum airflow.
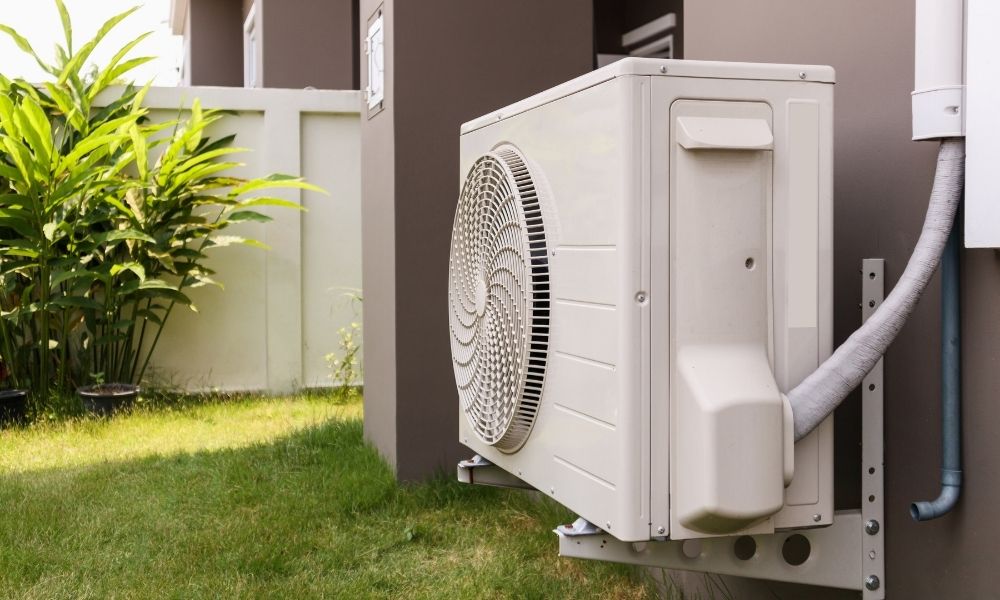
When you’ve chosen the situation, it’s time to put in the out of doors unit.
Mounting the Unit
Place on a Degree Floor: Place the out of doors unit on a concrete pad or safe it to an exterior wall utilizing brackets.
Use Leveling Instruments: Make sure the unit is degree to forestall vibrations and operational points.
With each items in place, now you can join the refrigerant strains and electrical wires.
Securing Connections
Take away the Cowl: Take off the quilt of the out of doors unit to entry the connection factors.
Join the Pipes: Use flare nuts to securely connect the refrigerant pipes from the indoor unit to the out of doors unit.
Electrical Connections: Join the ability cable based on the producer’s directions, guaranteeing all connections are tight.
Earlier than the AC can function, the refrigerant must be charged.
Vacuuming the Strains
Use a Vacuum Pump: Join a vacuum pump to the service port to take away any air or moisture from the refrigerant strains.
Examine for Leaks: After vacuuming, examine all connections for leaks earlier than charging the system with refrigerant.
With every little thing linked, it’s time to make remaining changes and check the system.
Guaranteeing Correct Performance
Seal Openings: Use increasing foam or caulk to seal any gaps across the drilled gap.
Check the AC: Activate the unit and set it to your required temperature. Monitor its efficiency and examine for any uncommon sounds or leaks.
Putting in a wall-mounted air conditioner could be a rewarding DIY challenge that enhances your property’s consolation. By following this step-by-step information, you possibly can guarantee a profitable set up that maximizes effectivity and cooling efficiency. Keep in mind, for those who ever really feel unsure about any a part of the method, don’t hesitate to seek the advice of knowledgeable for help. Benefit from the cool air and luxury that your new AC unit supplies!


