

This closet island mission is changing into a endless mission inside one other endless mission. I swear to you that I labored all day yesterday on the island, and whereas I did make some good progress, I didn’t get practically as a lot completed as I assumed I’d. I hoped to get paint on at the least part of the island yesterday, however that didn’t occur.
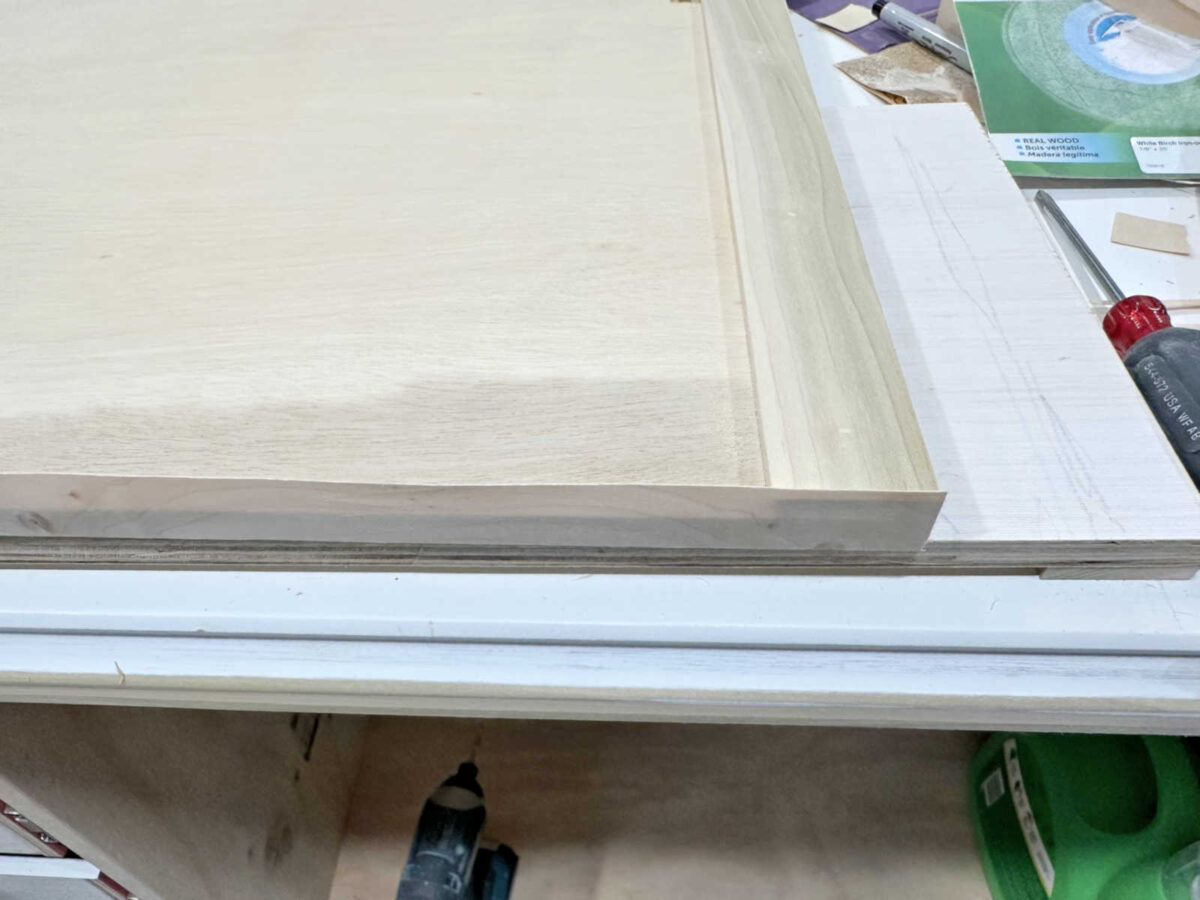
Let me again up a bit. A few days in the past, I shared my design for every of the drawer/door sections. That design seems to be like this, the place I trimmed out every part as a complete relatively than trimming out every drawer entrance and cupboard door individually…

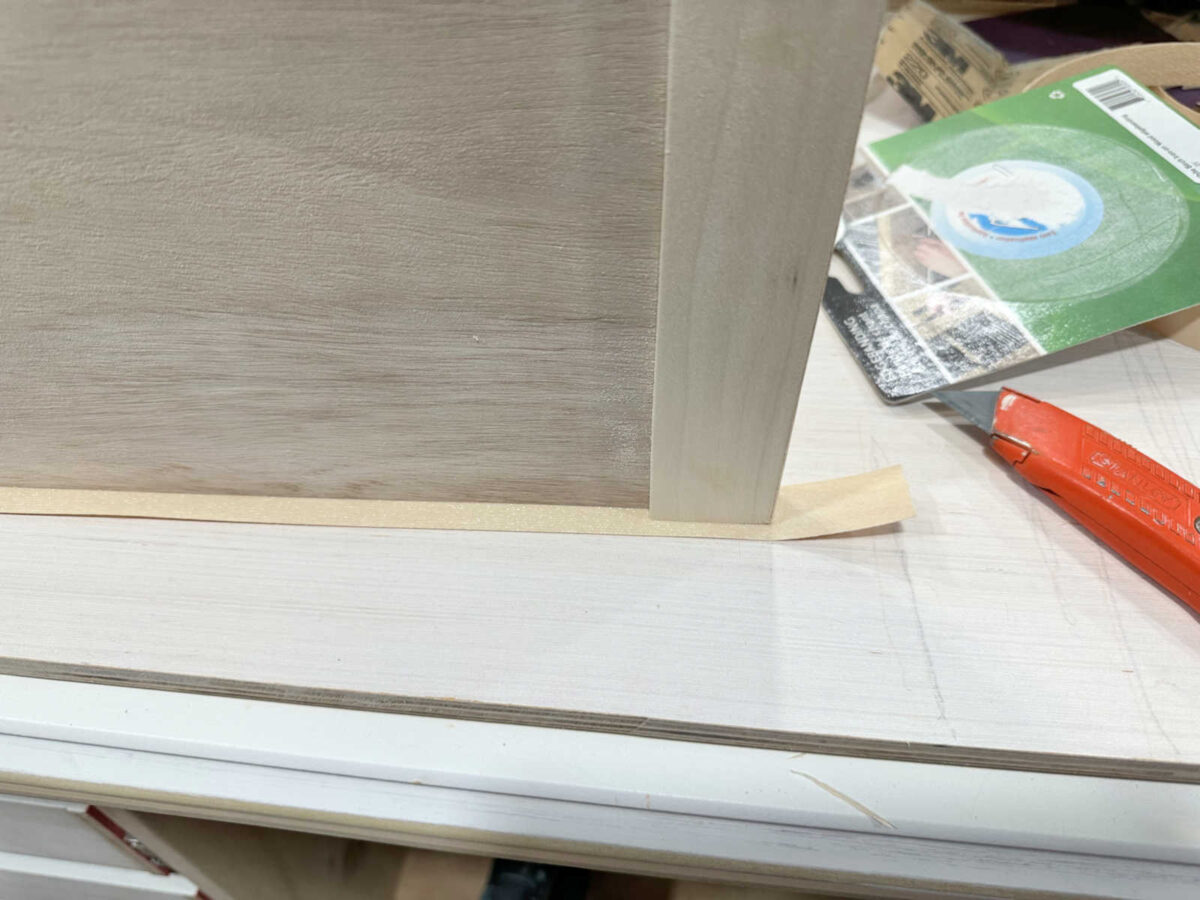
So yesterday, I needed to end up with including the iron-on veneer edge banding on a number of the drawer fronts and the 2 doorways. Including the sting banding to the perimeters that had the 1/4-inch trim was fairly simple, however including the sting banding to the perimeters that didn’t have the 1/4-inch trim was somewhat trickier. Right here’s what it appeared like after I ironed it on, and you’ll see that it required a bit extra cautious trimming than the easy straight cuts required on the perimeters that had the 1/4-inch trim. Observe that this drawer entrance is sitting on prime of a scrap piece of 1/2-inch plywood that I used as my work floor.
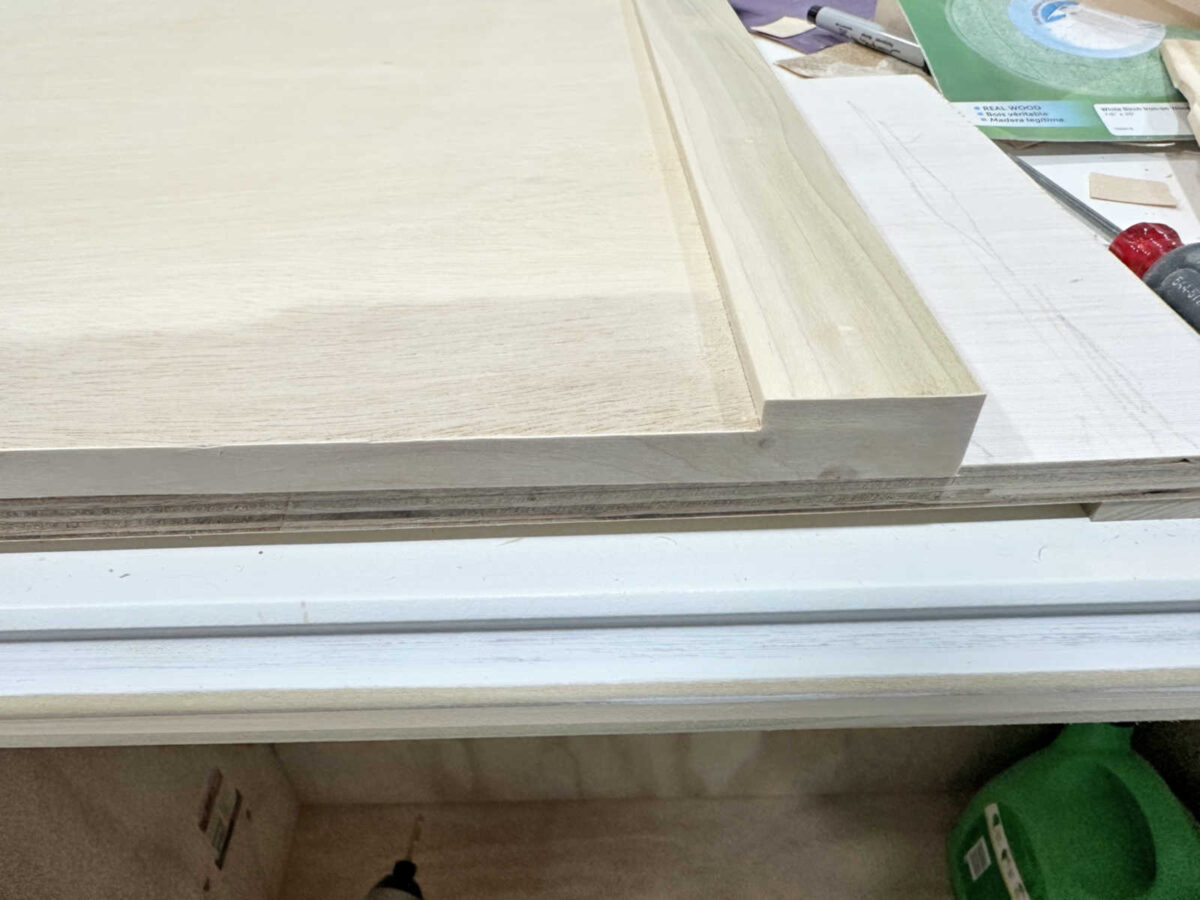
After the sting banding was ironed on, I stood it up on the sting to trim off that extra piece protruding on the facet. I used a really sharp, new blade in my utility knife to do all the trimming.
As soon as that was lower off, I laid it again down and trimmed off the surplus from the entrance edge. Right here’s what it appeared like after it was trimmed. You possibly can see that the surplus is gone, however it’s nonetheless not very fairly.
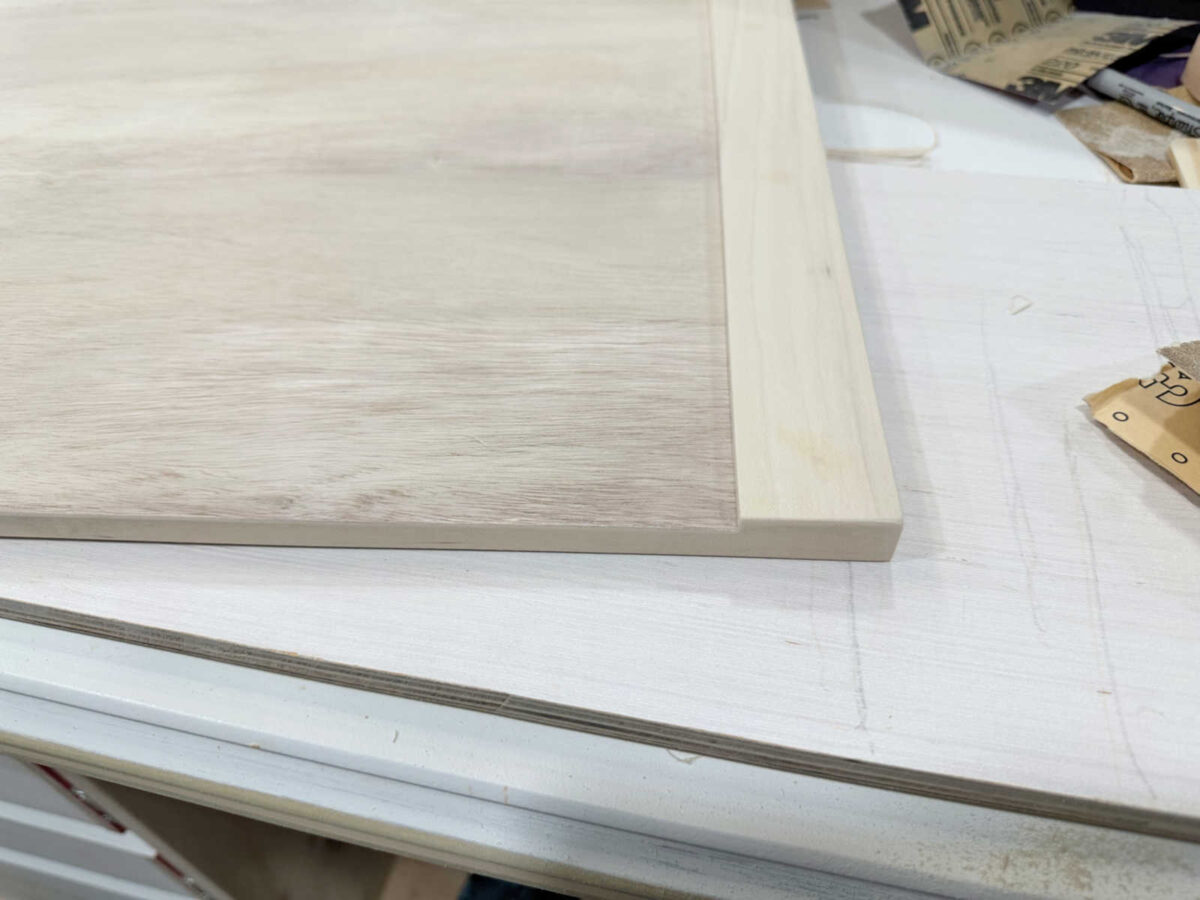
I present you that to make some extent that sanding wooden veneer edge banding is a important step in making it look good. Don’t skip this step! Sanding the sting banding to make it mix in with the plywood is what offers it that completed, stable wooden look. I used 100-grit sandpaper for this, and sanded all of it by hand. This isn’t one thing you’d wish to use a sander for as a result of you’ll be able to simply take away an excessive amount of veneer, or sand an excessive amount of off of the nook with a sander. Sanding by hand offers you way more management. Right here’s what it appeared like as soon as it was sanded.
As soon as I received all of them sanded, I used to be prepared for primer. I used my new favourite primer — Zinsser Bin Shellac-Primarily based Primer. I ought to have taken the image earlier than I poured it and made a multitude, however I forgot. 😀
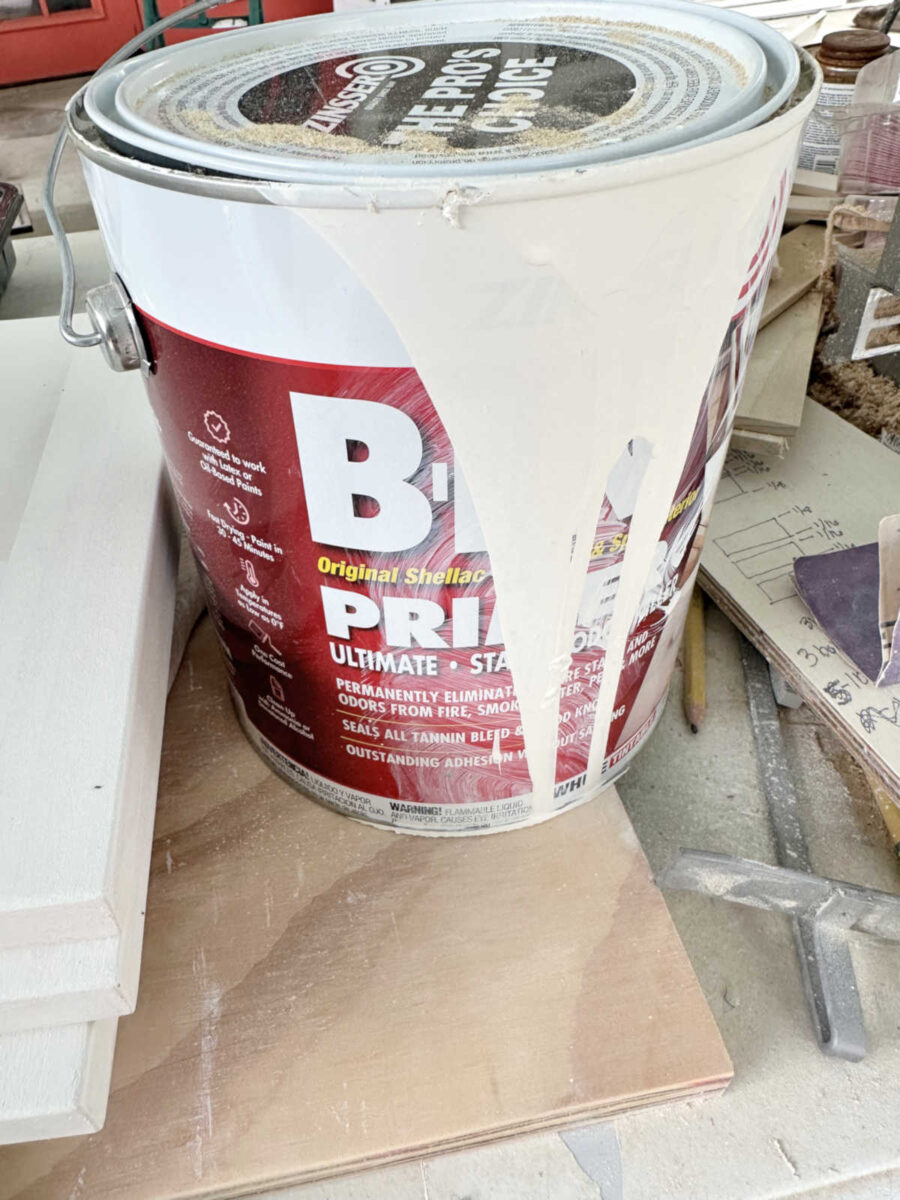
I really like this primer, and it’s now the one one I’ll use once I’m portray uncooked, unfinished wooden. It’s the identical primer I used on the wooden ground within the studio earlier than I painted it, and that ground has held up amazingly effectively, even with a hyper 100-pound canine who likes to play in there — the identical canine who received’t let me contact his toes to chop his claws.
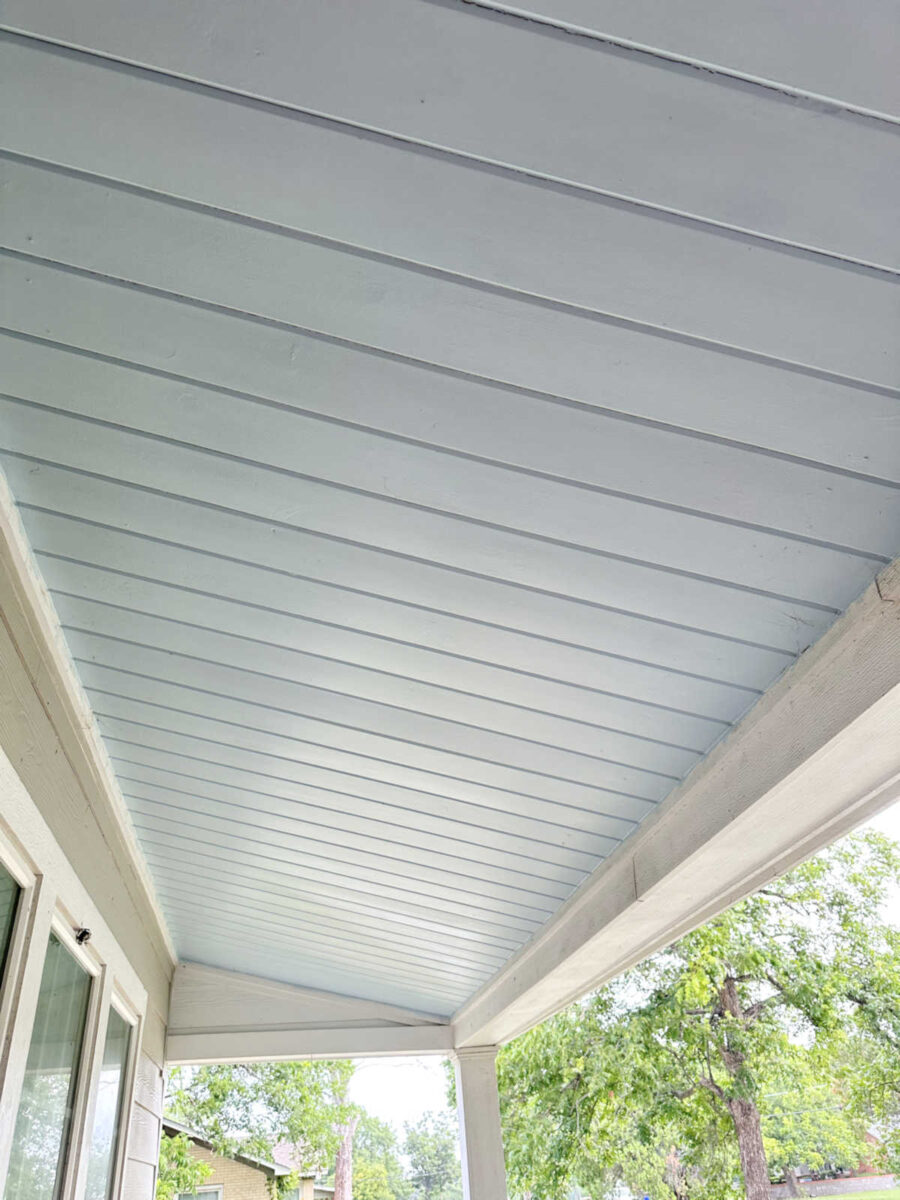
It’s additionally the identical primer I used on the porch ceiling that used to appear like this…

After which two years in the past, I primed it with the shellac-based primer and repainted it, and as of this morning, two years later, there’s nonetheless not a single knot bleeding by means of. (There may be, nevertheless, some trim that must be cleaned. 😀 )
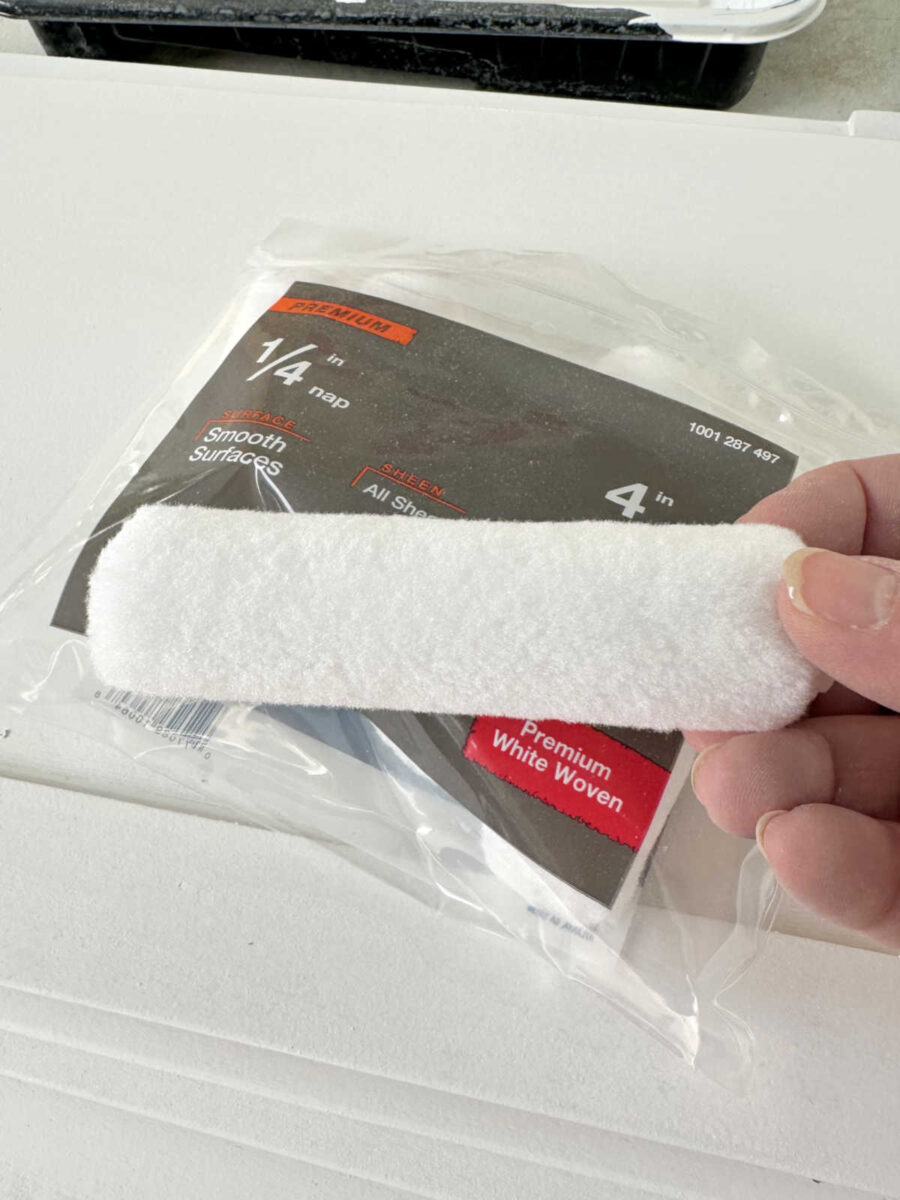
Anyway, like I stated, it’s now the one primer I’ll use on uncooked, unfinished wooden that I wish to paint. The one downside with the shellac-based primer is that I don’t like placing it into my paint sprayer as a result of it required chemical substances to wash. So I apply it with a brush and/or a curler. For my closet island drawer fronts and doorways, I used these 4-inch rollers for clean surfaces.
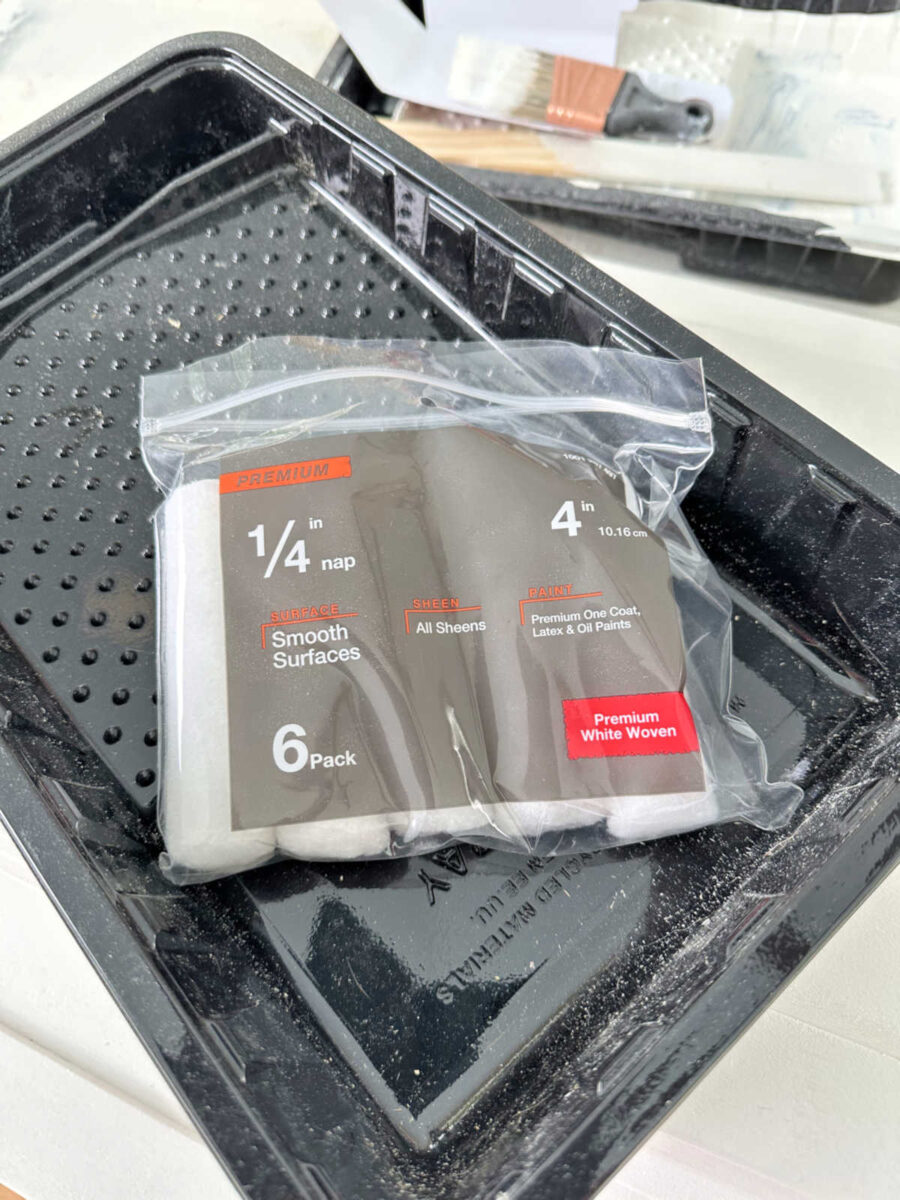
I usually use the 6-inch rollers if I can, however since these drawer fronts are form of small, I went with the 4-inch rollers as an alternative.
I received all of them primed, after which all of them wanted to be sanded earlier than they are often painted. The primer dries in a short time (inside an hour), after which I sanded them by hand utilizing 220-grit sandpaper for a brilliant clean end. Right here’s one of many sections primed, sanded, and prepared for paint.
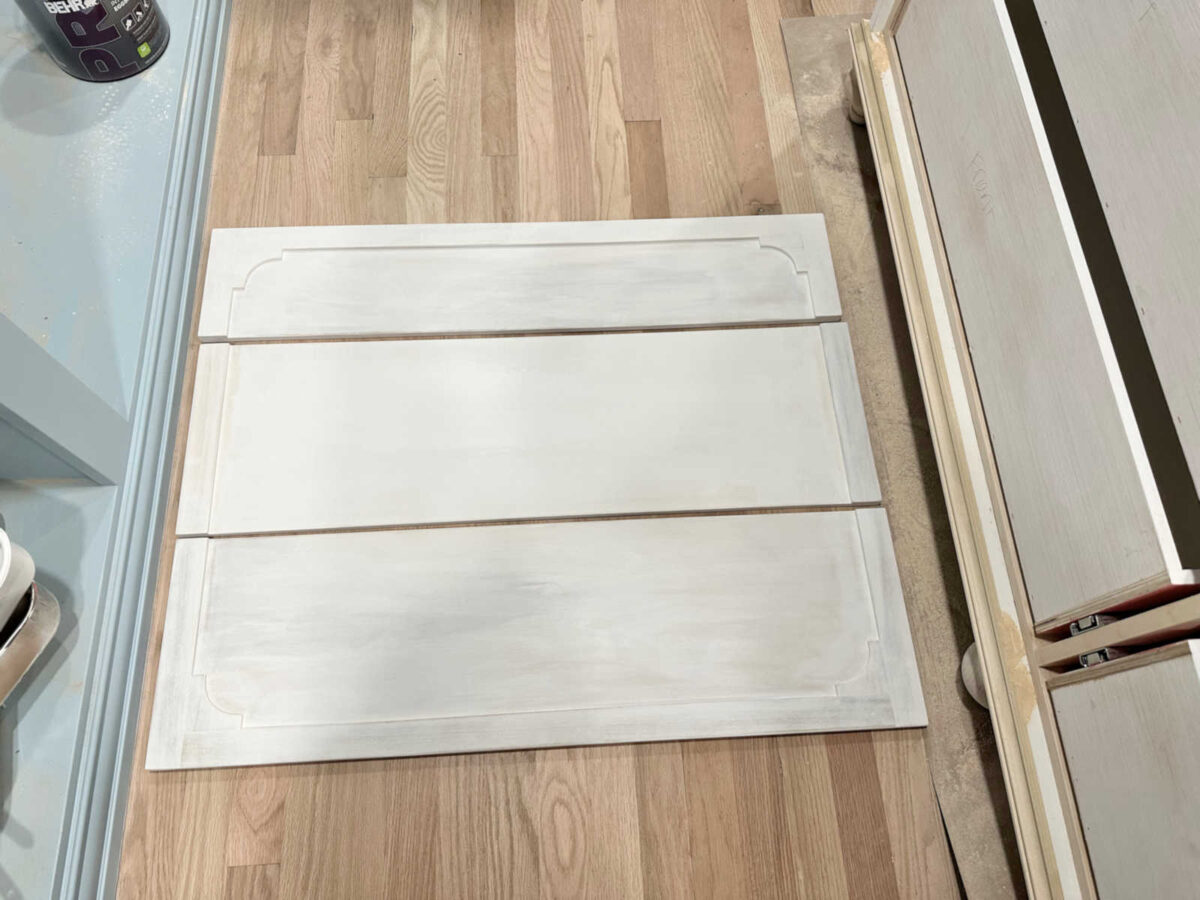
I wish to stress that primer doesn’t need to look fairly to be efficient. I by no means do multiple coat of primer. There’s completely no want for the primer to be stable white. So long as each space is roofed, and it feels clean as soon as it’s sanded with the 220-grit sandpaper, the primer will do its job and the paint (so long as you’re utilizing high quality paint) will cowl fantastically.
Anyway, that’s so far as I received yesterday, however at the least I’m able to load up my sprayer with precise paint at the moment and get these drawer fronts and doorways painted!! FINALLY!!!! I nonetheless must prime the precise island, however I’m not going to color the within, so that may go fairly rapidly. I simply must prime the ends, the little little bit of trim above and beneath the place the doorways and drawers will go, after which the toes. The within will keep the plywood colour, and it’ll simply get a transparent coat. At the very least that’s the plan for now. I reserve the suitable to alter my thoughts. 😀
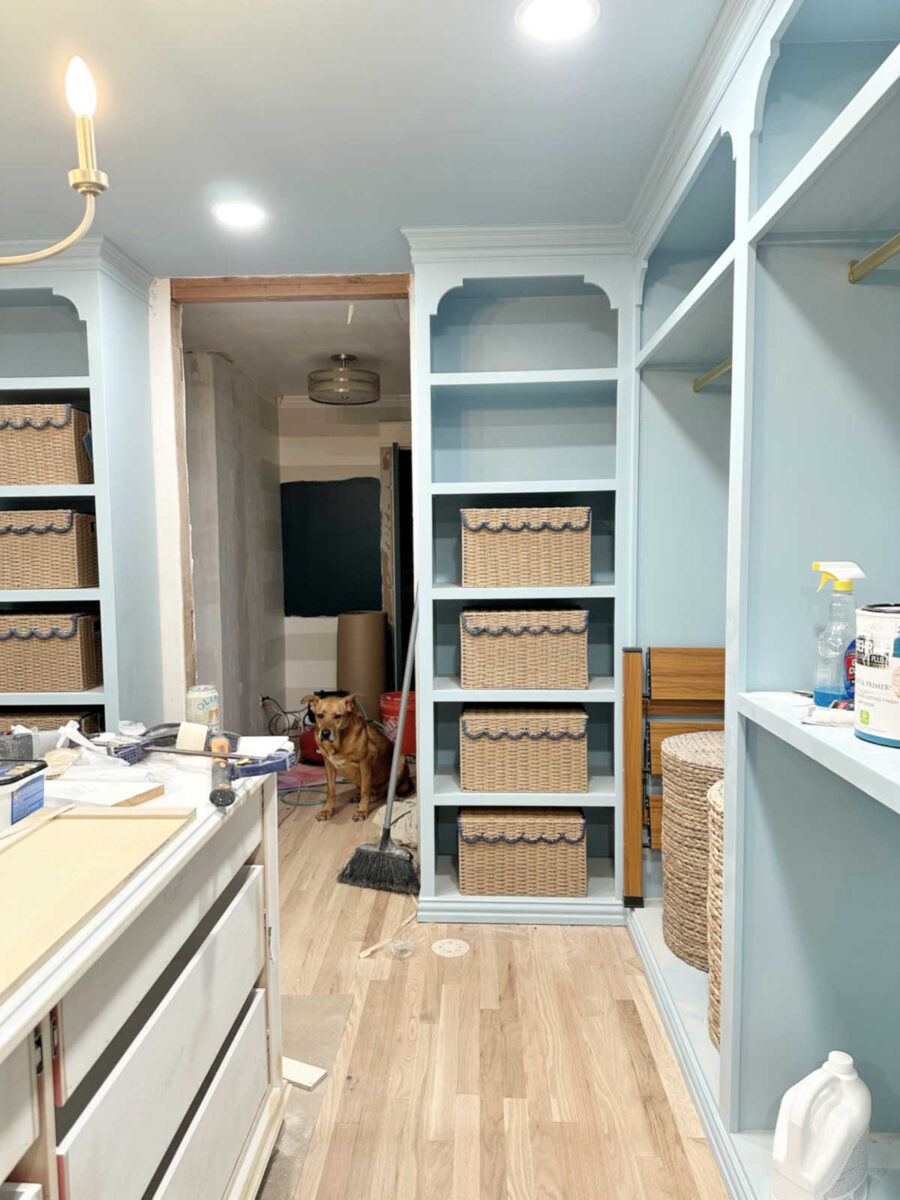
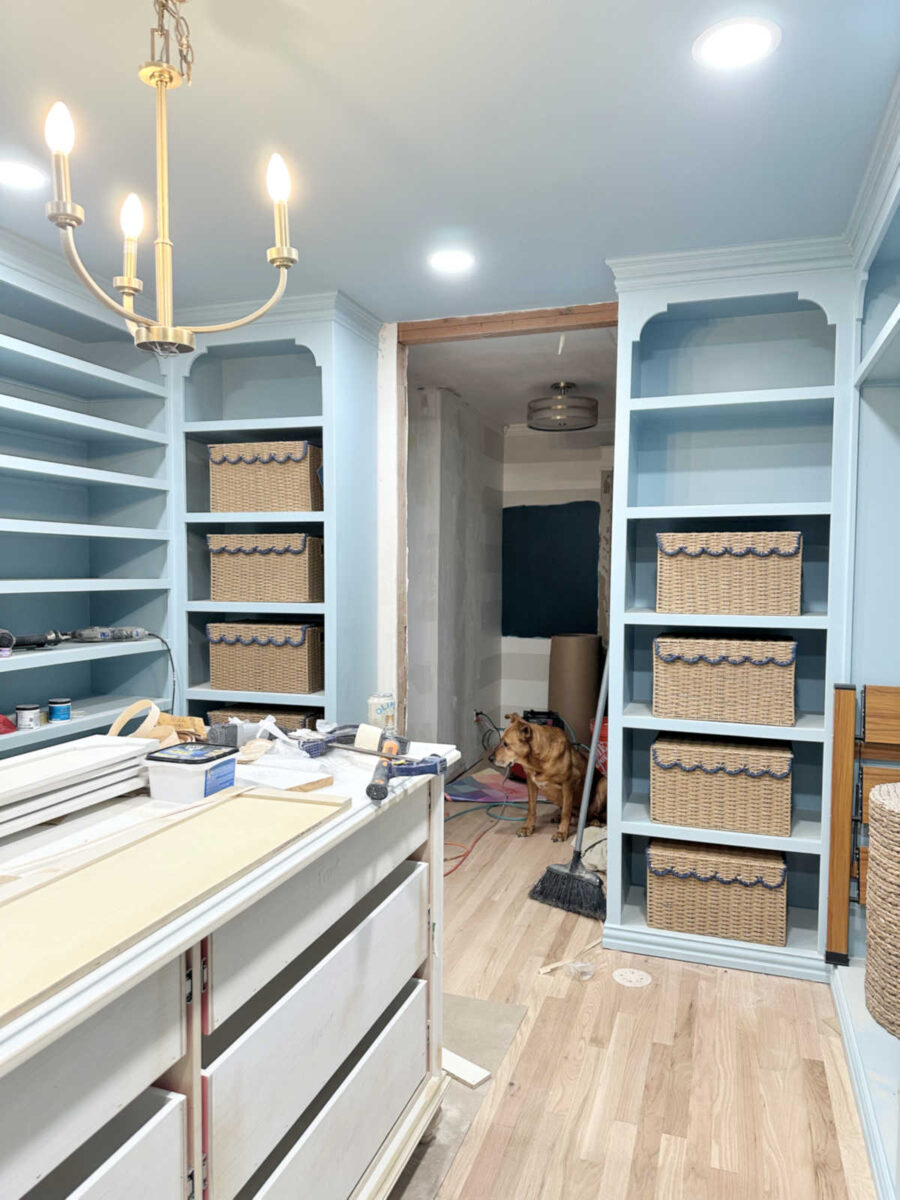
In different information, I received baskets!! I didn’t discover these myself. Somebody discovered them and left a touch upon my final put up about needing to search out baskets (or make one thing) for these cabinets. However as soon as I noticed these, I knew I needed to snatch them up instantly. They’re excellent!
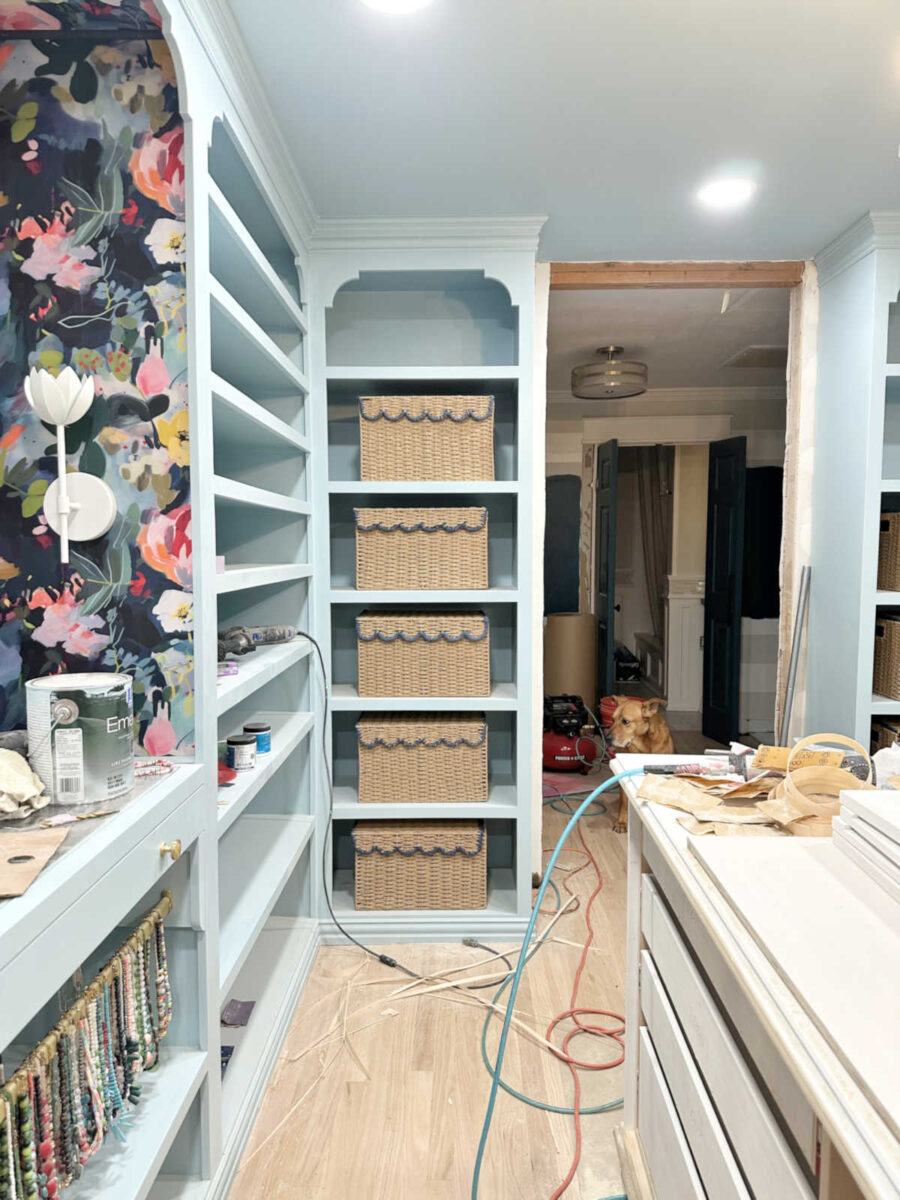
The bummer is that I ordered ten, and I solely received 9. And I received these 9 in three totally different shipments over the course of two weeks.
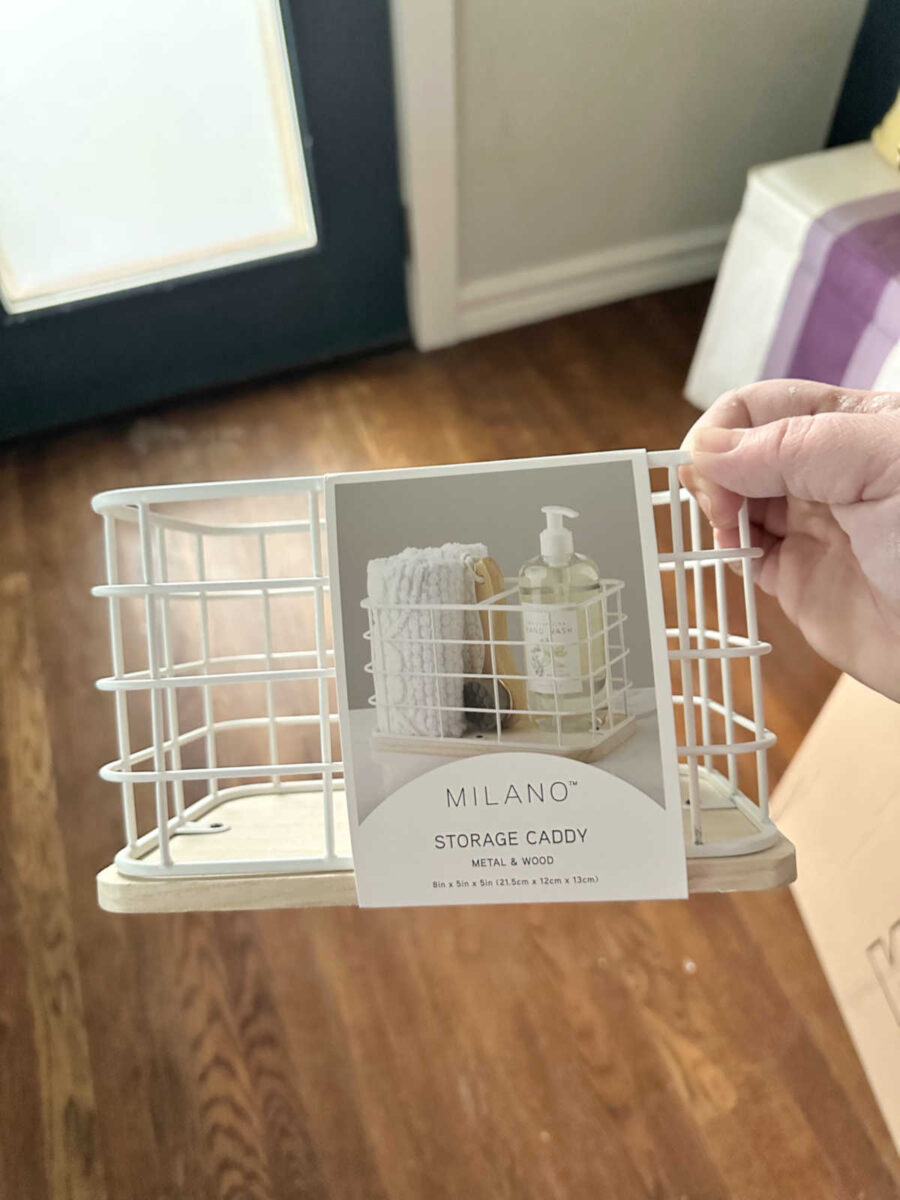
I did get a tenth merchandise, however they despatched me this as an alternative. In a separate cargo. All by itself. Yeah, I don’t suppose this can work. 🤣
So I must get that straightened out and get my tenth basket, however I believe these will work completely!
Earlier than I noticed these baskets, I had deliberate on constructing my very own containers, and I bought these label holders for them.
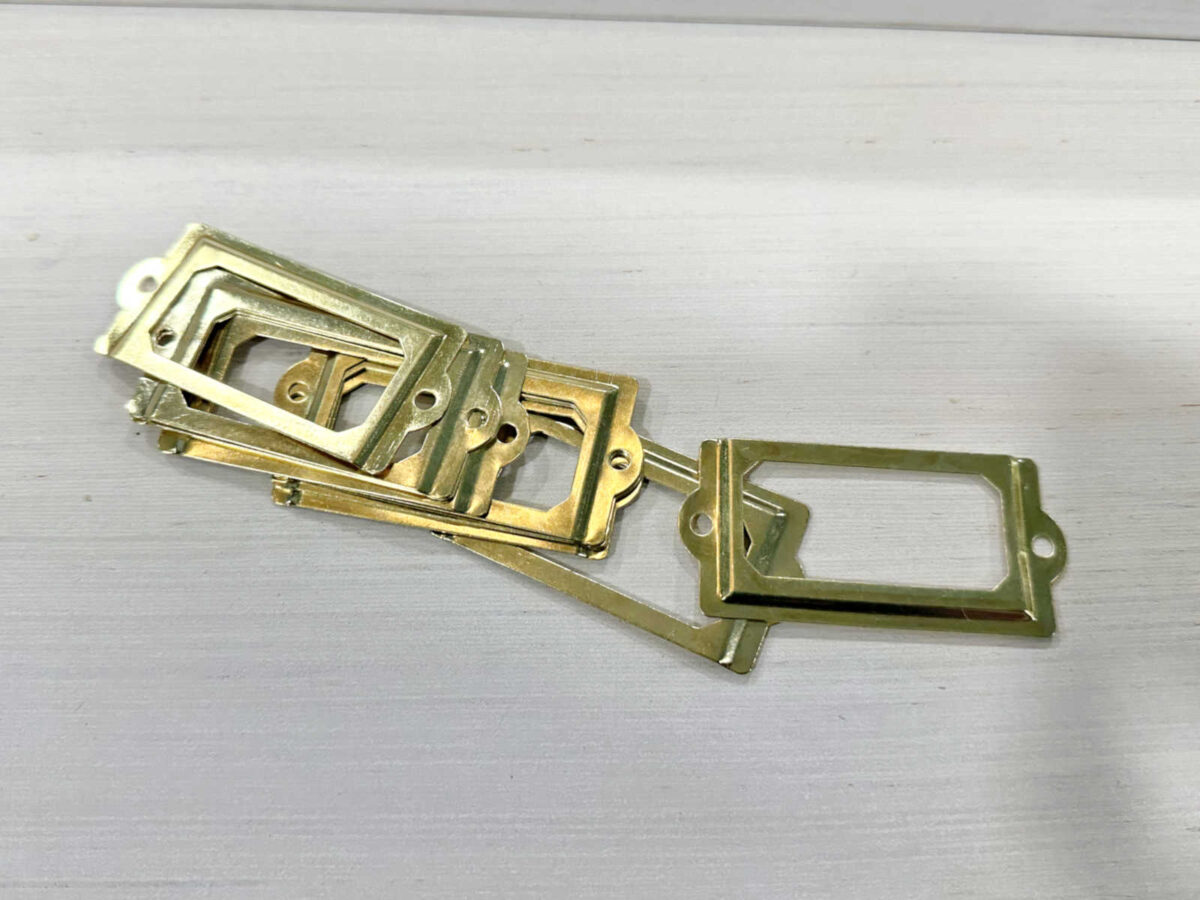
I’m nonetheless going to make use of them, however they get somewhat bit misplaced on their very own as soon as they’re in opposition to the hampers.

So I’m going to chop somewhat piece of 1/4-inch wooden to make use of as a backplate for the label holders. I’ll paint them darkish blue to match the darkish blue trim on the hampers.
That’s the progress, y’all! I’ve a lot hope that I’ll end the island this weekend, however I’m actually attempting to not get my hopes too excessive as a result of…effectively…I assumed it was going to be completed two weeks in the past, and I’m nonetheless engaged on it. However now that I’m truly on the paint stage with the doorways and drawer fronts, I actually don’t see any cause that I can’t get it completed this weekend. Barring any unexpected circumstances, I actually do anticipate to have a completed island to indicate you on Monday. I do know. You’ve heard that earlier than. However this time, I believe it actually may occur. 😁
Extra About My Stroll-In Closet/Laundry Room


Addicted 2 Adorning is the place I share my DIY and adorning journey as I transform and adorn the 1948 fixer higher that my husband, Matt, and I purchased in 2013. Matt has M.S. and is unable to do bodily work, so I do nearly all of the work on the home on my own. You possibly can be taught extra about me right here.
")


")


")