

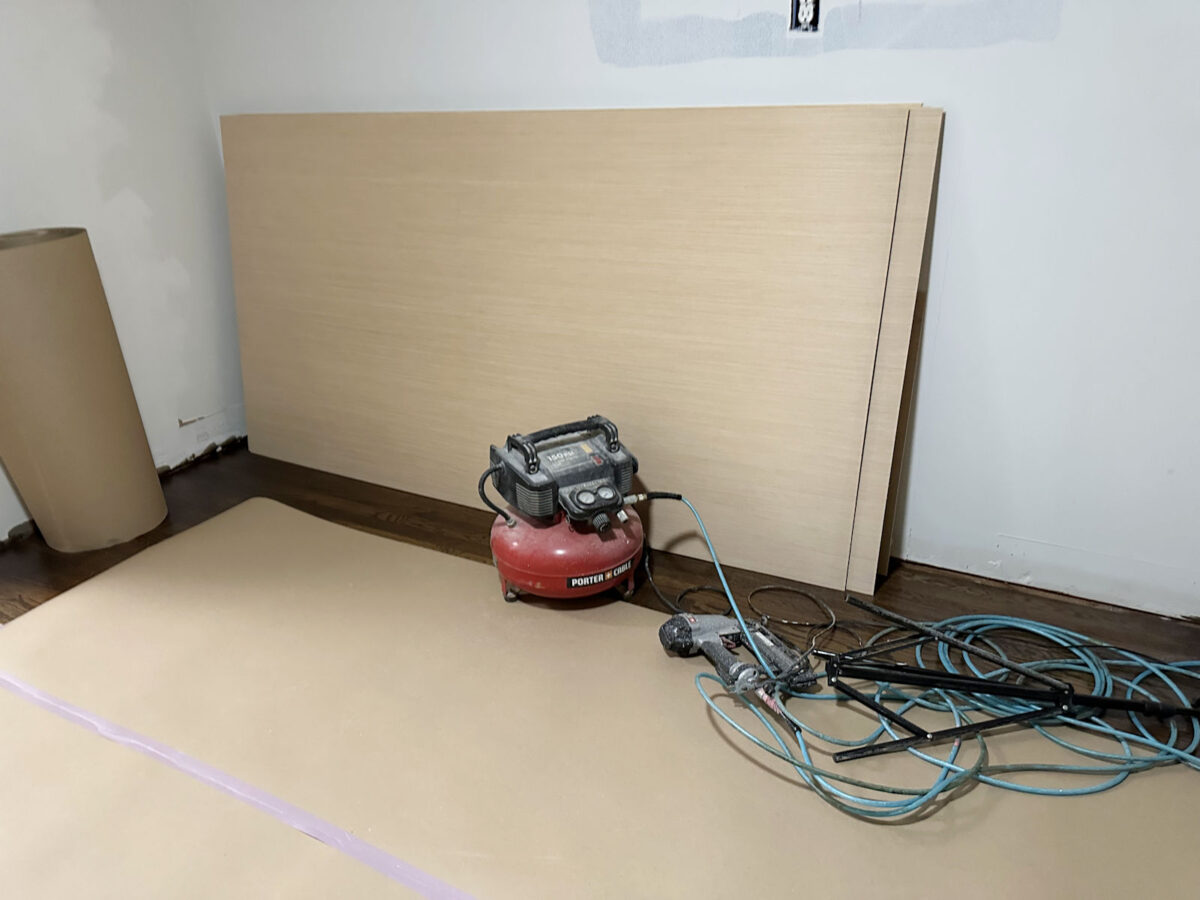
Spoiler alert: I didn’t get any cupboards constructed this weekend. However that doesn’t imply I didn’t work! I labored my tail off this weekend getting all the items prepared and introduced inside in order that I may be prepared to begin constructing at this time. The prep work took method longer than I believed it might. Plus, I wasn’t feeling nice, so I used to be working at a slower tempo than I usually would have. However I used to be decided to get all the most important items prepped and able to begin constructing at this time, so I pushed by way of.
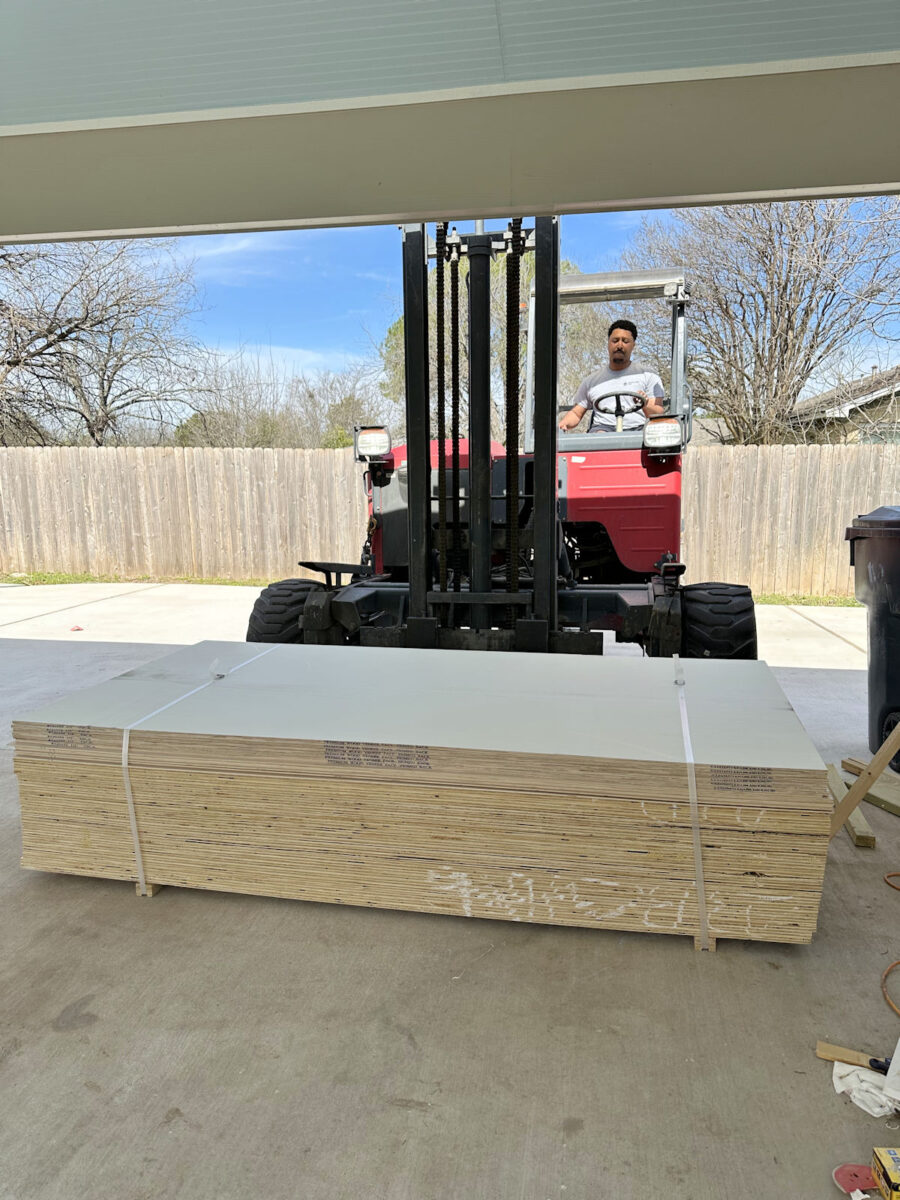
Final Thursday, all of my plywood was delivered for the closet cupboards. I’ve to confess that seeing that massive stack of 39 items of plywood being delivered was a bit intimidating. This closet would be the largest construct I’ve ever carried out. So far, the largest construct I’ve carried out is the pantry, however that was about 1/3 the dimensions of the closet.
So seeing that massive stack of plywood being delivered was a second of realization on the enormous job earlier than me.
However I obtained proper to work on Thursday and began ripping down plywood. By the tip of the day Thursday, I had about ten sheets of the three/4-inch plywood ripped down, however I nonetheless wanted to tear down the opposite 11 sheets of three/4-inch plywood, lower all the items to size for the principle cupboard containers, after which lower the 1/4-inch plywood for the backing to measurement earlier than I might even get began constructing.
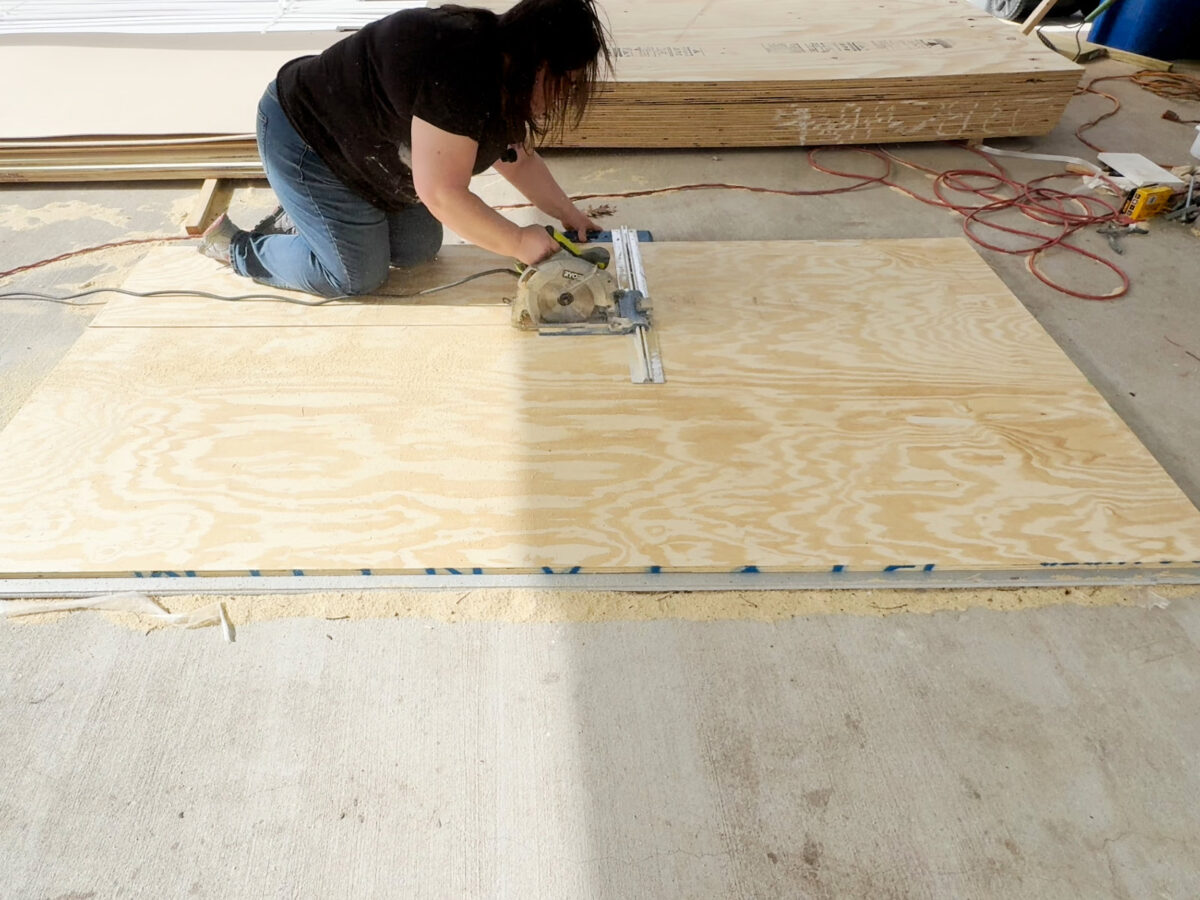
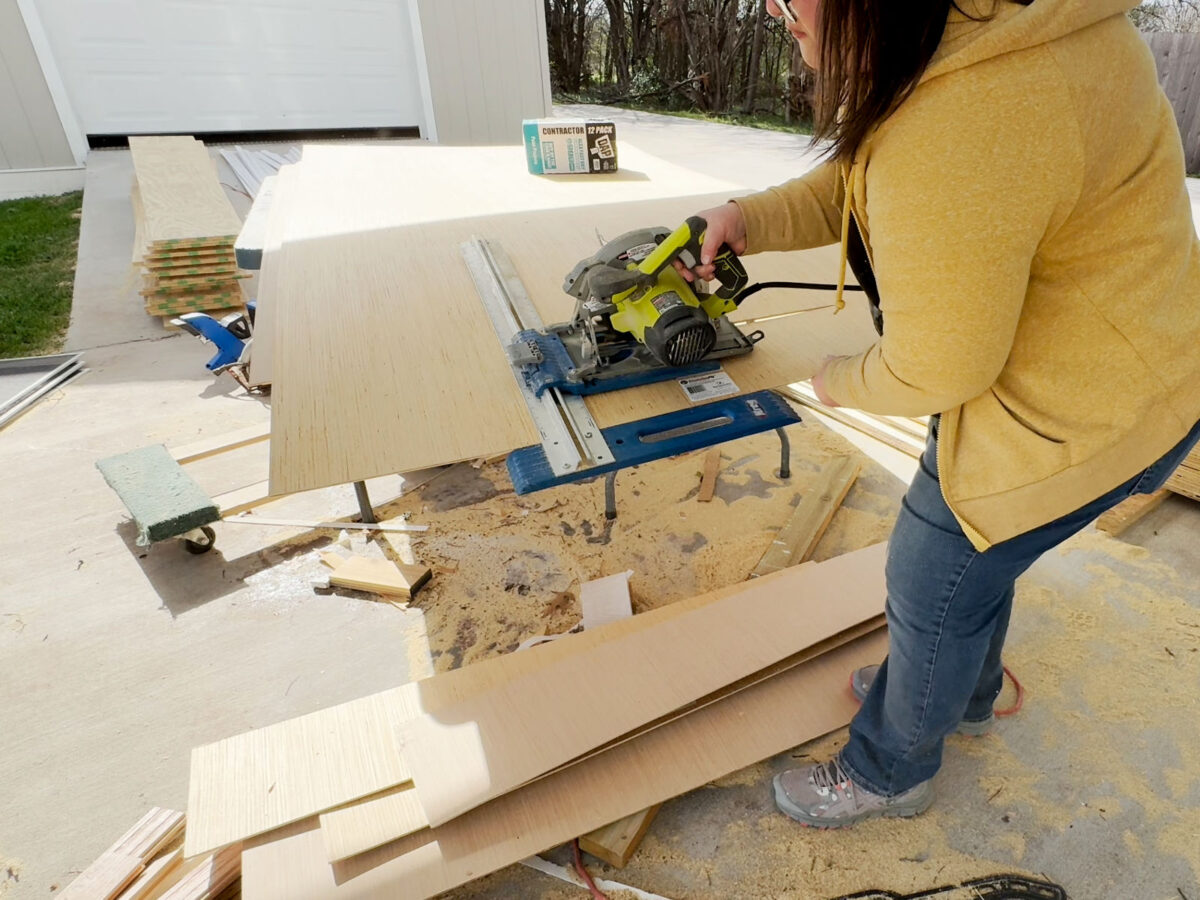
So that’s how I spent my weekend. To tear the three/4-inch plywood, I positioned the plywood on high of a 1-inch piece of strong foam insulation board, and used my Kreg Rip-Reduce Round Noticed Information (affiliate hyperlink) to tear the items to 17 inches large.
I lower two items from every bit of plywood, so I ended up with 42 items. Most of those will find yourself being cabinets and separators between drawer sections. So I didn’t have to chop all of those to their correct size this weekend. As of this morning, I nonetheless have a big stack that must be lower to the correct size later.

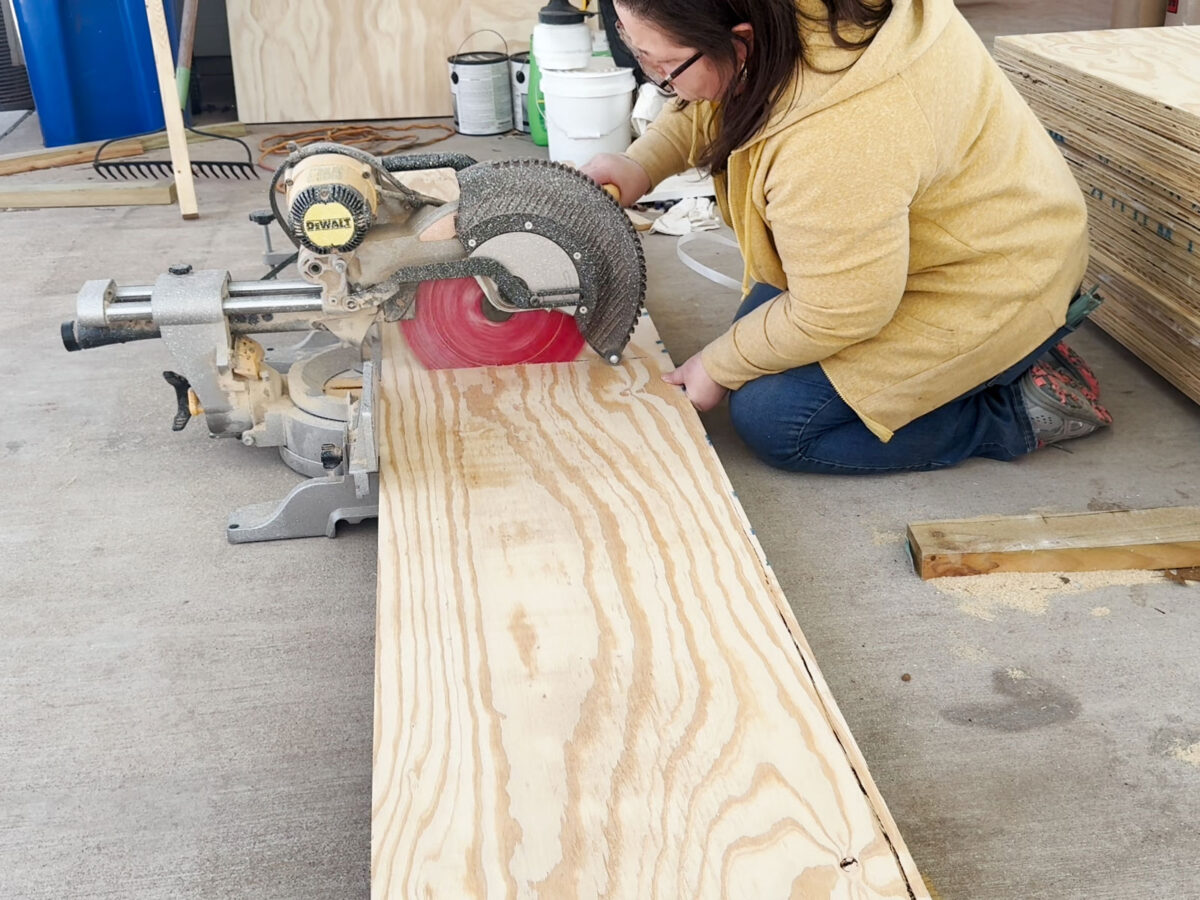
However I did want 16 items lower to 87.5 inches lengthy. Once more, I used my Kreg Rip-Reduce Round Noticed Information for this, and it was straightforward to slip every bit off of the stack a bit and lower it in place.
This was the simple half as a result of I might do that half standing up.
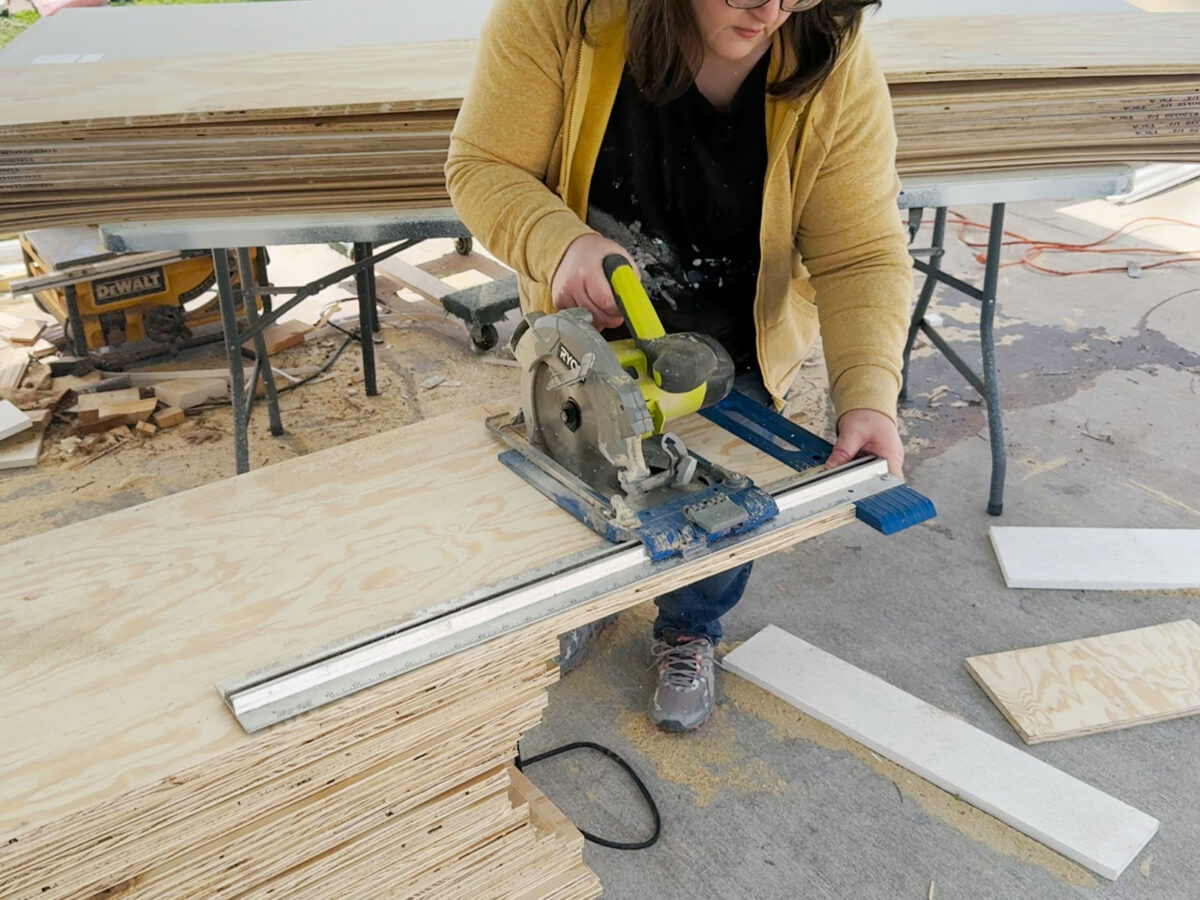
However then I needed to lower the smaller items for the tops and bottoms of every cupboard unit, and my rip-cut information isn’t lengthy sufficient for that. So I made a decision to make use of my miter noticed for this. I had run out of desk house by this level, so I simply labored on the bottom. Since every bit is 17 inches, and my sliding miter noticed solely cuts 12 inches, I needed to lower so far as I might going one course, after which flip the board over to complete the lower.
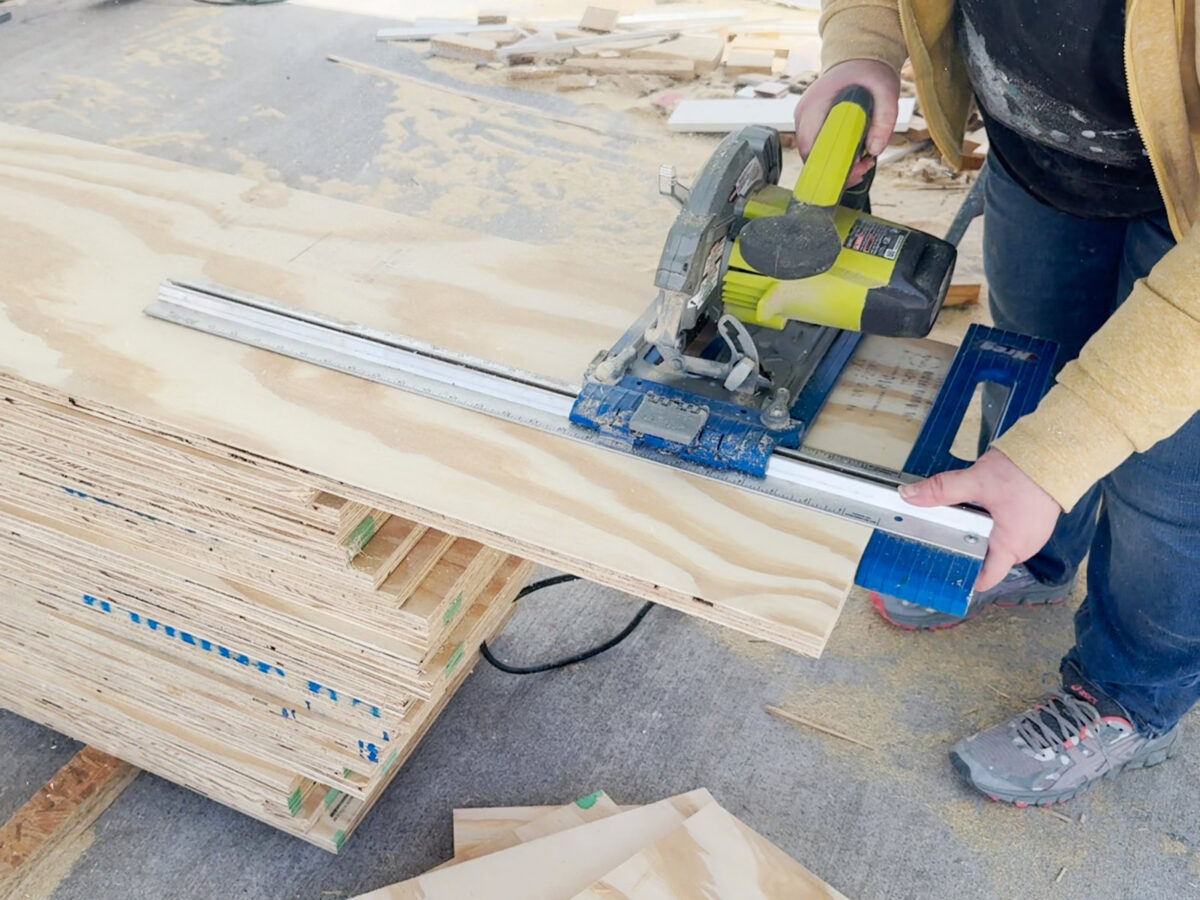
The toughest a part of this complete course of was reducing the 1/4-inch plywood that I’ll use for the backing on every unit. Once more, I used my rip-cut round noticed information for this, however for the reason that 1/4-inch plywood is skinny and floppy, this half was a problem. I wanted to chop eight items in complete, and I needed to lower each the size and the width. I virtually used my desk noticed for this, nevertheless it was a really windy day, and I used to be scared that the wind could be an issue if I attempted to feed these by way of my desk noticed. This felt a lot safer to me.
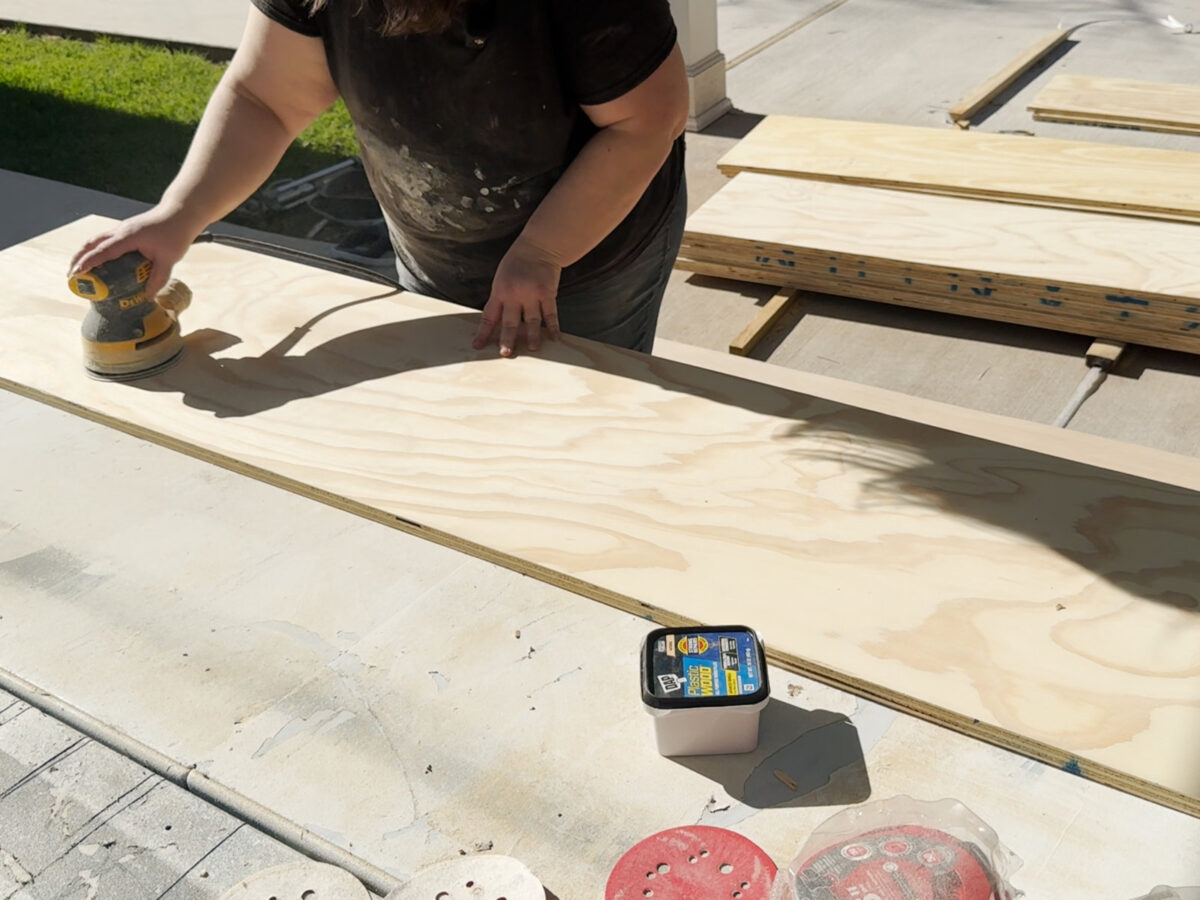
After which got here the longest (but in addition probably the most satisfying) a part of the method. Earlier than bringing the items inside, I made a decision to sand each single piece first. In my effort to save cash, I had used a less expensive plywood that’s actually meant for underlayment. One facet is sanded, nevertheless it isn’t almost as clean as cabinet-grade plywood. I didn’t wish to pay for the upper priced plywood since my cupboards will probably be painted and never stained, so I saved fairly a bit of cash utilizing this plywood. However I did should do fairly a little bit of wooden filling and sanding to get it prepared for paint.
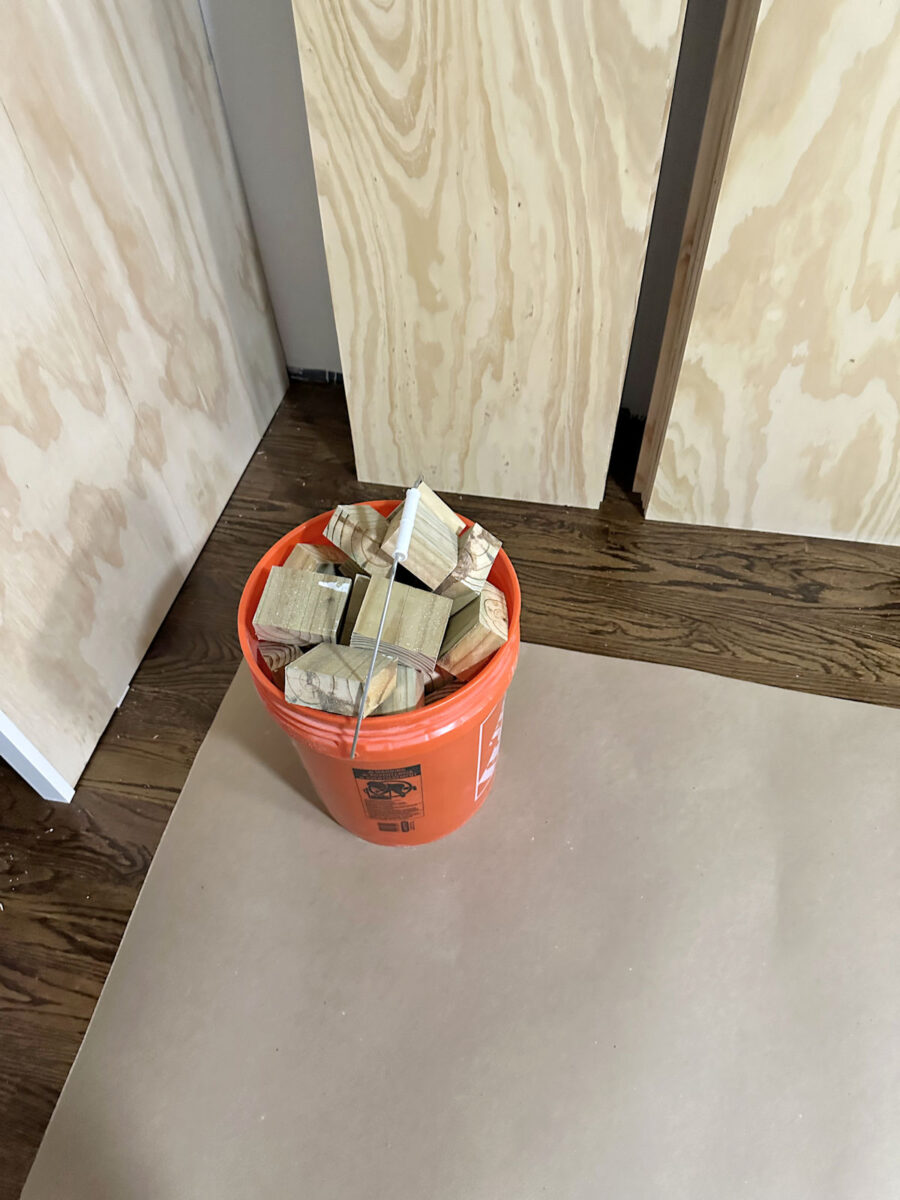
I completed up all the sanding simply after 8:00 final evening, after which needed to make 33 journeys from the carport to the closet to deliver all the items inside. Since these items will probably be so massive, I’ve to construct them contained in the room. There’s no method I might have constructed them outdoors after which maneuvered the totally constructed items by way of the home and into the room. So after 33 journeys, I had all the items inside and able to begin constructing at this time. I’ve a complete of 16 lengthy facet items.
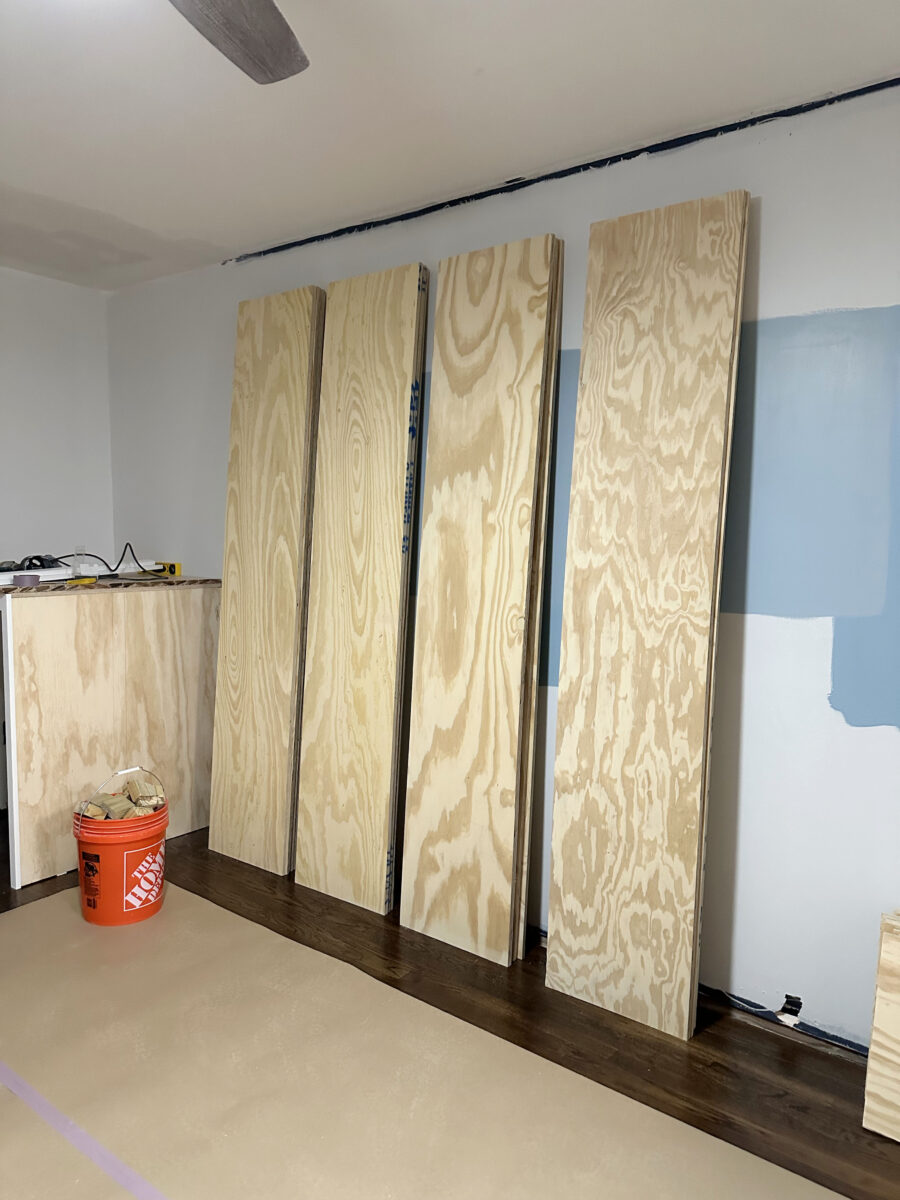
Twelve items for the highest and backside of the large items, and 4 items for the highest and backside of the narrower items that can flank the door.

Eight of the 1/4-inch plywood backers for every unit.
After which 40 items of two×4 lower to 2.75″ in size that I’ll use for the ft for every unit.
So with all the items lower, prepped, and introduced inside, I’m able to get began constructing out the closet at this time. Barring any unexpected circumstances, I ought to have some precise closet cupboards constructed by the tip of the day at this time, and this room ought to begin taking form in a short time!
The A2D Every day:

Addicted 2 Adorning is the place I share my DIY and adorning journey as I transform and embellish the 1948 fixer higher that my husband, Matt, and I purchased in 2013. Matt has M.S. and is unable to do bodily work, so I do nearly all of the work on the home on my own. You possibly can be taught extra about me right here.


")


