

Restaining and sealing out of doors wooden isn’t nearly aesthetics (although a freshly stained deck does look superb!) – it’s important upkeep that extends the lifetime of your picket surfaces and protects your funding.
The arrival of hotter climate at all times has me itching to refresh my out of doors areas. In the event you’ve seen your deck, porch, or picket furnishings trying a bit weathered after enduring months of harsh circumstances, you’re not alone!
As somebody who’s discovered by loads of trial and error, I’m excited to stroll you thru this course of step-by-step.
Whether or not you’re a seasoned DIYer or tackling this challenge for the primary time, my purpose is to make this activity approachable and completely doable.
Let’s remodel these drained picket surfaces into refreshed out of doors options you’ll be proud to point out off!
Why Restaining and Sealing Issues
Earlier than diving into the how-to, let’s discuss why this upkeep is so necessary. Outside wooden faces some powerful challenges:
Fixed publicity to solar’s UV rays causes fading and drying
Moisture from rain and humidity results in warping and decay
Temperature fluctuations create increasing and contracting that weakens wooden over time
Filth, mould, and mildew can completely stain unprotected surfaces
Correctly staining and sealing creates a protecting barrier that guards towards these components whereas enhancing the pure fantastic thing about the wooden.
Plus, it’s considerably extra inexpensive than changing your deck or furnishings down the street!
Gathering Your Provides
Right here’s what you’ll must get began:
Broom and brush for cleansing
Backyard hose or strain washer
Wooden cleaner (search for one particularly for out of doors wooden)
Sandpaper in medium-grit (80-120)
Wooden stain in your chosen coloration (oil-based or water-based)
Waterproof sealant appropriate together with your stain
Paint brushes, rollers, or paint sprayer
Clear rags
Plastic tarps to guard surrounding areas
Gloves and eye safety
I like to recommend checking the climate forecast earlier than beginning this challenge.
You’ll need not less than 2-3 days of dry climate with temperatures between 50-90°F for optimum outcomes.
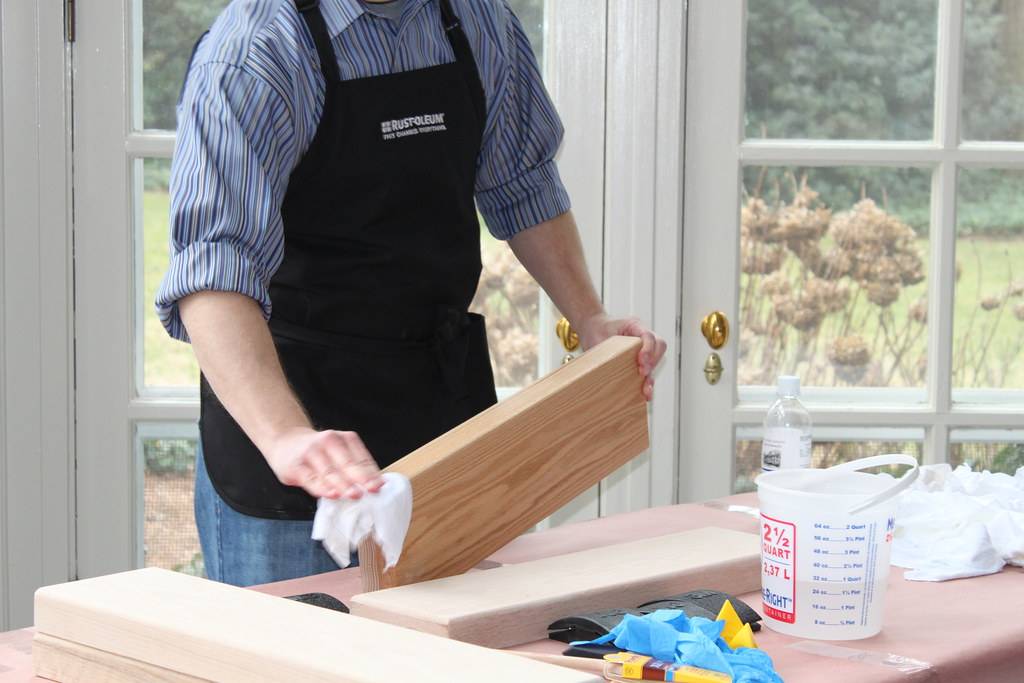
Step 1: Clear and Clear the Floor
First issues first—we have to begin with a clear slate. Right here’s how I method this necessary prep work:
Take away all furnishings, planters, and different gadgets from the realm.
Sweep away unfastened dust, leaves, and particles.
Cowl close by vegetation and surfaces with plastic tarps to guard them from cleansing options.
Apply wooden cleaner in response to the product directions. I discover {that a} deck brush with stiff bristles works wonders for scrubbing away built-up grime.
For cussed areas with mould or mildew, you would possibly want a specialty cleaner with a bit extra energy.
In the event you’re utilizing a strain washer, keep in mind that is one time when extra energy isn’t essentially higher!
Set it to a low strain (underneath 1500 PSI) to keep away from damaging the wooden fibers.
Preserve the nozzle shifting and keep a constant distance from the floor.
Give the wooden loads of time to dry fully—not less than 24-48 hours relying on humidity ranges.
This ready interval is essential—making use of stain to damp wooden is a recipe for peeling and poor adhesion later.
Step 2: Examine and Restore
As soon as your floor is clear and dry, it’s time for a radical inspection:
Stroll all the space and search for broken boards, unfastened nails, or protruding screws.
Change any rotted or severely broken sections.
Hammer down any popped nails or exchange them with deck screws for a safer maintain.
Sand tough areas, splinters, or spots the place the earlier end is flaking. You don’t must sand all the floor—simply deal with downside areas.
I wish to get down at eye degree with the floor when inspecting—it’s superb what you may spot from that angle that you simply would possibly miss when standing!
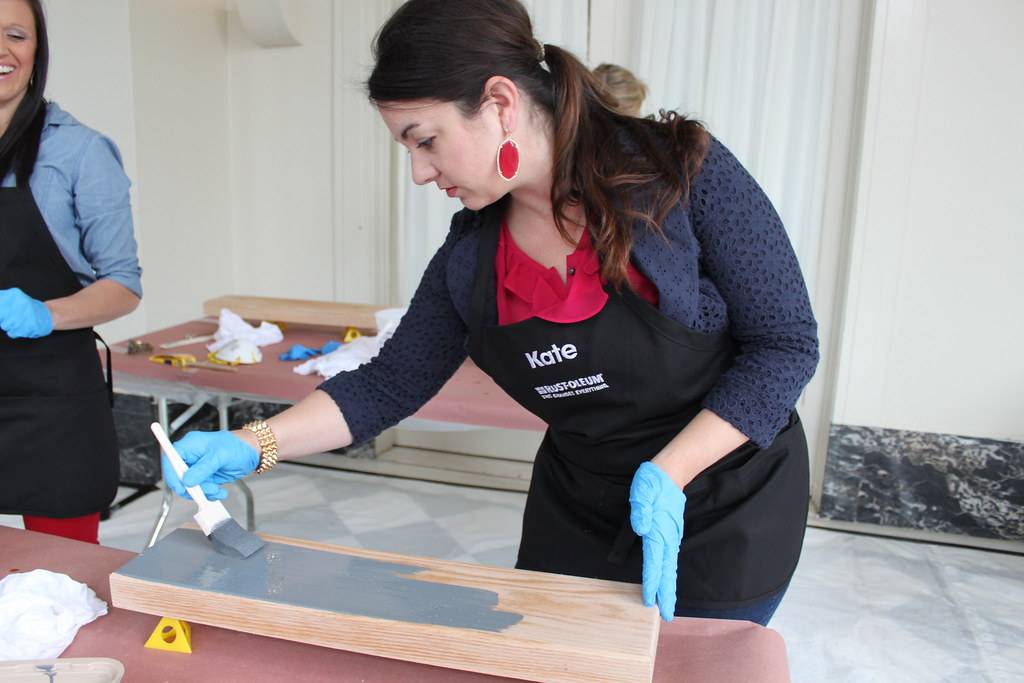
Step 3: Apply the Wooden Stain
Now for the transformative half—making use of recent stain! Right here’s my method:
Stir (don’t shake) your stain completely earlier than and infrequently throughout software to make sure constant coloration.
Check the stain on an not noticeable space to substantiate you’re pleased with the colour.
Work in manageable sections, making use of stain together with your chosen device—I favor a brush for higher management, however rollers or sprayers work properly for bigger areas.
All the time comply with the wooden grain for probably the most natural-looking outcomes.
Permit the stain to penetrate for the time beneficial on the product (often 5-Quarter-hour).
Wipe away extra stain with clear cloths. Don’t skip this step! Extra stain that puddles or sits too lengthy creates a sticky, uneven end that’s tough to repair.
For even protection, keep a “moist edge” by barely overlapping together with your earlier part. This prevents lap marks and ensures a uniform look.
Keep in mind that wooden acts like a sponge—the primary coat might soak in shortly, particularly in case your wooden is older or hasn’t been handled shortly.
You would possibly want a second coat for deeper coloration, however at all times permit the primary coat to dry fully in response to the producer’s directions.
Step 4: Seal for Safety
The ultimate and essential step is making use of a water-resistant sealant. This creates the protecting barrier that may protect your wooden from moisture harm:
Select a sealant appropriate together with your stain. Many merchandise now mix stain and sealant, however should you’re utilizing separate merchandise, confirm compatibility.
Apply sealant evenly with a brush, curler, or sprayer, following the grain of the wooden.
Pay further consideration to finish grains, joints, and high-traffic areas, which generally want extra safety.
Apply not less than two coats for optimum sturdiness, permitting correct drying time between coats.
When making use of sealant, much less is usually extra. Skinny, even coats present higher safety than one thick layer that won’t treatment correctly.
And don’t overlook these vertical surfaces!
Railings and put up are sometimes the primary to point out put on as a result of water runs down and swimming pools on the base.
Upkeep Tricks to Prolong the Lifetime of Your Work
Now that you simply’ve invested the effort and time into restaining and sealing your out of doors wooden, right here’s the way to make these outcomes final:
Clear your picket surfaces commonly with a light cleaning soap and water resolution
Take away leaves and particles that may lure moisture towards the wooden
Contact up high-traffic areas as wanted quite than ready for a whole redo
Plan to reapply sealant each 1-2 years, even should you don’t must restain
Contemplate making use of a water repellent yearly in areas with heavy rainfall
In my expertise, doing a fast yearly evaluation every spring helps catch small points earlier than they turn into huge issues.
When to Name within the Professionals
Whereas restaining and sealing is unquestionably a DIY-friendly challenge, there are occasions when calling within the professionals is smart:
If in case you have a particularly massive or multi-level deck
When coping with unique hardwoods that require specialised merchandise
In case your wooden has important harm needing structural repairs
When bodily limitations make the challenge tough to finish safely
Don’t hesitate to get quotes from professionals should you’re uncertain—generally the time and stress saved are well worth the funding!
The Reward of Your Efforts
There’s one thing extremely satisfying about stepping again and admiring a freshly restored picket deck or porch.
Past the sensible advantages of extending the lifetime of your out of doors areas, the visible transformation is quick and impactful.
I really like how a well-maintained picket floor provides heat and character to out of doors dwelling areas that merely can’t be matched by artificial supplies.
Have you ever tackled this challenge earlier than? I’d love to listen to your experiences within the feedback under!

")


