

Y’all, issues went sideways with my plans for the weekend. I had deliberate to get began on constructing my cupboards, however I’ll inform you all about why that didn’t occur tomorrow. Right here’s the nutshell model. Let’s simply say I had no thought simply what number of sheets of plywood I would wish for this venture. I imply…WOW! After which attempting to determine the right way to get that a lot plywood (over 25 sheets) residence and unloaded offered a little bit of a problem, to say the least. However once more, I’ll share the main points tomorrow. However I didn’t wish to waste away all of my weekend. I wanted to see at the least some progress on the closet, so I made a decision to sort out the scariest venture that I’ve been procrastinating on just because it scared me. And that’s putting in the ductwork for my dryer.
I do know this most likely sounds so boring, and for a few of you it appears like a reasonably easy venture, proper? Nevertheless it’s a essential step to get my dryer purposeful. I’ve the water hookup for the steam operate, however I nonetheless wanted the vent duct and {the electrical} outlet put in. I’ve determined to have an electrician hook up the outlet for me. I’m snug putting in easy 110-volt retailers myself. However the large 30-amp 250-volt outlet is one thing else. I don’t belief myself to DIY that set up.
However what I might do myself is set up the ductwork for the dryer. Why did this scare me a lot? As a result of it concerned drilling a 4-inch gap by means of the outside wall of the home. Which means it needed to go clear by means of the siding on the skin wall. I hate utilizing gap saws anyway, and having to get it in simply the correct spot in order that I didn’t hit something necessary made me so nervous.
Fortunately, the world the place I wanted to drill the outlet was a doorway, so I knew the place the studs have been. Plus, the placement of the field for the water hookup and the placement of {the electrical} wire confirmed to me the place I might drill. So I mustered all of my braveness and went for it.
I used this lengthy drill bit to drill a pilot gap right through the wall to the outside of the home.
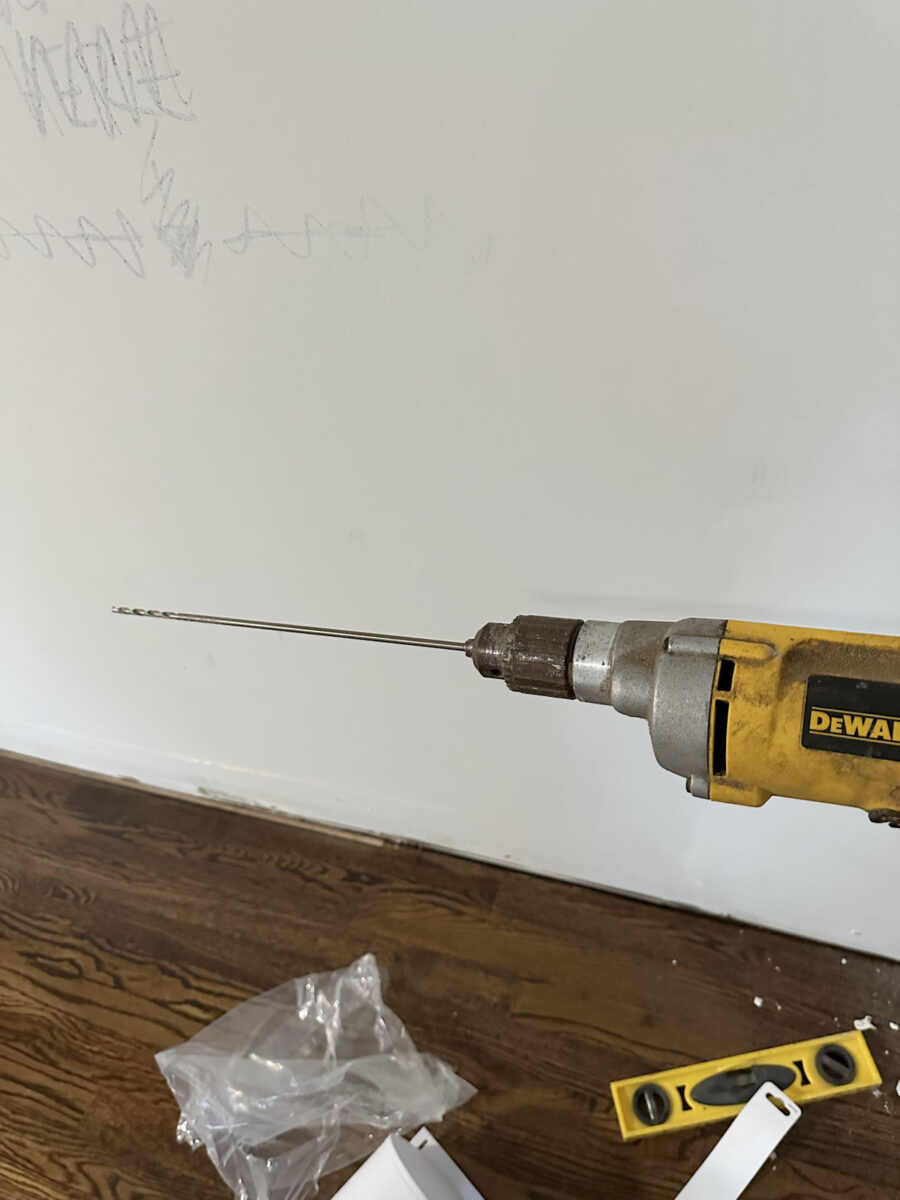
I had already marked the placement of the stud (not a supporting stud) and the place I wished the outlet to go, so I centered that lengthy drill bit on the circle and drilled right through the wall.
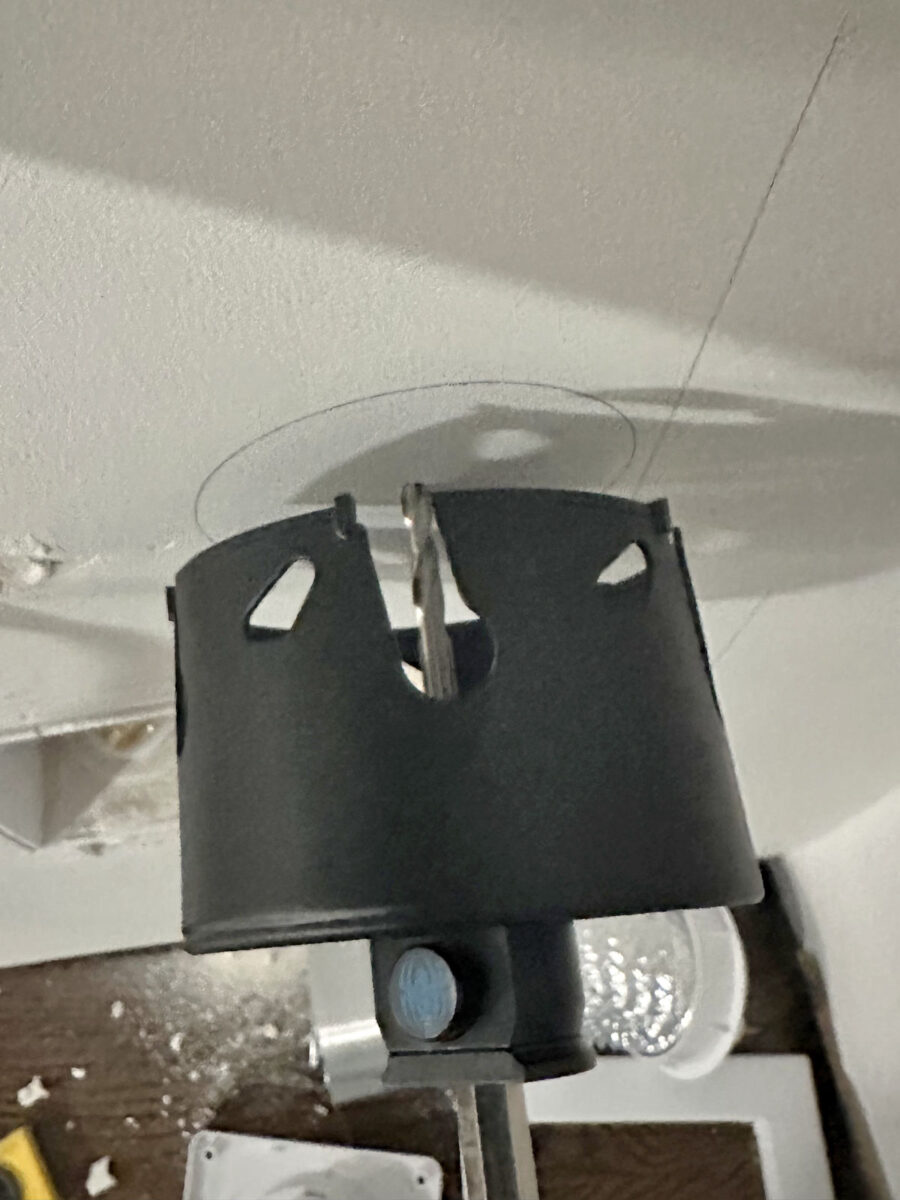
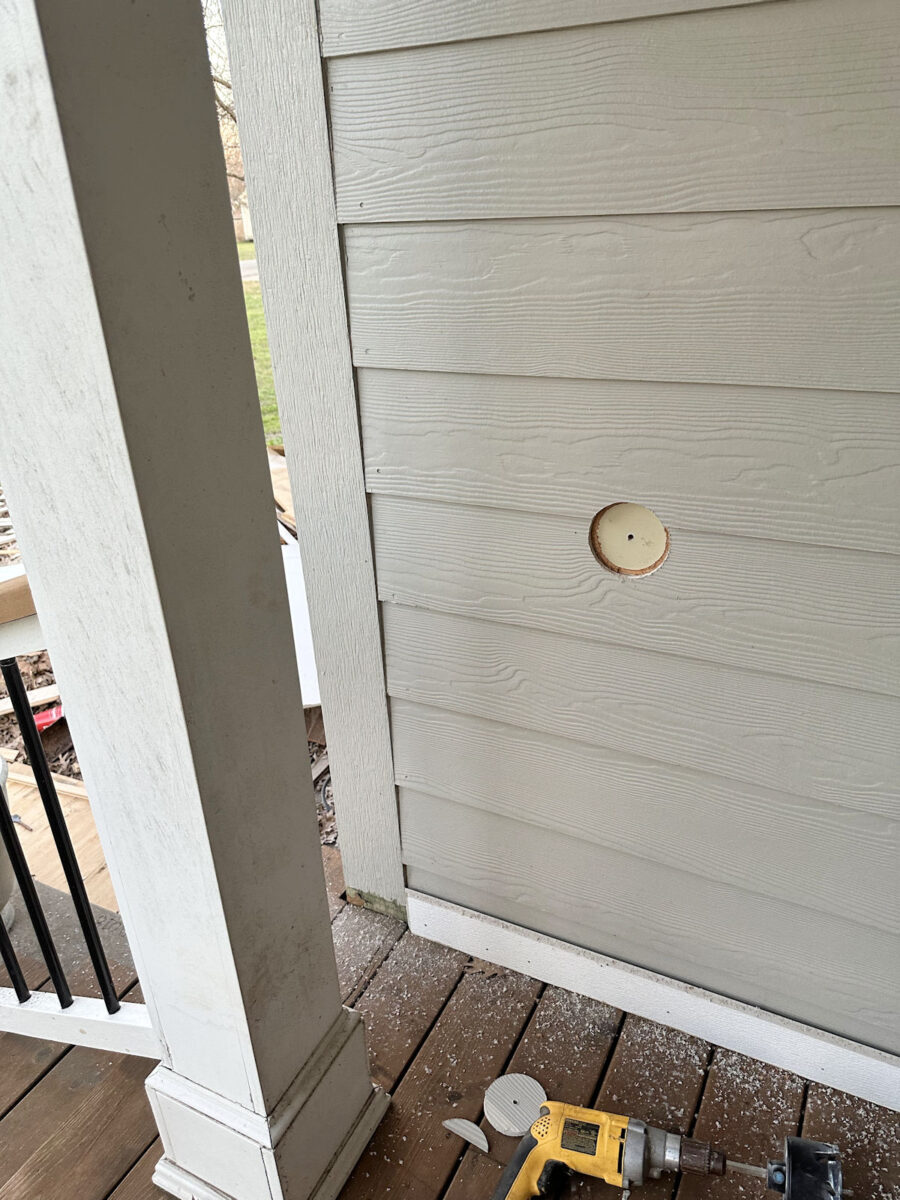
After which I used that pilot gap to chop the 4-inch gap utilizing a gap noticed.
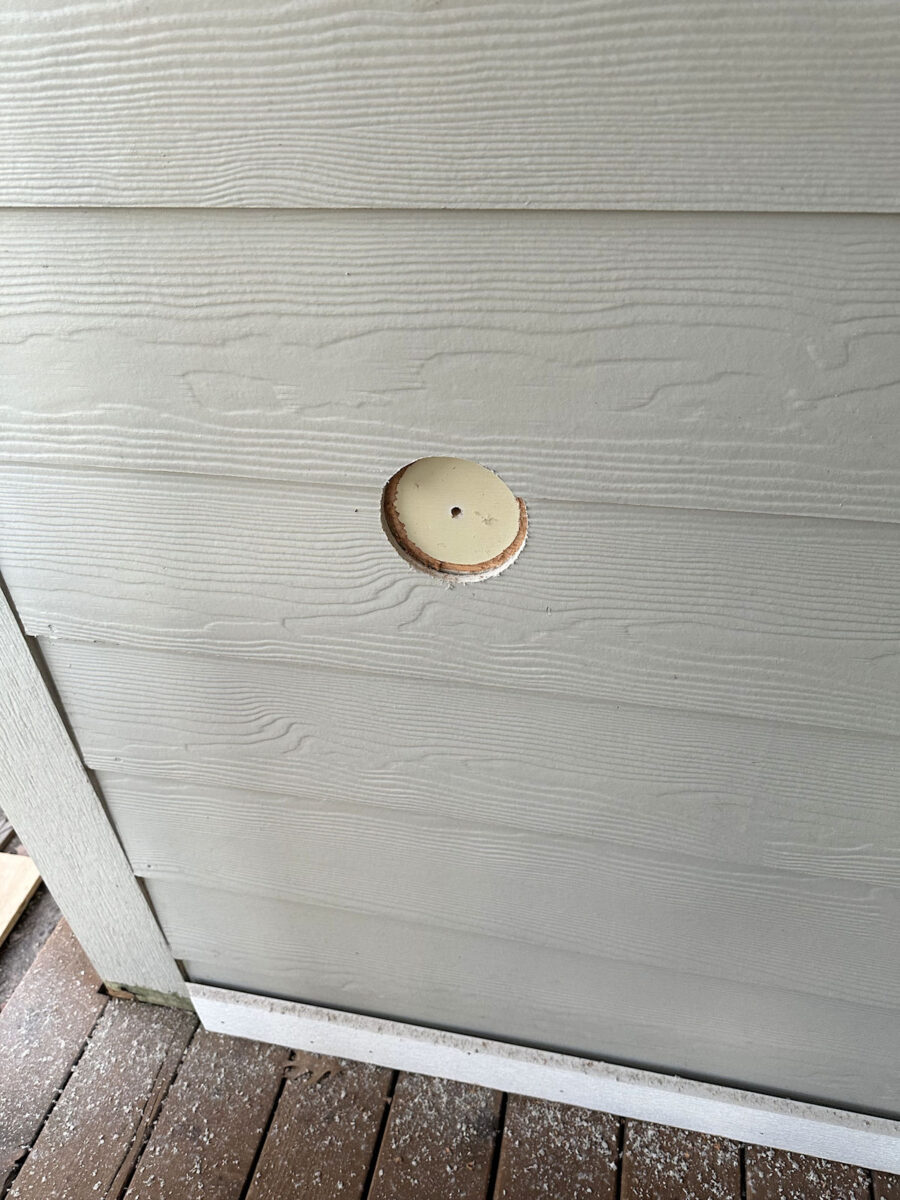
The within wall was the simple half. If I messed that up, drywall is fairly simple to repair. However reducing into the siding made me very nervous. I needed to drill by means of the siding and the sheathing beneath it. I used to be so nervous that it will break the Hardiplank siding since I used to be drilling into an space the place two items overlapped, but it surely truly did a fantastic job.
And sure, my dryer vent shall be situated on the entrance porch. It’s not perfect, however the one different possibility can be to put in a dryer vent by means of the stone on the entrance of the home. I’d somewhat drill by means of siding than stone. And the vent shall be type of hidden behind the column on the porch. I can at all times disguise it with a plant stand and a fluffy plant.
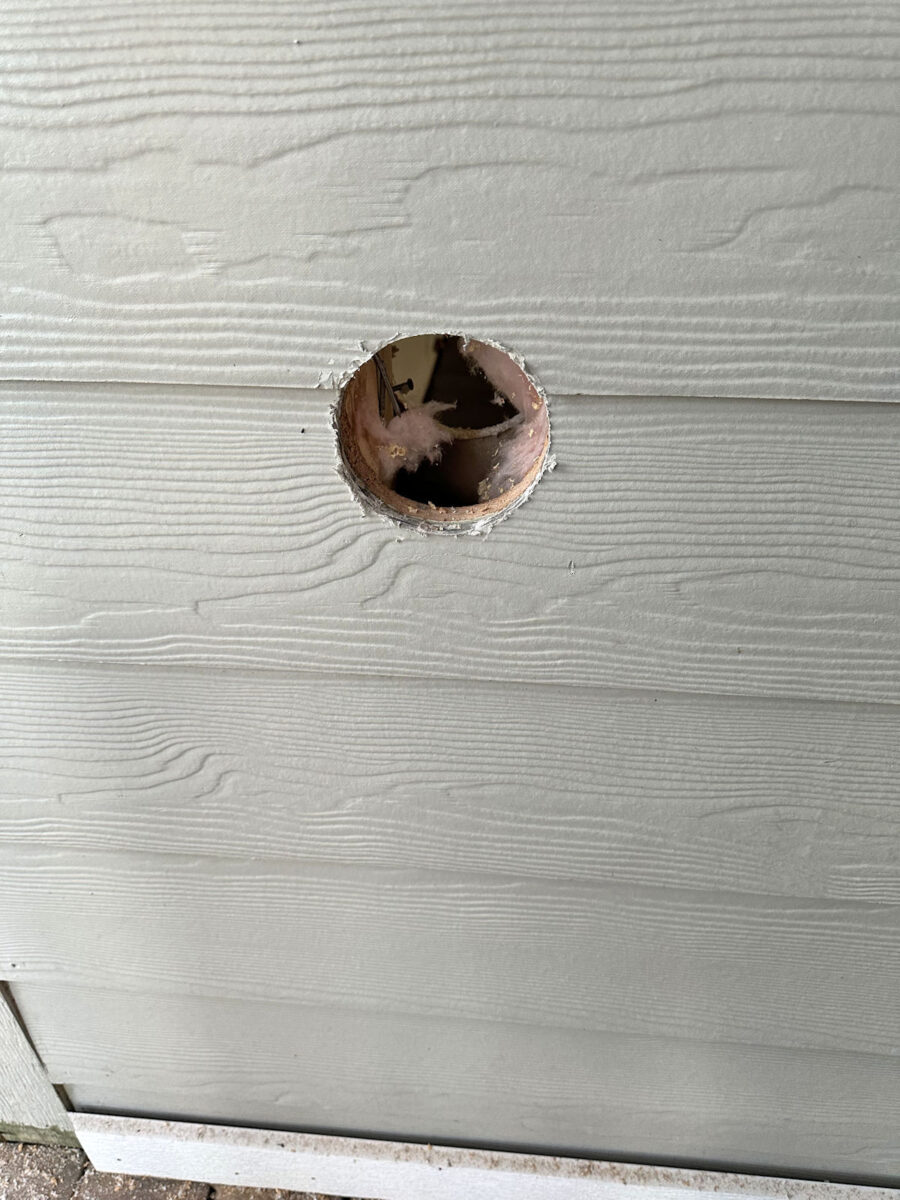
It took a little bit of muscle to get it by means of the sheathing, however I lastly broke by means of. This entire course of on the outside was a bit nerve wracking.
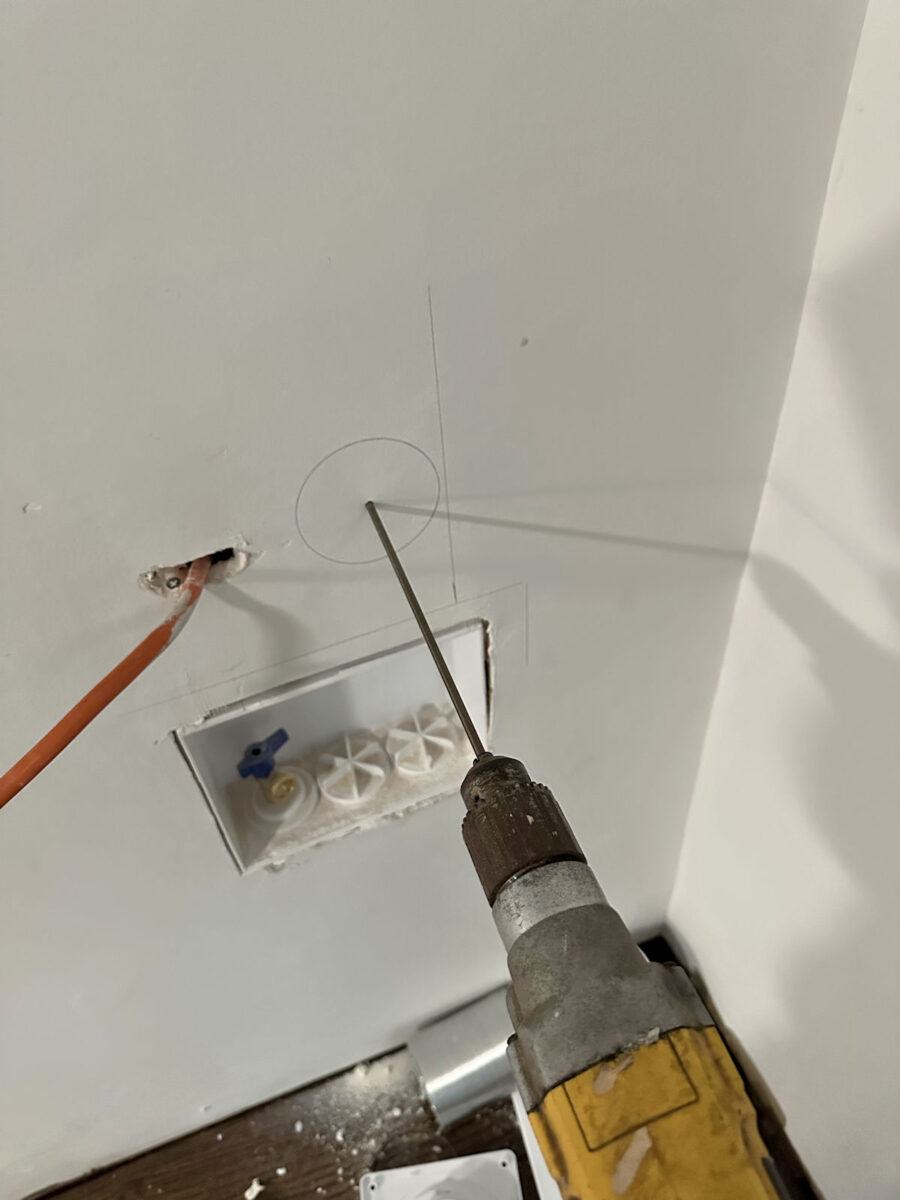
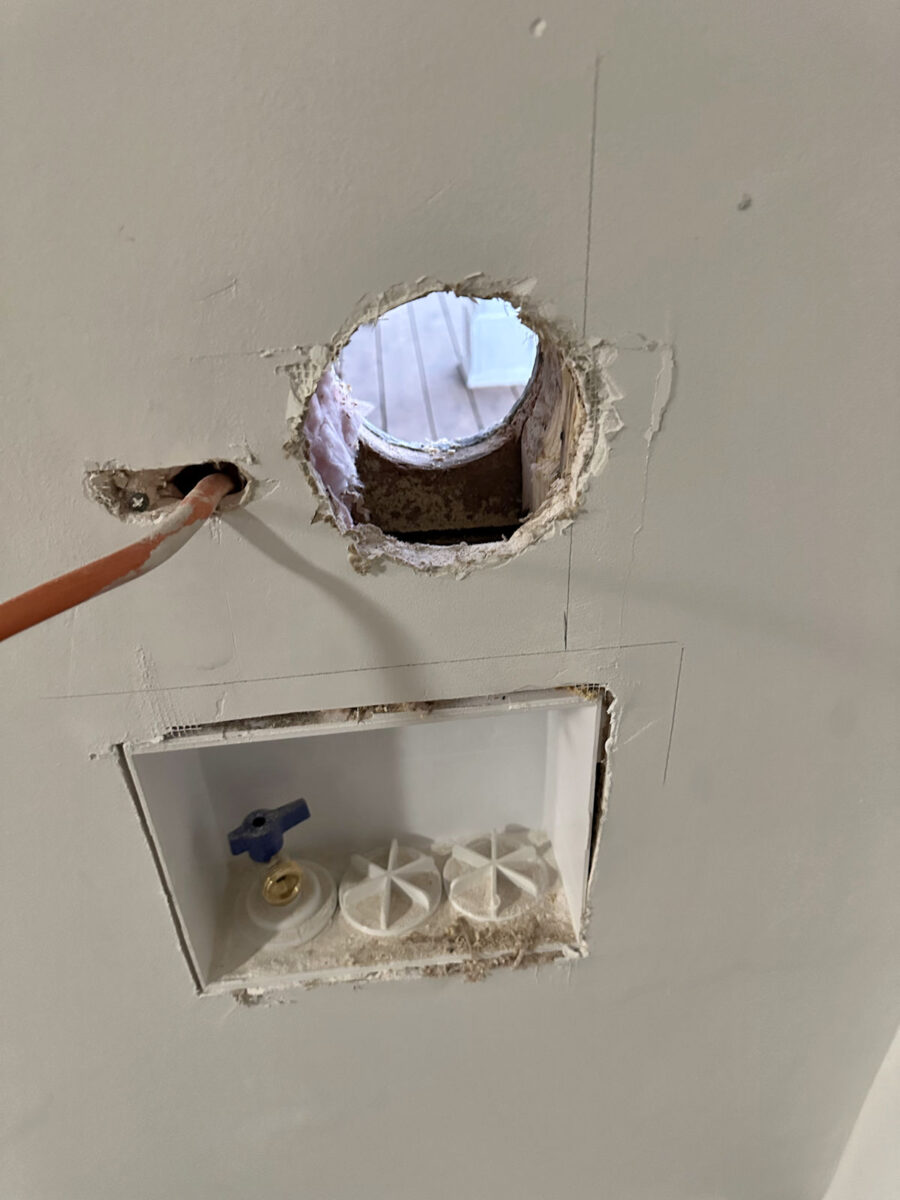
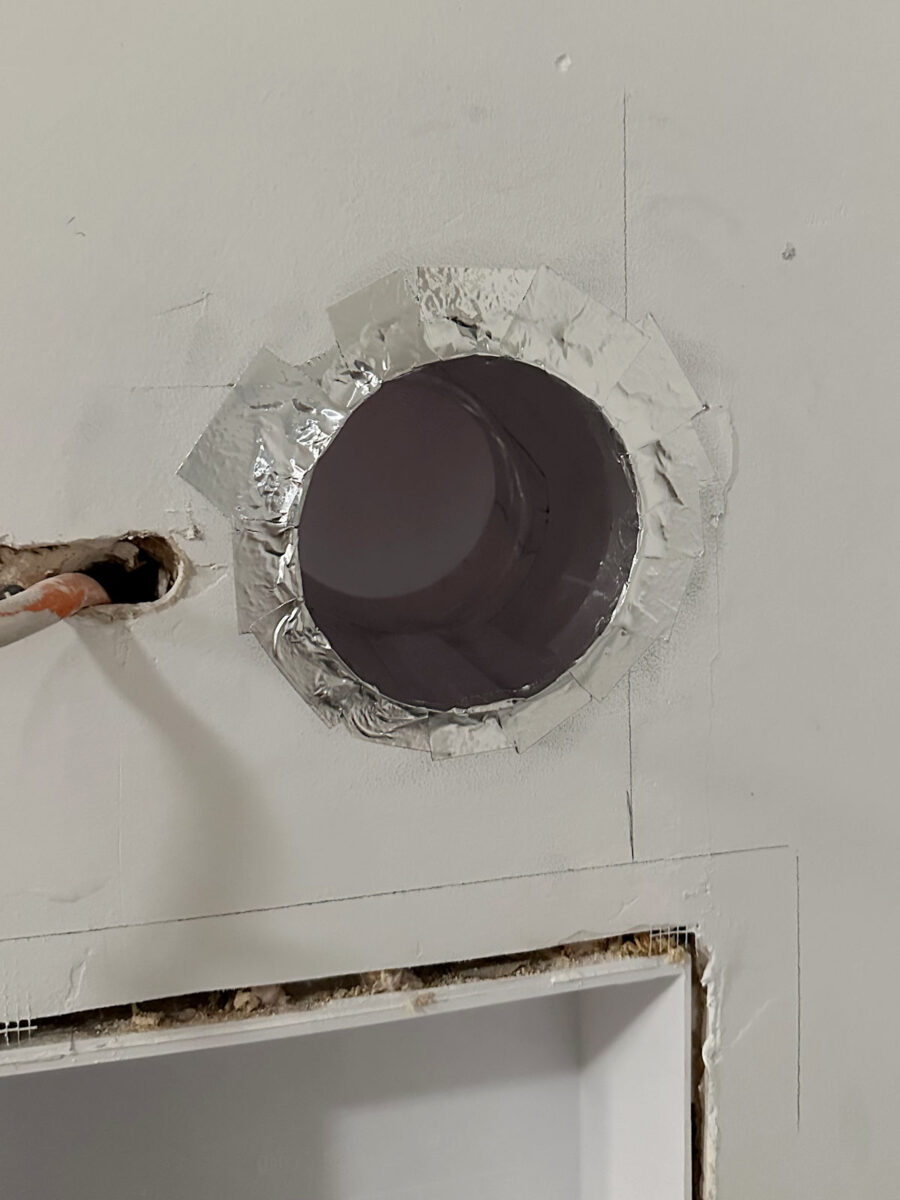
And right here’s what it appeared like from the within. I did catch a little bit of that wooden on the correct, however once more, that’s not a supporting stud. {That a} piece of wooden they’d connected to the stud in order that they might connect the field for the water hookup in that specific place. So don’t fear. I didn’t truly take away any wooden from an precise supporting stud.
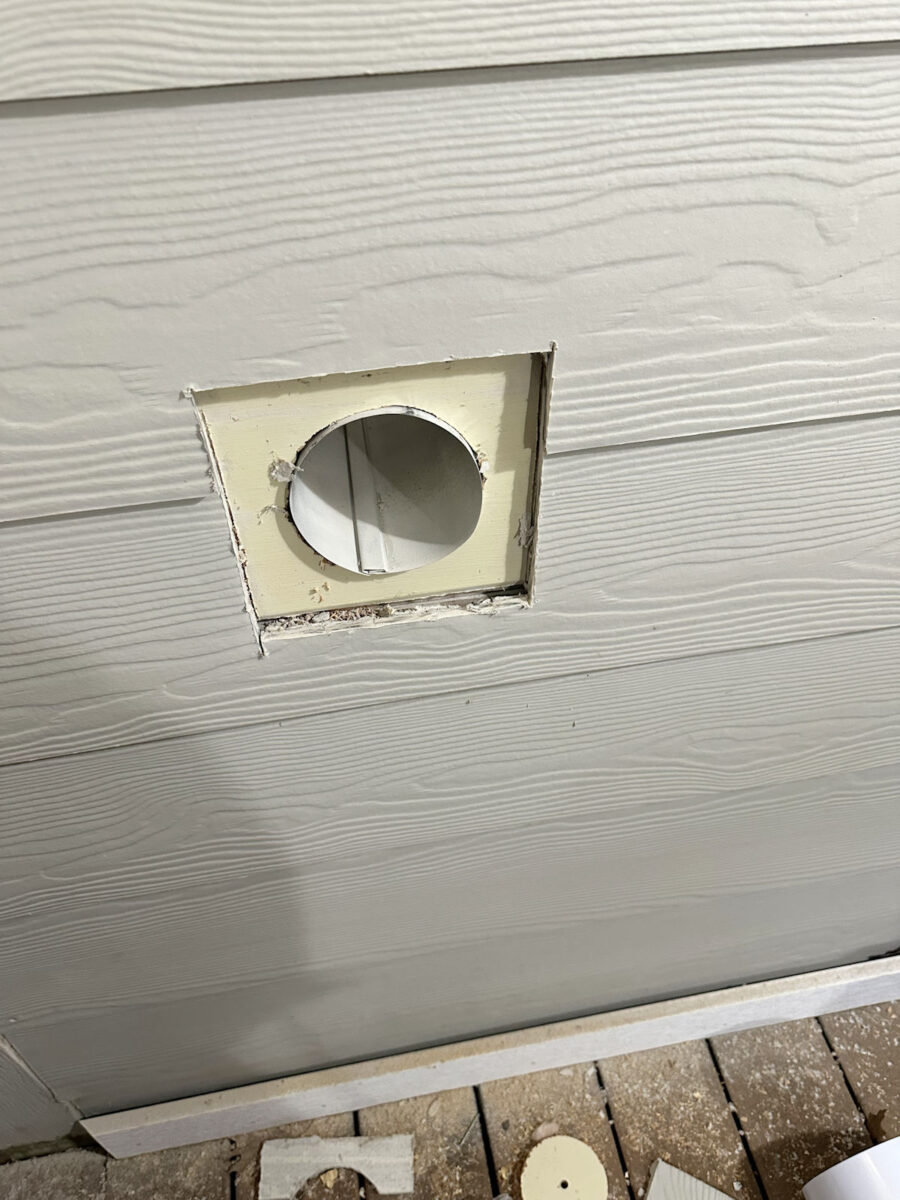
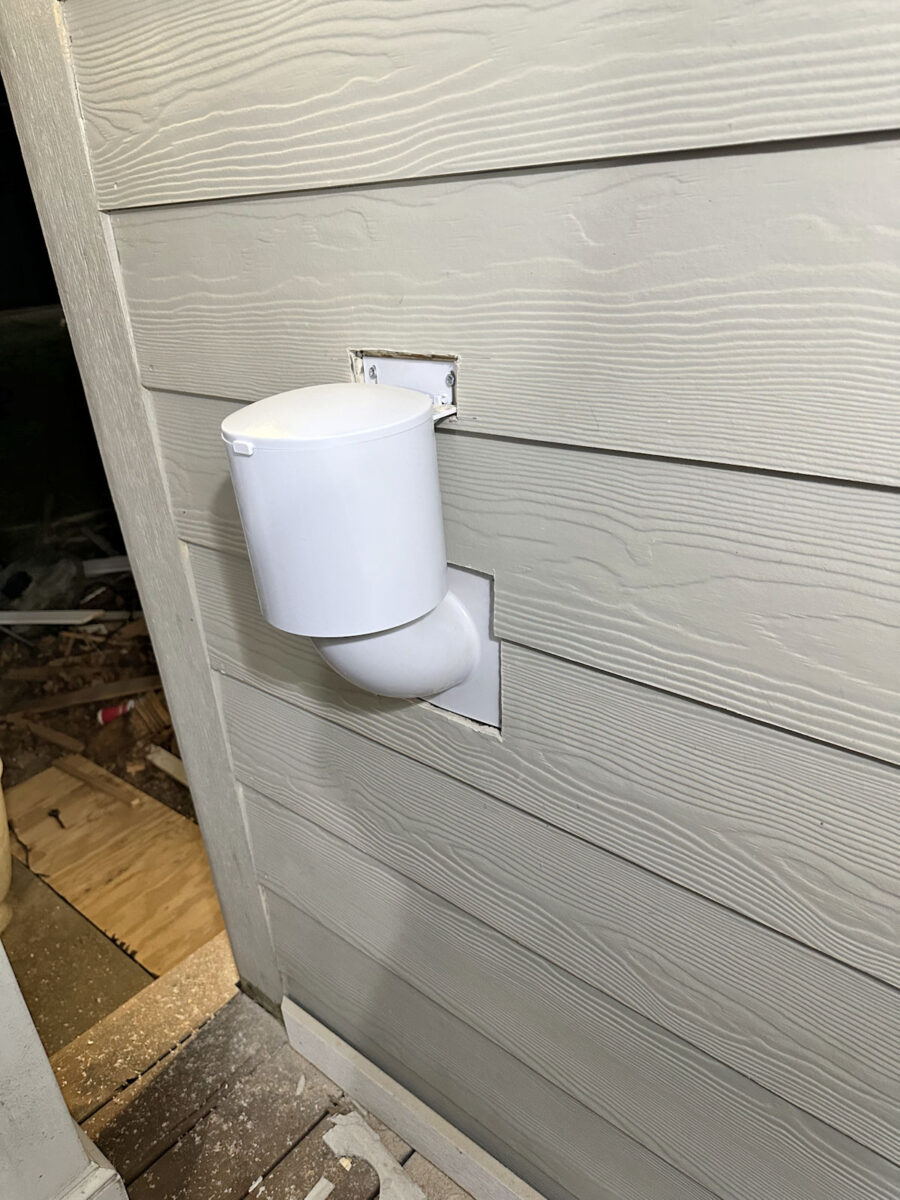
I spotted that the outside vent I bought truly required me to take away extra of the siding in order that it might sit straight. Putting in it in opposition to the siding made it wobbly and angled in a approach that didn’t look proper. So I used my Dremel Multi-Max to chop away extra of the siding with out reducing by means of the sheathing.

It wasn’t excellent, however at the least it allowed the vent to take a seat straight.
After which I needed to lower away one other rectangular space on the high for the highest portion to connect. It doesn’t look completed at this level, however I’ll return later and end up with some sanding, caulk, and paint. It’ll look clear and neat when it’s completed. That is the dryer vent cowl I went with (affiliate hyperlink).
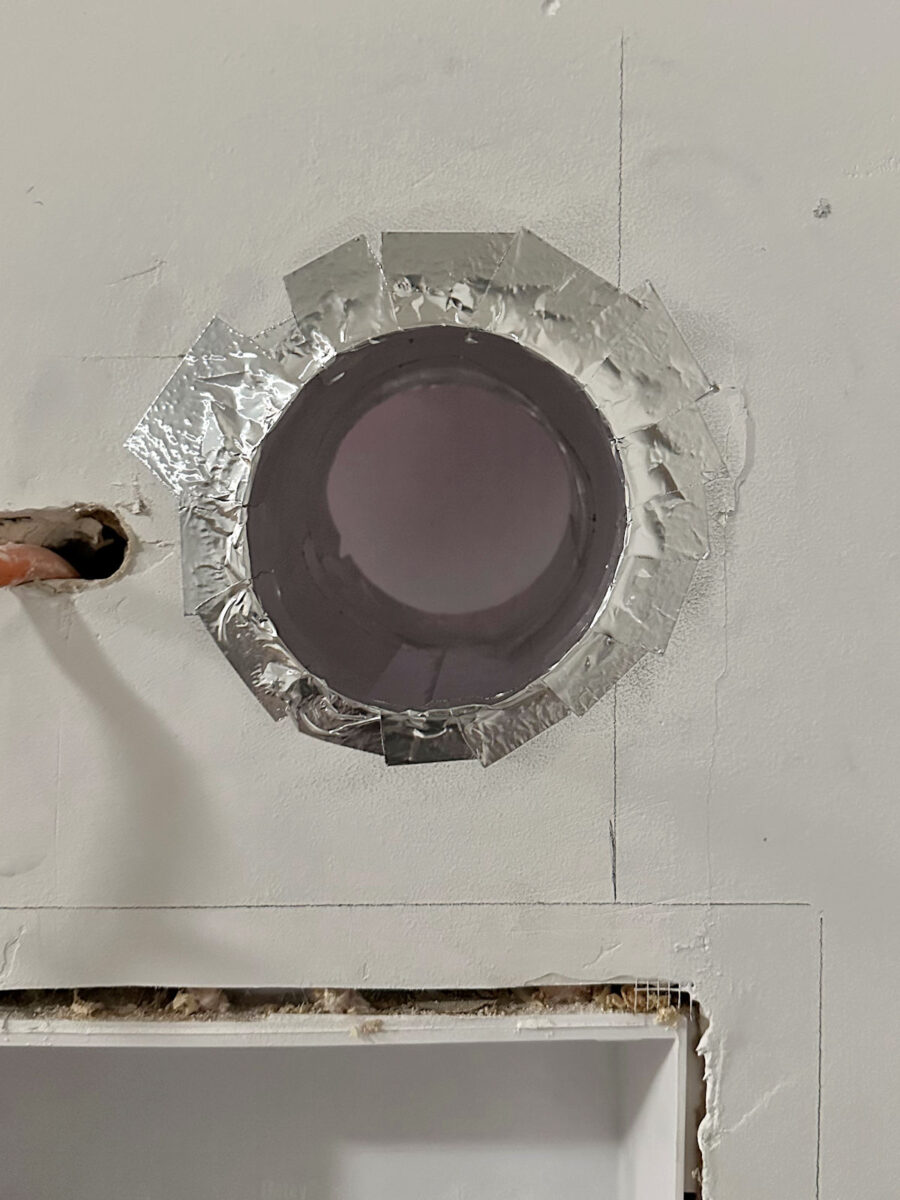
On the inside wall, I trimmed the duct in order that it caught out about 1/4 inch from the wall after which used some aluminum duct tape to seal up across the duct in order that air couldn’t come by means of across the duct.
So right here’s what it seems to be like thus far with the face plate reattached to the water hookup field.
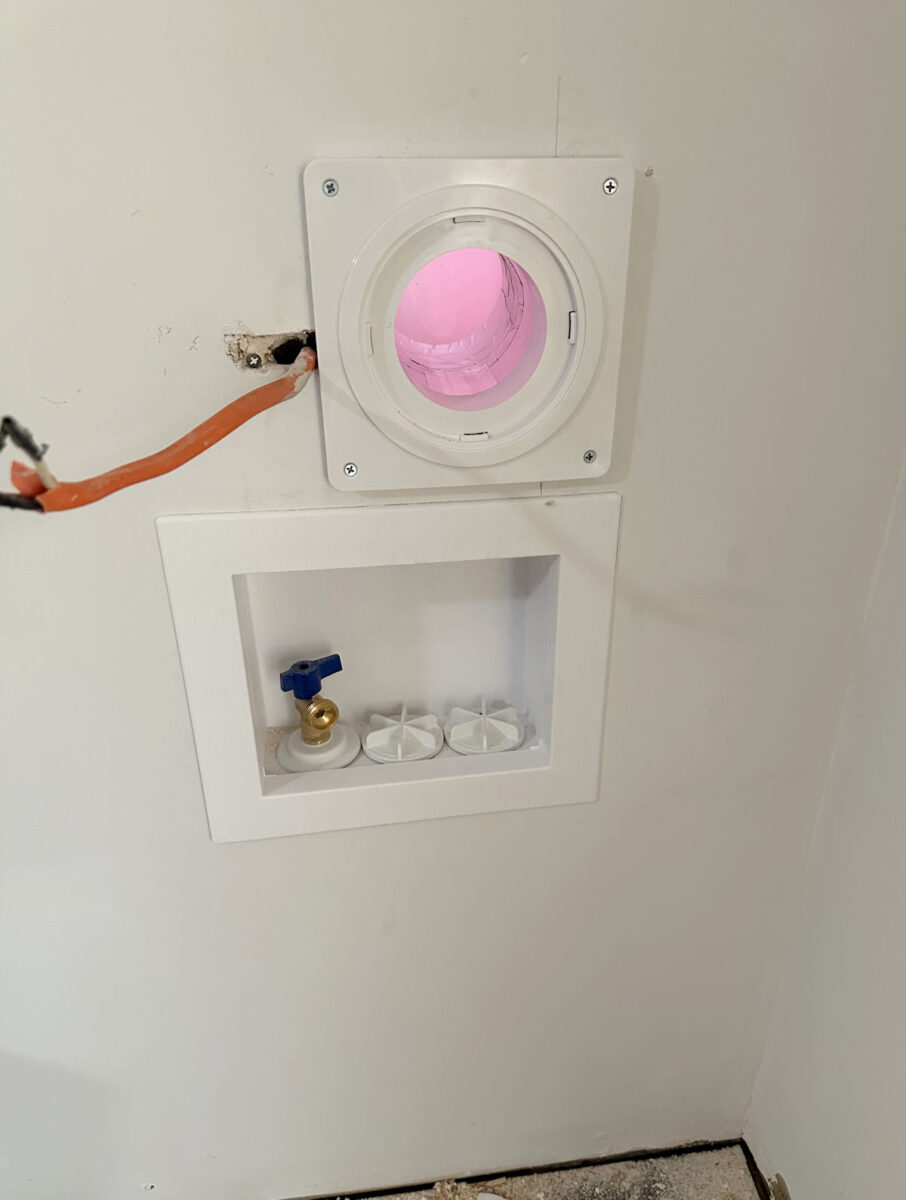
I’ll have the outlet put in proper subsequent to the duct faceplate.
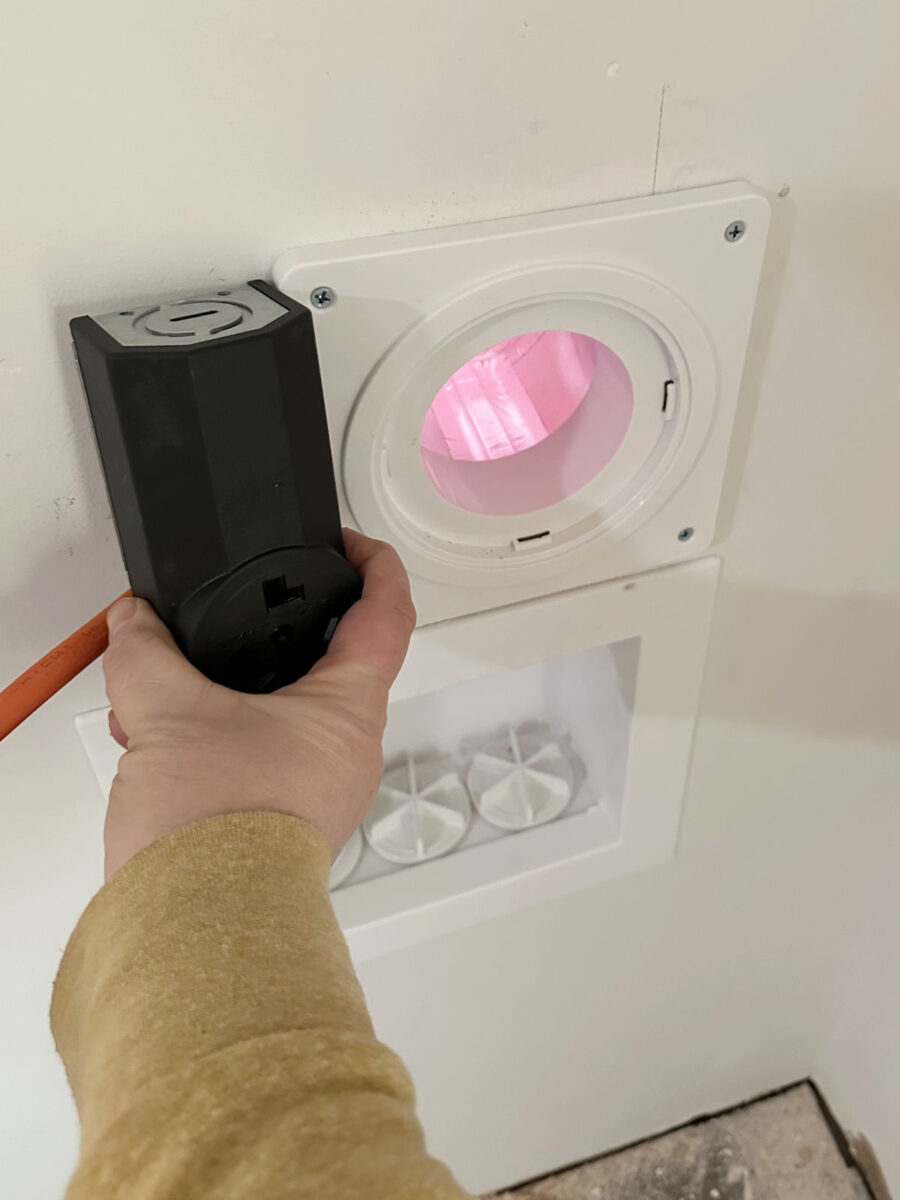
And right here’s the way it seems to be with the twist and lock dryer duct connected.
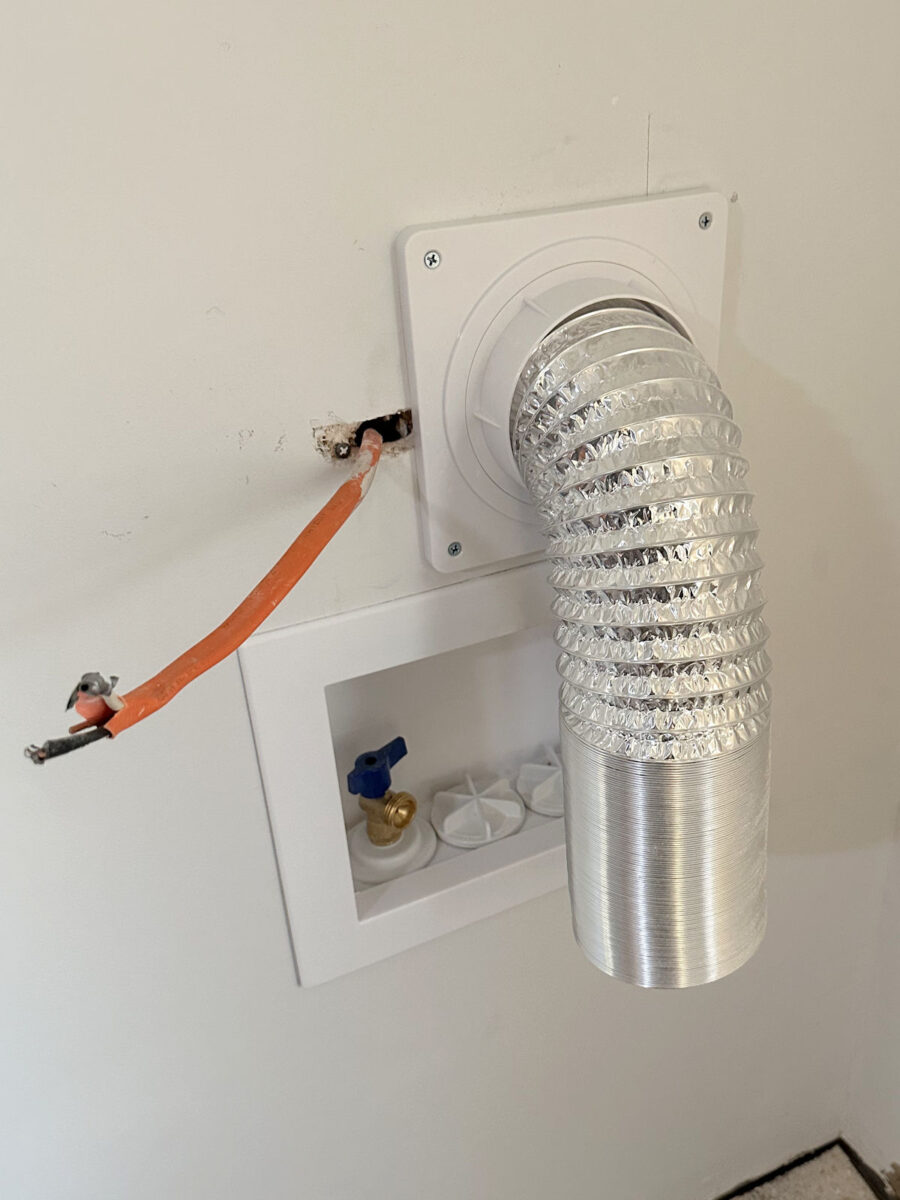
Which means that I’m now only one step away from having a purposeful dryer once more!! I can’t even inform you how excited I’m that I’ll have a usable dryer by the tip of the day. I’ve been with no dryer because the center of December, so to me, this progress is sort of as thrilling as having cupboards in my closet. 😀 And I pushed myself previous my worry of drilling a gap in my home and acquired a venture carried out that I’ve been procrastinating on. That looks like an enormous accomplishment.
I additionally completed my video on staining and polyurethaning the hardwood flooring. You possibly can see that right here:

Addicted 2 Adorning is the place I share my DIY and adorning journey as I rework and embellish the 1948 fixer higher that my husband, Matt, and I purchased in 2013. Matt has M.S. and is unable to do bodily work, so I do the vast majority of the work on the home on my own. You possibly can study extra about me right here.


")

")


