

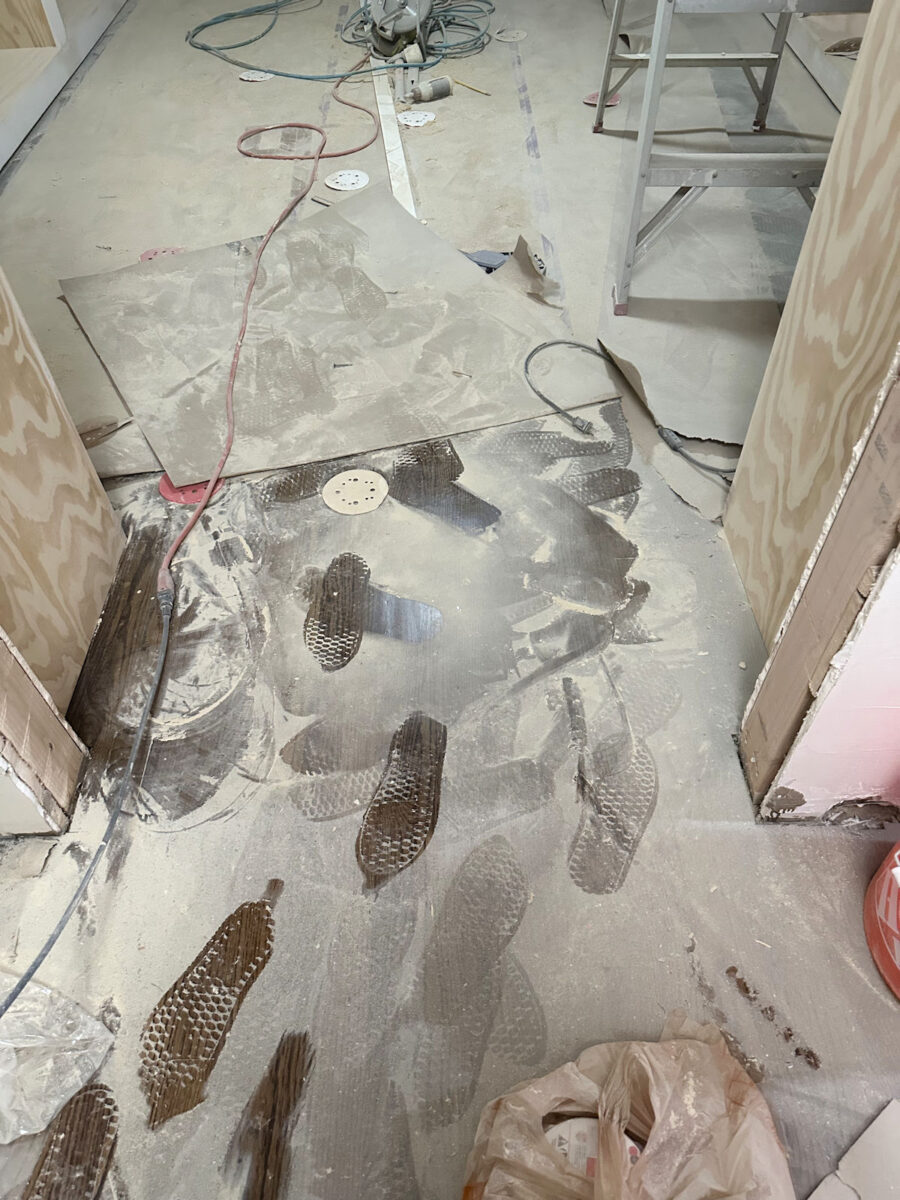
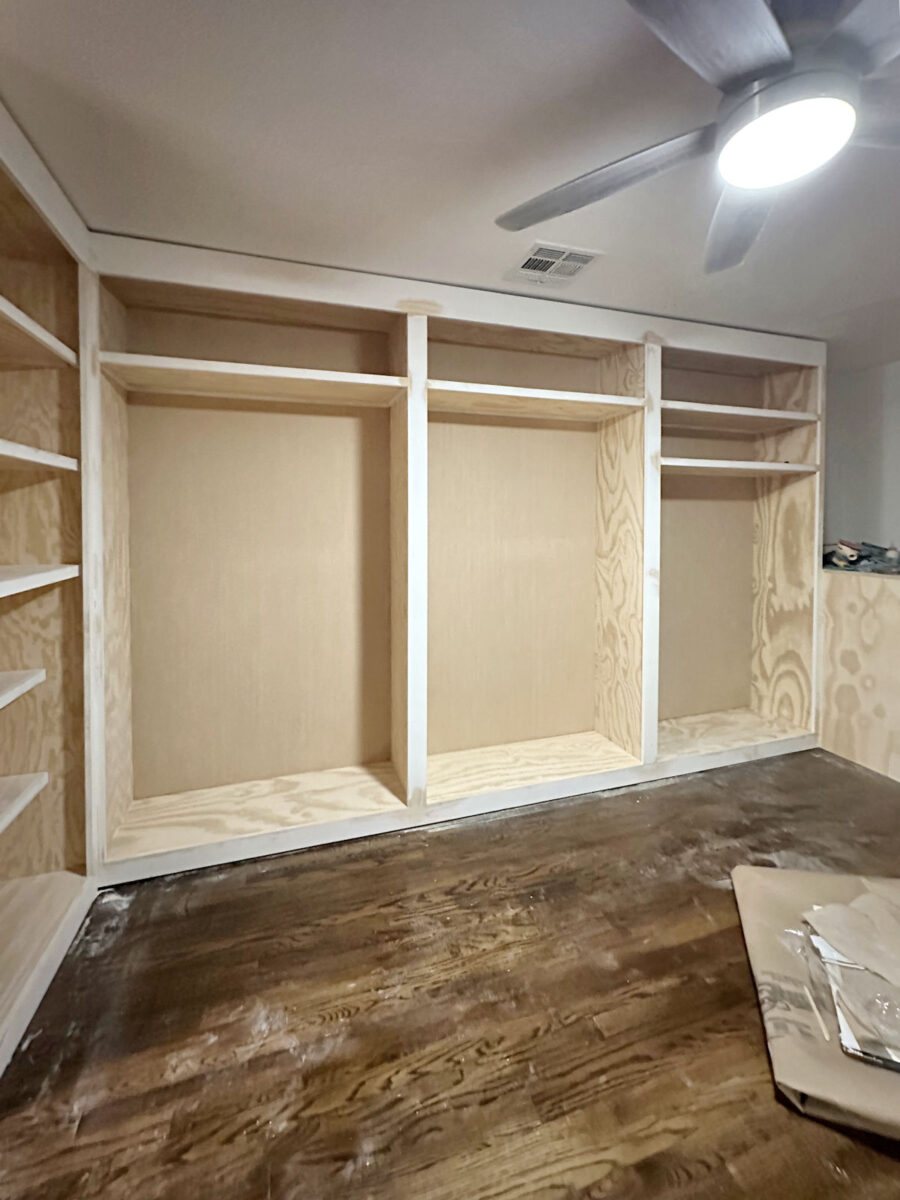
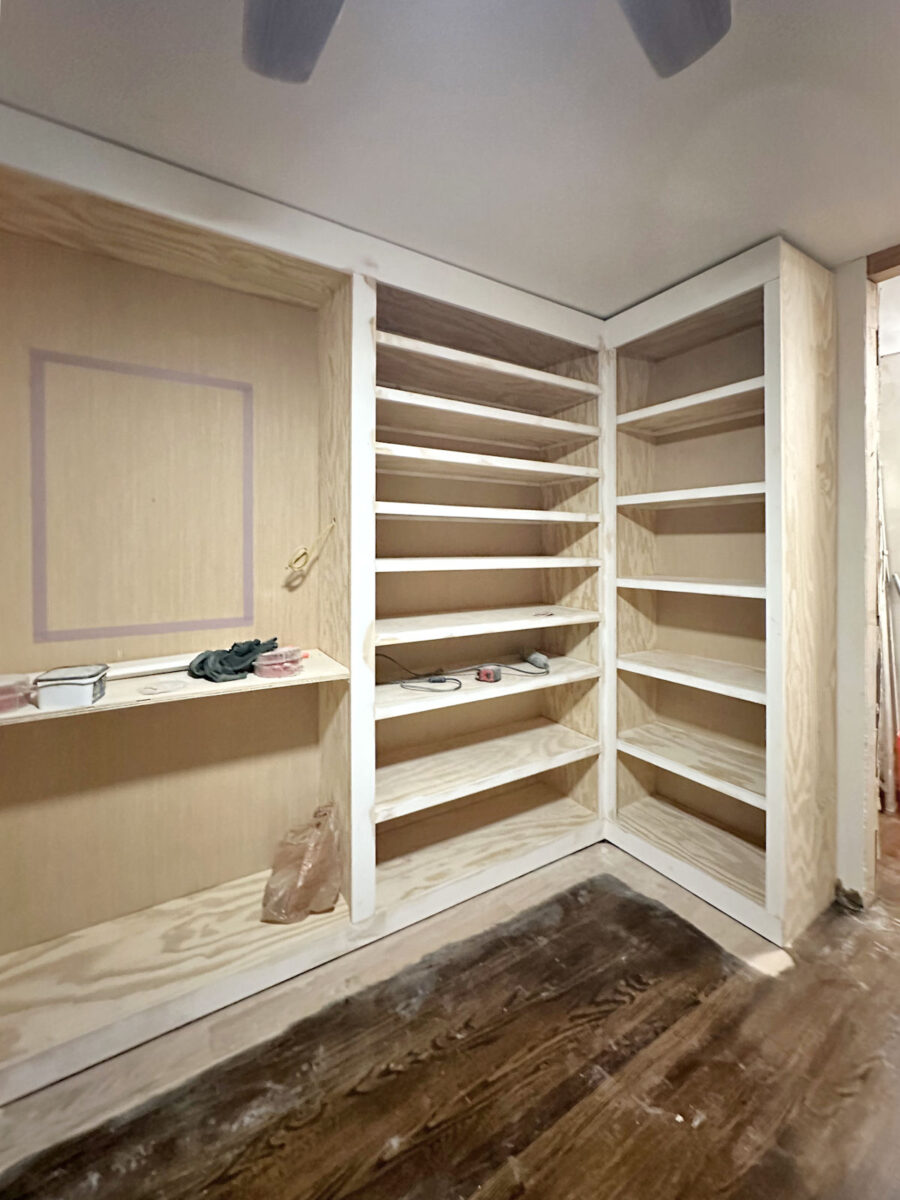
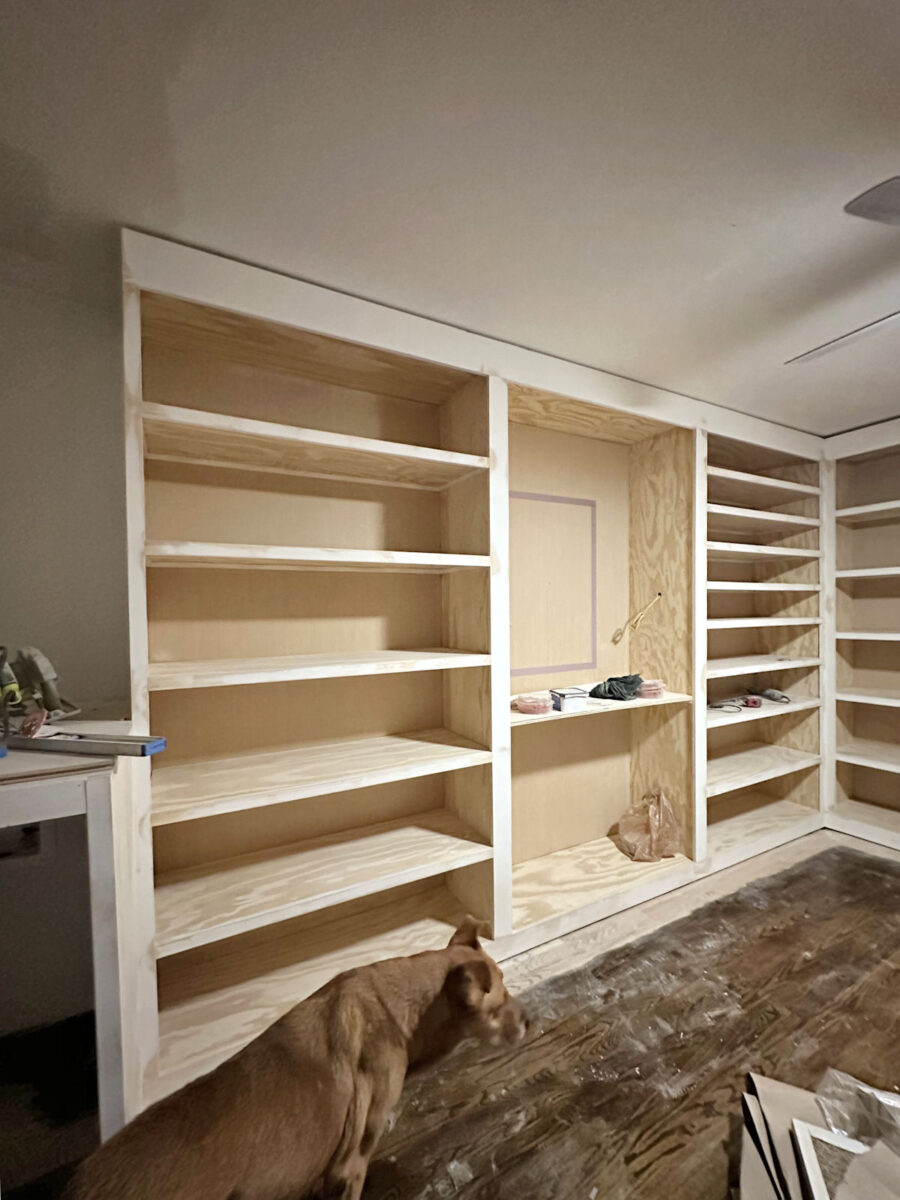
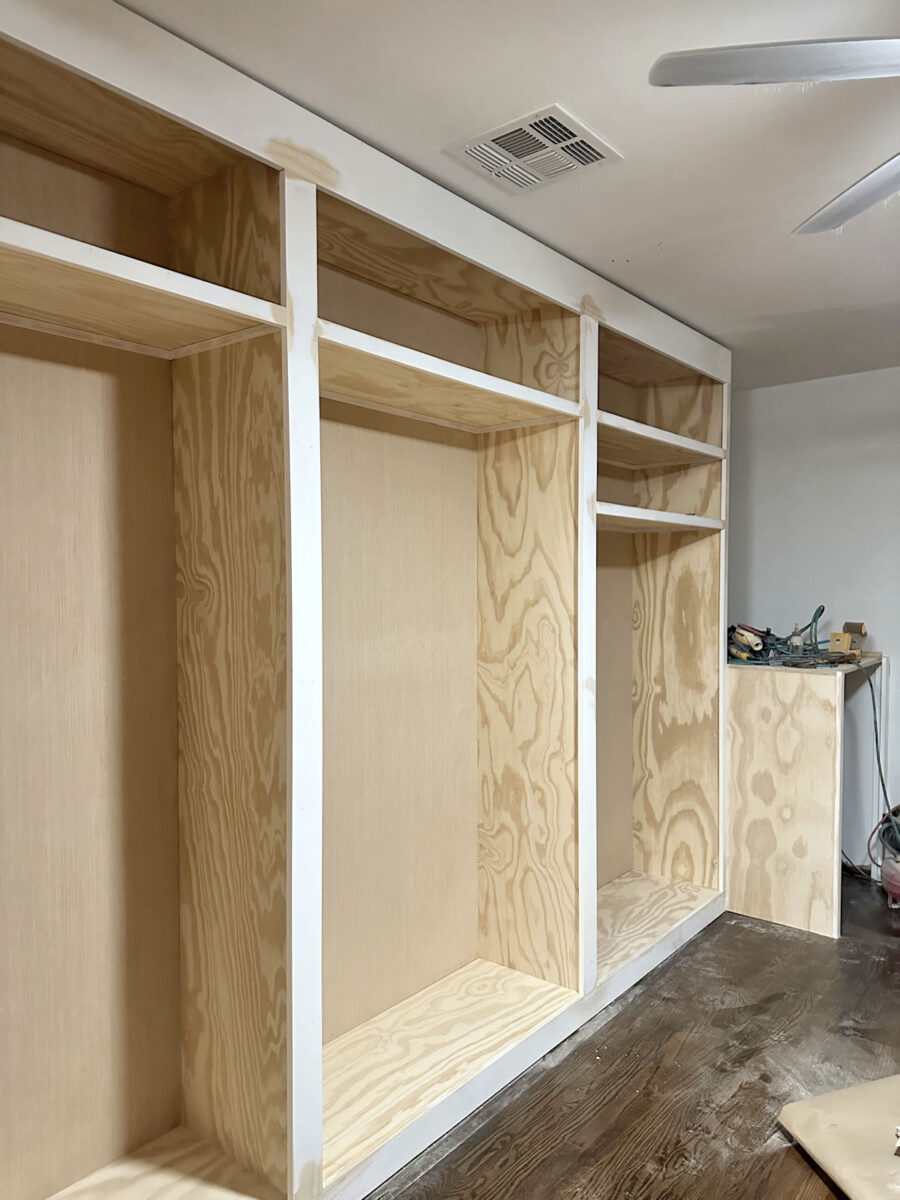
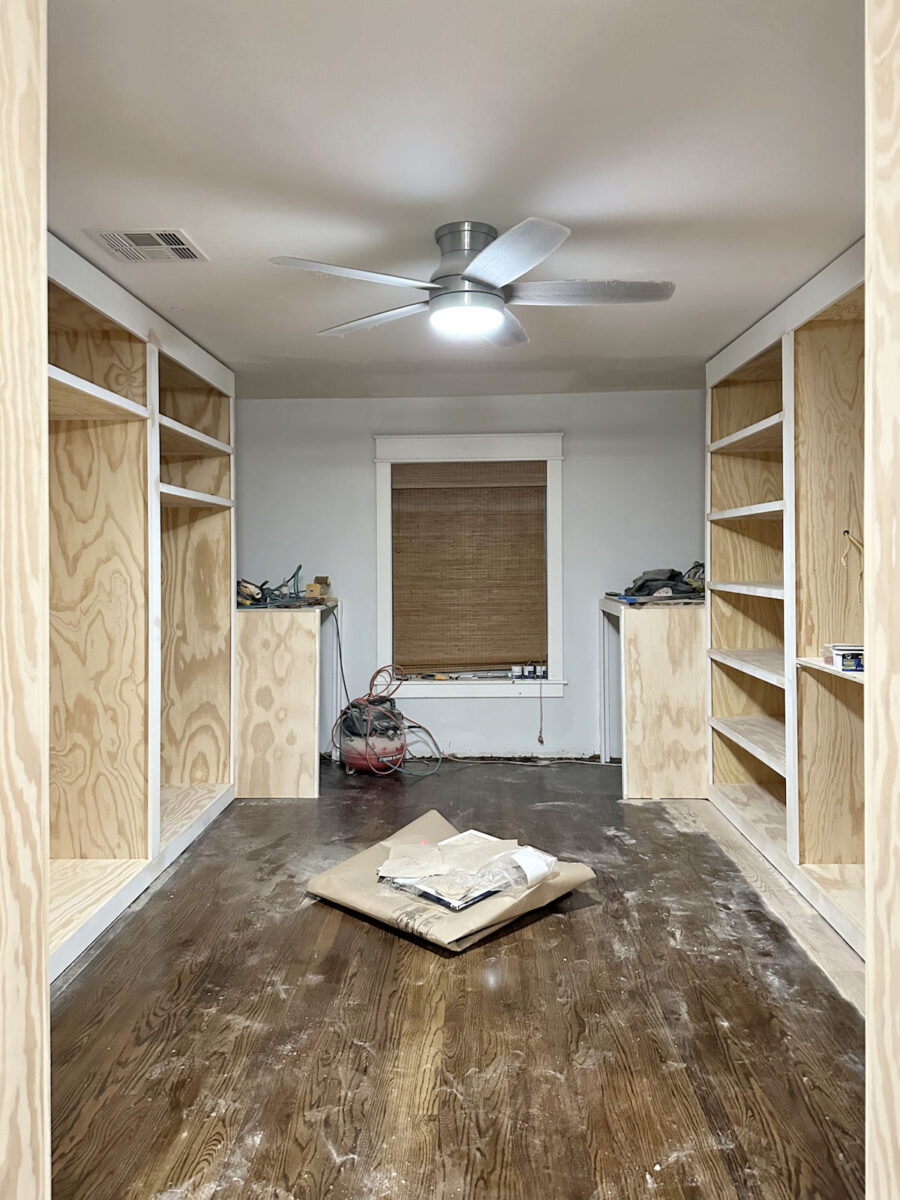
I’ve come to the top of week three of engaged on my walk-in closet and laundry room mixture. And whereas progress appear to have slowed fairly a bit this week, that’s solely as a result of I hit the a part of the method that takes the longest. However these tedious steps are additionally crucial for getting a beautiful ultimate consequence. I spent all day yesterday sanding, and sanding, and sanding some extra. And I’m so glad that by the top of the day, I had all the cupboards sanded, all the mud vacuumed up, and now I’m prepared for priming and caulking.
I had already executed a ton of wooden filling, utilizing wooden filler to fill each single nail gap, screw gap, and joint. I went by one complete massive tub of wooden filler (that is the one I take advantage of – affiliate hyperlink) simply on that a part of the mission alone. That’s along with the 2 full massive tubs of wooden filler that I had used simply prepping the person items of plywood since I made a decision to make use of a lesser grade of plywood in an effort to economize.
And since it slows me down significantly once I hook my little 5-inch orbital sander to my shopvac, I made a decision to forgo the shopvac and simply let the mud fly in order that I may get it executed sooner. Thankfully, the temperature outdoors was fairly good, so I used to be in a position to shut off the HVAC, open the home windows, and shut the doorways to the master suite suite to maintain the mud contained in that space of the home. There are few issues that I hate greater than having to work with gloves and/or a masks on however not masking up wasn’t even an choice yesterday.
After sanding all day and prepping the cupboards for primer and caulk, that is the mess I used to be left with on the finish of the day…
It was fairly a job to get all of that mud cleaned up, however cleansing up the mud was nonetheless far simpler than making an attempt to sand every thing with my sander hooked up to a shopvac all day.
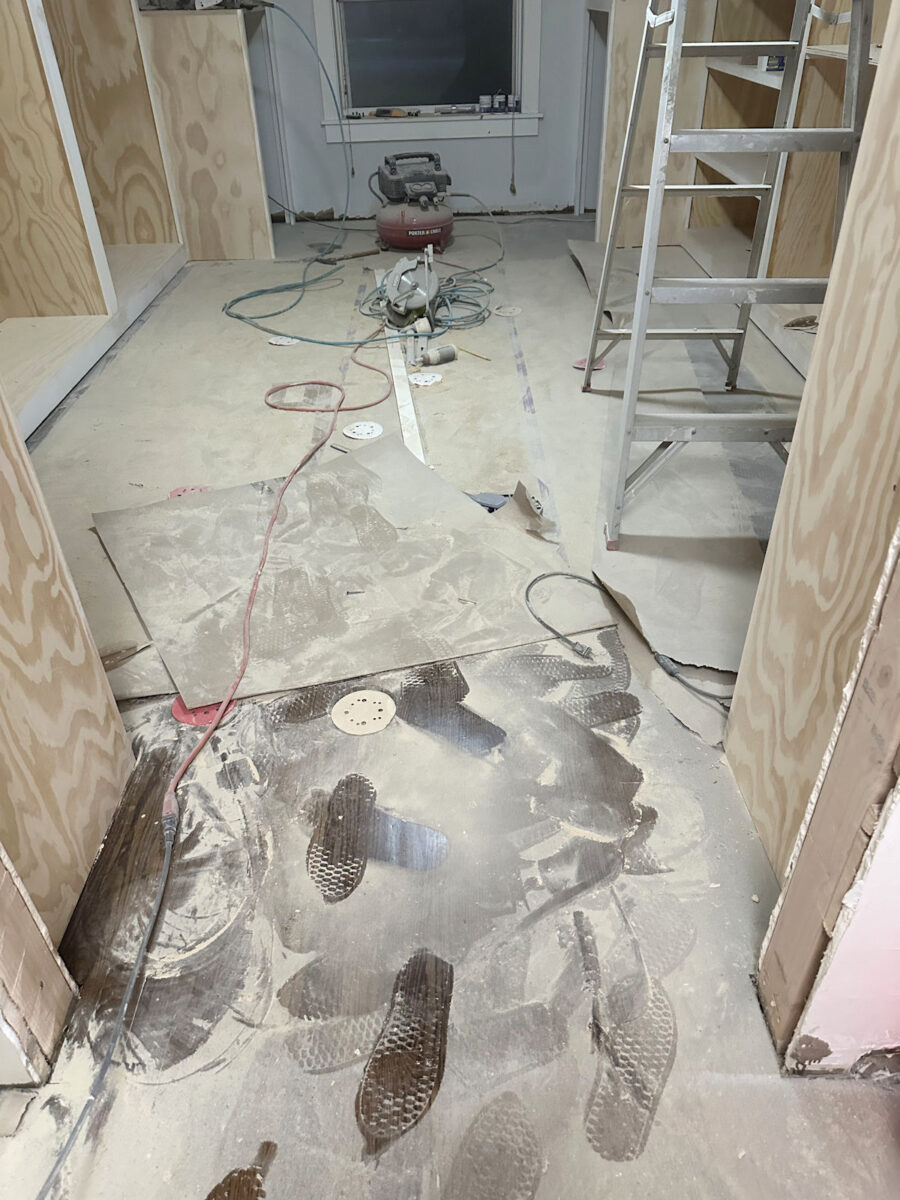
Earlier than I stop for the day, I had most of it cleaned up. I’ll nonetheless want to provide all the cupboards and cabinets a fast wipe down earlier than I can prime them, however that shouldn’t take lengthy in any respect.
I’m nonetheless not completed with the tedious prep work. Every thing nonetheless must be caulked, and that may in all probability be an all-day job, or at the very least a most-of-the-day job. It’s additionally my absolute least favourite a part of any mission, however it’s such an essential step to get that excellent (or as near excellent as potential) end that I attempt for.
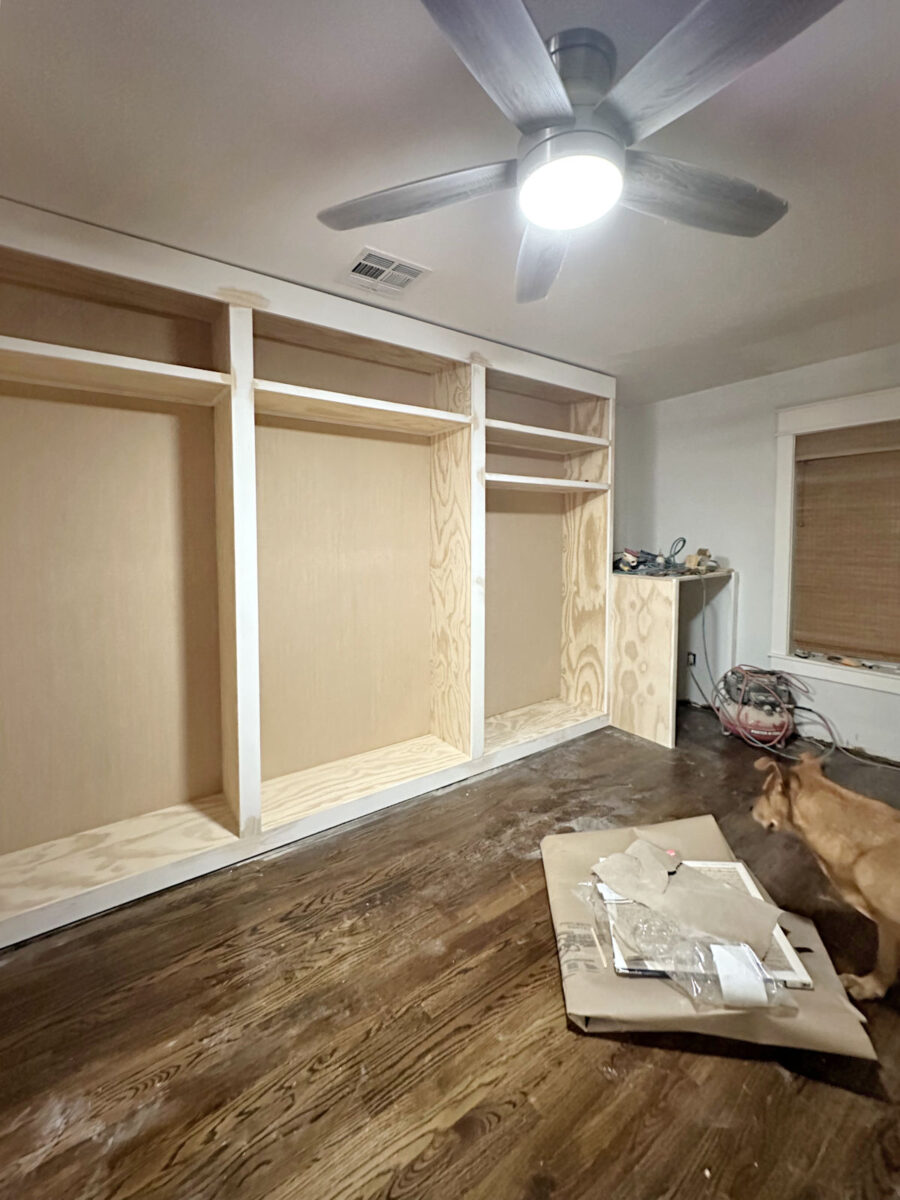
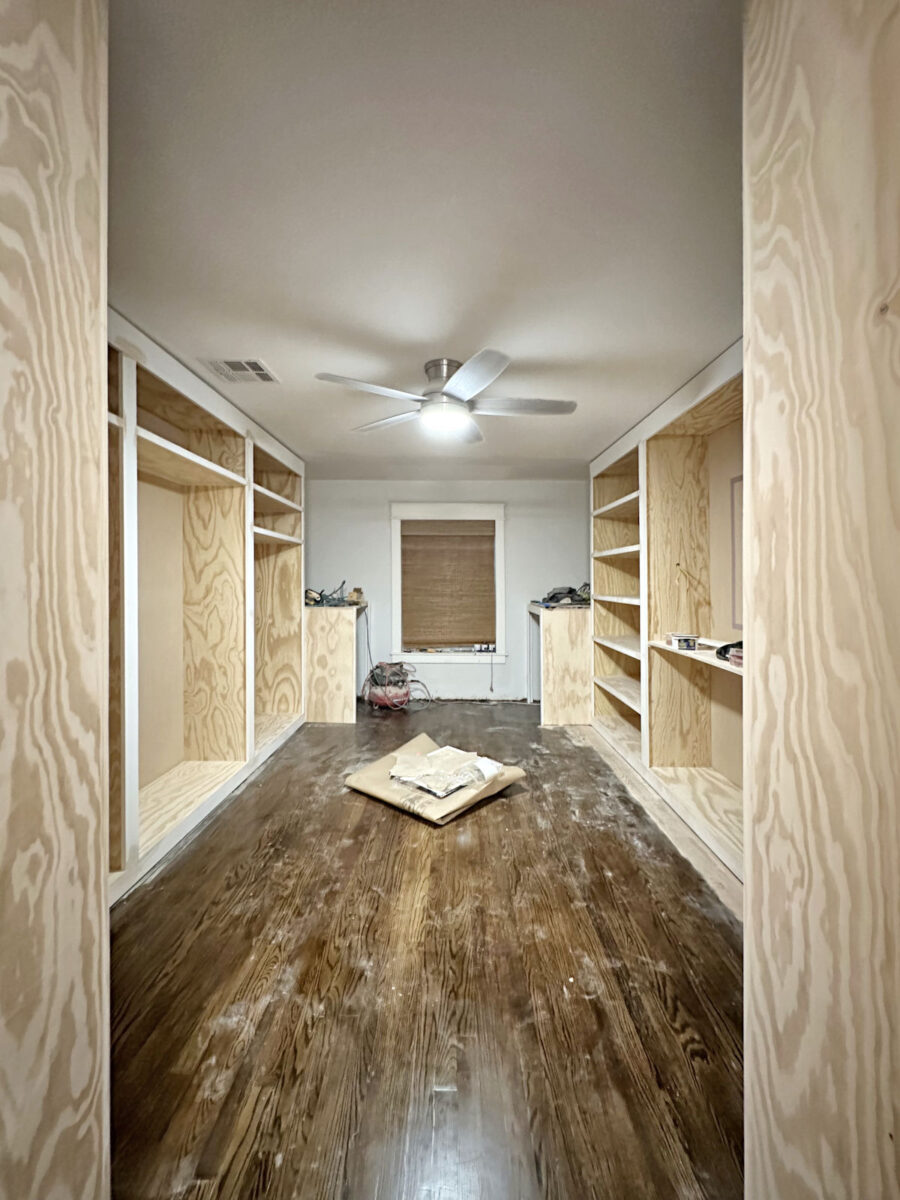
As you may see, I didn’t get the gorgeous molding hooked up but. So at present, my aim is to get the remainder of the ground sanded across the cupboards to take away the present end after which get all the fairly molding (baseboards and crown molding) put in.
As soon as the nail holes within the fairly molding are all stuffed and sanded, I’m going to go forward and prime all the cupboards.
After the cupboards are primed and dry, then I’ll give the cupboards a fast sanding by hand utilizing 220-grit sandpaper after which caulk every thing.
The explanation that I’ll prime every thing earlier than I caulk is as a result of utilizing caulk on primed wooden and wiping off the surplus caulk is a complete lot simpler than utilizing caulk on naked wooden. While you use caulk on naked wooden, it tends to soak into the naked wooden extra and seize on, which makes it a bit tougher to get these good, clear caulk traces.

So the primer creates a barrier between the caulk and the naked wooden, maintaining it from soaking into the wooden an excessive amount of, and making it a lot simpler to get these fairly, clear caulk traces.

I additionally discover that it’s a lot simpler to see the areas that must be caulked after the cupboards are primed. When I attempt to caulk naked wooden, particularly on such a giant mission as this one, it’s simple to miss areas, after which these neglected areas are fairly manifestly apparent after the primer goes on. So once I caulk naked wooden, after which prime the mission, I at all times discover myself having to return and caulk areas that I neglected. I’ve simply come to comprehend, after years of expertise, that it’s a lot simpler to prime every thing first after which caulk.
However all the main sanding is finished, and I’m so glad to have that massive step checked off in order that I can transfer on. I actually am hoping that by the top of the weekend, I can at the very least have every thing primed. That’s the aim. I’d love to really get paint on these cupboards this weekend, however I feel that may be too lofty of a aim. Possibly, on the very least, I can get some paint samples on the cupboards and make my ultimate colour choice.
However let’s revisit the flooring. Yesterday, throughout considered one of my breaks from all the sanding, I discovered a Visualizer Device on the Bona web site that lets you add a photograph and see what every sealer colour will seem like in your room. Sadly, it gained’t will let you select the particular species of wooden that you’ve, however at the very least it can provide a normal concept of what every sealer may seem like. So listed here are the pictures that it generated.
First up, that is the Bona NordicSeal, which is the lightest, brightest colour.
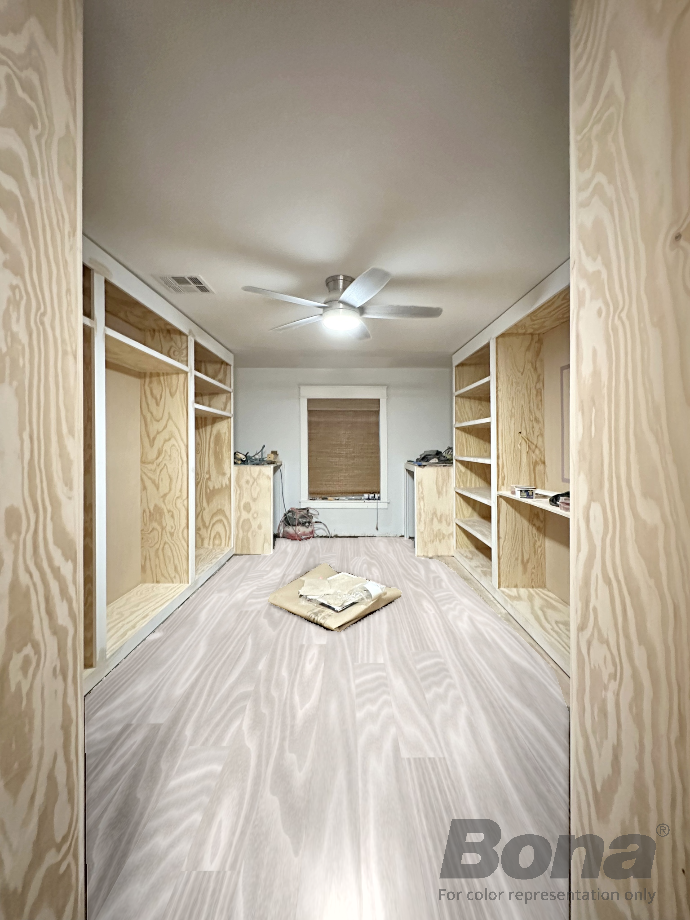
I actually assume that that is too gentle and shiny for our home. I get pleasure from seeing it in different properties, and I feel it’s actually stunning. However for our home, I want a contact of heat to the wooden.
The following one is Bona NaturalSeal. I feel this nonetheless provides a contact of white whereas additionally permitting the pure wooden colour to return by.
I discovered a whole lot of real-world examples of this on pink oak yesterday, and it’s very fairly on pink oak, but in addition very gentle.

The following one is Bona ClearSeal. This one is only a easy clear sealer that preserves the pure colour of the wooden.
I additionally discovered many real-world examples of this one on pink oak. It’s very fairly as effectively.
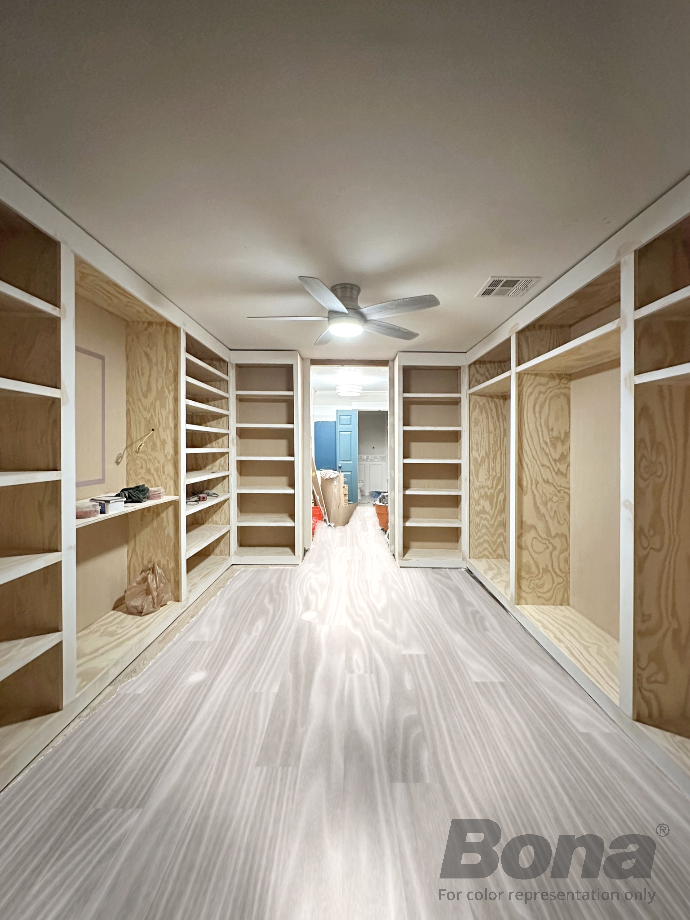
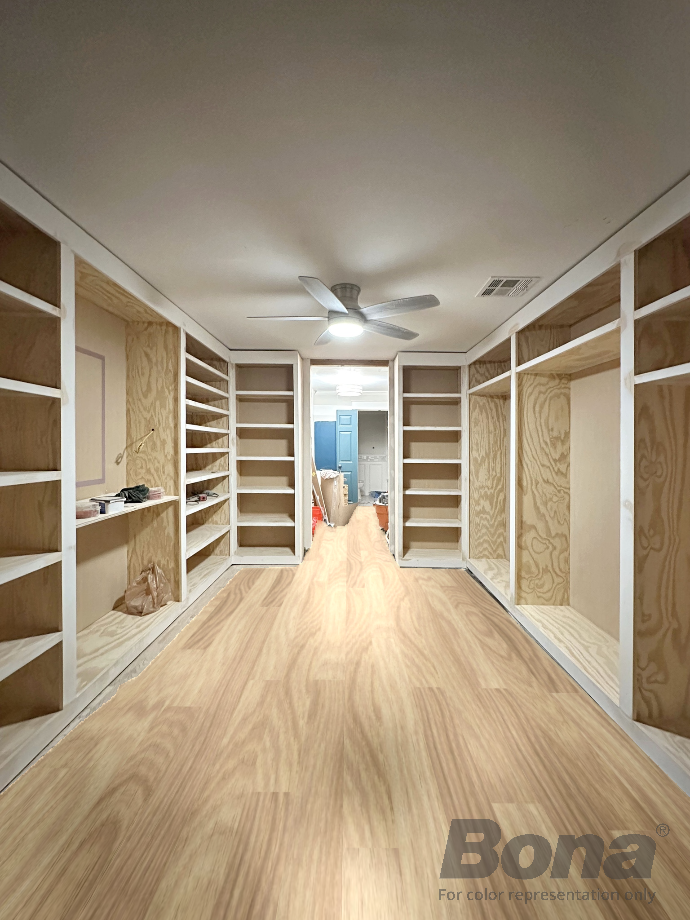
Subsequent is Bona ClassicSeal. This one may be very in style and works very effectively with pink oak.
I actually love the look of this, however there’s no assure that it could look precisely like this on my pink oak flooring.
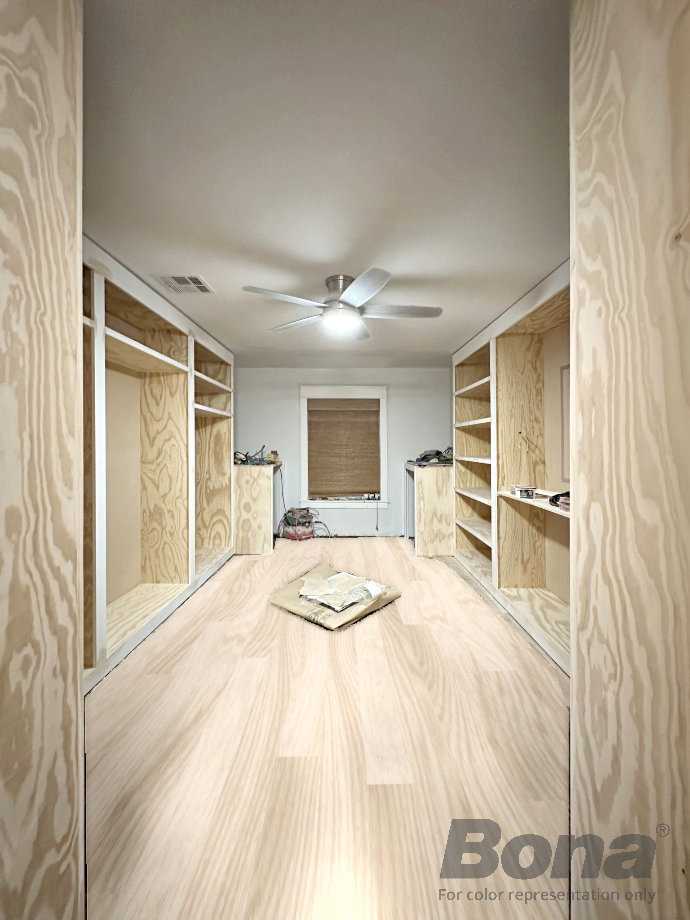
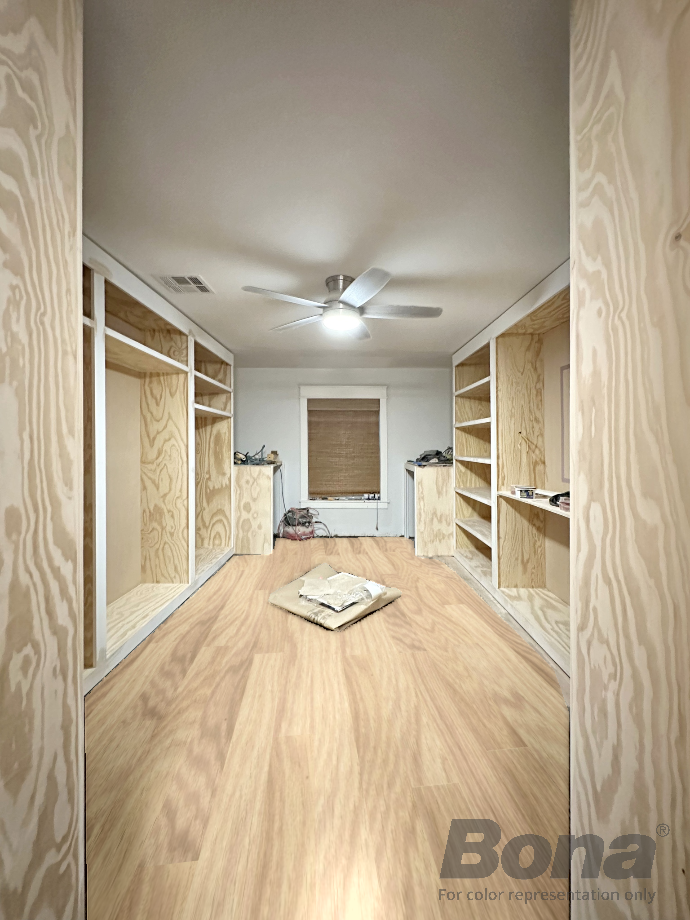
And eventually, this one is Bona IntenseSeal, which provides a little bit of a hotter tone to the wooden.
On the ground visualizer, that is my favourite. However I’m having bother discovering real-world examples of this one on pink oak flooring.

Simply going off of the images from the Ground Visualizer, my favorites are the ClassicSeal and the IntenseSeal.
Based mostly on the generated photos, both a type of would loosen up the ground significantly from what I at present have, whereas additionally nonetheless giving me the heat that I really like.
Right here’s my present flooring in comparison with the ClassicSeal…
And right here’s my present flooring in comparison with the IntenseSeal…
So I’m nonetheless choices and looking for extra real-world photos of those merchandise used particularly on pink oak. Simply this morning, I discovered this instance of the ClassicSeal used on pink oak, and it appears actually fairly. Nevertheless it additionally appears completely different in each room they present relying on the lighting within the room, so it’s actually onerous to inform what the precise colour is.
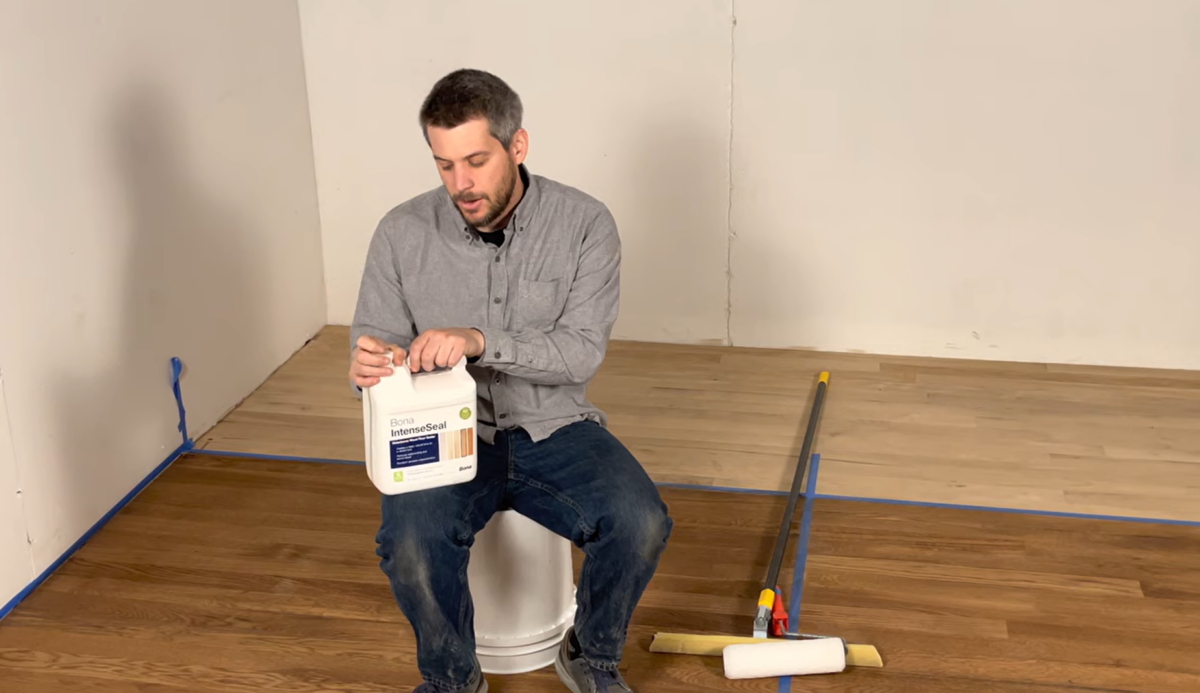
If I have been simply going by these generated photos, I’d in all probability select the IntenseSeal. However that identify alone scares me a bit. 😀 It sounds a bit overbearing. I don’t wish to undergo all the bother to redo these flooring solely to wind up with them too darkish once more. I got here throughout this video yesterday, and he’s utilizing IntenseSeal, however he doesn’t specify which species of wooden he’s working with. It appears like pink oak to my untrained eye, and it additionally appears darker than what the Ground Visualizer exhibits. I don’t need my flooring that darkish.
Although my favourite with the Ground Visualizer is the IntenseSeal, I’ve a sense that the ClassicSeal would be the one I’ll find yourself going with. It’ll give me that heat that I would like with out making the flooring too darkish. However I’m going to provide myself a pair extra days to make my ultimate choice. I actually need to get my initiatives ordered ASAP, although, as a result of I can’t transfer my washer and dryer into the closet till the flooring are redone.
UPDATE: I wished so as to add the pattern of the paint colour that I’m planning to make use of together with the flooring colour. Right here’s the Valspar Matt on Monday paint colour with the Bona ClassicSeal flooring sealer. I feel that is beautiful!!! Oh my goodness, simply seeing these collectively makes me so excited!


Addicted 2 Adorning is the place I share my DIY and adorning journey as I transform and enhance the 1948 fixer higher that my husband, Matt, and I purchased in 2013. Matt has M.S. and is unable to do bodily work, so I do nearly all of the work on the home on my own. You’ll be able to be taught extra about me right here.

")


")


