

As with a lot of my initiatives, this DIY flower chandelier undertaking is a course of of constructing it up as I am going alongside. I had a basic thought of what I wished the completed product to seem like, however the person steps to get from the place to begin to that completed product weren’t fairly so clear in my head after I began out. So yesterday, I discovered myself having to redo part of the body.
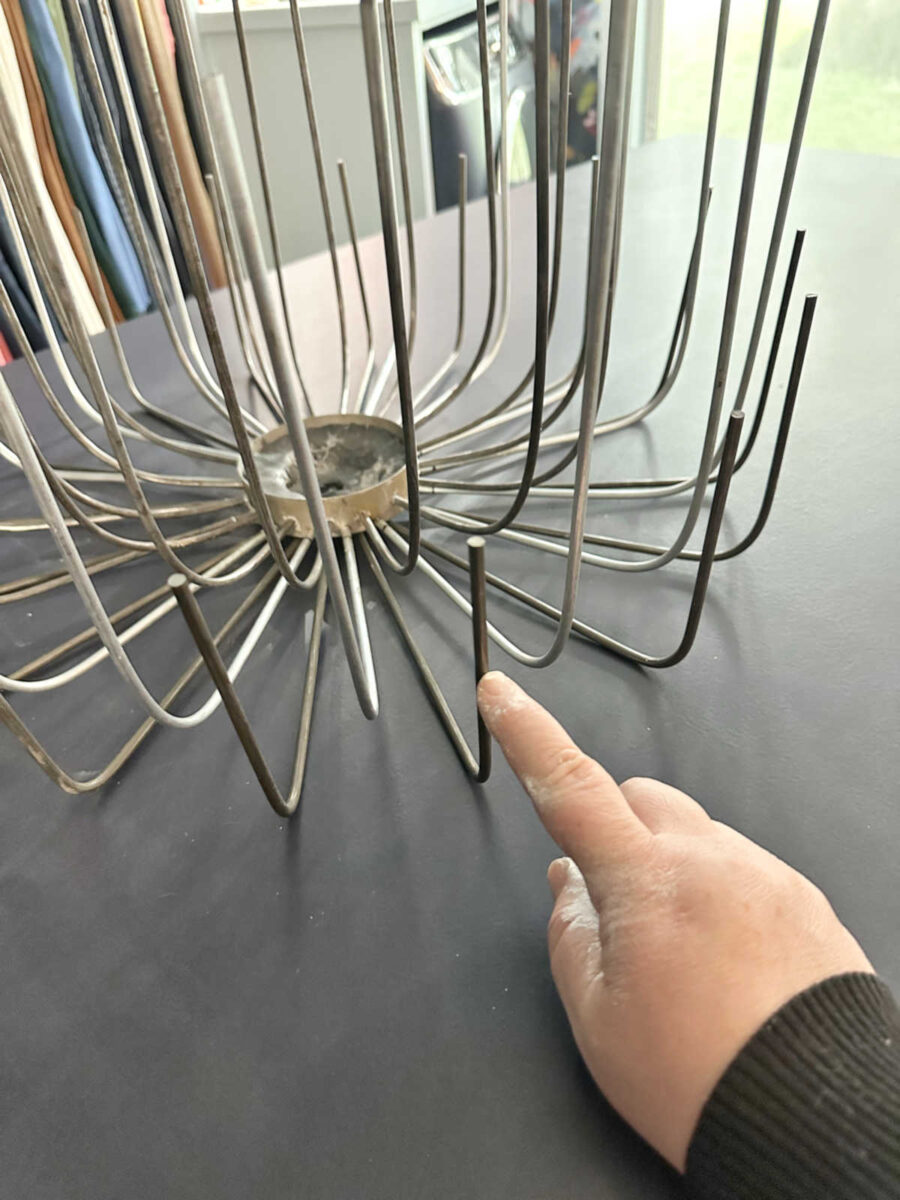
As you possibly can see from this picture that I confirmed you yesterday, on that backside row of metallic I had stored the identical spacing (i.e., the identical 5/8″ measurement) between the metallic rods that I used on the highest higher rows. However that resulted within the backside row of rods not being evenly spaced between the 2 higher rows of rods. And this turned an issue after I began bending that backside row of rods up. It appeared messy, uneven, and unplanned.
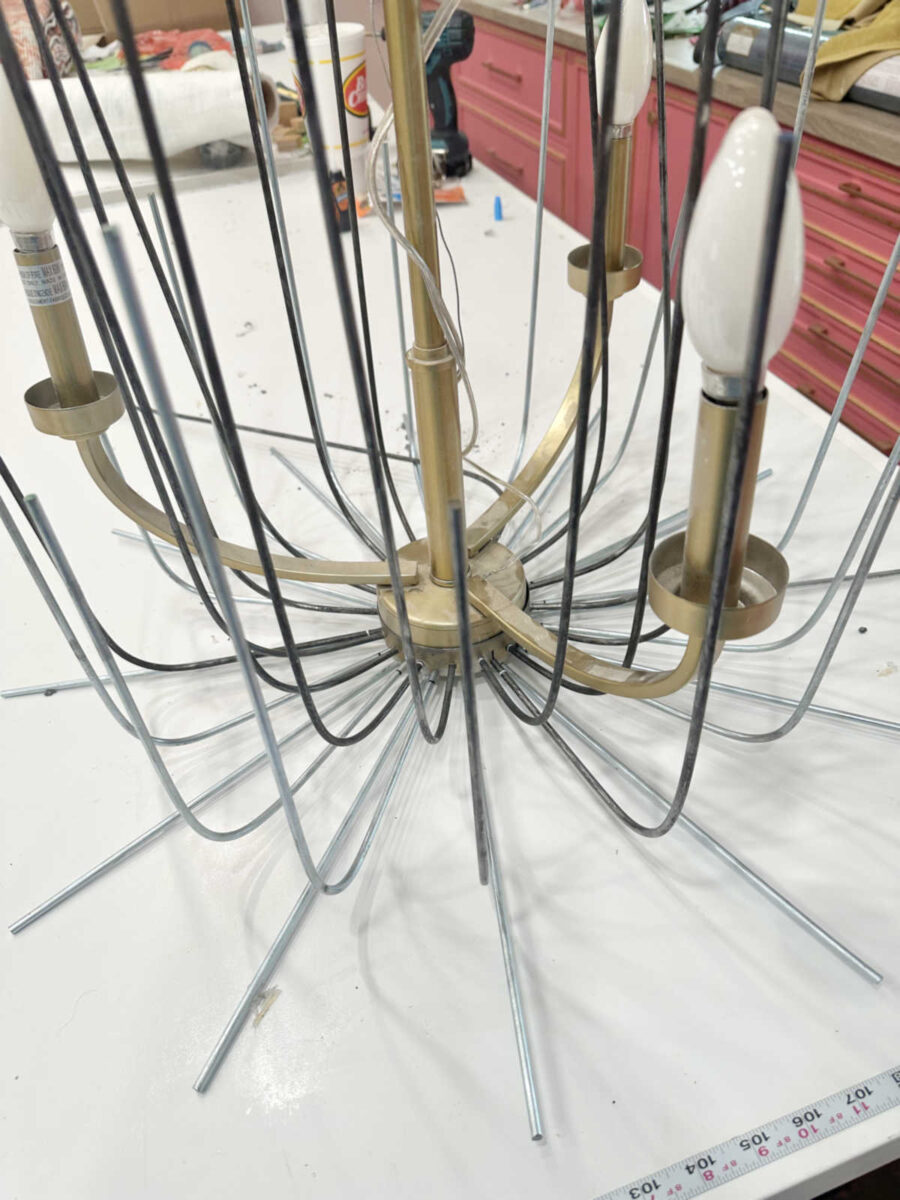
So yesterday, I knew I wanted to redo that entire row. However I already drilled holes by means of the metallic, so I wanted to determine how to try this. After eradicating these metallic rods (which took fairly a little bit of brute drive and sheer willpower since they have been held in place with JB Weld), I then used extra JB Weld epoxy clay to cowl over the holes that I had already drilled, ensuring to push the clay into these holes as I molded it across the backside metallic piece. I attempted to get it as good as attainable earlier than the epoxy clay dried, after which when it was utterly dry, I used 100-grit sandpaper to easy it out.
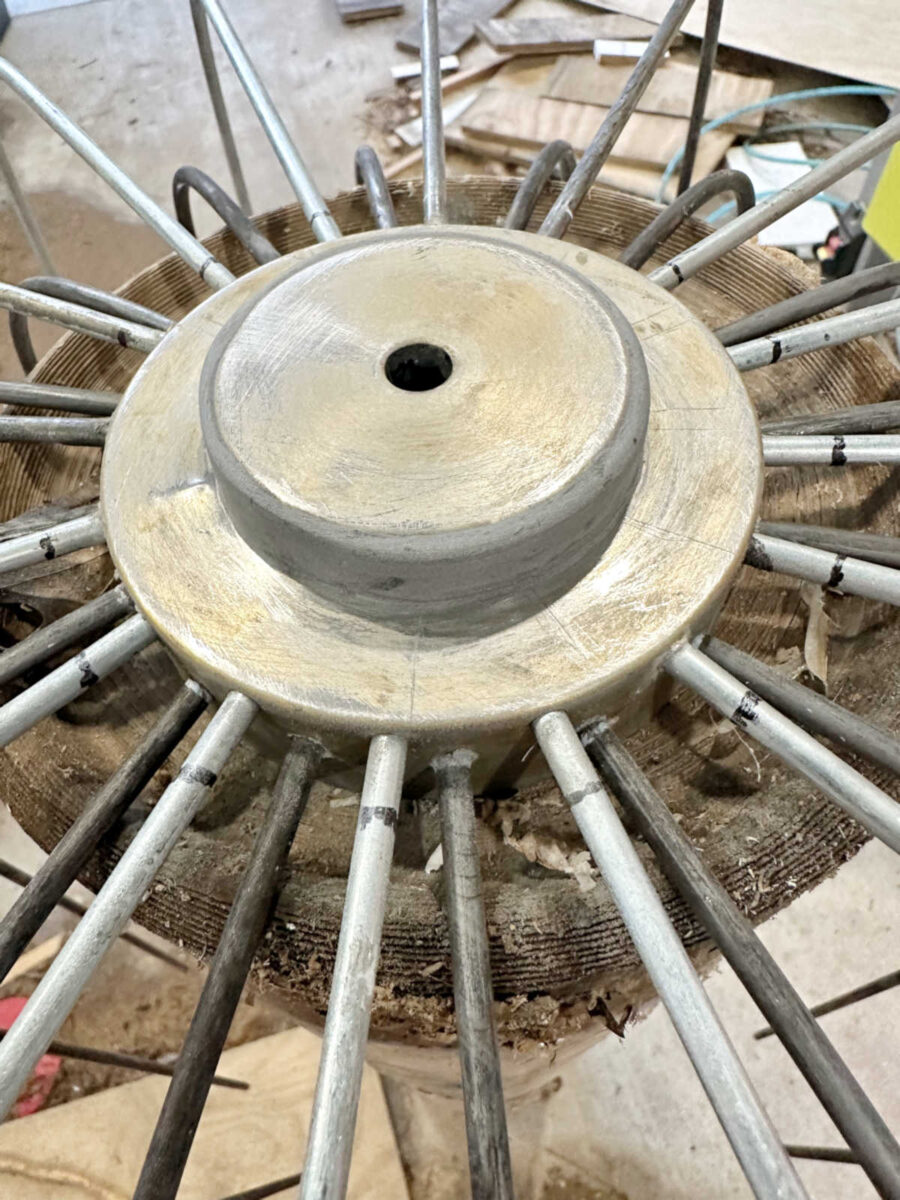
This gave me a brand new base into which I might drill the brand new holes, after which I re-inserted the metallic rods and held them into place utilizing tremendous glue. It really labored fairly effectively!
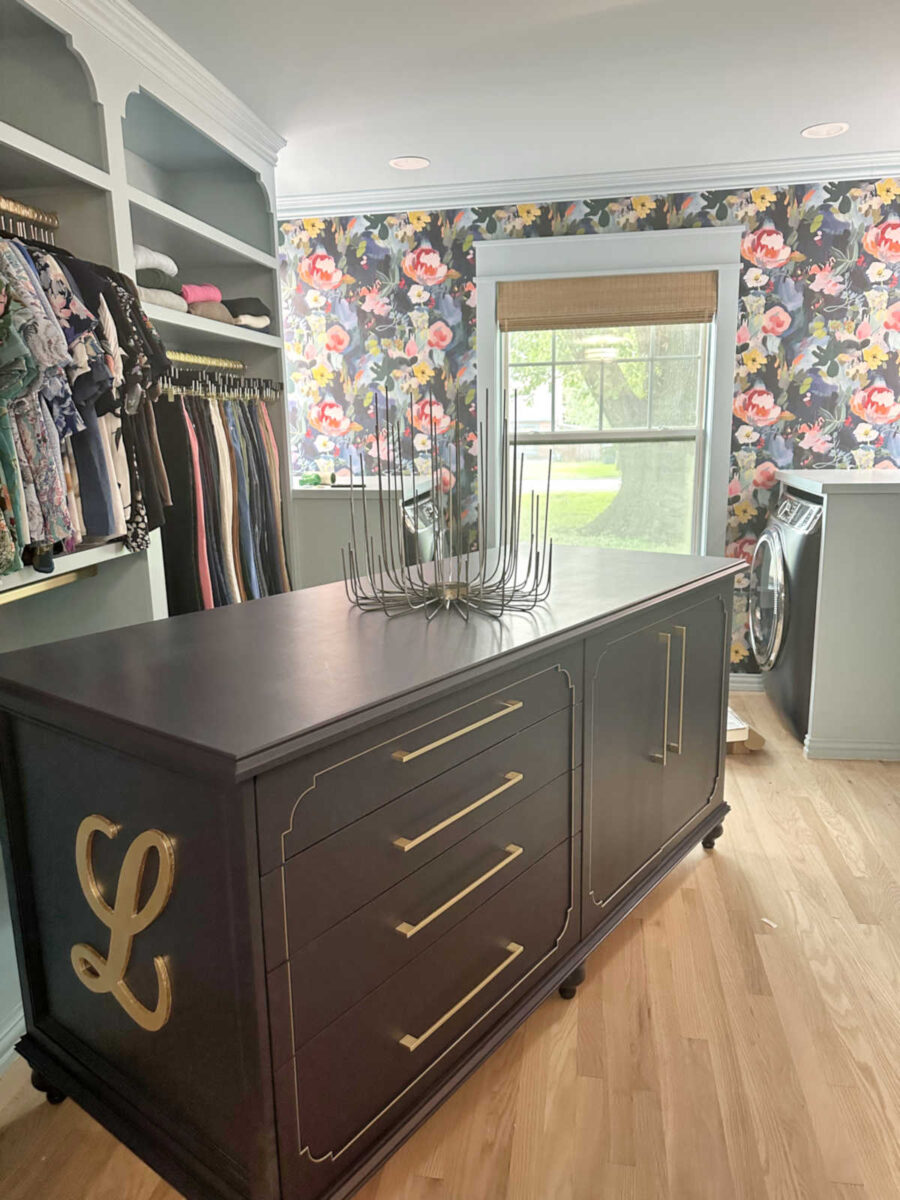
As soon as I had that row of metallic rods in place and secured, I used a 1-inch wooden dowel rod to bend that row up, similar to I had used an empty quart paint container, and a twig paint can for the primary two rows. I’ve to confess that I used to be fairly happy with how this entire body turned out. I do know it seems to be like a large number proper now, since there aren’t any flowers, and the entire thing is an unpleasant colour. However simply think about the flowers hooked up and the entire thing painted white.
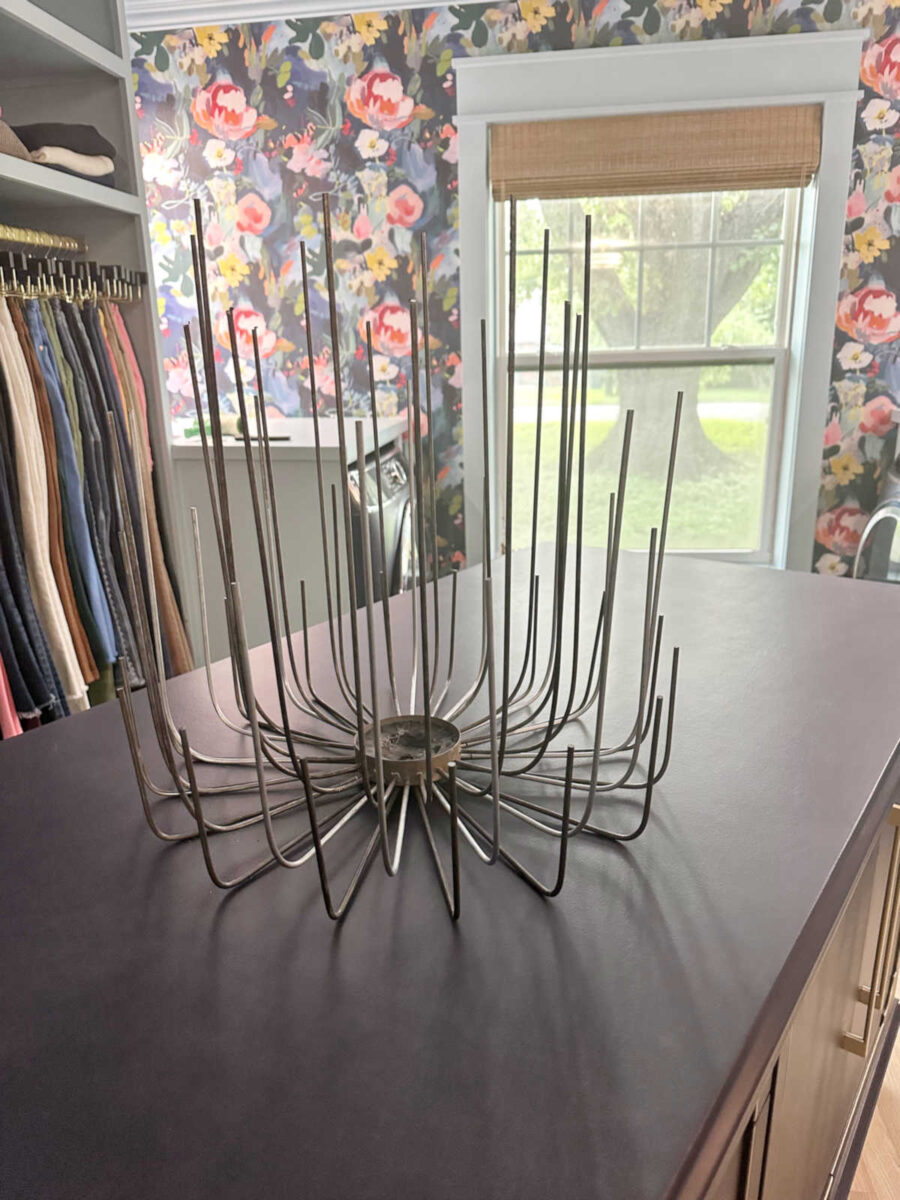
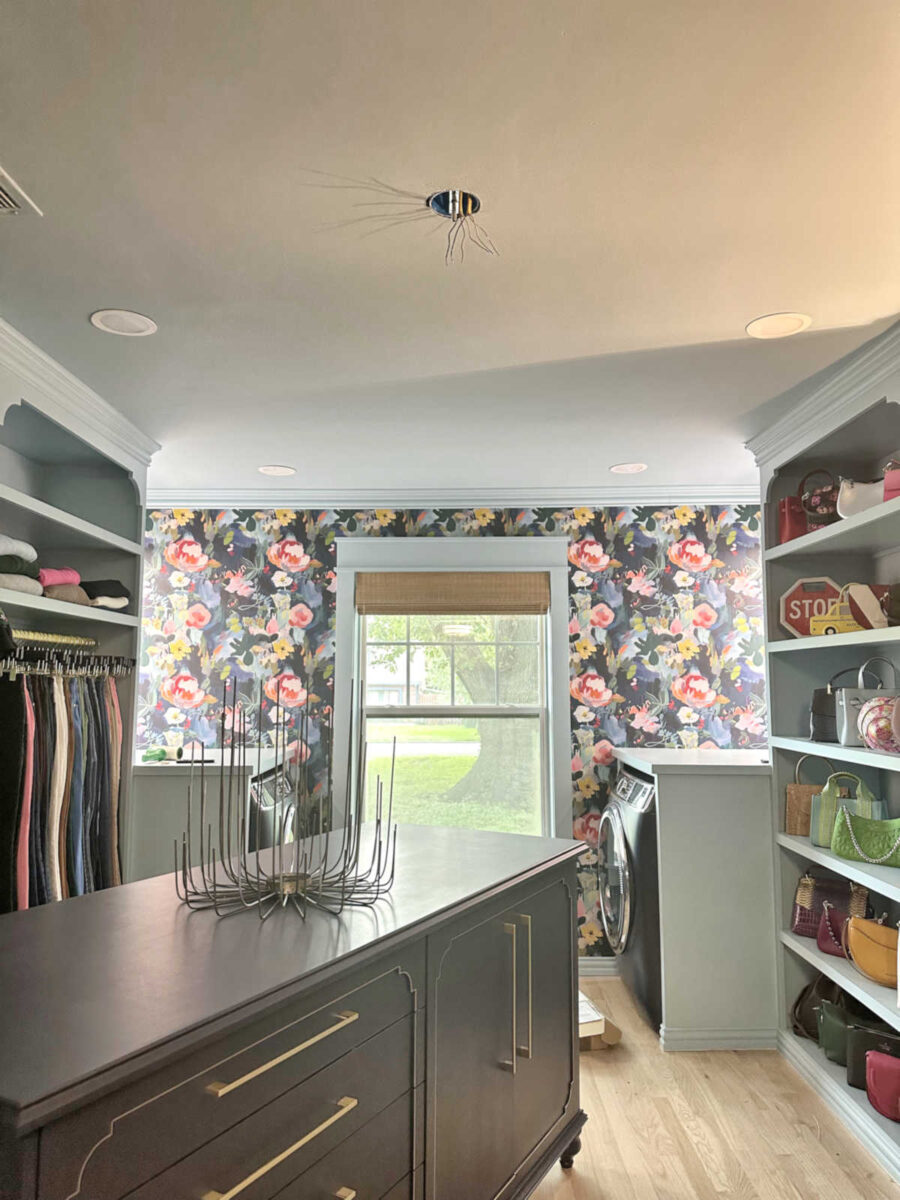
I used to be additionally involved in regards to the general measurement, however as soon as I introduced it into the closet and set it on the island, my concern went away. I believe it’s going to be the proper measurement!
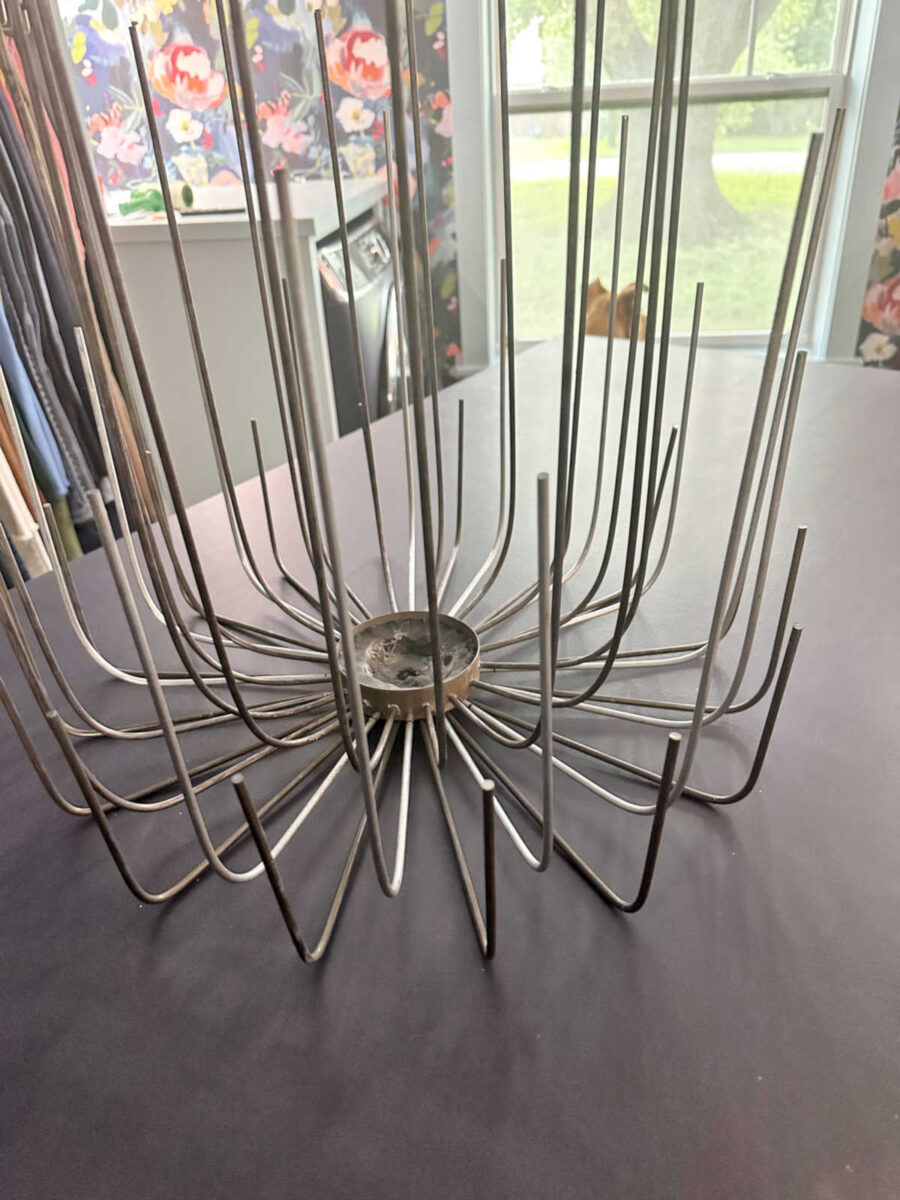
I do plan to trim the rods down. I wasn’t certain how tall I wished the tallest rods (stems) to be, however I believe these are too tall for a closet.
Additionally, I apologize for the poor lighting in these photos, however this chandelier is the primary mild in the entire chain of lighting within the closet, so with out it there, not one of the others on this change will work. 😀
I additionally don’t plan to maintain the entire rods on that backside row all the identical size. I would like them a bit extra staggered as an alternative of getting 16 flowers across the backside which are the very same top.
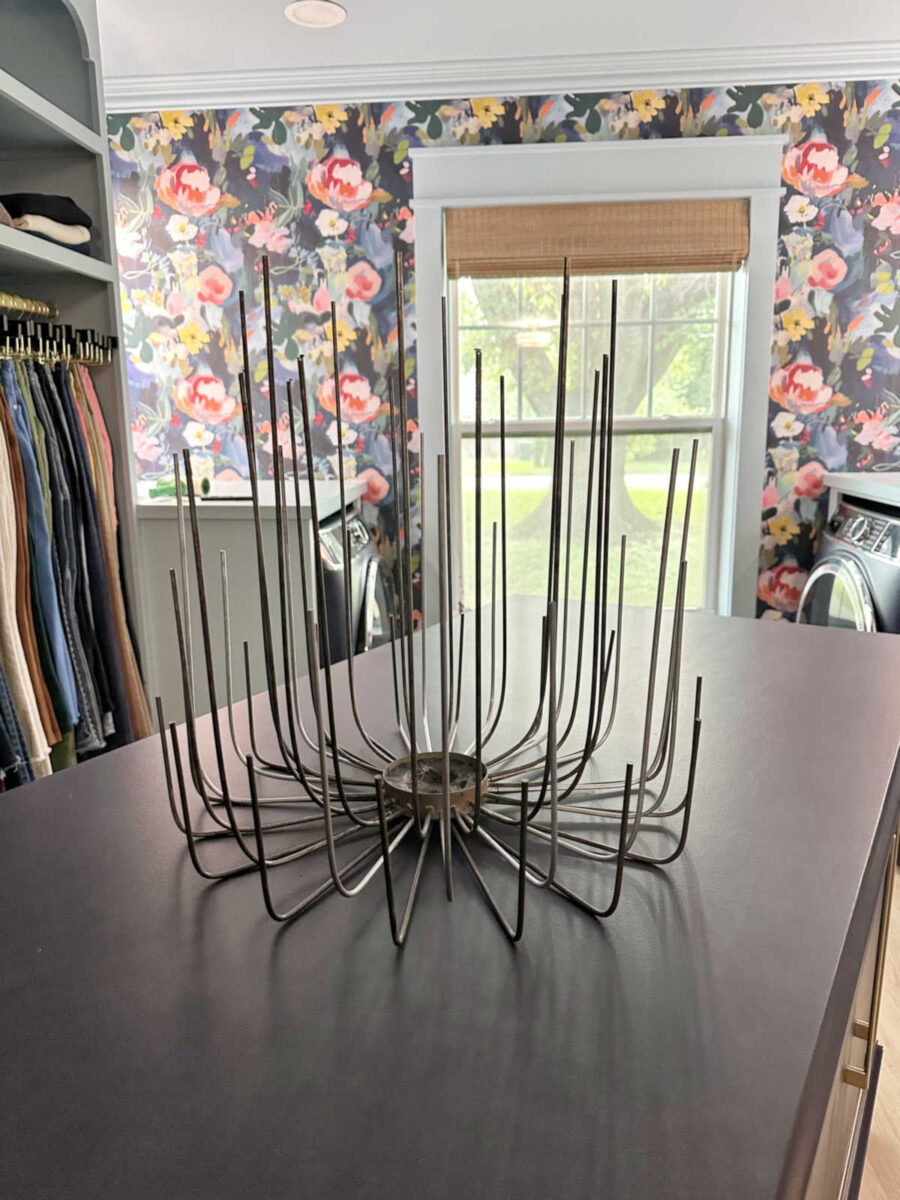
So I’ll preserve eight of them the peak they’re now, after which I’ll lower the opposite eight down about 2-3 inches, so these eight can be about right here…
After which I’ll modify the heights of the entire remainder of the rods from there.
With the body completed, I used to be able to make some flowers. And that is the place issues went off the rails. 😀 However curiously, regardless that my first two flower experiments failed miserably, my assured degree on this undertaking has elevated from 60% to about 80% after yesterday.
After watching plenty of movies on how you can make flowers with numerous forms of media, I had just about decided that air dry clay can be the best choice for this chandelier. However since I’ve a whole lot of wooden tasting spoons readily available, I assumed I’d strive these out first. These have been a fail. The spoons aren’t curved sufficient. Since they’re so flat, it’s onerous to get them right into a flower form. I attempted gluing them to one another like this, however you possibly can see how flat that made the flower form.
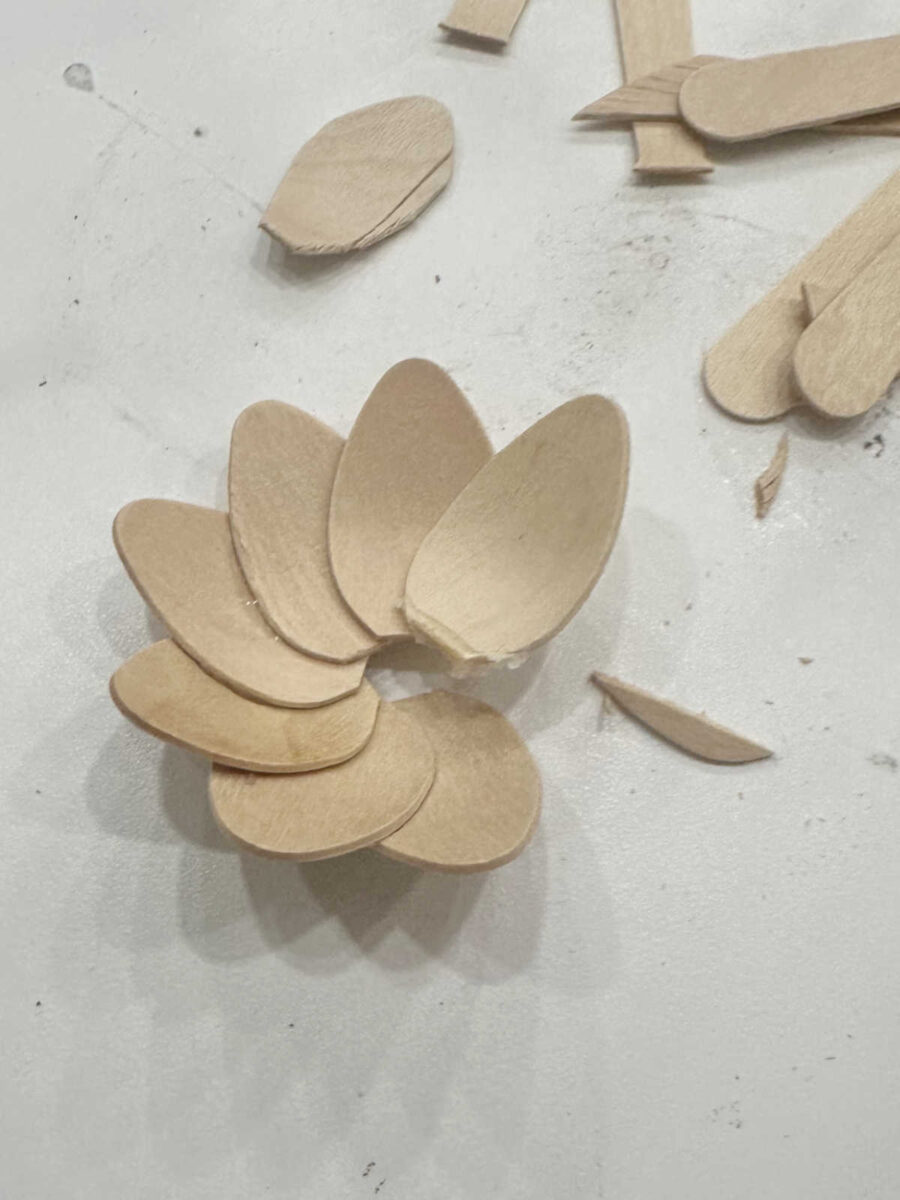
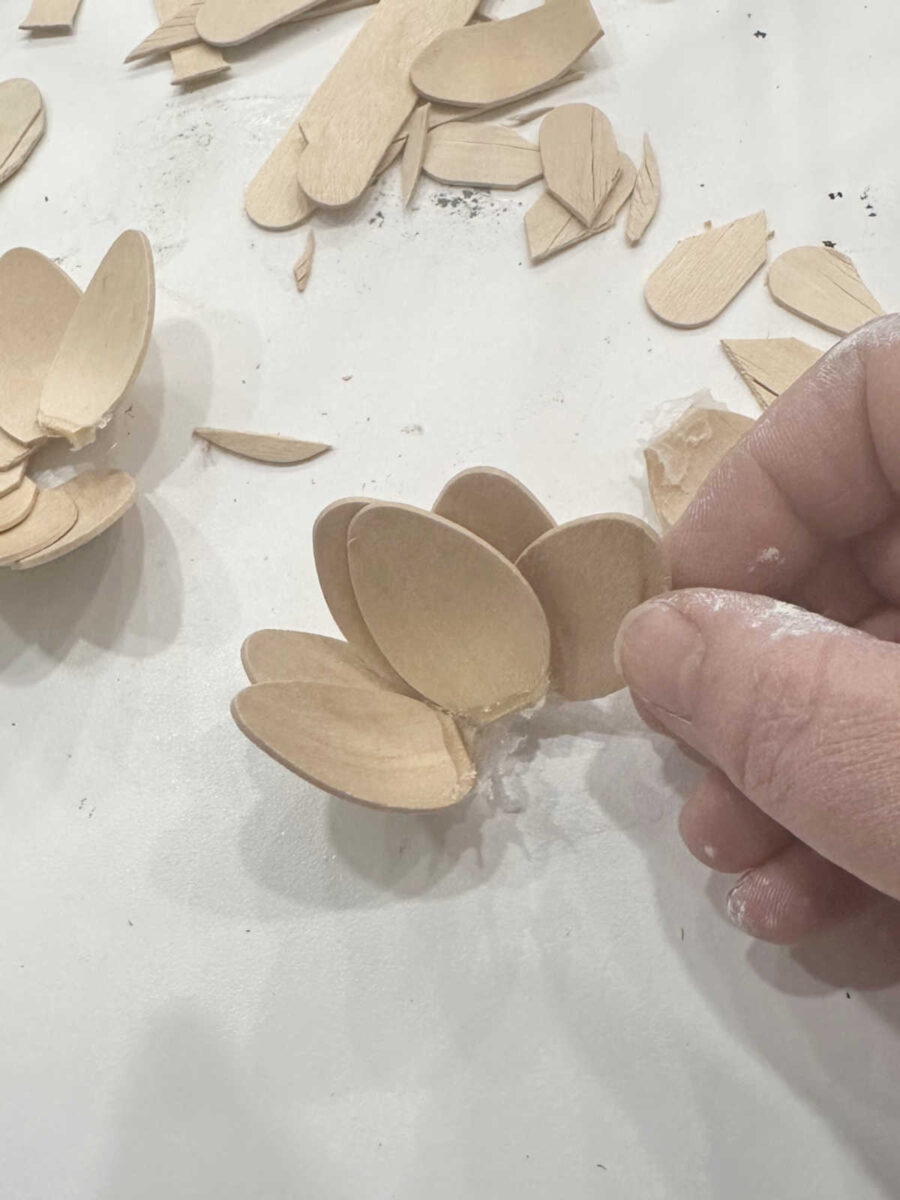
That’s under no circumstances what I’m searching for. So I attempted gluing them extra upright, however once more, for the reason that spoons are so flat, and so they’re wooden, so I can’t bend them in any respect, that didn’t work out both.
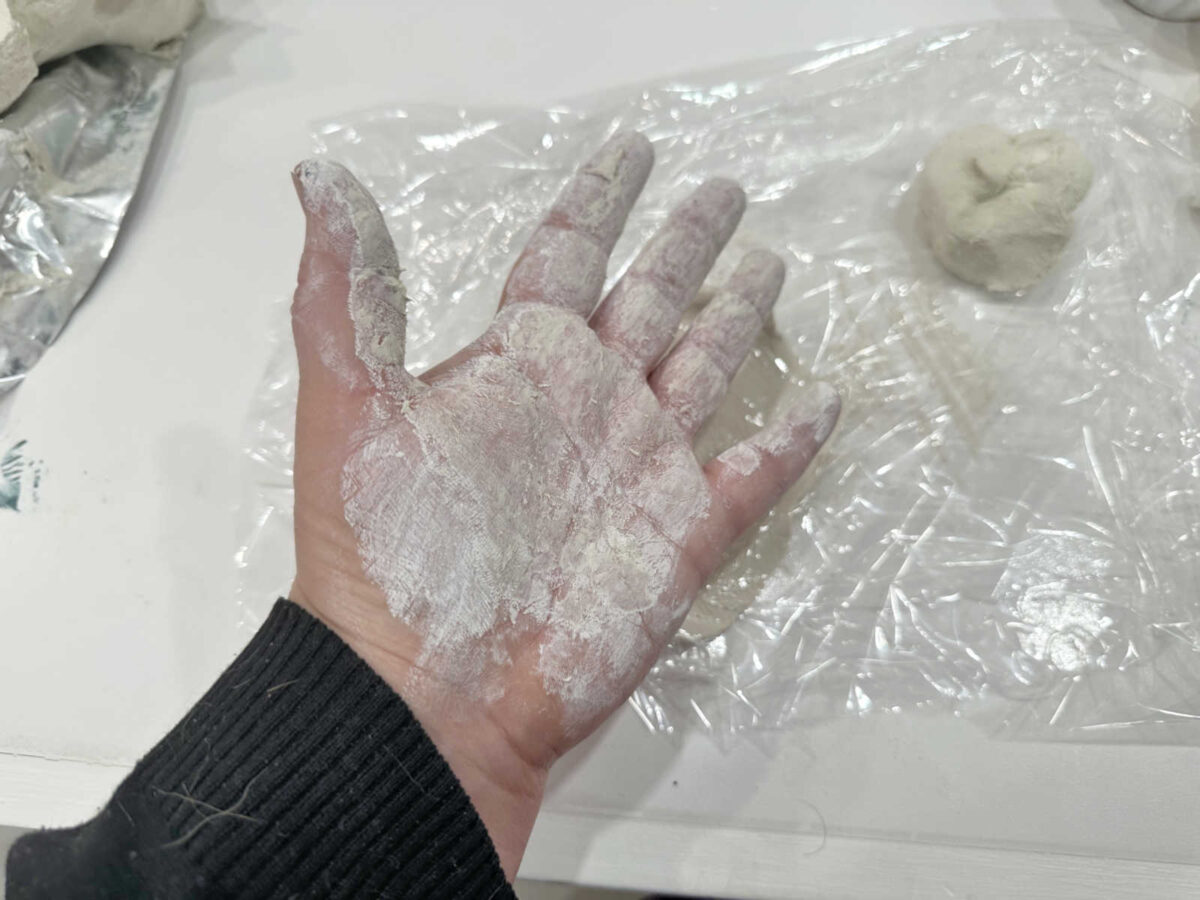
So I went to Michael’s and bought some Craftsmart air dry clay. I had already watched a number of movies on making flowers with air dry clay, and so they all appeared really easy, so I used to be pretty assured that I might do that.

Nicely, this was an entire mess. In my humble opinion (regardless that I’ve by no means used air dry clay earlier than), this product is manner too moist. It caught to every part! I couldn’t get it off of my arms.
And after trying to roll it flat between two items of plastic wrap, simply as I noticed particular person after particular person doing within the movies I watched, it was so sticky that it wouldn’t come off of the plastic wrap.
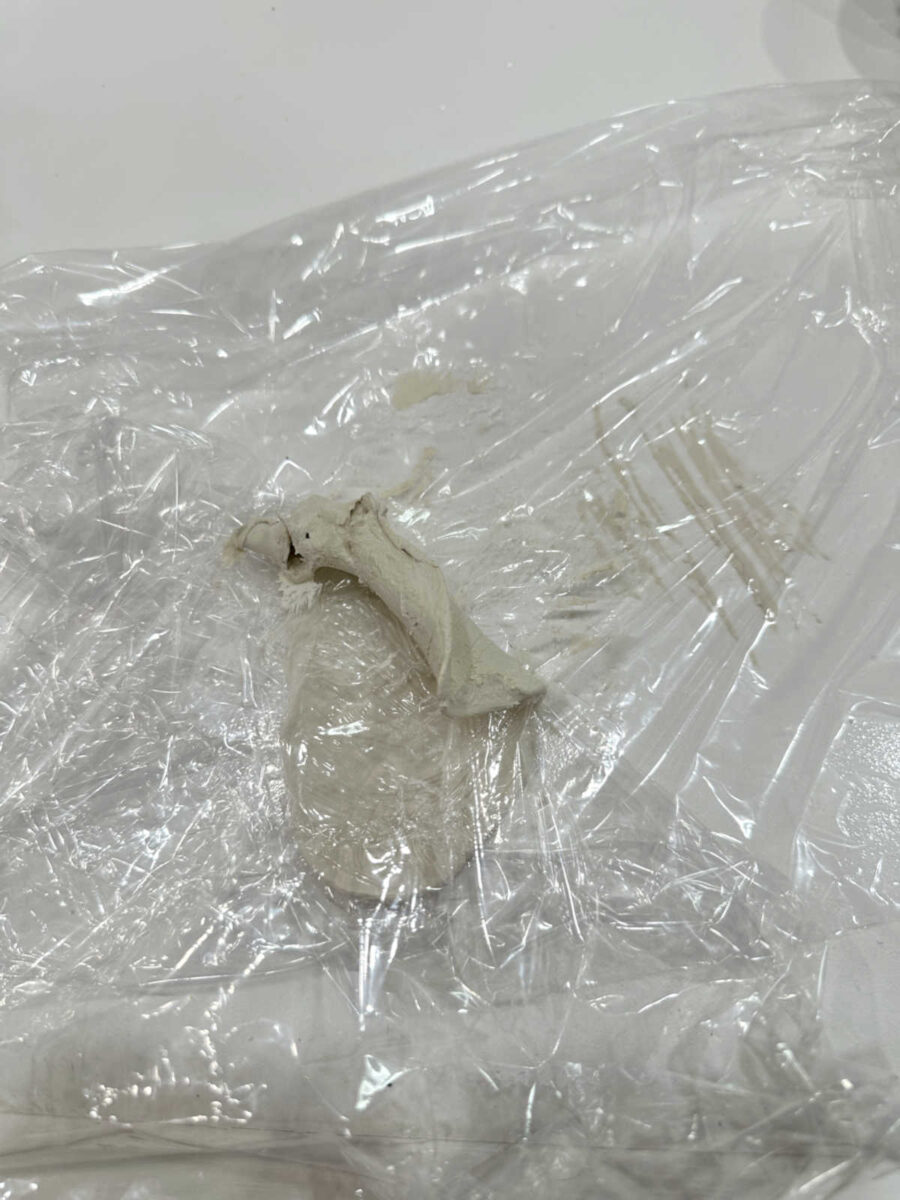
So each of these experiments failed. I’m pondering I simply have to strive a special model of air dry clay. Or possibly I have to go along with an oven-baked clay. I don’t actually know. I’m feeling a bit out of my ingredient right here. I solely have a tiny little bit of expertise with clay, and it’s been years since I’ve tried any form of undertaking with an oven-baked clay. However I do bear in mind it being rather a lot simpler to work with than this, and it didn’t persist with every part it touched.
When you have any expertise with clays, I’d like to know what you assume! Is there a greater model of air dry clay that I ought to be utilizing? Ought to I am going with an oven-baked clay? Is there one other product that I haven’t considered (or don’t find out about) that might be simpler for sculpting flowers? Inform me what you assume.
Extra About My Stroll-In Closet/Laundry Room


Addicted 2 Adorning is the place I share my DIY and adorning journey as I rework and enhance the 1948 fixer higher that my husband, Matt, and I purchased in 2013. Matt has M.S. and is unable to do bodily work, so I do nearly all of the work on the home on my own. You possibly can study extra about me right here.


")


