

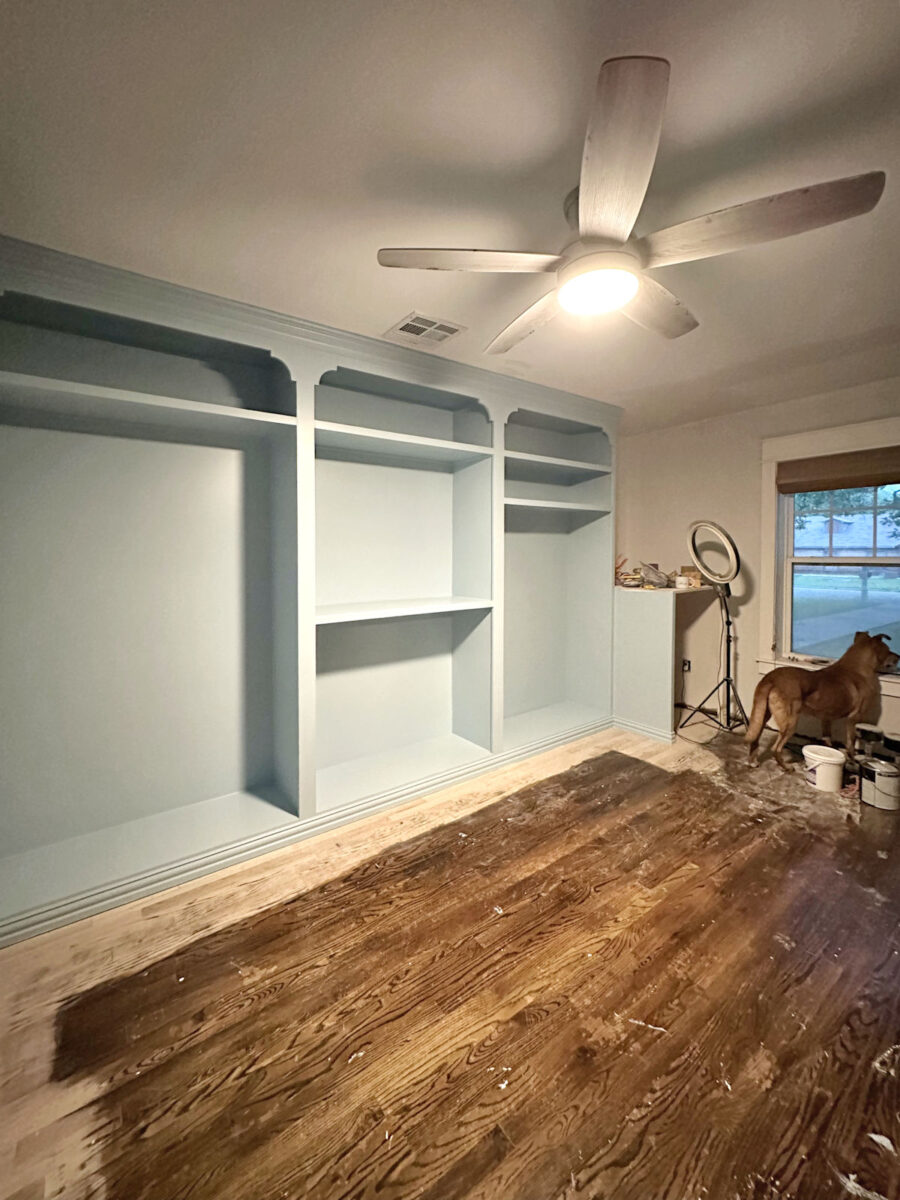
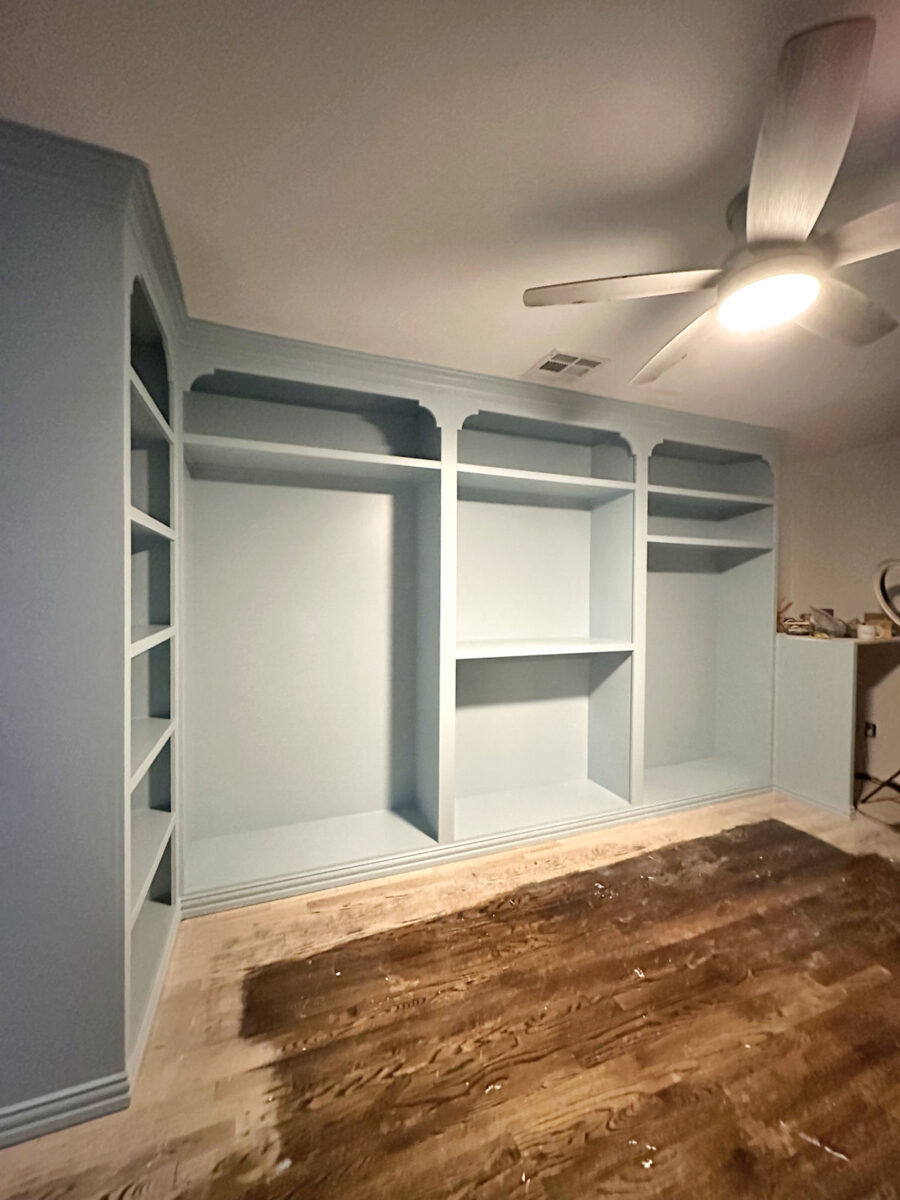
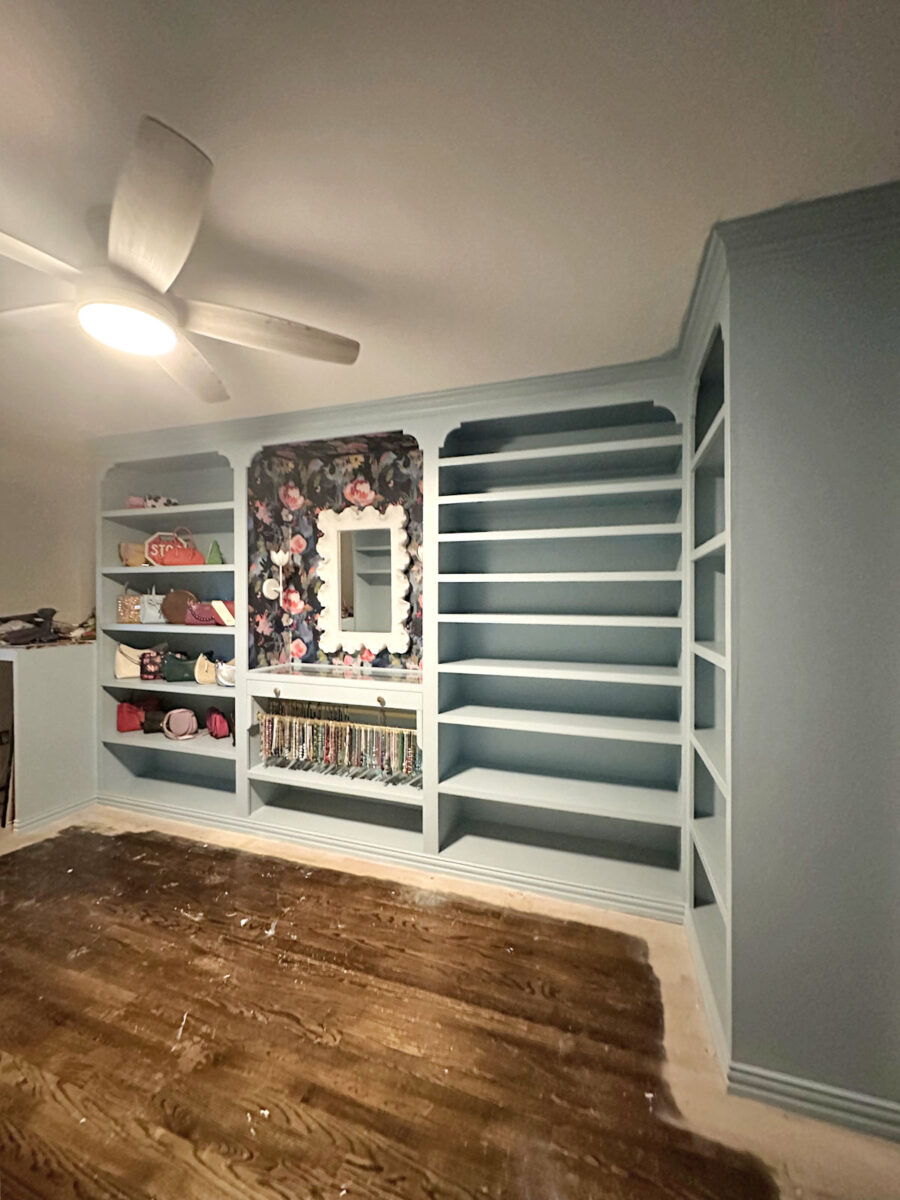
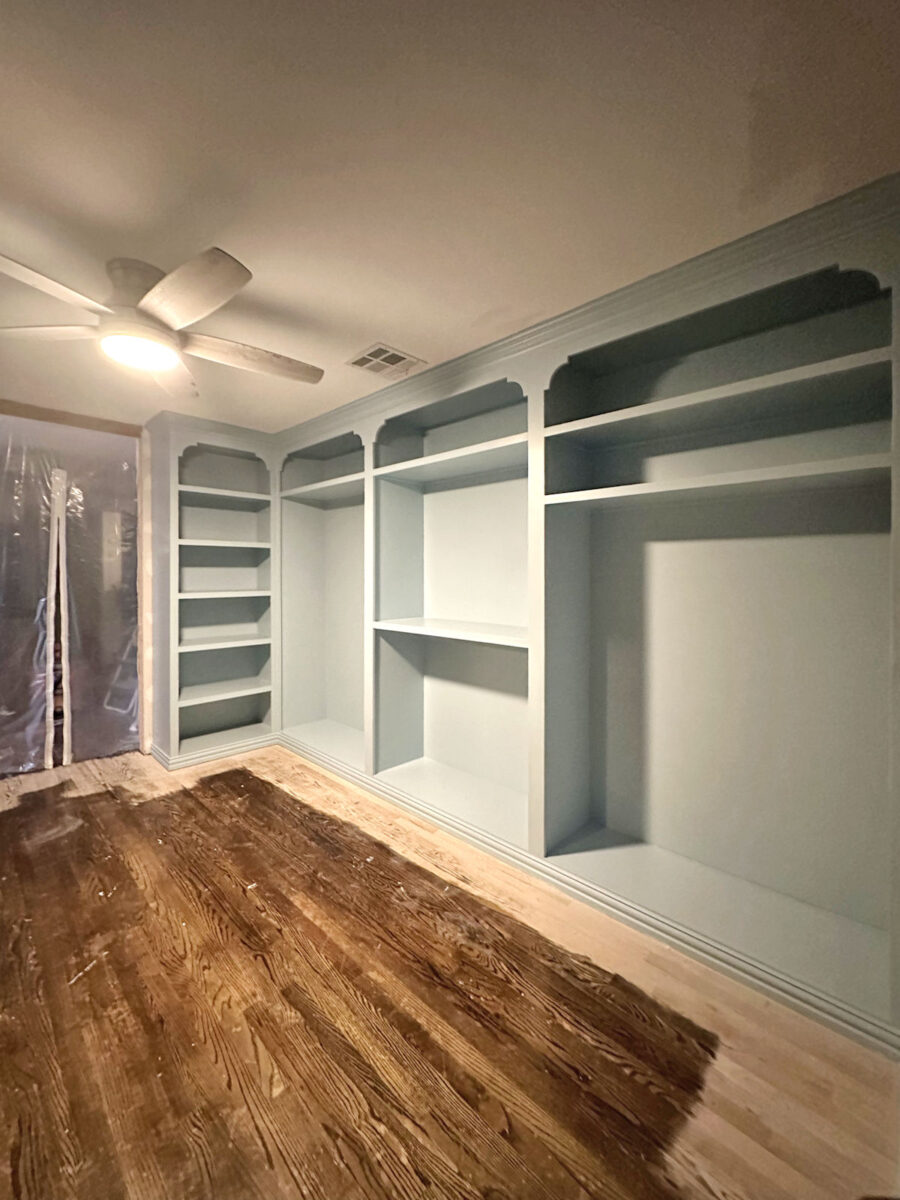
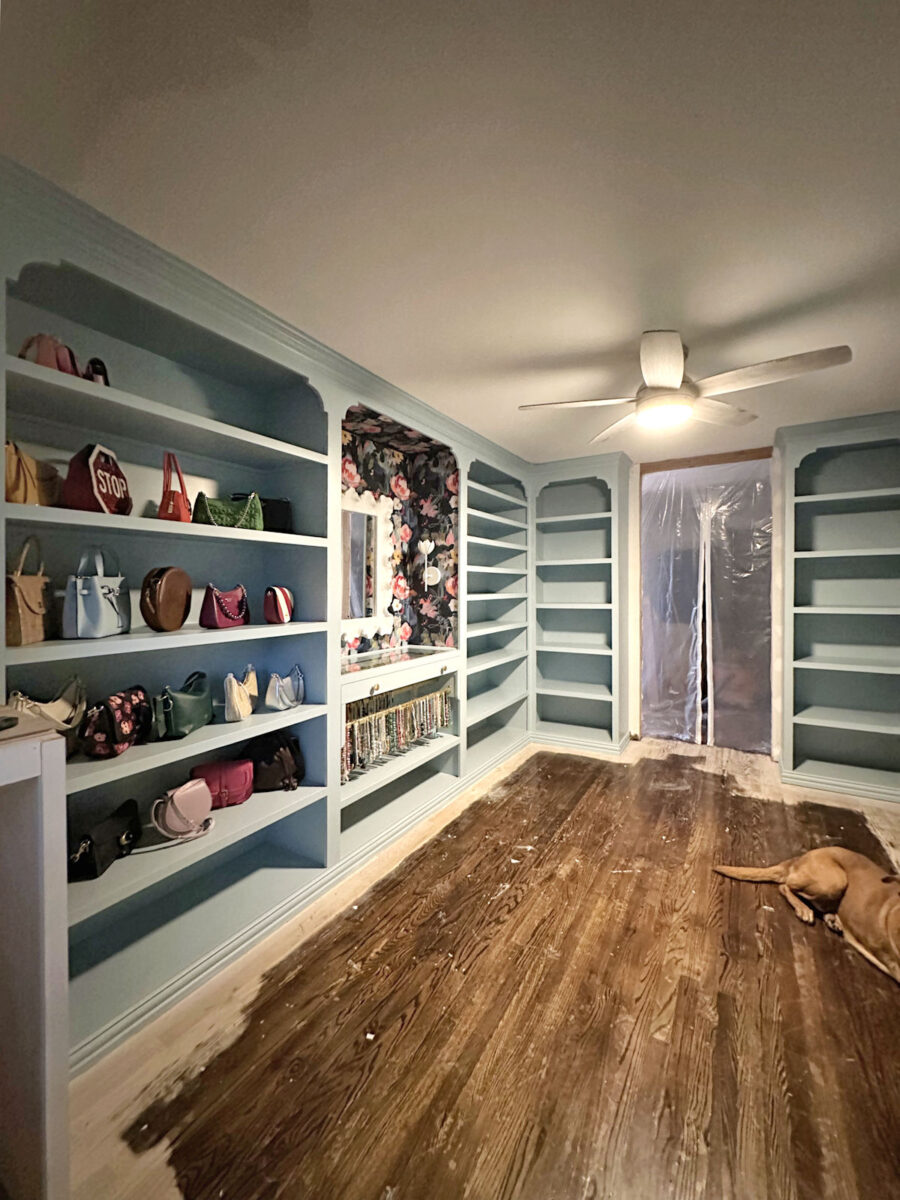
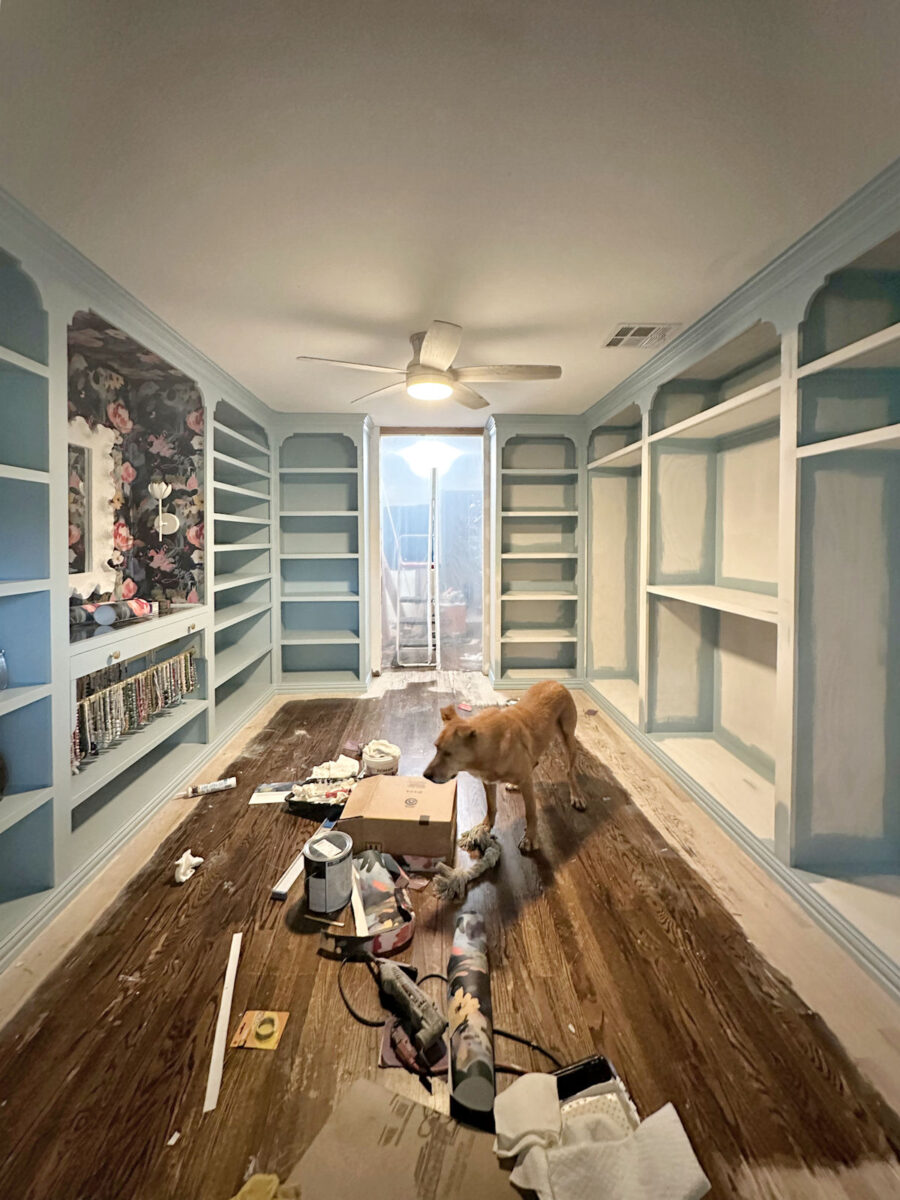
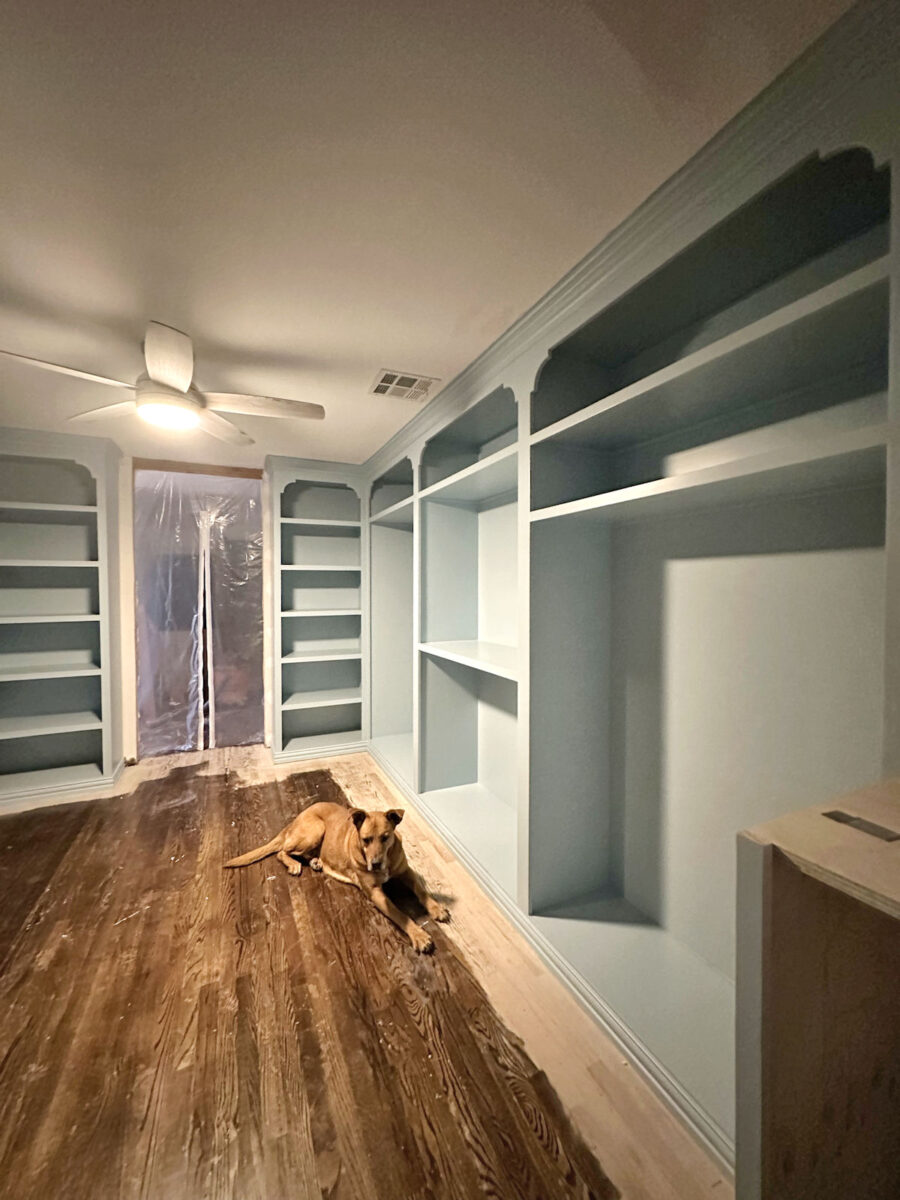
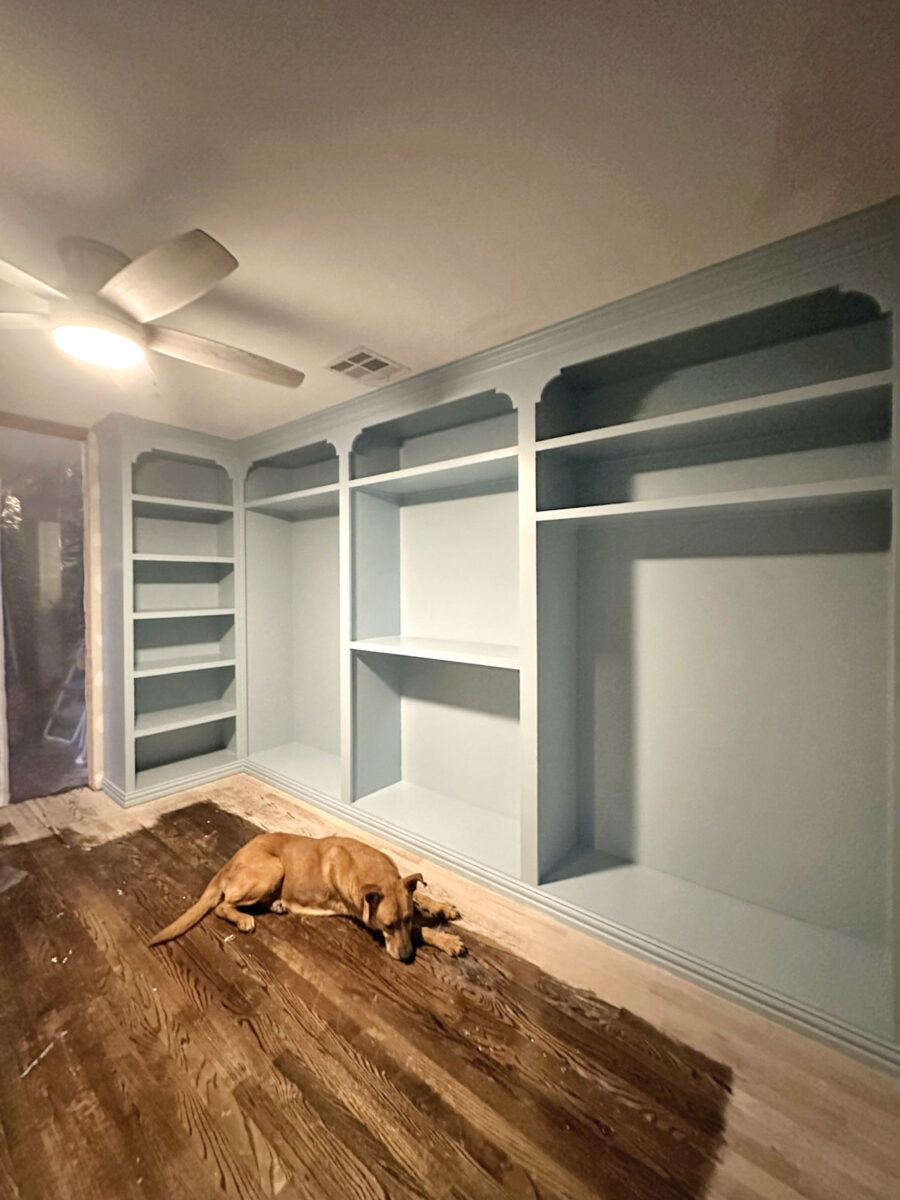
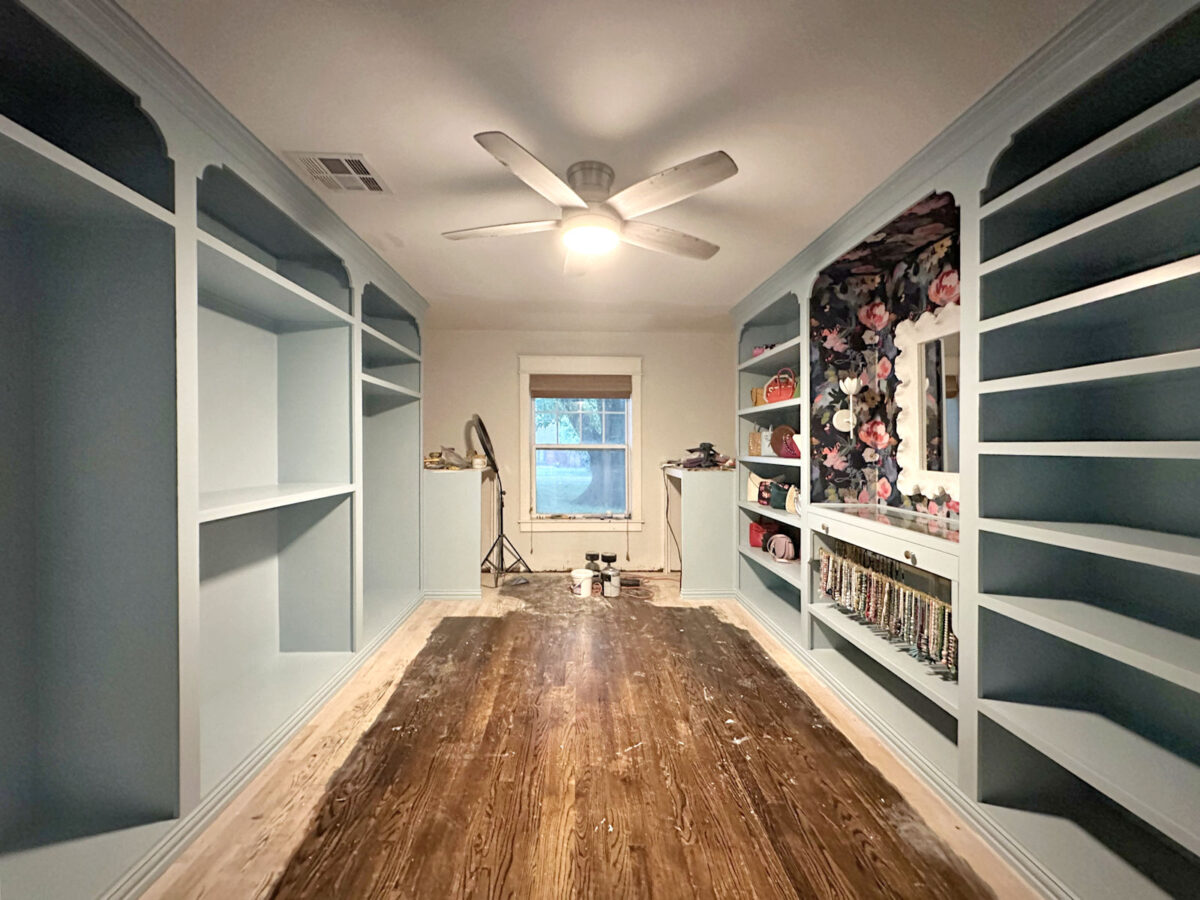
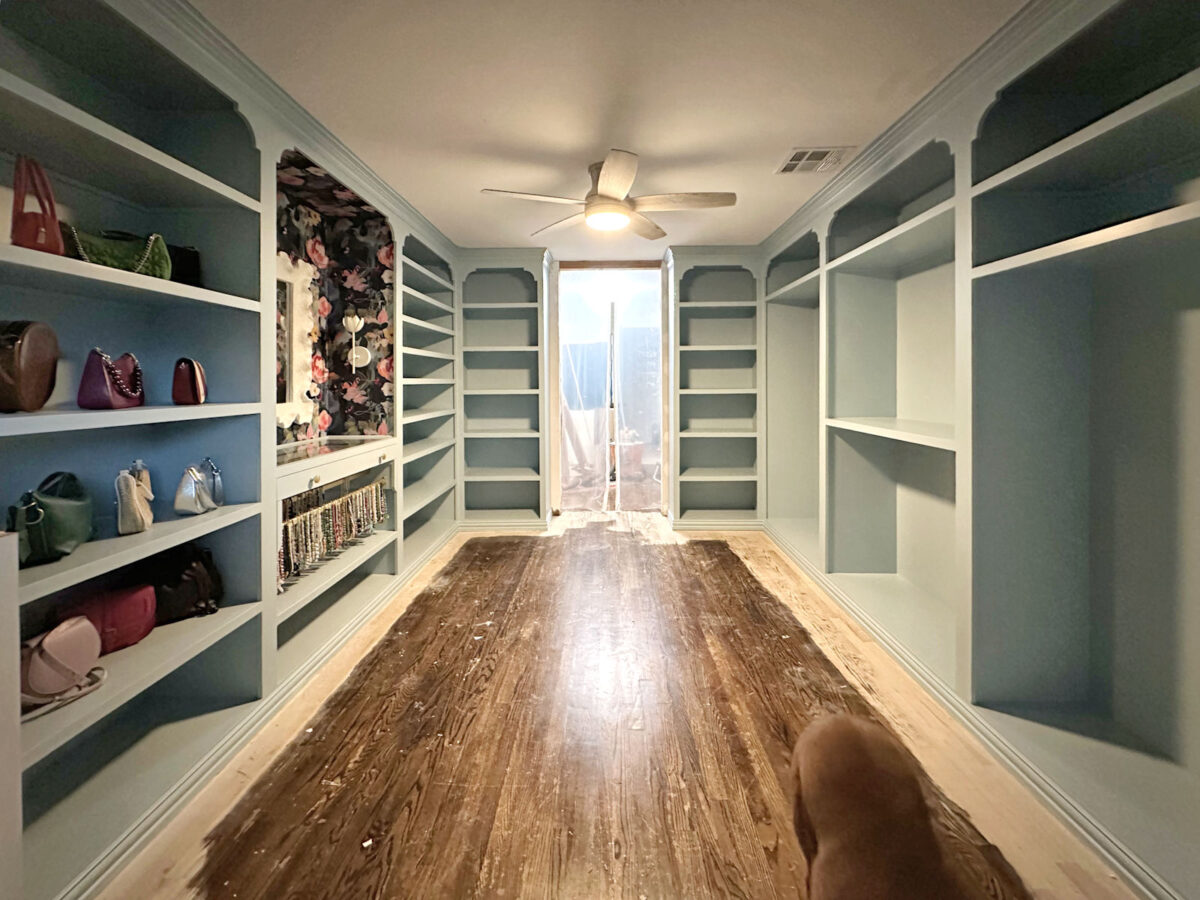
Final evening, I cleared one of many main hurdles on this walk-in closet mission. The cupboards are painted! This was an enormous job with all of these cabinets, but it surely’s lastly executed, and I can transfer on to the subsequent step on this closet mission.
Right here’s how they turned out…
I took all of those photos with the vast angle setting on my telephone, which makes the room look bigger (longer) than it truly is. I imply, the room isn’t tiny. It’s 11’4″ vast and 15’10” lengthy, however the vast angle does distort it a bit. Utilizing a large angle is the one means I can get all the cupboards within the picture, although.
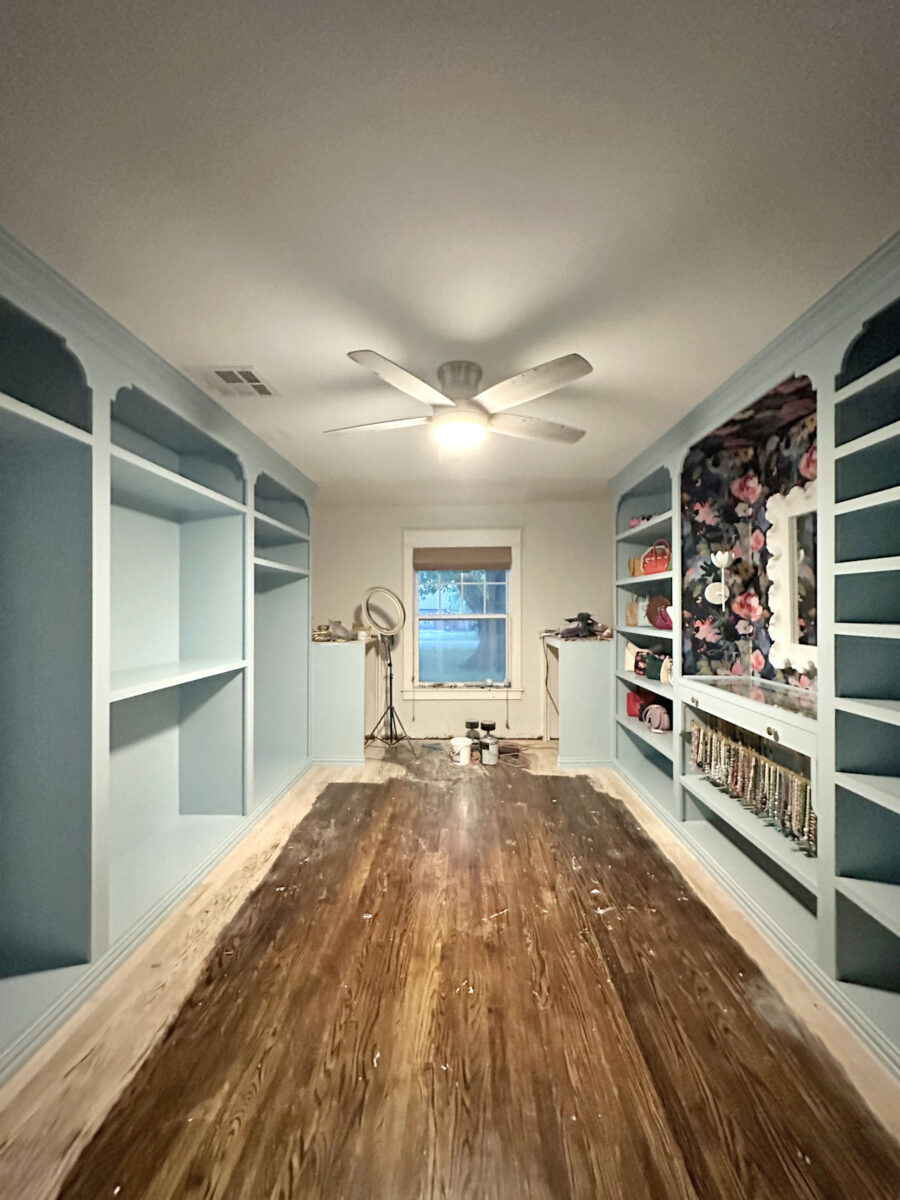
The colour is Sherwin Williams Billowy Breeze, which is a really mild blue with a touch of inexperienced in it. I feel the contact of inexperienced added to the blue retains it from trying like a blue that belongs in a child’s room. I used their Emerald Urethane Trim Enamel in a satin end.
This room nonetheless has horrible lighting (simply the one mild on the ceiling fan for now), so I’m sure it should look significantly better after I lastly get the brand new lighting put in within the room. I’ll be changing the ceiling fan with a chandelier, after which including a minimum of 5 recessed lights, plus accent lighting with 4 sconces within the room.
I had deliberate on doing the flooring subsequent, beginning tomorrow morning, however I feel I’ve modified my plan. As an alternative, I’ll spend tomorrow engaged on the lighting. Since I’ve to chop holes within the ceiling drywall, that’s going to be a really messy and dusty mission, so I’d prefer to get it executed earlier than I begin on the flooring. That means, I also can get the ceiling painted earlier than I do the flooring, which I feel makes far more sense.
Plus, it might actually be good to see this closet in good lighting, and to have significantly better lighting to work by as I proceed with the opposite initiatives that must be executed.
Anyway, I’m so excited to have this enormous mission checked off of my checklist for this room. Clearly, these perimeter cupboards have been the largest a part of this closet, so having them executed appears like I’ve turned a nook. Whereas I do nonetheless have a really lengthy checklist of issues that must be executed in right here (which I shared in yesterday’s put up), it appears like the remainder shall be a simple jog to the end line by comparability.
How I Painted My Closet Cupboards
To color these cupboards, I used a brush to chop in round all the corners and to color the trim. You may see that on this picture that I shared yesterday.
I did two coats of paint, so as soon as I had the primary coat executed, the paint was dry sufficient to begin on the second coat. I did all the reducing in and trim with each coats of paint earlier than portray the remainder.
After which I painted all the giant, flat surfaces with a 6-inch curler labeled for clean surfaces.
Why I didn’t spray my cupboards
The primary cause I didn’t spray them was as a result of I completed the cupboards in a really piecemeal means. And I did it that means as a result of that’s simply how I work. I don’t all the time do issues within the order during which they take advantage of sense, or within the order which is most effective. I work in an order that may maintain me , motivated, and transferring ahead.
So by the point I had primed, caulked, and sanded the cupboards on the correct aspect of the room, I used to be prepared to maneuver on to color. I didn’t need to wait till I had completed the priming, caulking, and sanding on the left aspect of the room. After which by the point I bought two coats of paint on the primary two sections of cupboards on the correct aspect of the room, I used to be anxious to get the wallpaper and sconces up. There’s no means I might have executed that out of order if I have been spraying my cupboards. However that’s the order during which I wanted and needed to do them for my very own peace of thoughts. I didn’t need to be caught within the priming, caulking, and sanding stage for a number of extra days with out seeing among the fairly stuff lastly being executed. I wanted that psychological break from the mundane duties, and seeing the gorgeous wallpaper and sconces motivated me much more to get the opposite aspect of the room completed.

It’s undoubtedly not probably the most environment friendly approach to do it, however since I do all the work myself, I’ve to do what I’ve to do to maintain myself motivated.
Will I be clear coating the cupboards?
If you happen to’ve been round right here lengthy in any respect, you realize I really like to make use of a transparent topcoat on cupboards and furnishings which have been painted with latex paint. However this time, I received’t be doing that. That is my first time utilizing Sherwin Williams Emerald paint in a satin end, and it’s excellent all by itself. The paint us sturdy, and the end is attractive. No clear topcoat is required in any respect.
Up to now, I’ve used clear topcoats for 2 causes: (1) so as to add sturdiness to decrease high quality paints, and (2) to knock down the sheen on paint that’s too shiny for my style.
The primary cause is why I all the time used a transparent topcoat if I painted cupboards or furnishings with Behr paint. Behr paint all the time appears to retain a slight tackiness to the end, prefer it by no means fully dries. So if I paint bookcases or a credenza high with Behr, after which place gadgets on the cabinets or credenza high, they stick. To forestall that, I all the time used a transparent topcoat which took care of the issue and added sturdiness to the end.
The second cause is why I used a transparent topcoat even after I used an costly and high-quality paint (Benjamin Moore Advance) on my kitchen cupboards. The bottom sheen accessible within the Advance paint was nonetheless means too shiny for my style, so I ended up topcoating it with Basic Finishes Excessive Efficiency Topcoat in a flat end. It annoyed me to spend that a lot on a high-quality paint solely to must clearcoat it, however that sheen was simply an excessive amount of for me.
However the Emerald paint is sturdy, and the satin end is attractive. So for the primary time in a really very long time, I received’t be utilizing a transparent topcoat. I’m offered on Emerald Urethane paint in a satin end. I’ll be utilizing this paint for all of my cupboard and furnishings initiatives sooner or later.

Addicted 2 Adorning is the place I share my DIY and adorning journey as I transform and adorn the 1948 fixer higher that my husband, Matt, and I purchased in 2013. Matt has M.S. and is unable to do bodily work, so I do the vast majority of the work on the home on my own. You may be taught extra about me right here.


