

I began out engaged on smaller tasks for the walk-in closet yesterday, however about 5:30, I made a decision that I’d a lot fairly begin constructing the island. So I headed to Dwelling Depot to choose up every part I wanted for that mission. For sure, as soon as I acquired dwelling with all of these provides, I didn’t have a lot time to work, however my major objective was to get the essential field constructed, connect the ft, and put it into place in order that I may get an concept of what this room will seem like with an island. I’ll skip to the tip and present you that half, after which I’ll again as much as the start and present you the method.
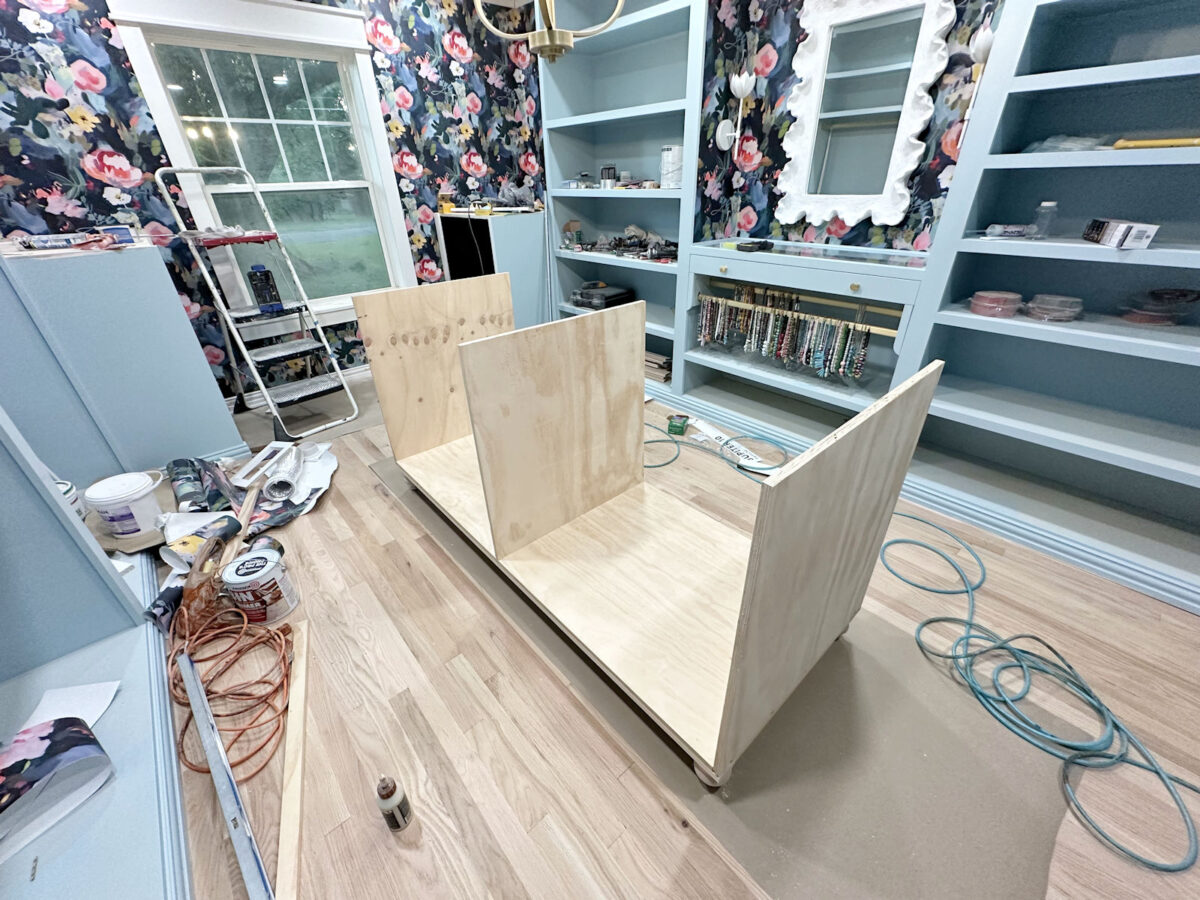
Right here’s what I’ve been anxious to see for some time now. That is the scale of the island, and what it appears to be like like within the room.
The completed island will likely be 30″ x 72″, plus the overhang on the countertop, which will likely be about an inch on all 4 sides. That may go away me with 36 inches of ground area on all 4 sides of the island. And whereas, in my thoughts, I’ve identified that 36 inches of strolling area across the island is loads of room, I’ve nonetheless been anxious to really see it. So I used to be very relieved to get the island to the purpose the place I may truly stand it up, put it into place, after which get a really feel of strolling round it within the room to see for myself that it’s going to truly work. And it’s nice! I nonetheless have loads of room to open my jewellery drawer all the best way, which signifies that I’ll have loads of room to open the entire island drawers as effectively. So my planning labored out completely!
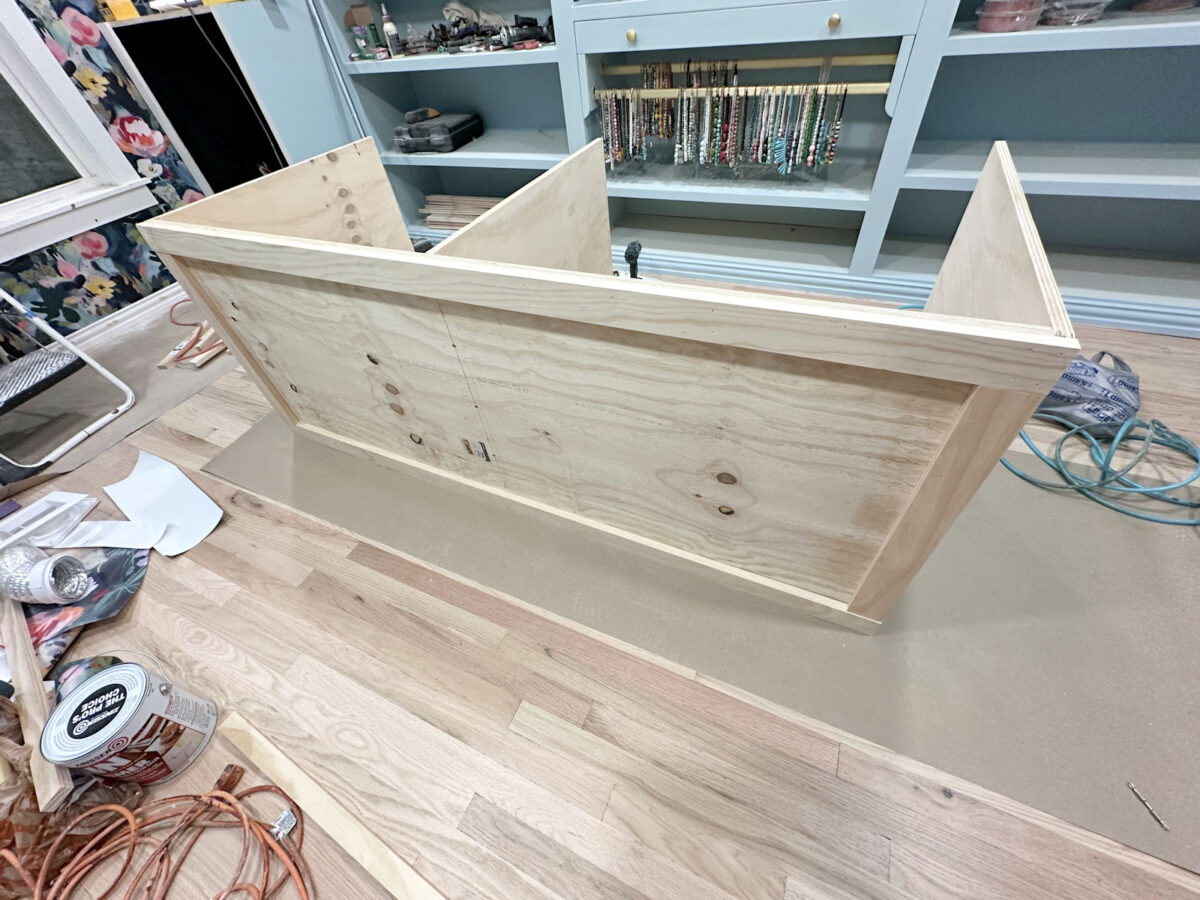
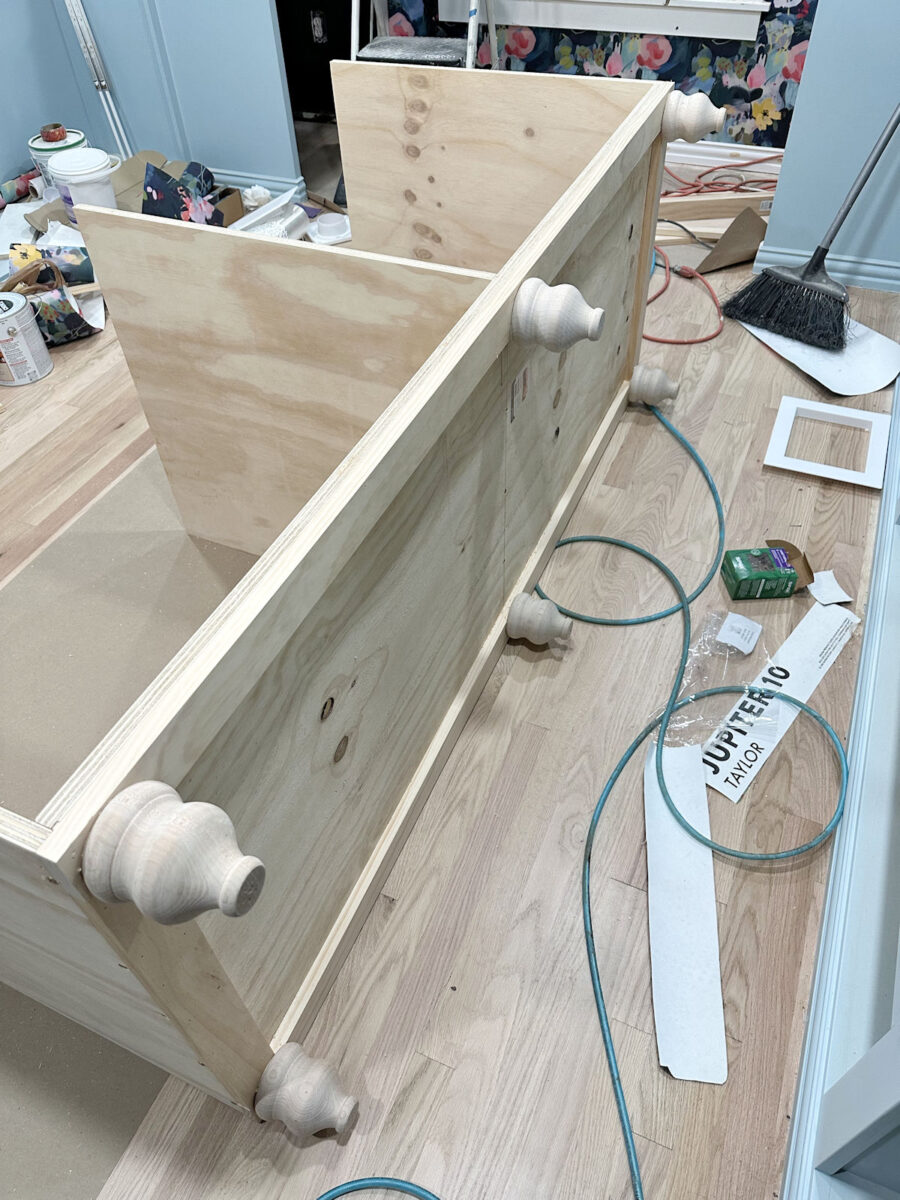
To construct this, I began with the lengthy piece for the underside, lower to twenty-eight″ x 70.5″, and to that piece, I nailed after which screwed on the facet items, that are 30″ excessive and 28″ vast.
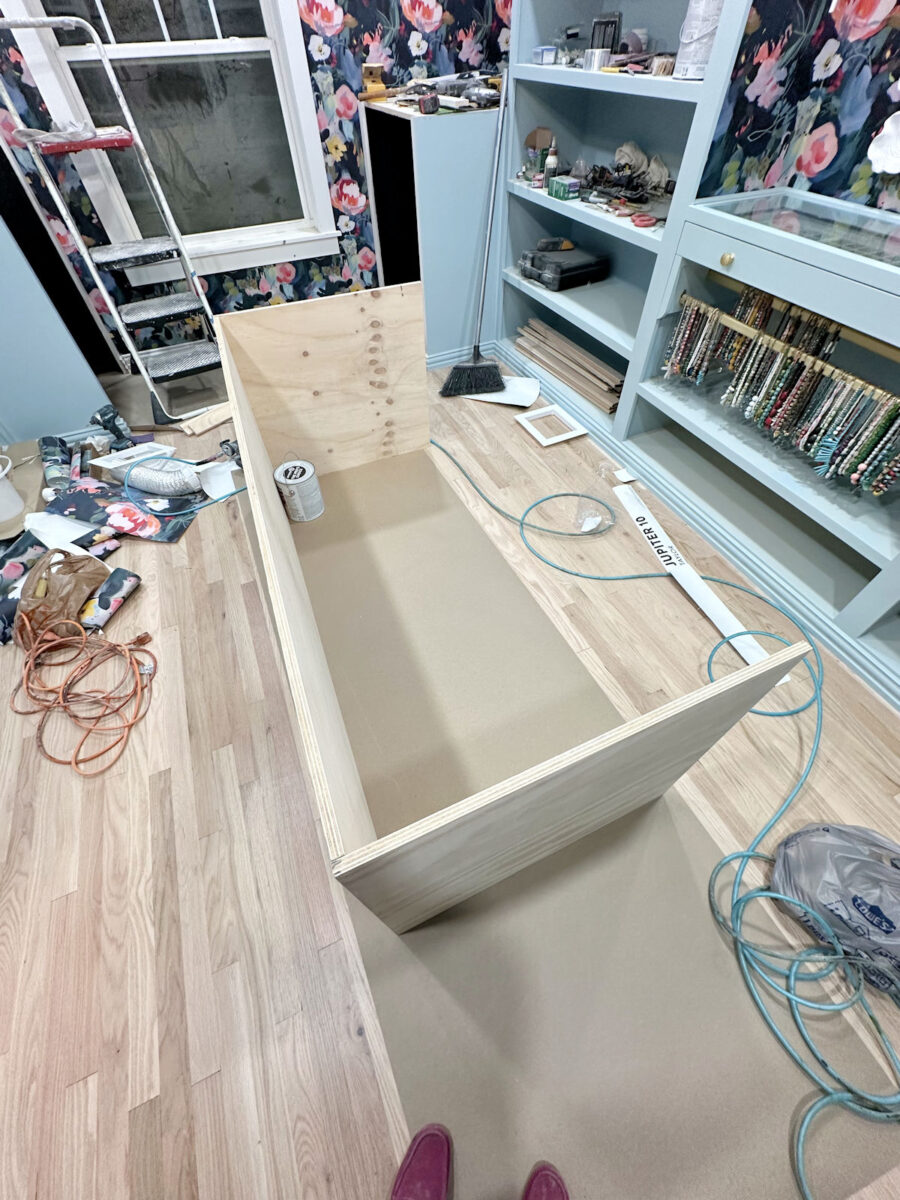
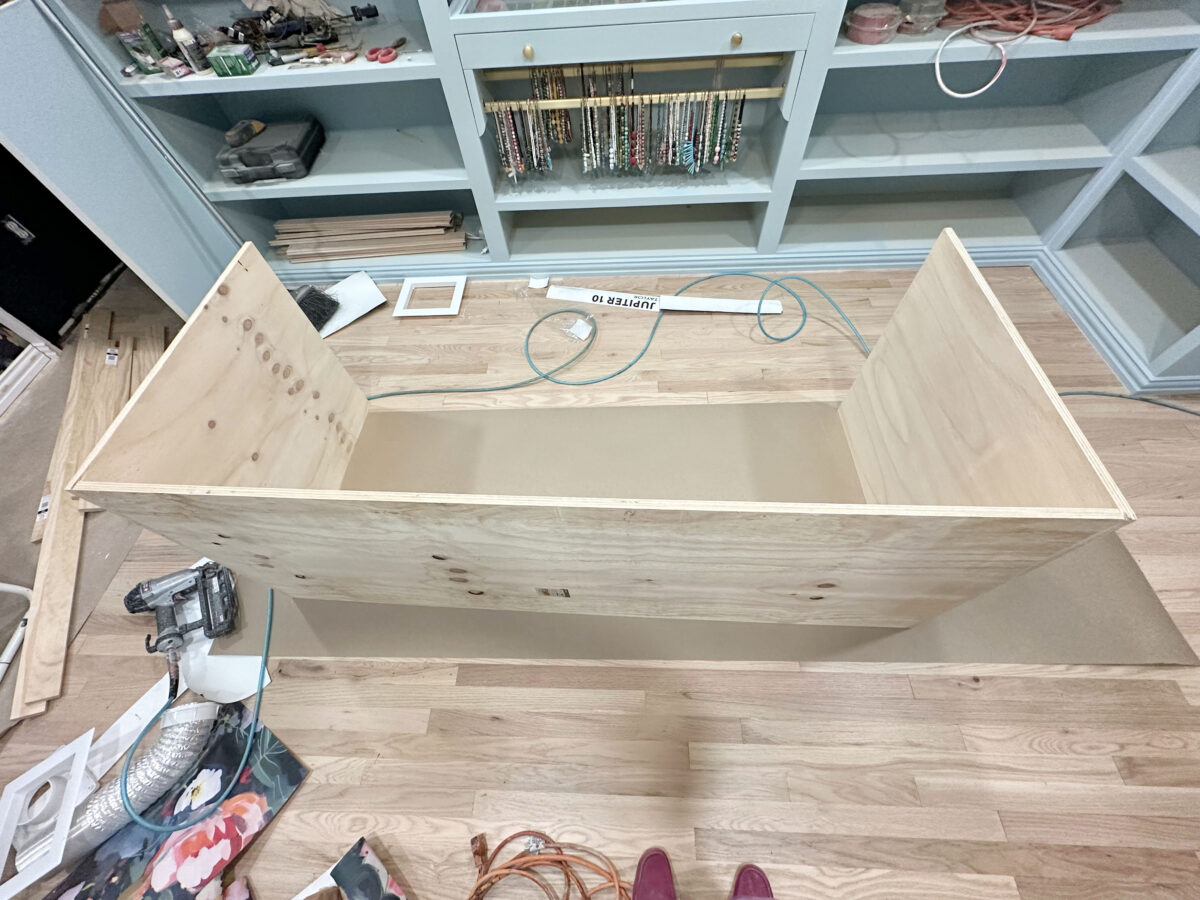
Right here’s one other view of that, with the underside of the island in the direction of the underside of the image.
I don’t know why I made a decision to do it this fashion, however I nailed after which screwed the facet items into the sting of the underside piece. In hindsight, I want I had made the facet items 3/4″ shorter, and the underside piece 3/4″ wider on both sides, after which nailed and screwed the items collectively in order that the facet items had been on high of the underside piece. Both approach will work, although.
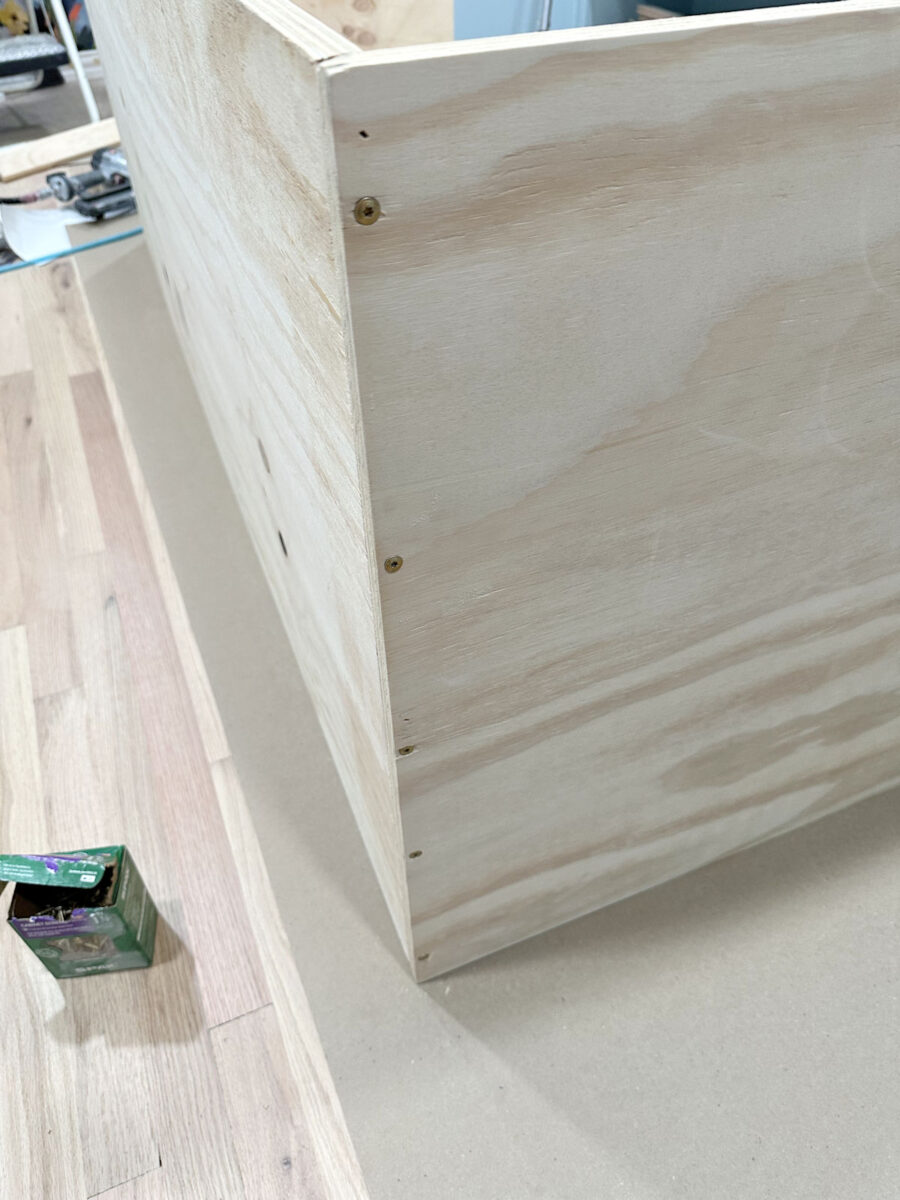
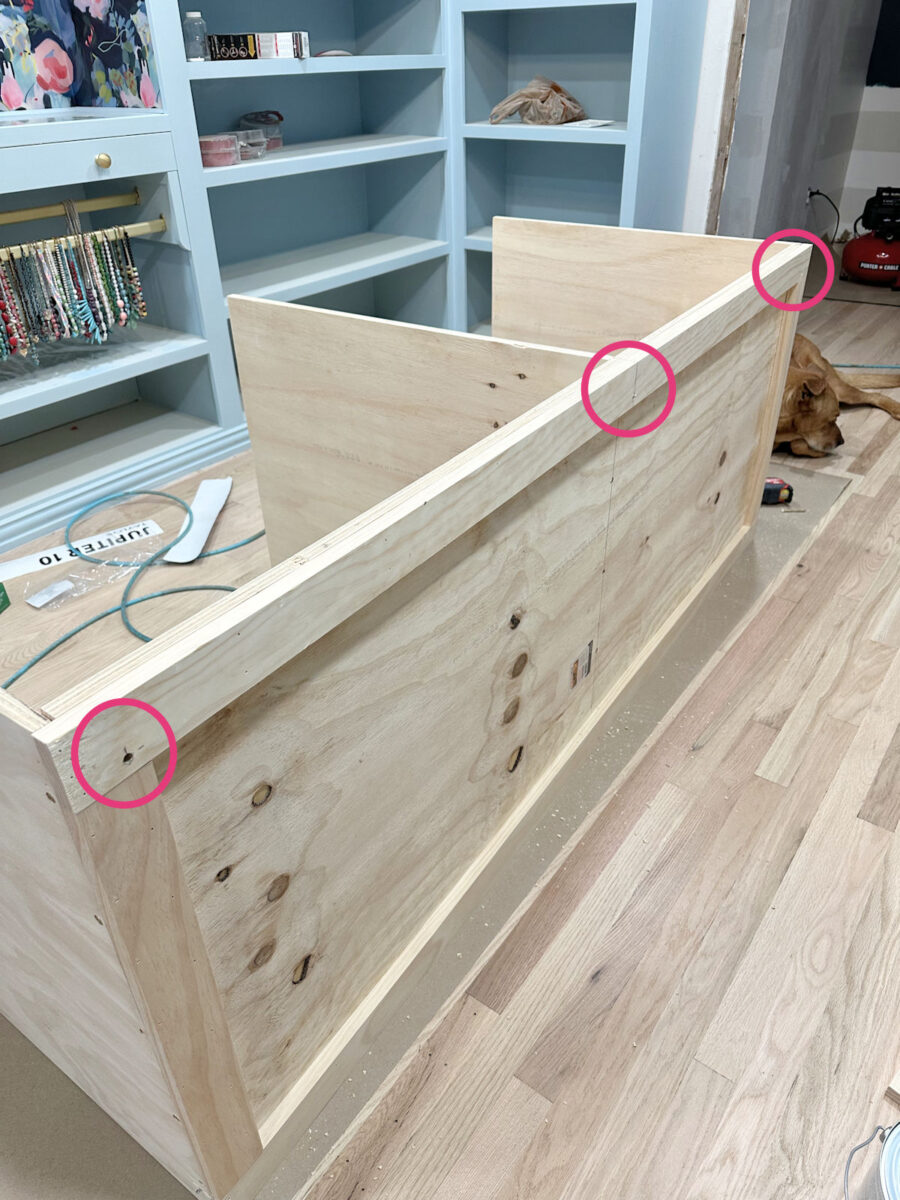
I nailed the items collectively first simply because it’s a lot simpler to carry them collectively and nail them to get them lined up, after which I adopted up with 1.5″ #8 Spax cupboard screws, which don’t require pre-drilling the holes and received’t break up the wooden.
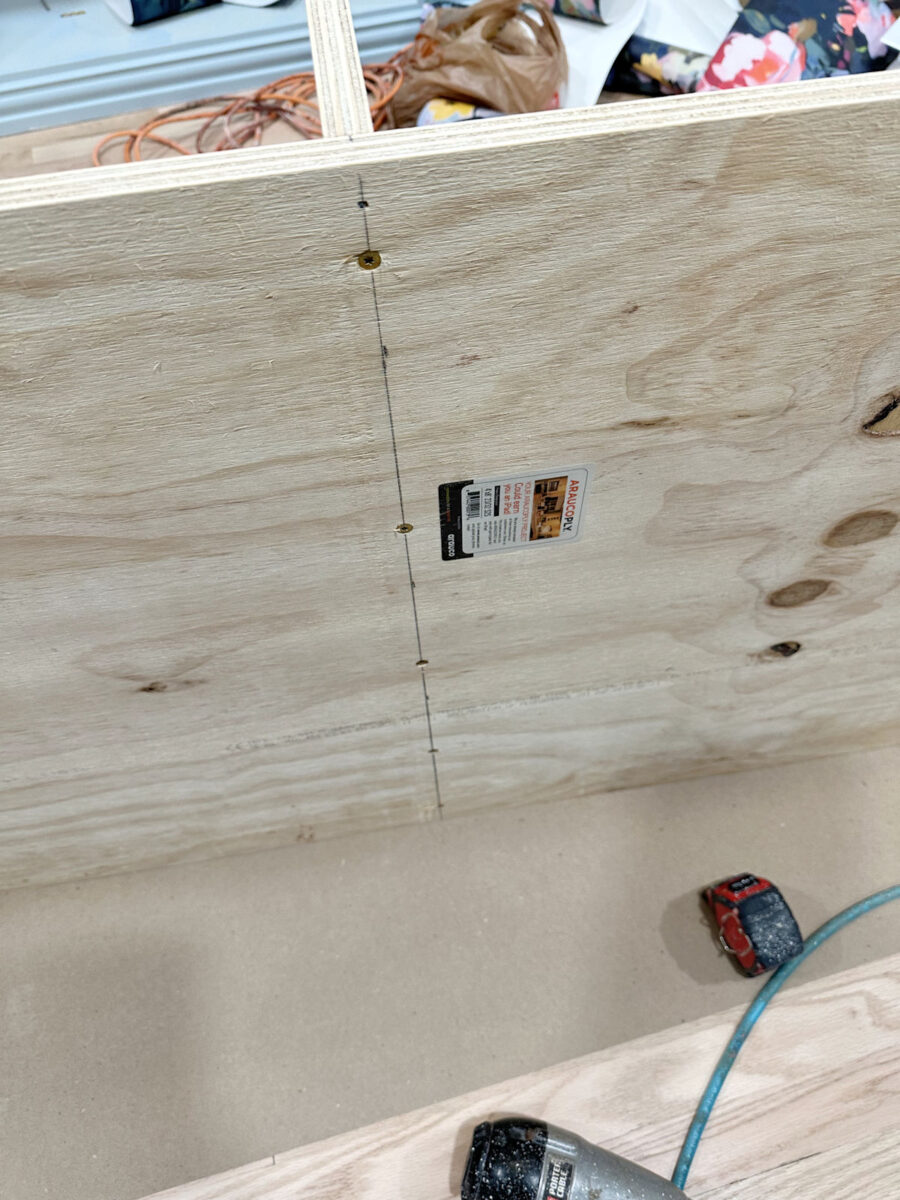
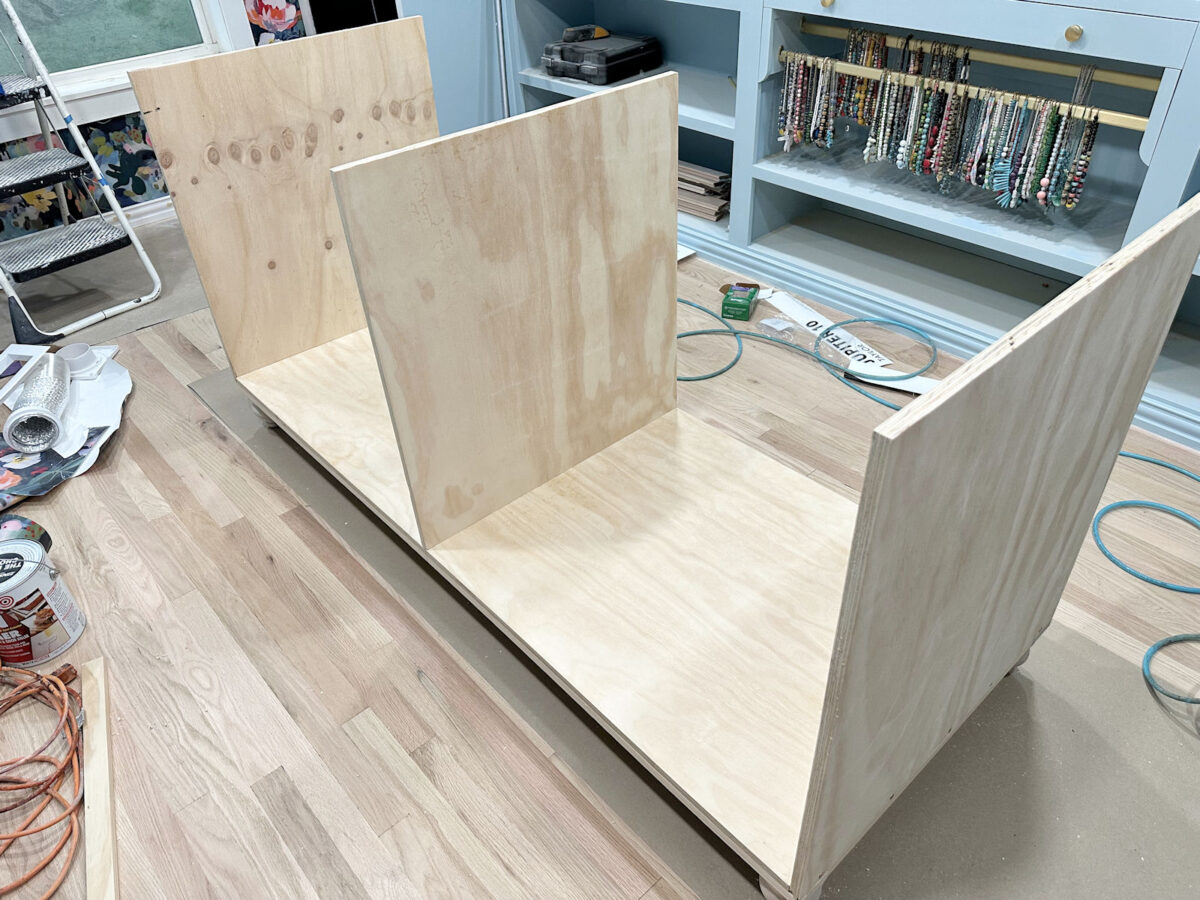
I repeated that on the opposite facet after which added the middle divider. This piece was lower 3/4″ shorter than the facet items because it was hooked up on high of the underside piece. I measured and marked the middle of the underside piece, lined up the plywood divider, and nailed it into place.

After which I adopted up with the Spax screws by way of the underside piece and into the sting of the middle divider to safe it.
And that was it with the essential field. Fairly easy!

Then I added a “body” utilizing 1×3’s across the backside. The aim for these items was to present a bit of extra depth to the wooden in these areas the place the ft could be hooked up, and likewise give me one thing to connect backside trim to. I hooked up these items solely utilizing 1.25″ 16-gauge nails. There was no want to make use of screws for these items.

I flipped the piece over to connect the body to the opposite facet as a result of I needed to make sure it was lined up completely with the sting of the plywood backside, after which I hooked up 1×3 items to every facet to finish that body. I didn’t want these facet items to connect the ft, however once more, the underside trim will go all the best way across the island, and this offers me one thing to nail that trim to.
To connect the ft (turned wooden ft which might be 4.5″ excessive and three.5″ vast, from Lowe’s), I drilled holes for the threaded bolts on the ft. I didn’t trouble shopping for these steel plates that the bolts screw into as a result of that may have simply added extra peak to the ft that I’d need to subtract from the drawer space, and I wish to squeeze ever fraction of an inch I can out of the general 36-inch island peak for the drawers. Plus, they’re simply not wanted on a mission like this. So after measuring and marking how far again the ft would want to go for the underside trim to not hit the ft, I drilled the holes for the furnishings ft bolts.
After which I used fairly a little bit of wooden glue on the highest of the furnishings ft…
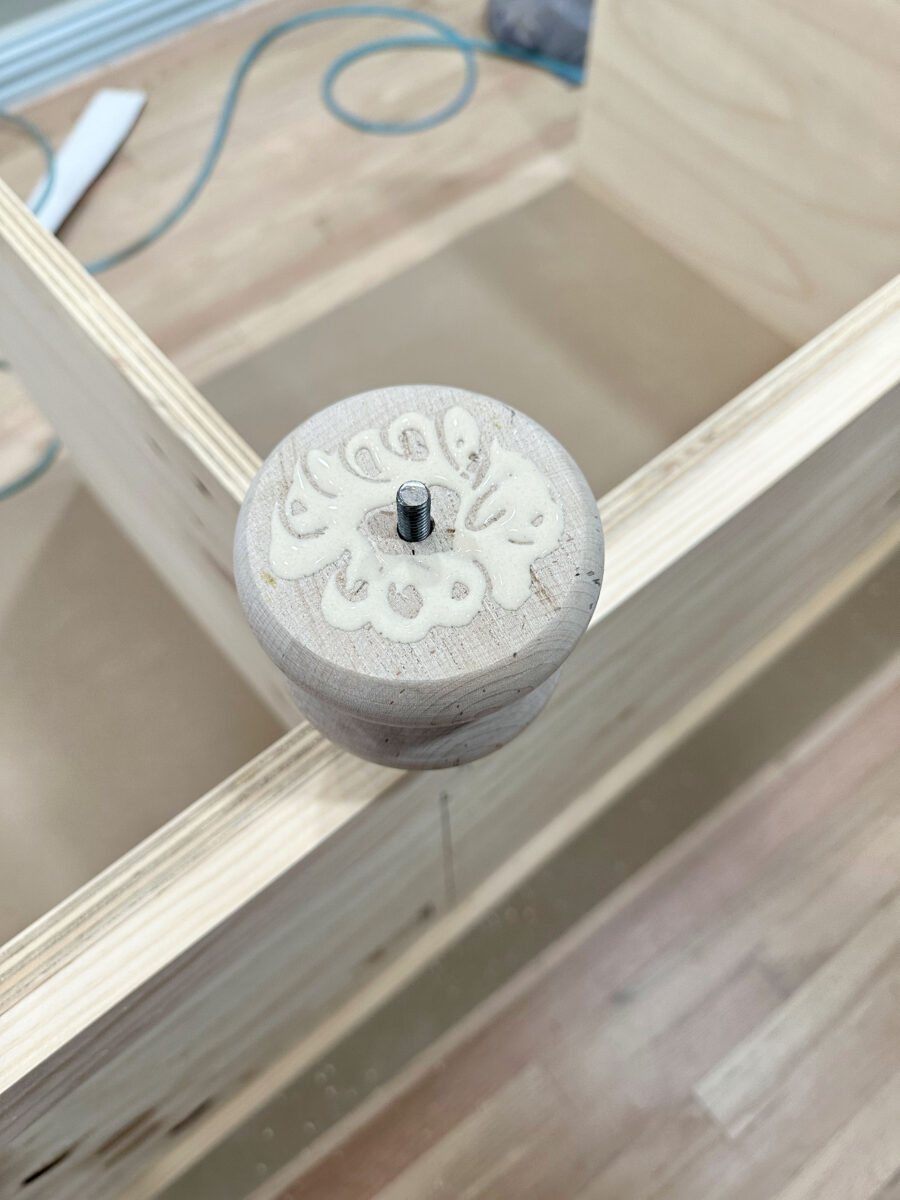
And positioned the threaded bolts into the holes I had drilled. I did three ft on one facet, gave it a little bit of time for that wooden glue to set, flipped the island over, and did the opposite three ft on the opposite facet.
That’s so far as I acquired, however it was far sufficient for me to face the island carcass upright and get an concept of what it was going to seem like within the middle of the room.

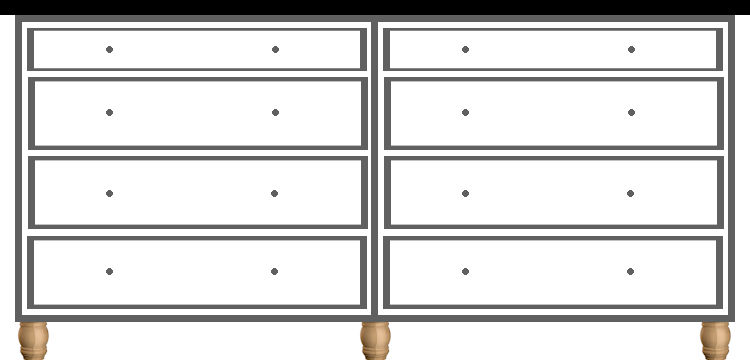
I feel it’s going to be nice! The scale is ideal. It’s sufficiently big to have eight drawers on the hanging garments facet of the room, and 4 drawers and two cupboard doorways on the equipment facet of the room. Every drawer and cupboard part will likely be about 34 inches vast.
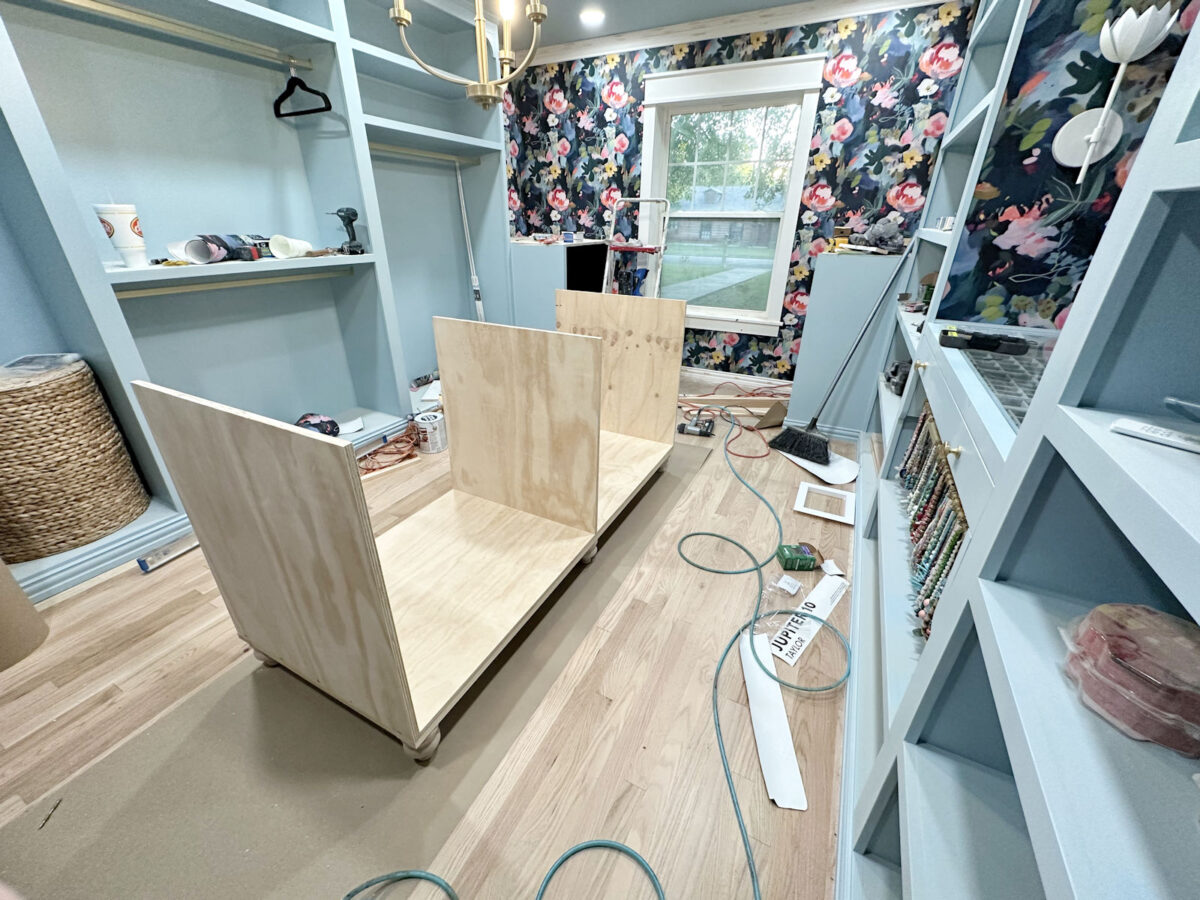
And that leaves me 36 inches of ground area on both sides of the island.
That is the facet that may have eight drawers. I nonetheless must work out the precise peak of every drawer. That’ll be a “determine it out as I’m going alongside” sort of factor.
Nevertheless it’ll look one thing like this…
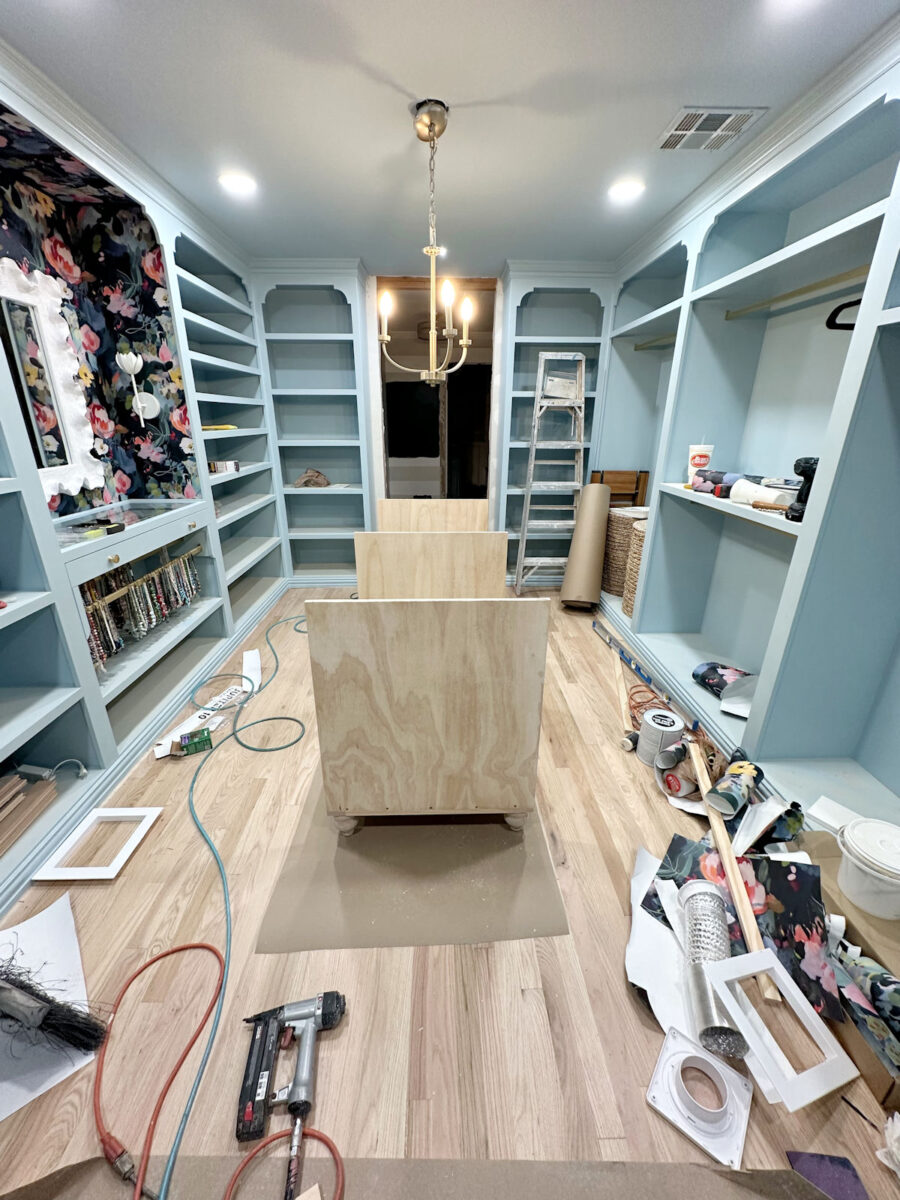
Right here’s a large angle view of it from this facet…
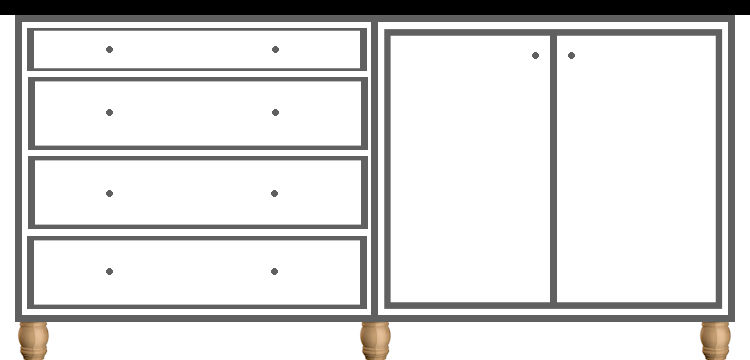
After which this facet will the one with the 4 drawers on the left and cupboard doorways on the suitable.

So it would seem like this…
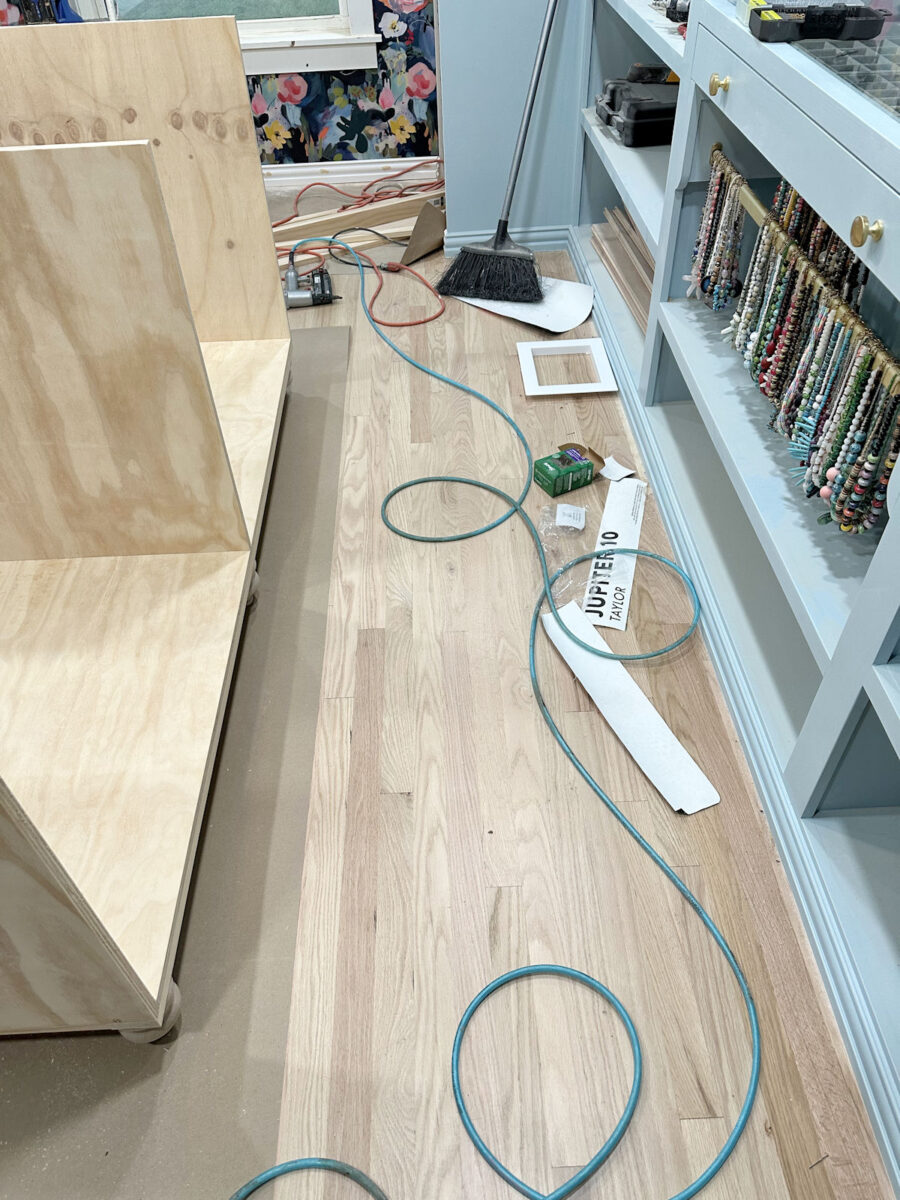
And right here’s a last view trying from the washer/dryer space again in the direction of the doorway to the closet.
I want I had began on this earlier within the day in order that I may have gotten additional alongside on the mission, however at the least I acquired it to the purpose the place I may truly visualize the scale of the island within the closet. Hopefully I could make a complete lot extra progress on this over the subsequent two days! I hope to have much more island progress to share with y’all on Monday.
Facet be aware: I apologize to all of you neat freaks who’re most likely feeling an unbelievable quantity of hysteria these photos of me engaged on this mission earlier than cleansing up my messes from earlier tasks. 😂 Generally I overlook that not everybody’s work course of is like mine, the place I can simply shove every part to the facet and leap into one thing new. And I promise you that my ground is okay. I’ll attempt to take a while this weekend and get issues cleaned up so all of you organized individuals don’t need to really feel anxious trying on the progress photos on Monday. 😀

Addicted 2 Adorning is the place I share my DIY and adorning journey as I rework and embellish the 1948 fixer higher that my husband, Matt, and I purchased in 2013. Matt has M.S. and is unable to do bodily work, so I do nearly all of the work on the home on my own. You may study extra about me right here.


")


