

I’m making regular progress on my walk-in closet. I lastly needed to take a time off on Friday, although. I had been working for 2 weeks straight and not using a break on the closet, and my exhaustion hit some extent on Friday that I made a decision I wanted to take in the future to relaxation earlier than I injure myself. So on Saturday, I used to be in a position to get to the enjoyable stuff — including trim to the boring plywood bins and cabinets. I used to be so excited to lastly get thus far as a result of it’s the trim and molding that take advantage of distinction.
This is just one half of what’s going to be a really lengthy collection of posts on my largest constructed but — my walk-in closet and laundry mixture. When you missed the earlier publish, you could find that right here: Closet Progress – The Primary Construct Is Completed!
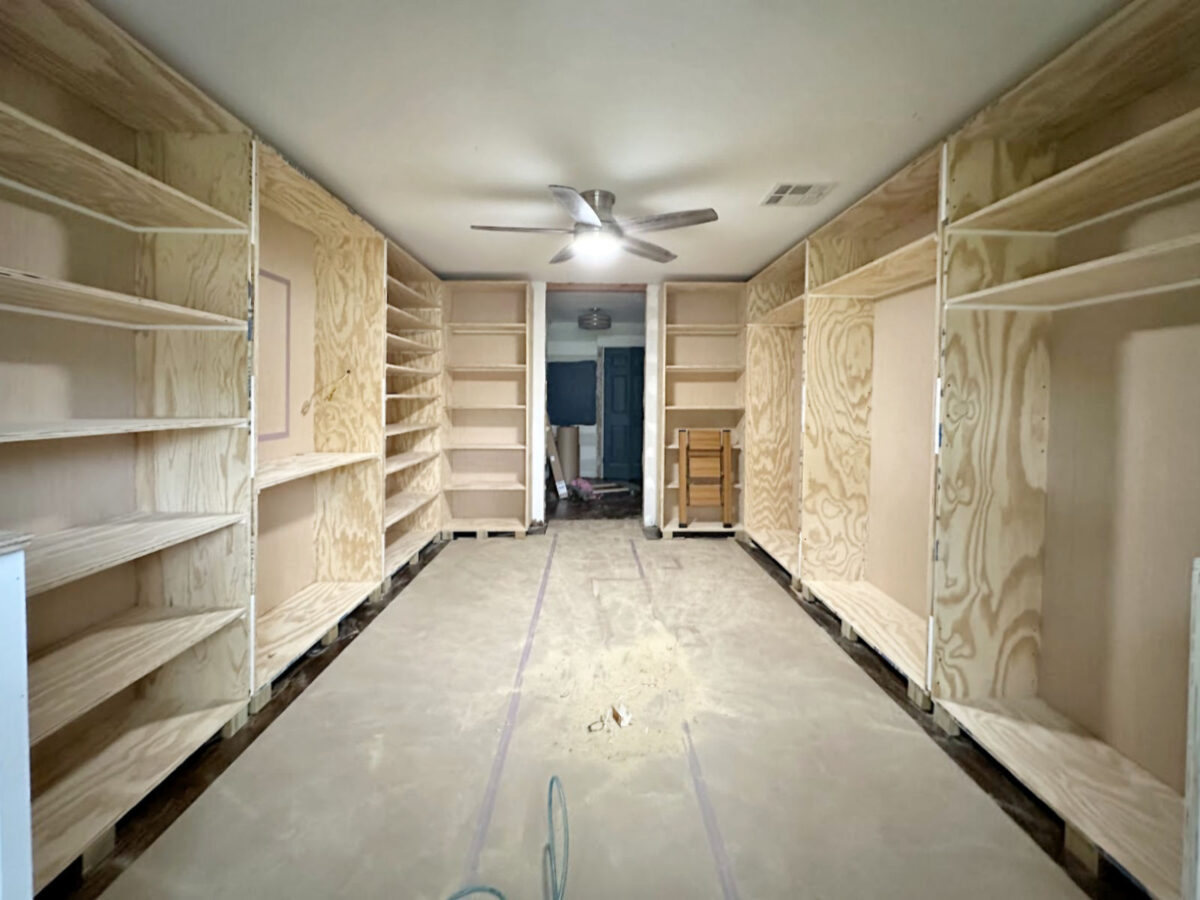
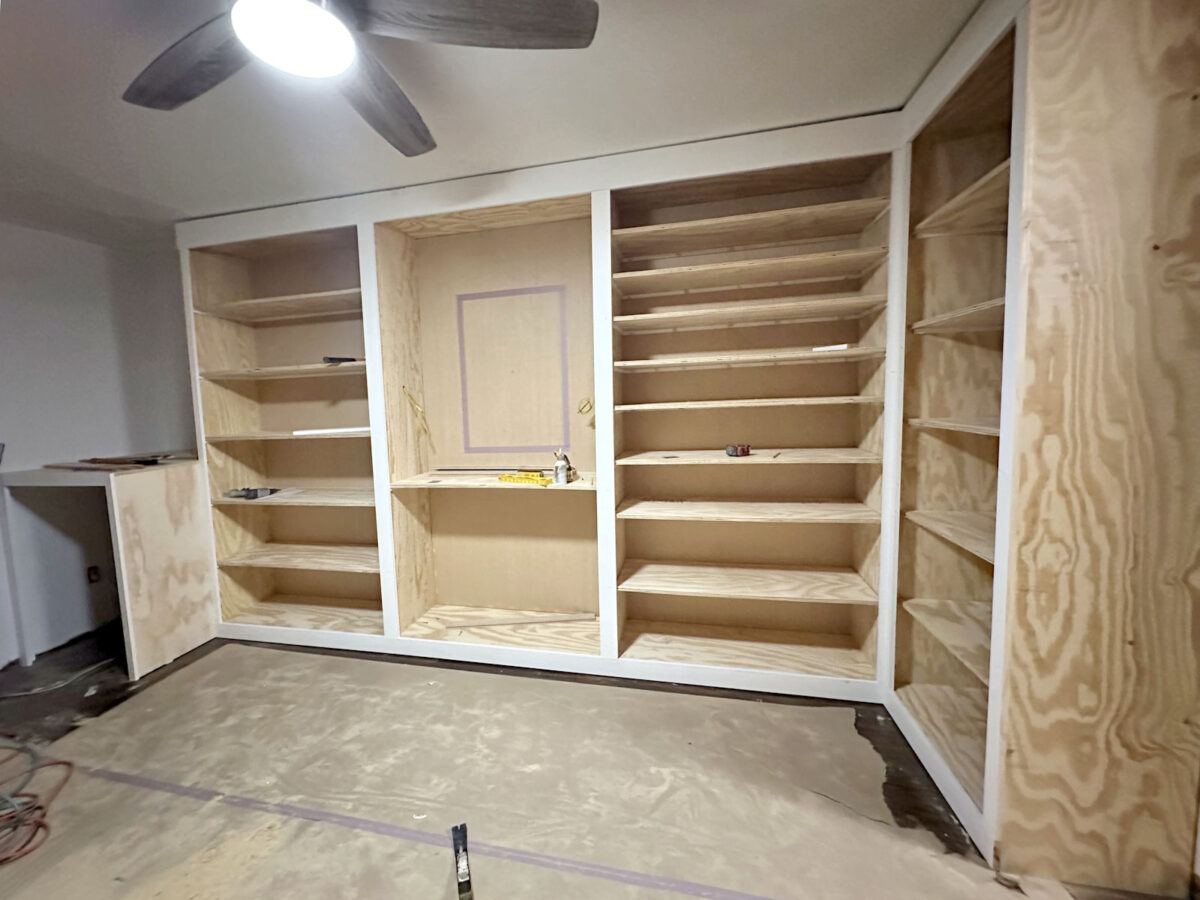
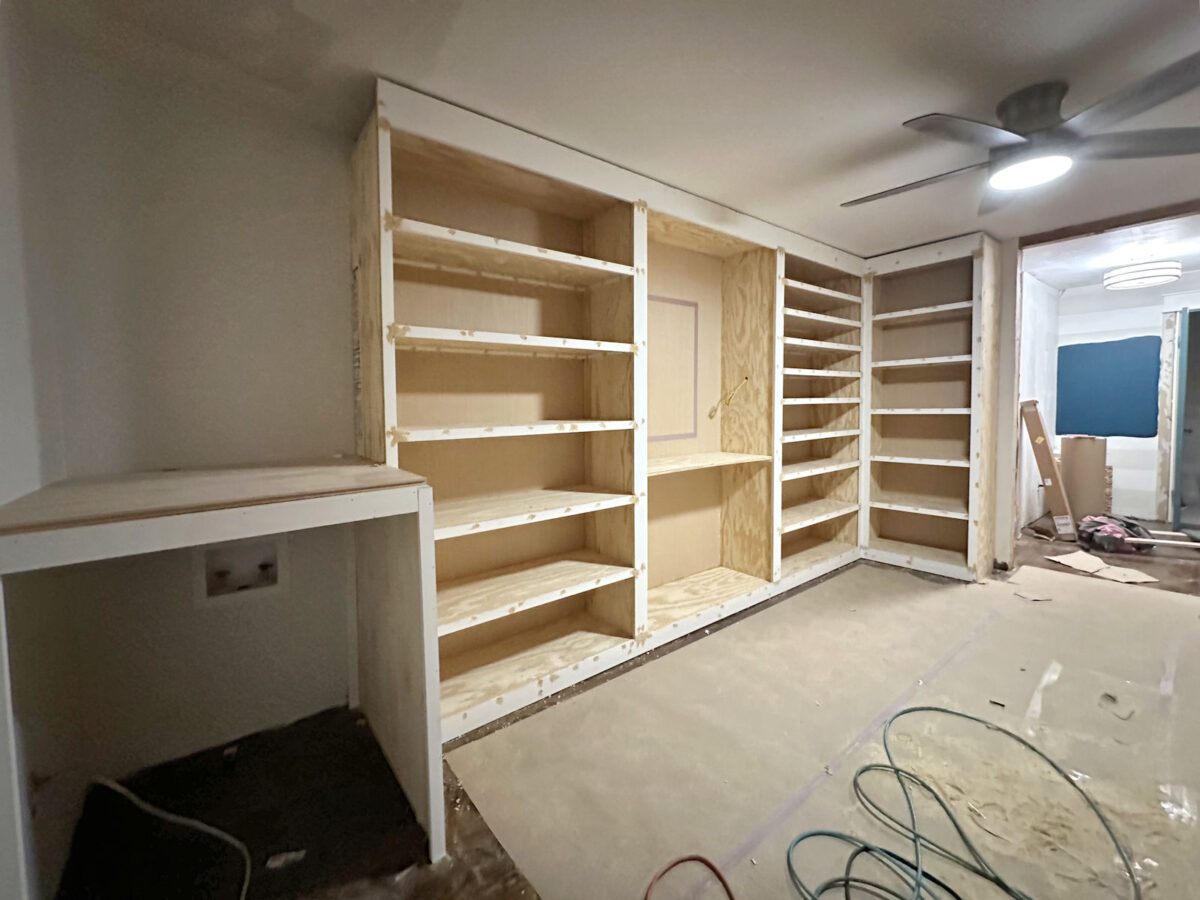
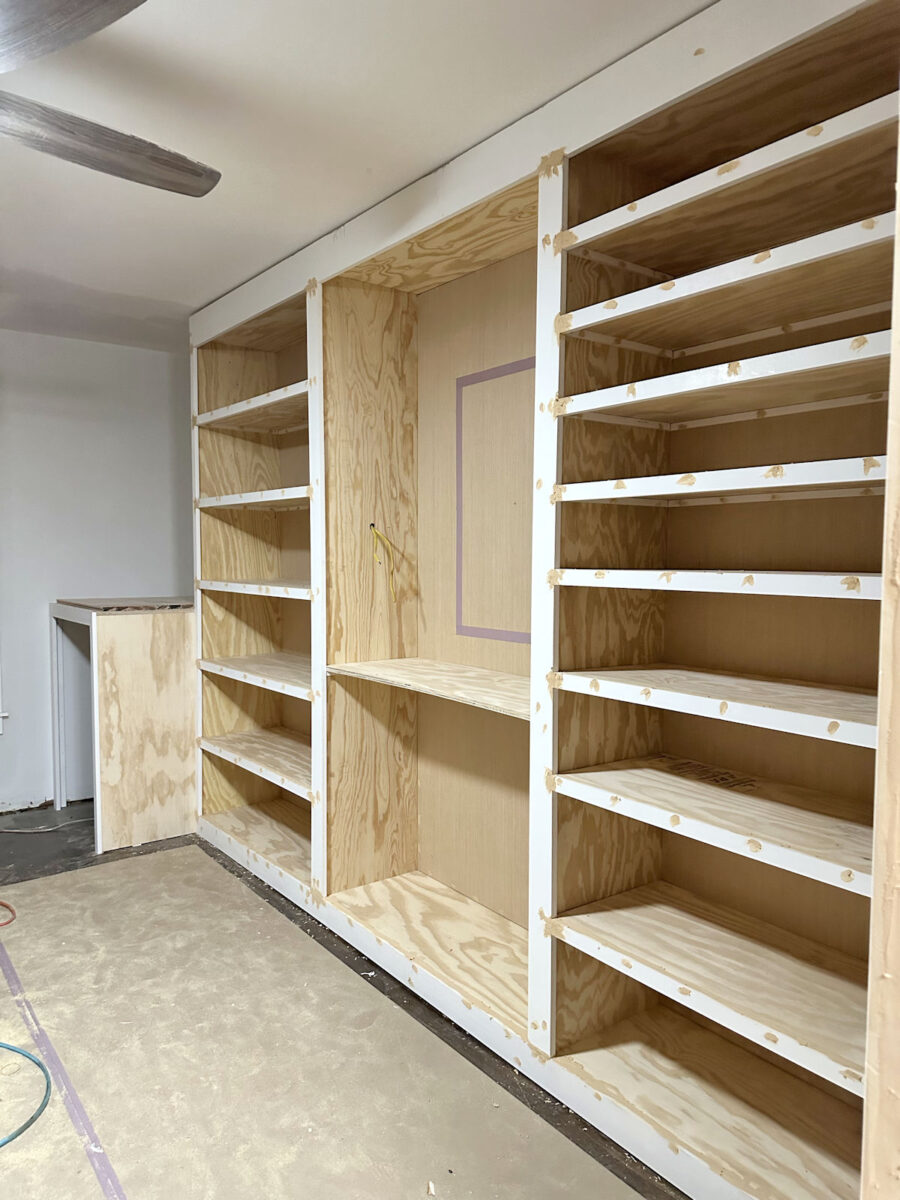
After ending the essential construct on this closet, that is what the cupboards seemed like…
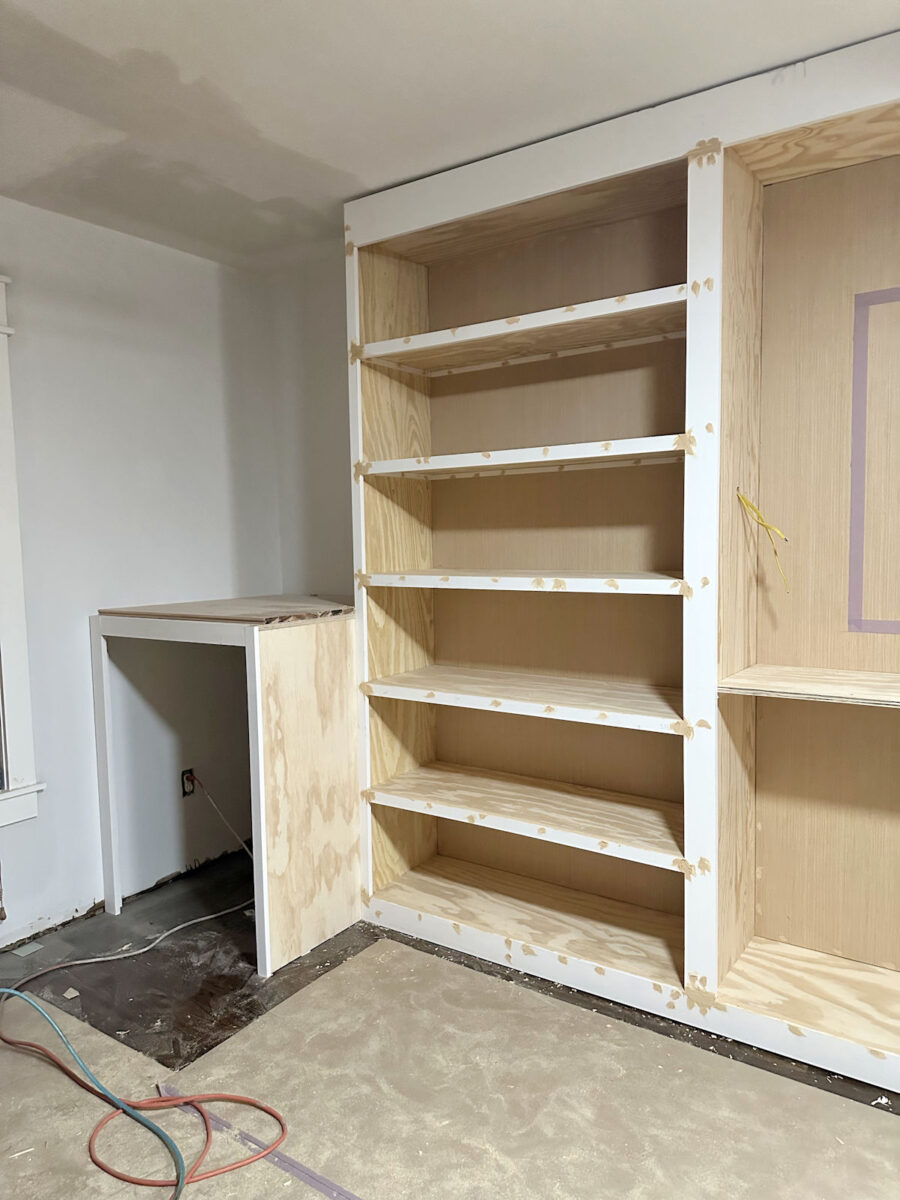
And since it’s the aspect that requires probably the most trim, I made a decision to begin to begin trimming out the proper aspect of the room first.
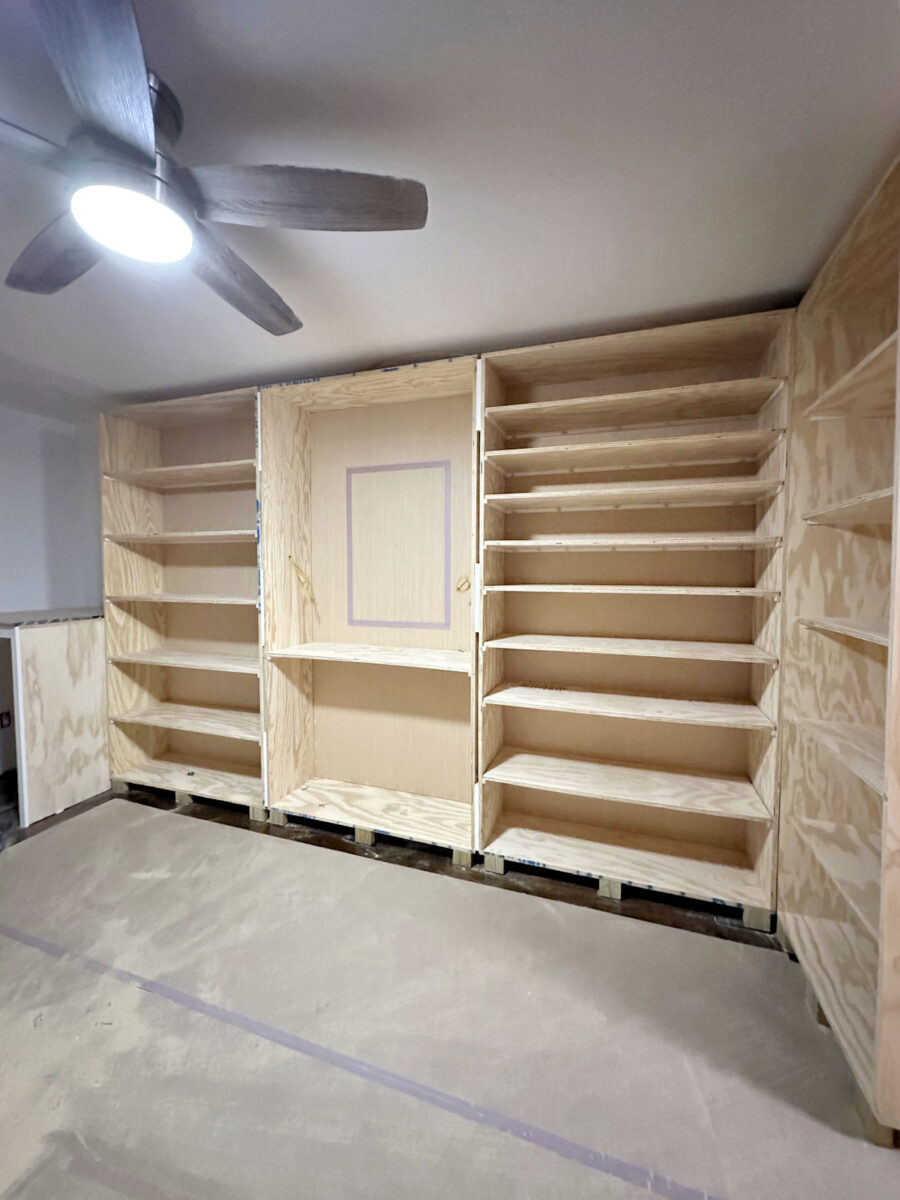
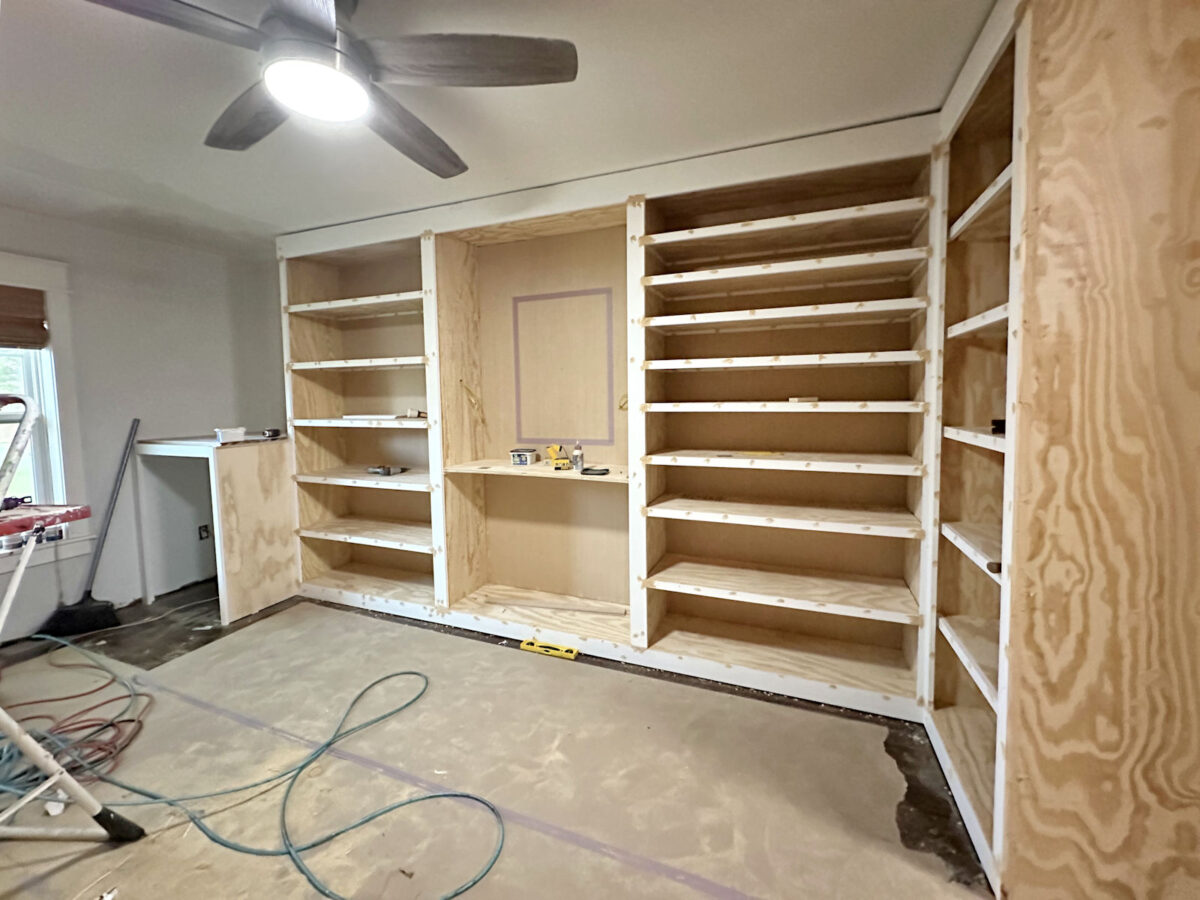
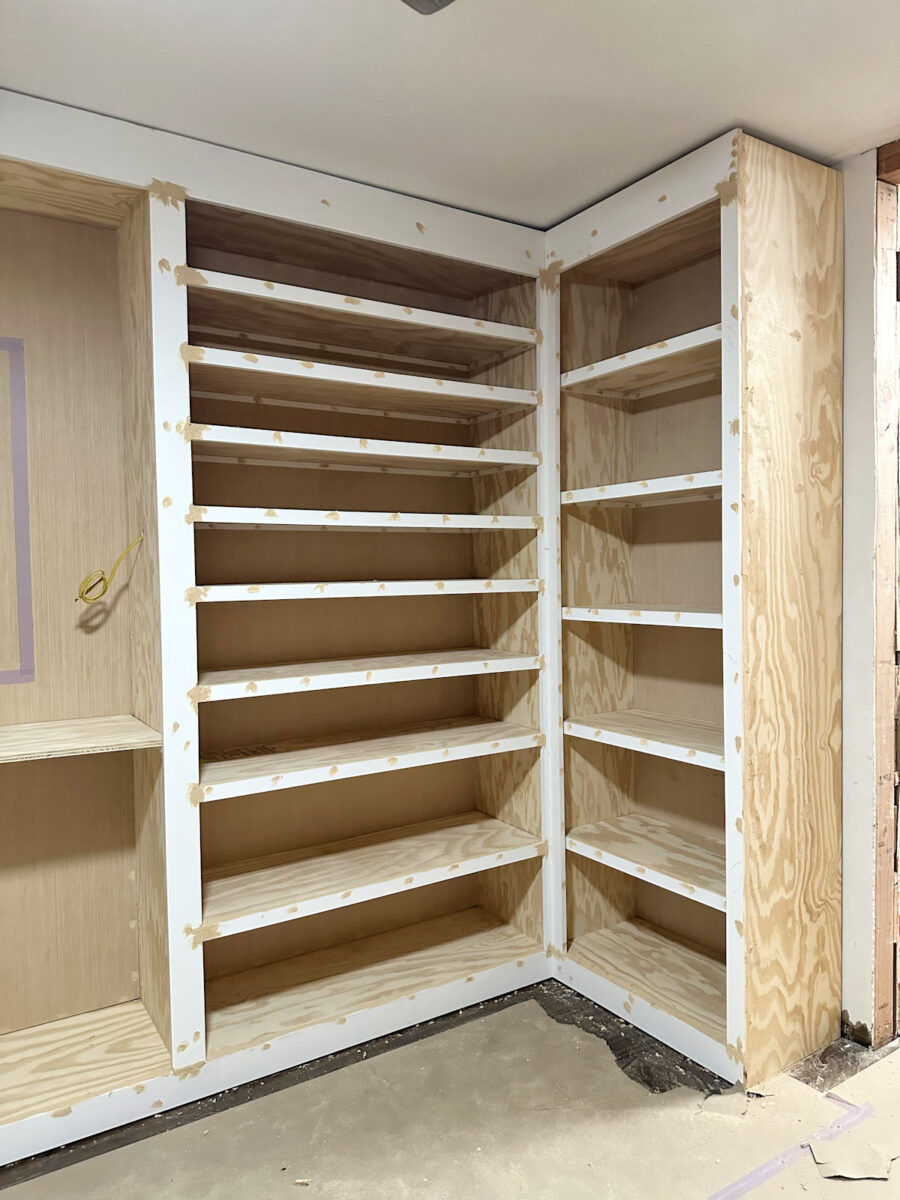
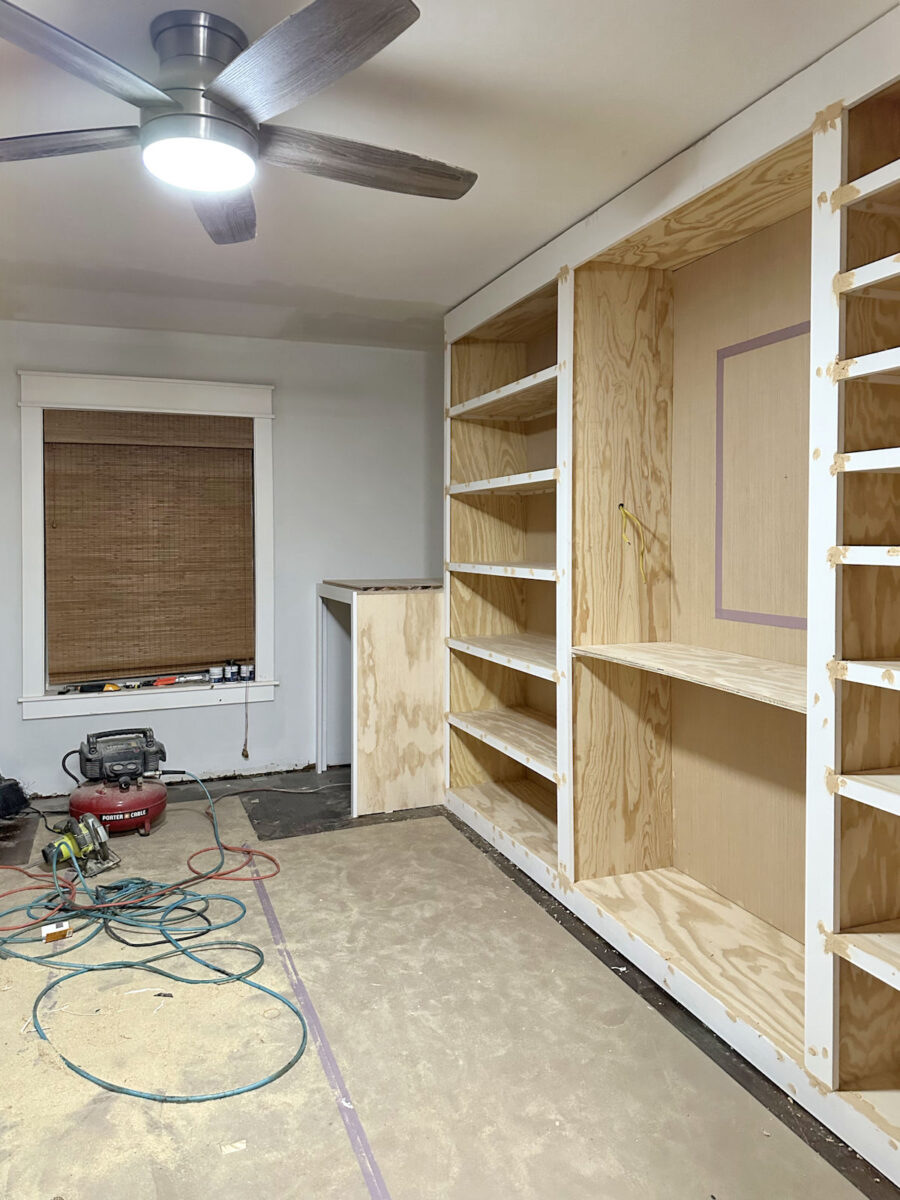
Right here’s what that aspect of the room appears like now with all the trim hooked up. I nonetheless have to put in the molding — the baseboards alongside the underside and the crown molding alongside the highest.
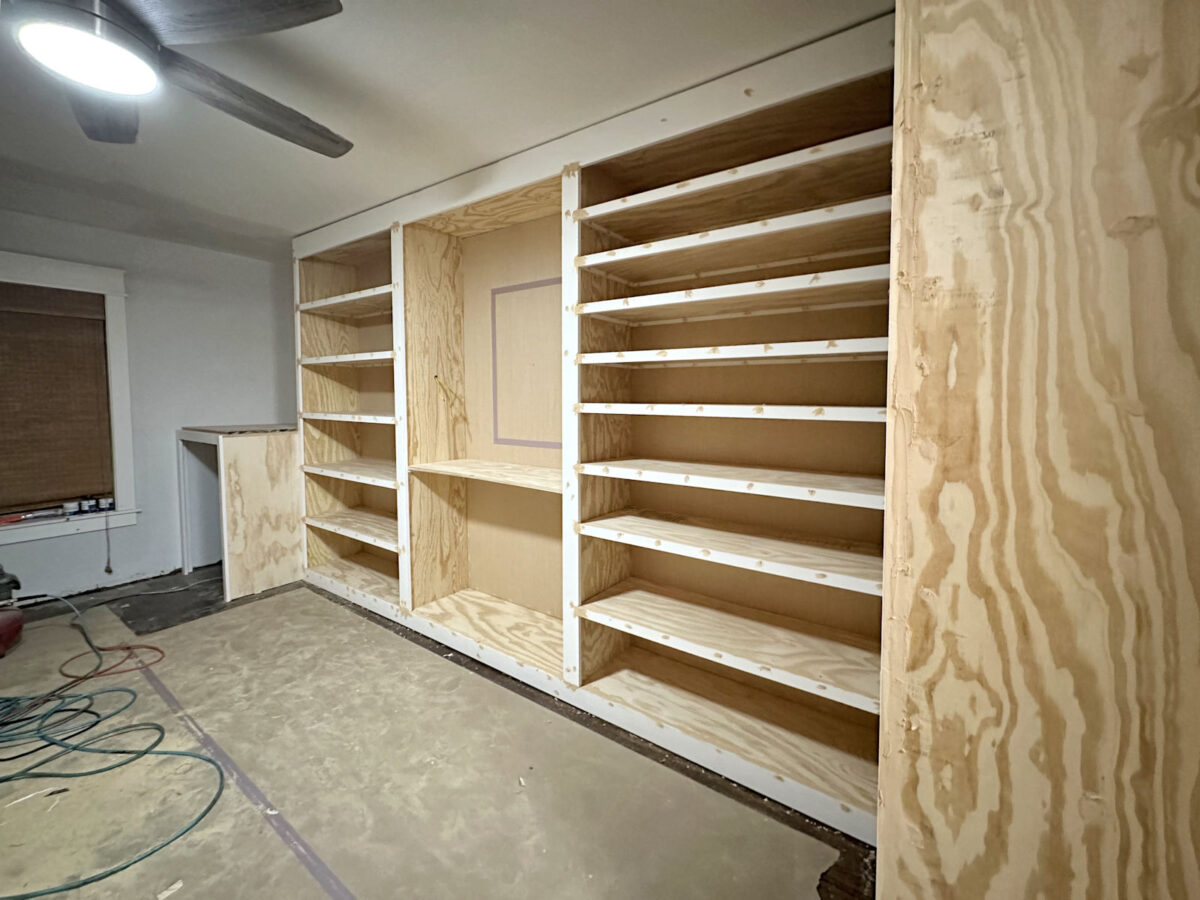
To trim out this aspect, I began with the longest horizontal items. On the underside, I used 1″x4″ pre-primed lumber.
And alongside the highest, I used 1″x6″ pre-primed lumber.

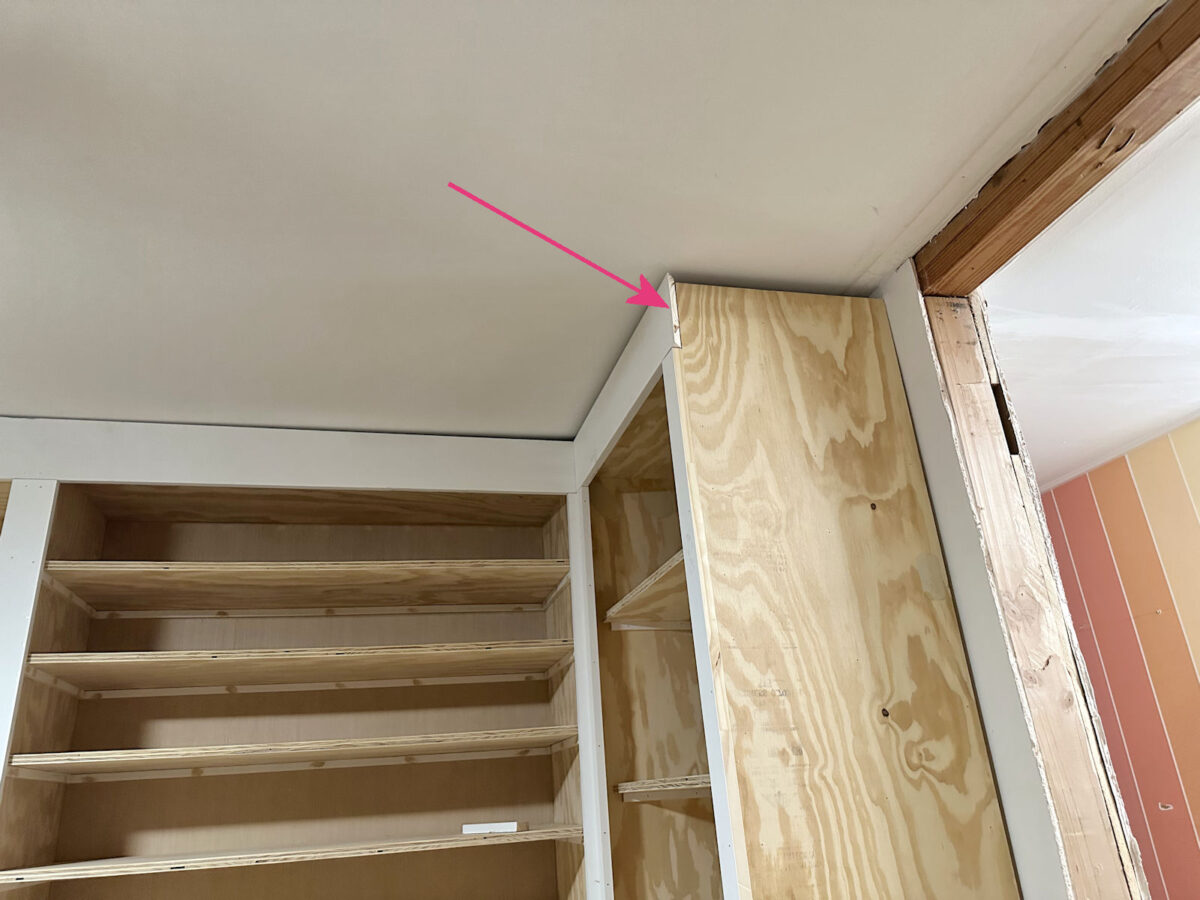
I made a mistake proper from the start as a result of I mitered the skin corners of the highest 1×6 boards. These ought to have been minimize straight. However I used to be working alone, and wrestling that 140-inch into place and nailing it into place, there was no manner I used to be going to take it down to chop it straight. So I made a decision to disregard it at this level and maintain it in a later step.
With the 2 prime and backside horizontal items in place, I then hooked up the lengthy vertical items. I nailed all the trim in place utilizing 16-gauge 2-inch nails via the face of the trim items and into the sides of the plywood. I used 1″x2″ items for the 2 exterior vertical items, after which 1″x4″ items for the 2 on both aspect of the middle part. However earlier than attaching these, I used my desk noticed to tear them down to three.25″ broad in order that they simply lined the sides of the plywood bins in addition to the ends of the shelf helps.
And eventually, I used 1″x2″ lumber to cowl the sides of the cabinets.
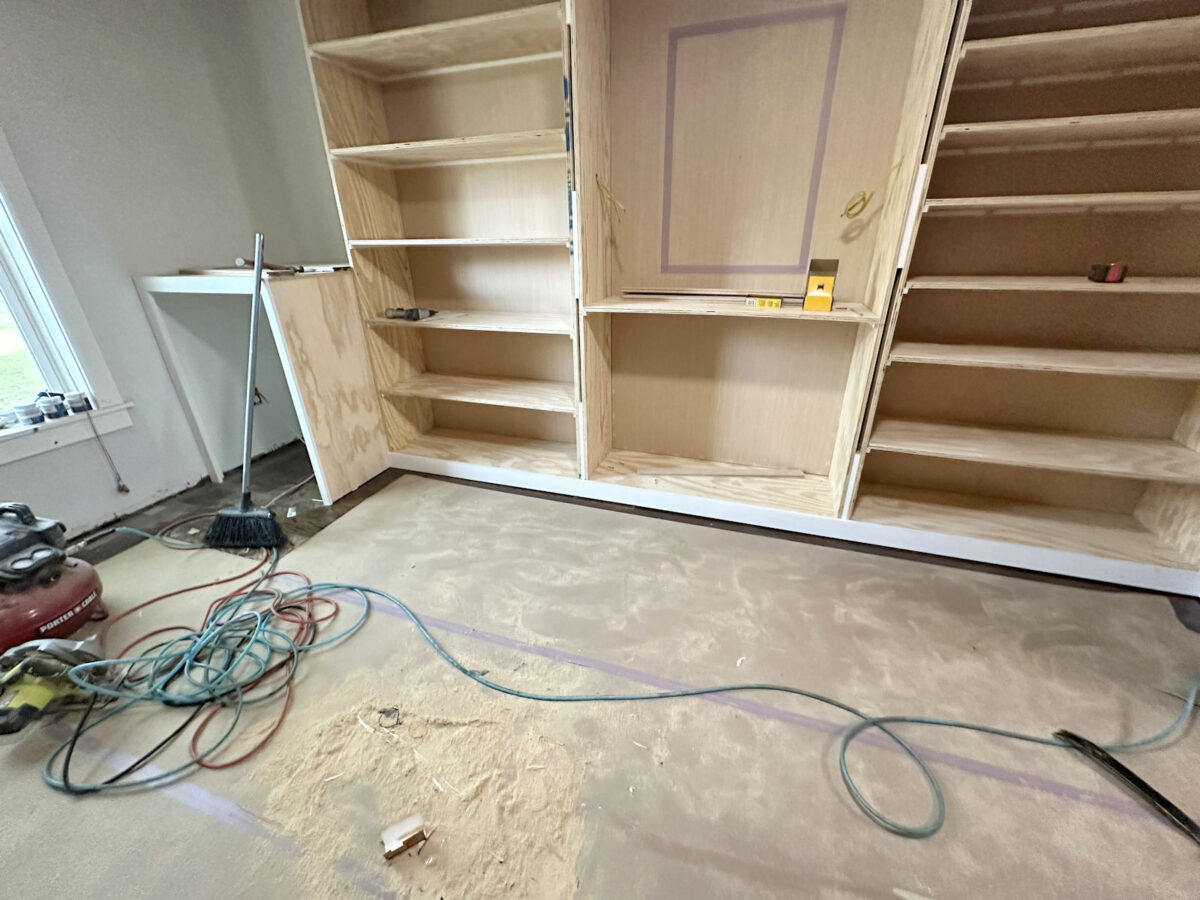
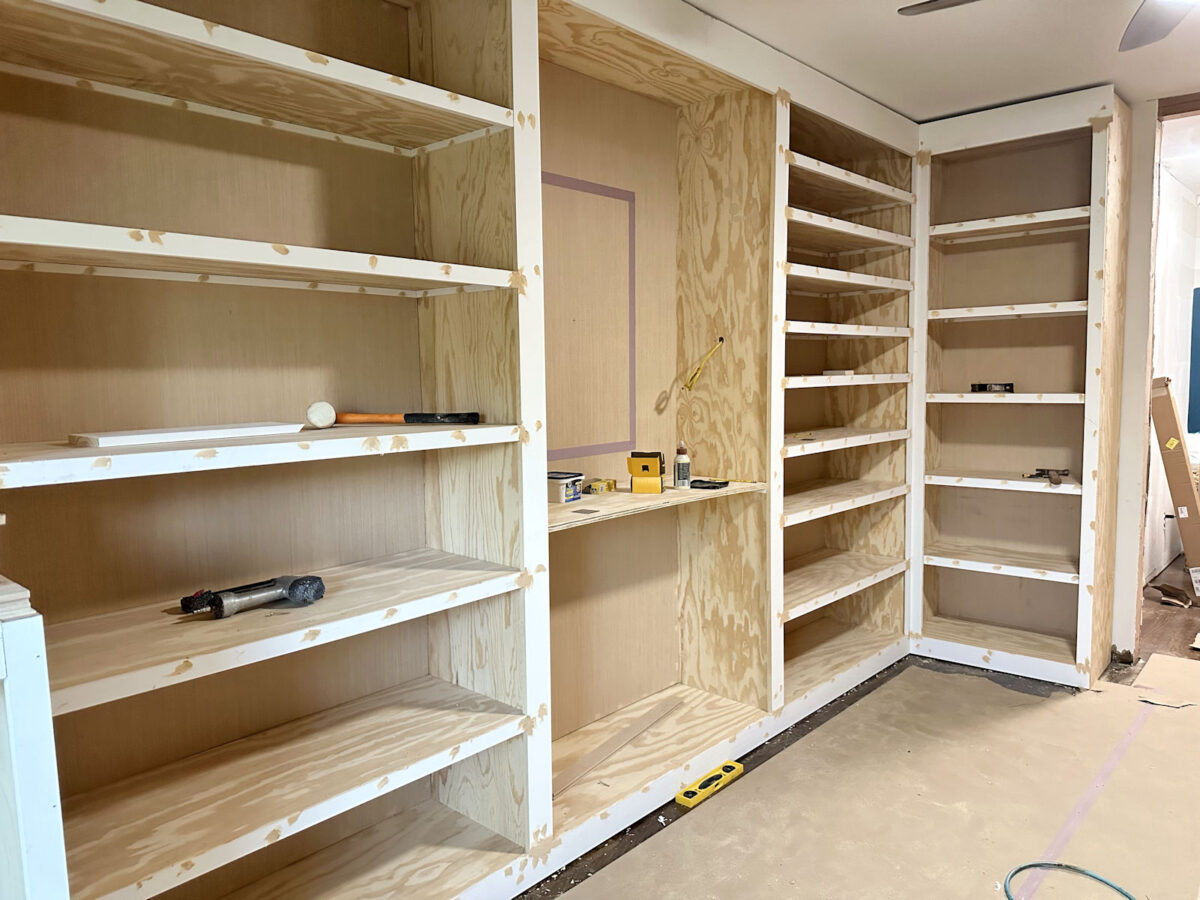
Right here’s a take a look at the progress from the opposite path…
I did all the wooden filling as I went, and for those who’ve been round for some time, you already know that I exploit wooden filler very liberally. I do that for 2 causes. First, wooden filler shrinks because it dries. So for those who attempt to put it on completely clean, it should shrink into the joints and screw holes/nail holes because it dried, requiring a second coat. I keep away from having to do a second coat by type of mounding it up on the joints and screw holes/nail holes. But in addition, I exploit my rotary sander to sand all of this clean as soon as it’s dry, so my sander makes very fast work of eradicating all the extra and making these joints and nail holes/screw holes very clean.

So I ended my weekend by ensuring that each one of these joints, nail holes, and screw holes had been full of wooden filler.

I solely use wooden filler to cowl nail holes, screw holes, and joints the place two items meet on the identical aircraft. In different phrases, if it may be sanded clean with a rotary sander, I exploit wooden filler. If two items meet at an angle, for instance, the place the cabinets meet the cupboard bins, these areas get full of caulk. I didn’t get to that step but, and these cupboards would require plenty of caulking earlier than I can prime and paint.
So that you’ll discover that I solely used wooden filler on the face of the trim the place they meet on the identical aircraft. However I didn’t use wooden filler the place the 2 trim items meet on prime of the shelf and type a 90-degree nook. These areas will likely be caulked.
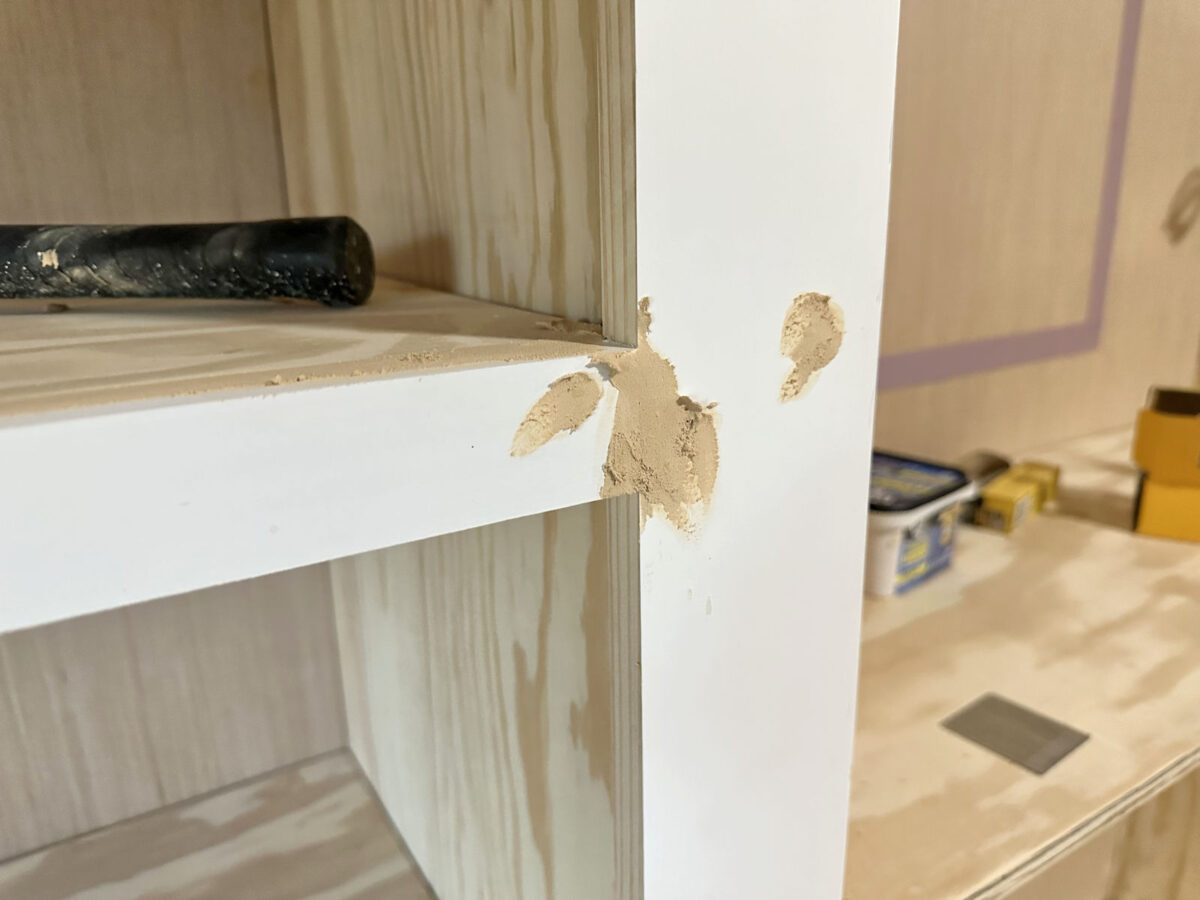
However I did use wooden filler the place the trim and the plywood shelf meet on prime of the cabinets as a result of that may be simply sanded with my rotary sander and depart a wonderfully clean transition between the 2 items.

I’ll wait till the opposite aspect is trimmed out and the wooden filler has had time to dry on that aspect earlier than I begin sanding in order that I can do it unexpectedly. So that is the place I left issues final night time. I additionally didn’t do any wooden filling on the washer cupboard as a result of I nonetheless must take away that prime trim piece and rip it down only a bit for my washer to suit inside the cupboard.
To treatment my mistake on the highest trim items the place I had mitered the corners as an alternative of reducing them straight, I used my Dremel Multi-Max to chop off the surplus from these boards that caught out previous the sting of the cupboard. The minimize was fairly tough at first, so then I used my rotary sander with 80-grit sanding discs to sand it clean. After which I piled on the wooden filler to fill in between the items. Once I connect the crown molding, that may wrap across the sides of the cupboards by the door and by the home equipment and can proceed across the room.
I repeated that course of on the opposite finish the place I had mistakenly minimize the piece at a 45-degree angle.
Repairing that mistake this fashion was a complete lot simpler than eradicating your entire lengthy piece that had been nailed in place with 16-gauge 2-inch nails, eradicating all of these nails, dragging that 140-inch piece again via the home and into the carport to chop off that mitered nook, after which wrestling with that lengthy piece to get it nailed again into place.
In order that’s the weekend progress! It’s actually beginning to take form now.
The underside molding (i.e., the baseboards) will wrap across the base of the tall cupboards in addition to the bottom of the washer cupboard to tie these sections collectively and end off all the pieces alongside the ground.
I’ll even be including baseboards contained in the washer and dryer cupboard to complete off the underside of the partitions.
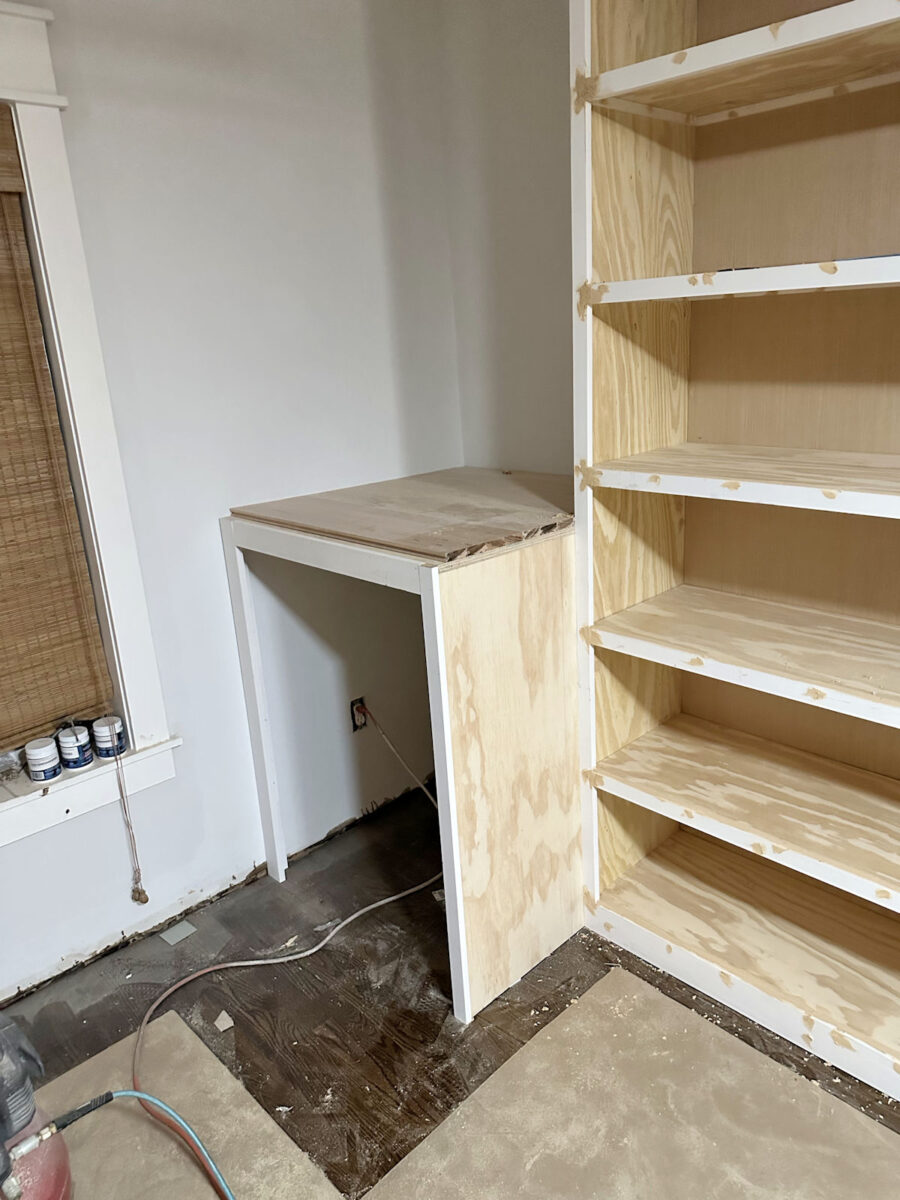
And also you’ll discover that I didn’t add trim to this piece within the middle part. That is going to be my glass-top earring and ring drawer, so this plywood will likely be eliminated. I’m nonetheless attempting to find out precisely how I would like this storage designed.

There are two ways in which I can do it. The primary and most evident manner is to construct an everyday drawer that pulls out in order that I can entry my earrings and rings. The second possibility could be to construct a storage compartment that doesn’t pull out like a drawer, however as an alternative, the earrings and rings are accessed by placing the glass prime on hinges that raises as much as entry these objects. I type of like each concepts, so I haven’t settled on one simply but.
After all, the good thing about making it a drawer is that I can set issues on prime of the glass countertop, and with it being a drawer that pulls out, these objects on prime gained’t be disturbed. If I make the glass prime on hinges that raises up for accessing the earrings and rings, I gained’t have the ability to set something on prime of that cup space. It must stay free and away from any objects that may block entry. However I nonetheless like the concept. So I’m going to carry off on doing something with that center part till I’ve the main points labored out. I’m nearly 100% positive that I’ll find yourself with one other shelf in that part as soon as I resolve precisely how I wish to retailer my necklaces there.
Anyway, it was type of a slower weekend with me taking off on Friday, however not less than there was some progress! And I’m lastly to the enjoyable stuff!
The A2D Every day:

Addicted 2 Adorning is the place I share my DIY and adorning journey as I rework and adorn the 1948 fixer higher that my husband, Matt, and I purchased in 2013. Matt has M.S. and is unable to do bodily work, so I do nearly all of the work on the home on my own. You possibly can study extra about me right here.


")


.jpg?w=360&resize=360,180&ssl=1 "Fallingwater Completes a 3-Year, Million Restoration")


