

I bought a lot achieved on my walk-in closet this previous weekend, and whereas I didn’t get almost as a lot painted by the point I went to mattress final evening as I had hoped, I do lastly have some cupboards painted! However you’ll must forgive me for burying the lede, as a result of I need to again up and present you the entire progress so as.
First, should you learn Friday’s submit early within the day, you might have missed that I took aside one of many leftover jewellery trays that I purchased on Amazon (these are those I purchased — affiliate hyperlink), lower it right down to the best measurement to suit that remaining 3.5-inch hole, after which put it again collectively. So now, I’ve a totally custom-made look that matches the width of the drawer completely. And I bought that custom-made search for lower than $70, and about 45 minutes of my time. That beats the heck out of paying over $500 for a totally custom-made jewellery drawer insert!
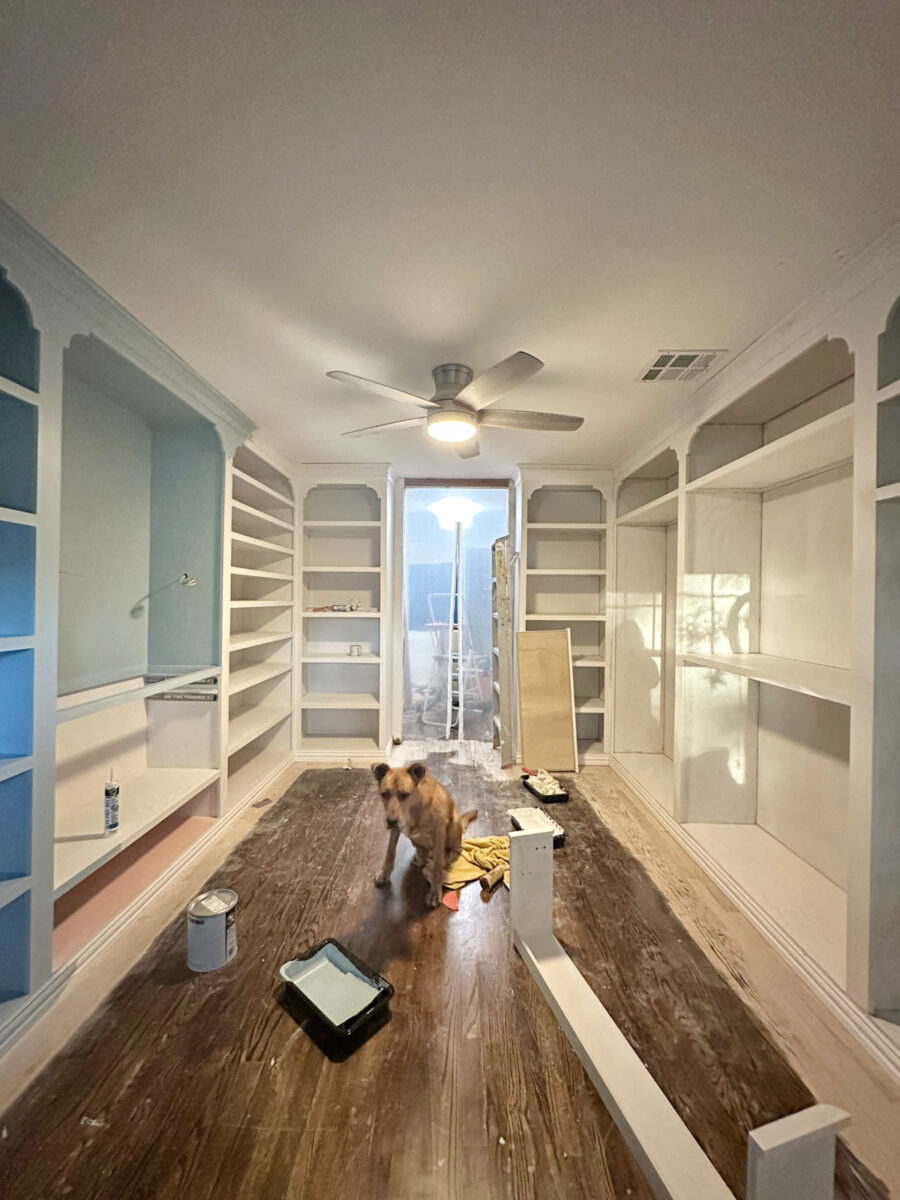
After engaged on that, I spent the remainder of Friday priming cupboards. I bought the remainder of the cupboards on the best facet of the room primed, and the entire cupboards on the left facet of the room primed. I nonetheless have to do the corners with a brush, however the entire components I may do with a 6-inch curler are achieved.
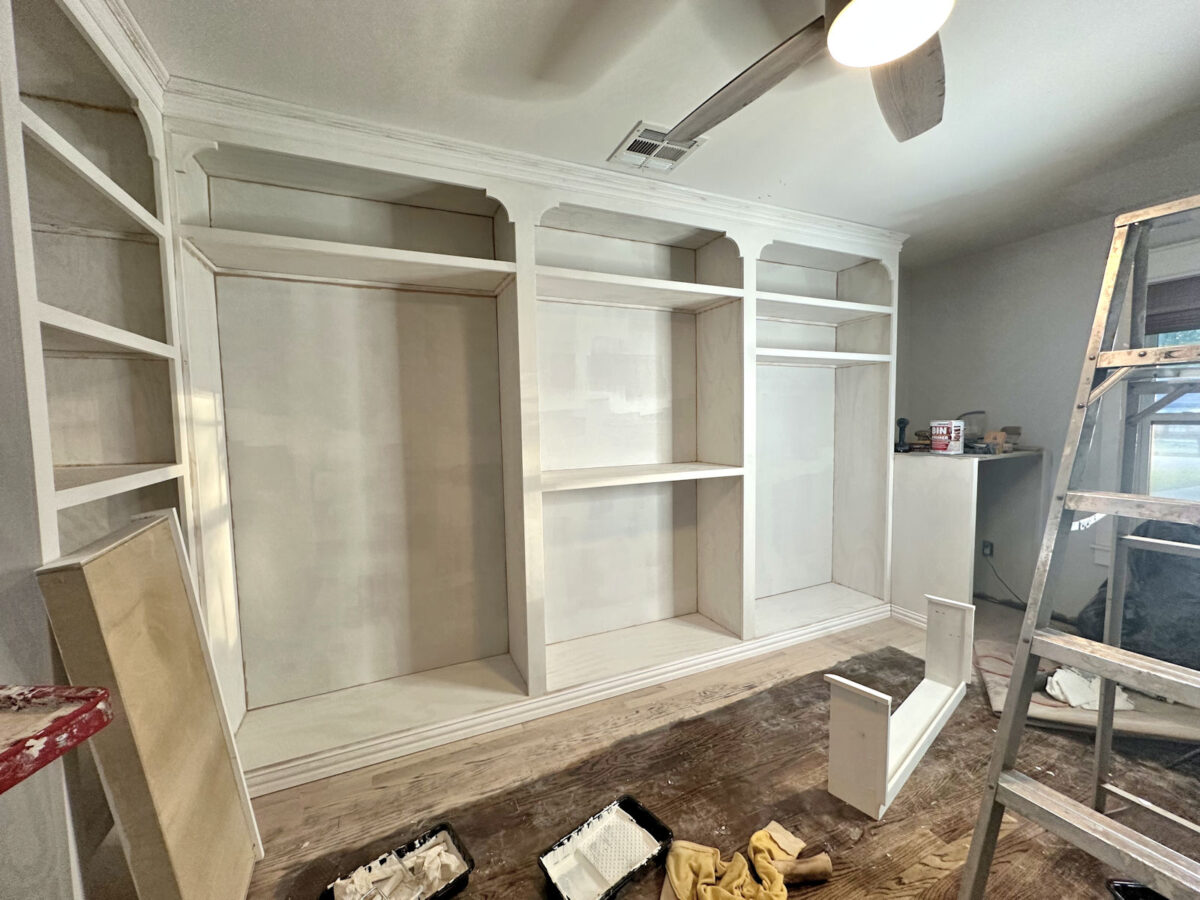
It’s wonderful how a lot primer alone completely modified the look of the cupboards. Earlier than, it was a sea of brown plywood with white pre-primed trim…
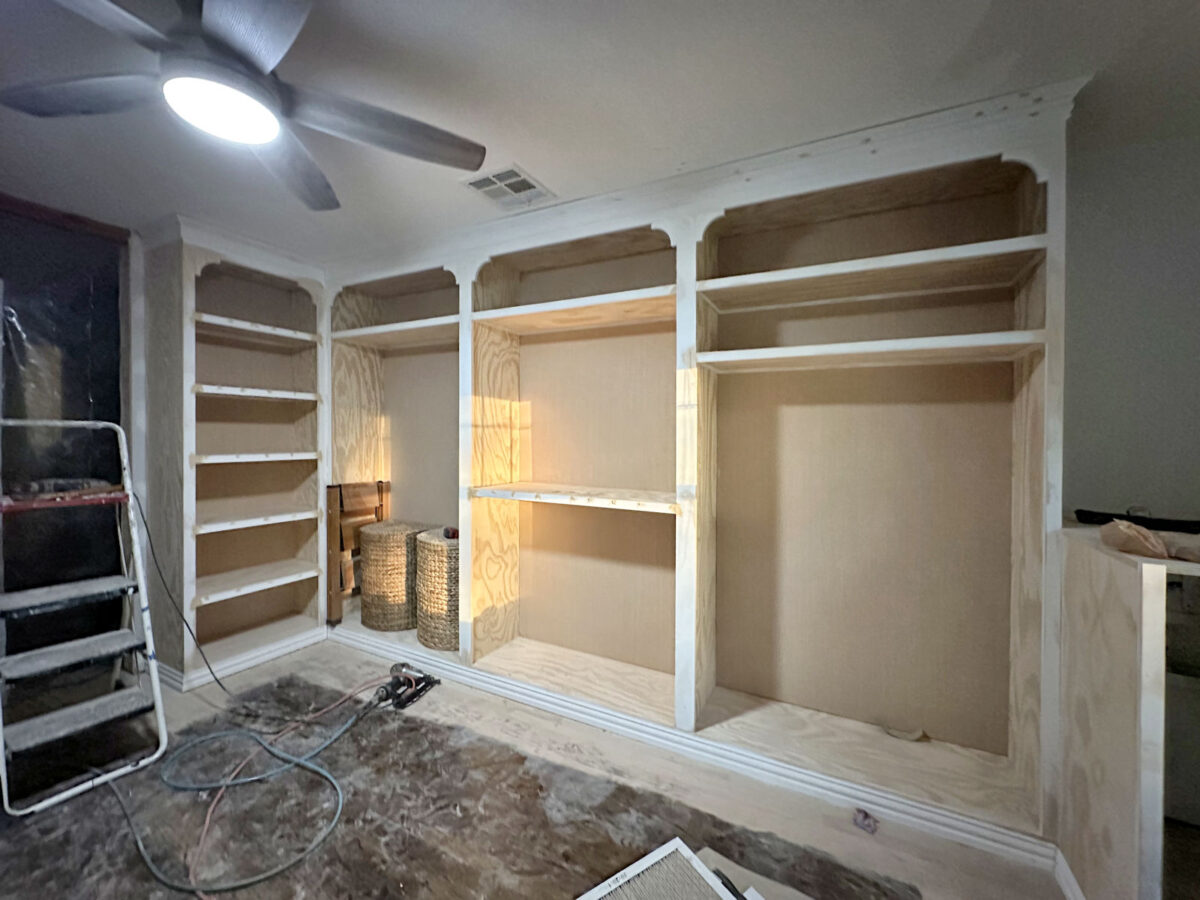
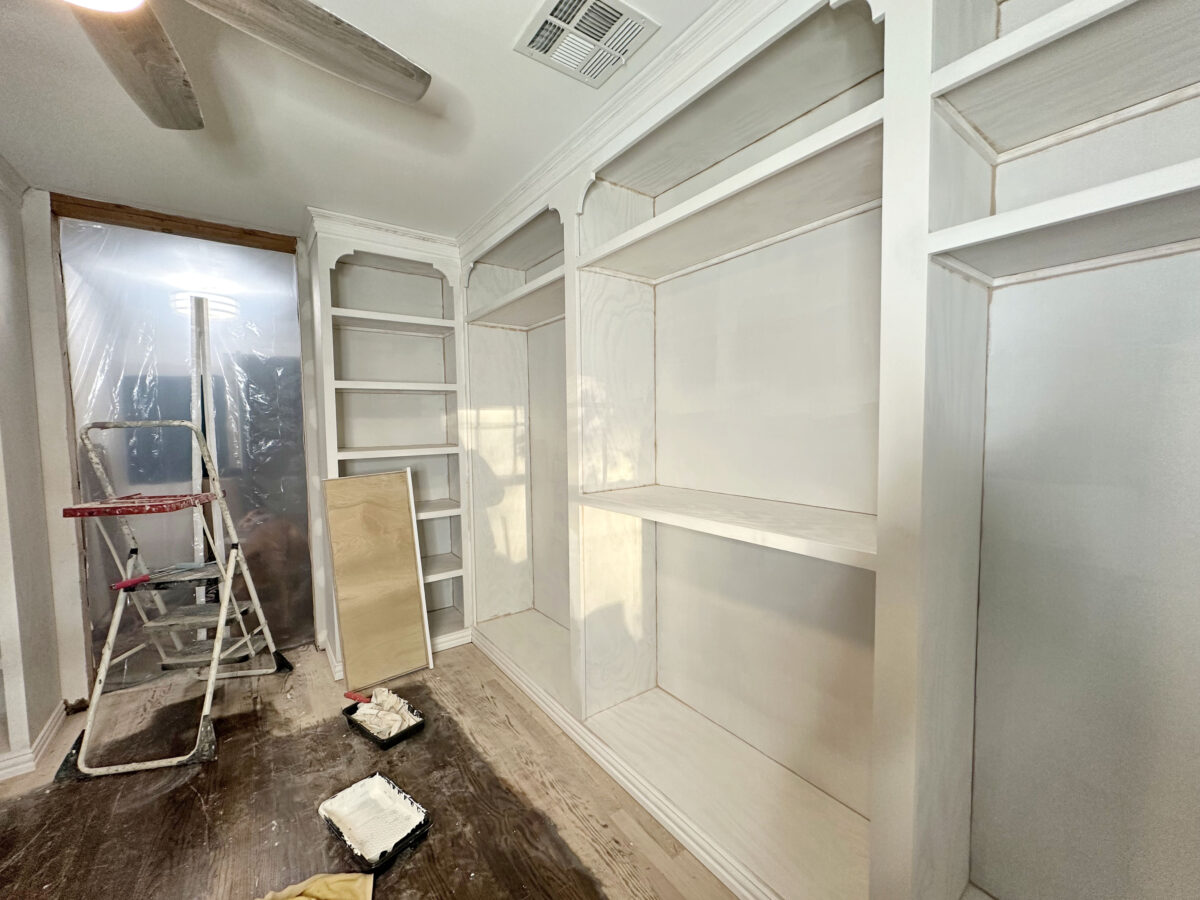
And now that all the things is similar coloration, even whether it is skinny, streaky primer, it appears to be like so significantly better. (I used my new favourite primer, Zinsser B-I-N shellac-based primer). As soon as primer goes on, you possibly can actually get a significantly better thought of how the completed cupboards will look.
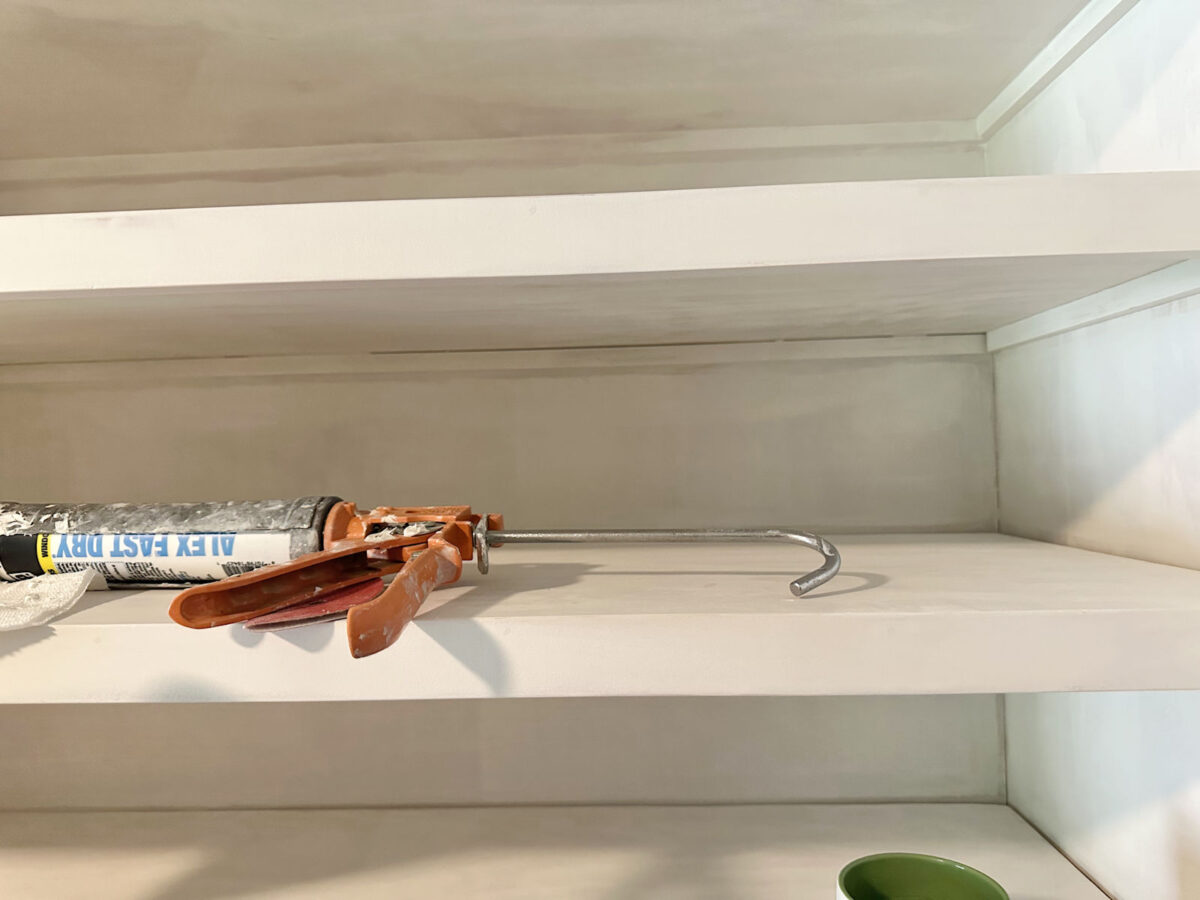
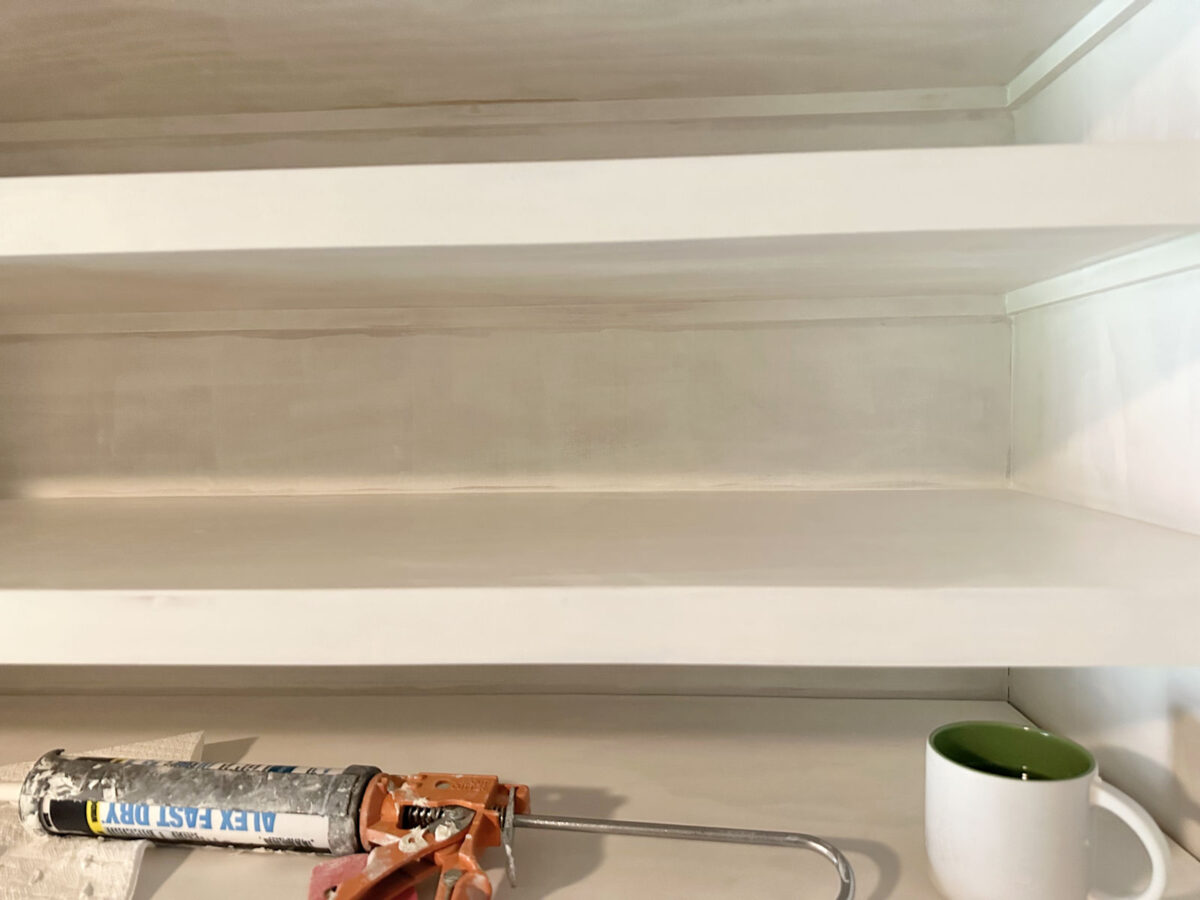
After which I spent Saturday doing essentially the most dreaded, however crucial, step of all — caulking. I hate caulking a lot, however I don’t ever skip this step as a result of it makes such an enormous distinction within the completed mission. The most important ache was caulking these brief shoe cabinets. I may barely get my caulk gun in there on the right angle to get caulk the place it wanted to go, however I made it work as a result of it wanted to be achieved. You’ll be able to see the massive distinction that caulk makes under.
Right here’s a shelf earlier than caulking. First, you possibly can see why I prefer to prime earlier than caulking. It makes all of these darkish cracks and crevices a lot simpler to see and far tougher to overlook. If I attempt to caulk earlier than I prime, I all the time find yourself overlooking areas that wanted to be caulked.
And right here’s what it appears to be like like after caulking. What a distinction!
Earlier than I may prime the jewellery drawer and the necklace organizer, I needed to finalize the design on the necklace organizer. I ended up going with this quite simple design on the entrance.
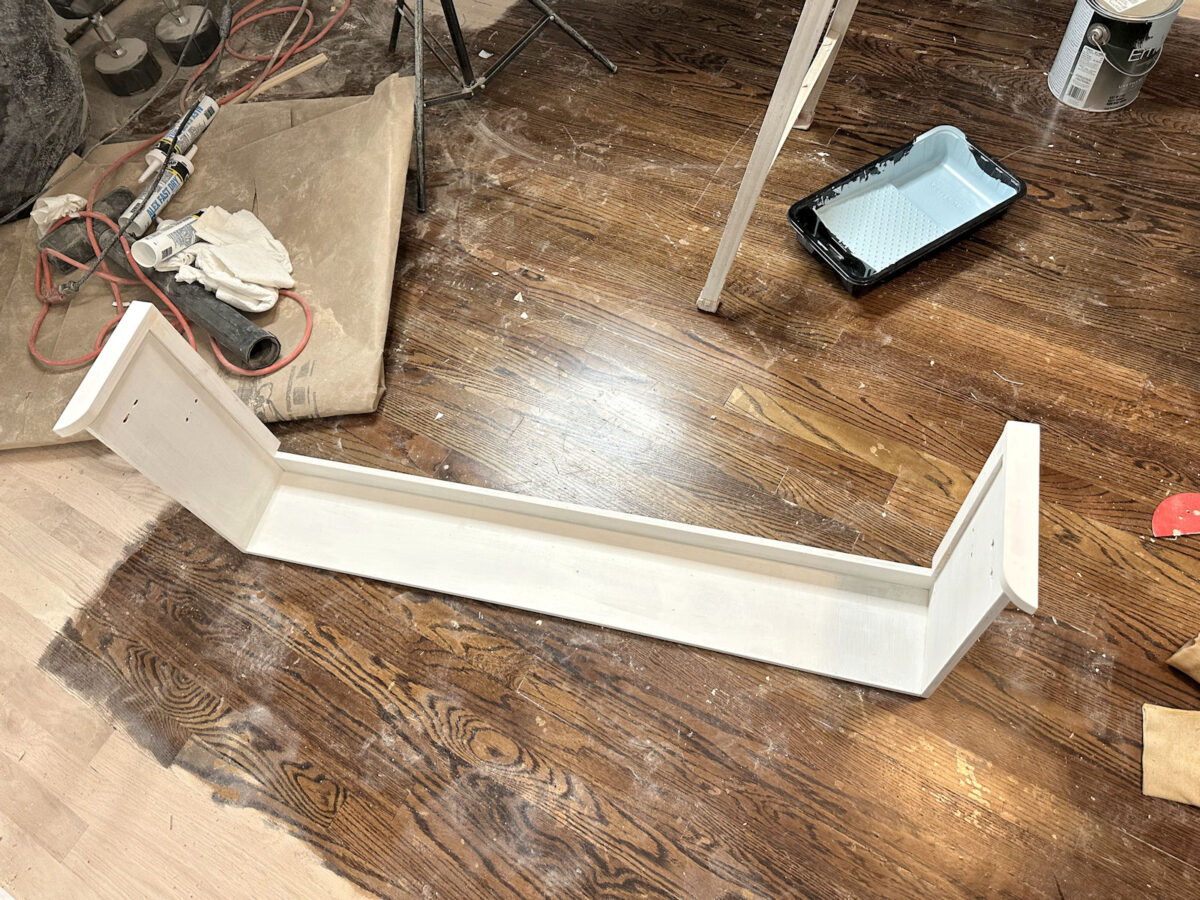
I made a decision that I didn’t need to have something going all the way in which throughout the entrance that may get in the way in which of easy accessibility to the necklaces, so I’ll simply use the entrance necklace bar as a pull. It took me some time to get this all discovered, end the design, after which take all the things aside once more (i.e., take away the drawer slides, bars, and bar {hardware}) in order that I may wooden fill, sand, caulk, and prime all the things.
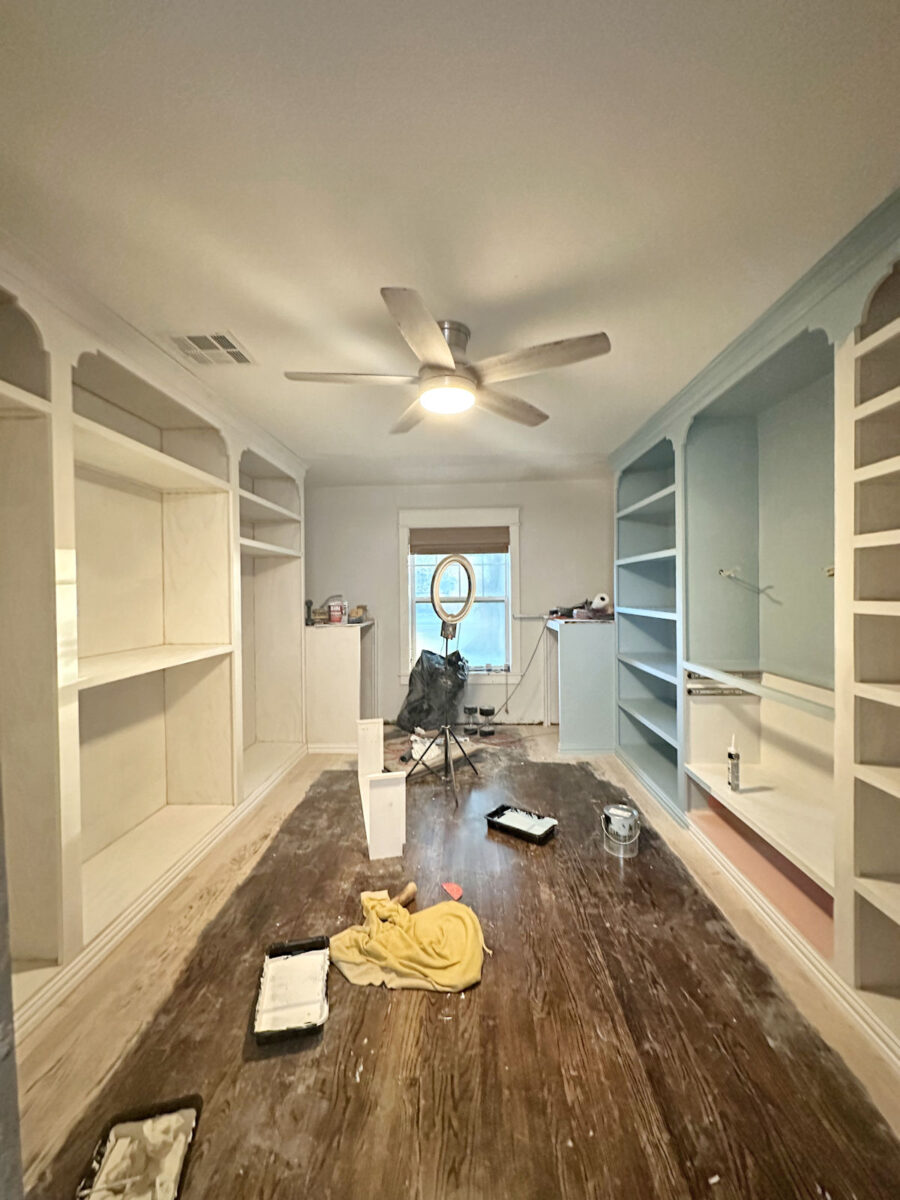
I bought all the things on the best wall caulked apart from the cupboard by the door. As soon as I completed caulking the shoe cabinets, I made a decision I deserved a reward for my perseverance. 😀 And that reward was to lastly PAINT!
I didn’t get so far as I had hoped on the portray. I had hoped to get the primary two sections utterly painted whereas I waited for the caulk to dry on the shoe cabinets. However I didn’t fairly get the entire second part painted. However no less than I bought to do some portray.

For these cupboards, I’m utilizing Sherwin Williams Emerald paint in a satin end. This paint is ridiculously costly (about $115/gallon), which is far more than I’m used to spending on Behr paint at House Depot.
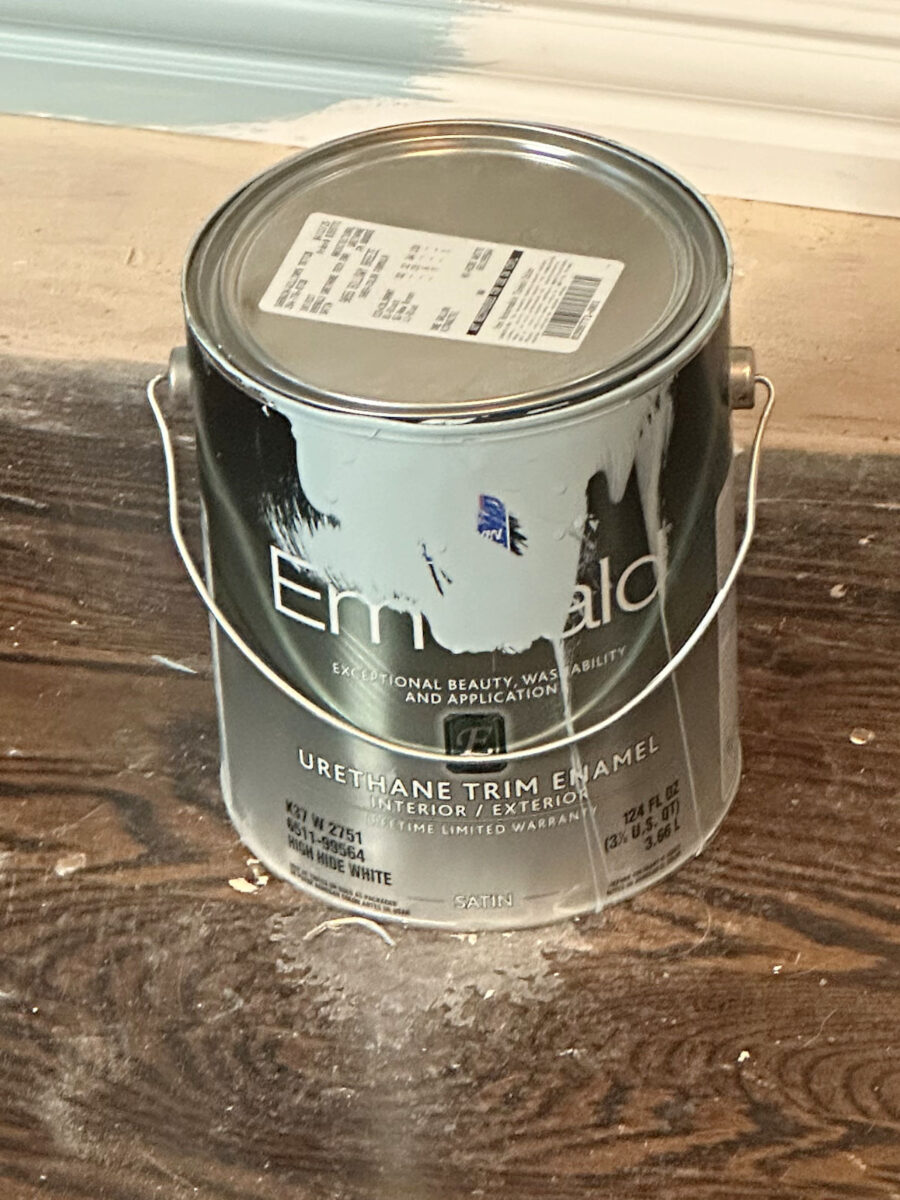
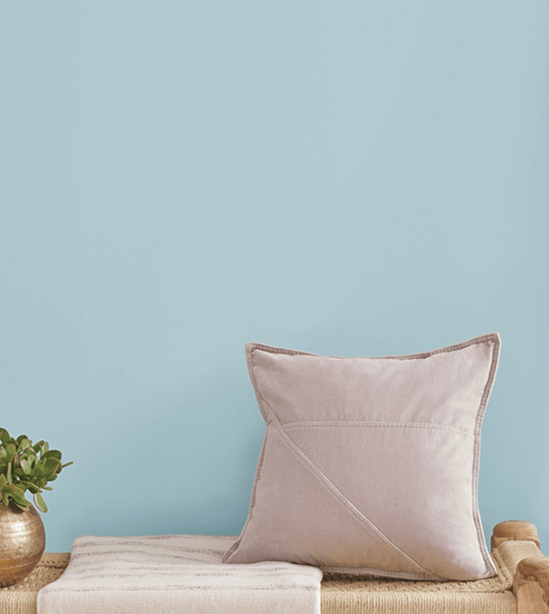
The colour is named Billowy Breeze, and it’s a light-weight greenish blue.

I’m used to utilizing Behr paint from House Depot, so I significantly doubted that paying over $100 for a gallon of paint can be price it. However as quickly as I began portray the cupboards, I noticed that this paint is price each penny. I made a decision to make use of a paint brush for the corners and trim and a 6-inch curler for easy surfaces for the entire flat surfaces. This paint goes on so easily, and it’s a dream to color with. I used to be nervous about utilizing a satin end, which is the bottom sheen that this paint is available in. Y’all know I hate shiny finishes, and I’ve all the time had an issue with Benjamin Moore’s Advance paint in a satin end as a result of it’s too shiny for my style. However this one is PERFECT!
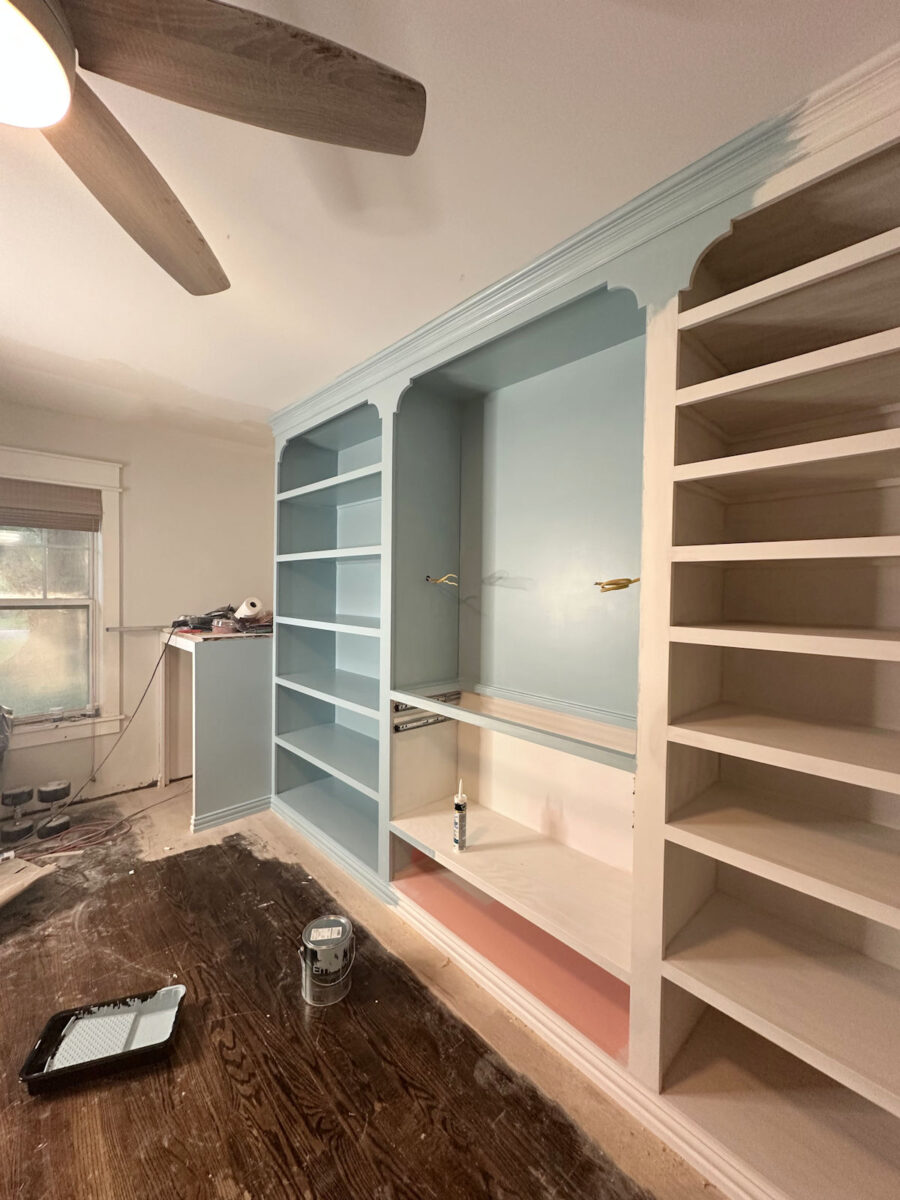
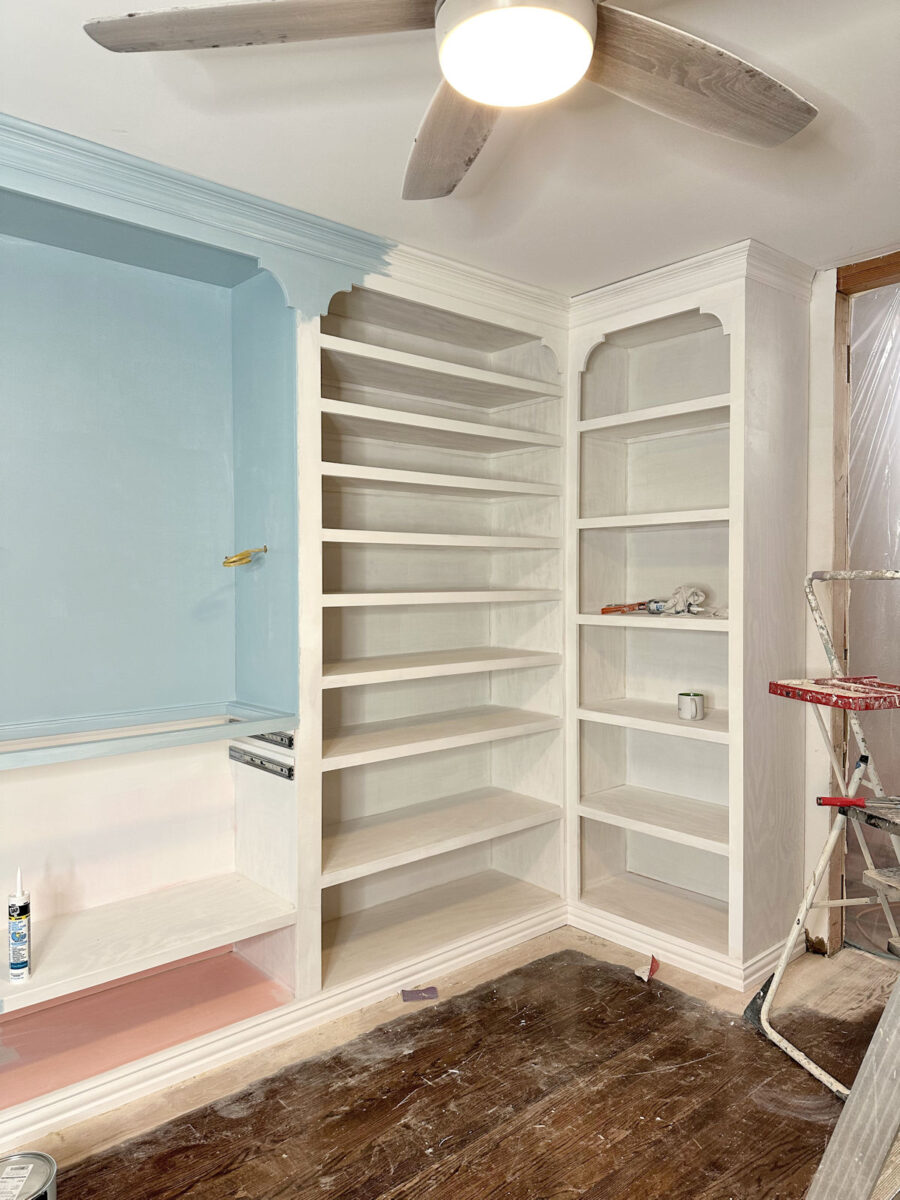
It’s going to nonetheless take two coats, and that is simply the primary coat. However simply have a look at this attractive coloration! And sheen!
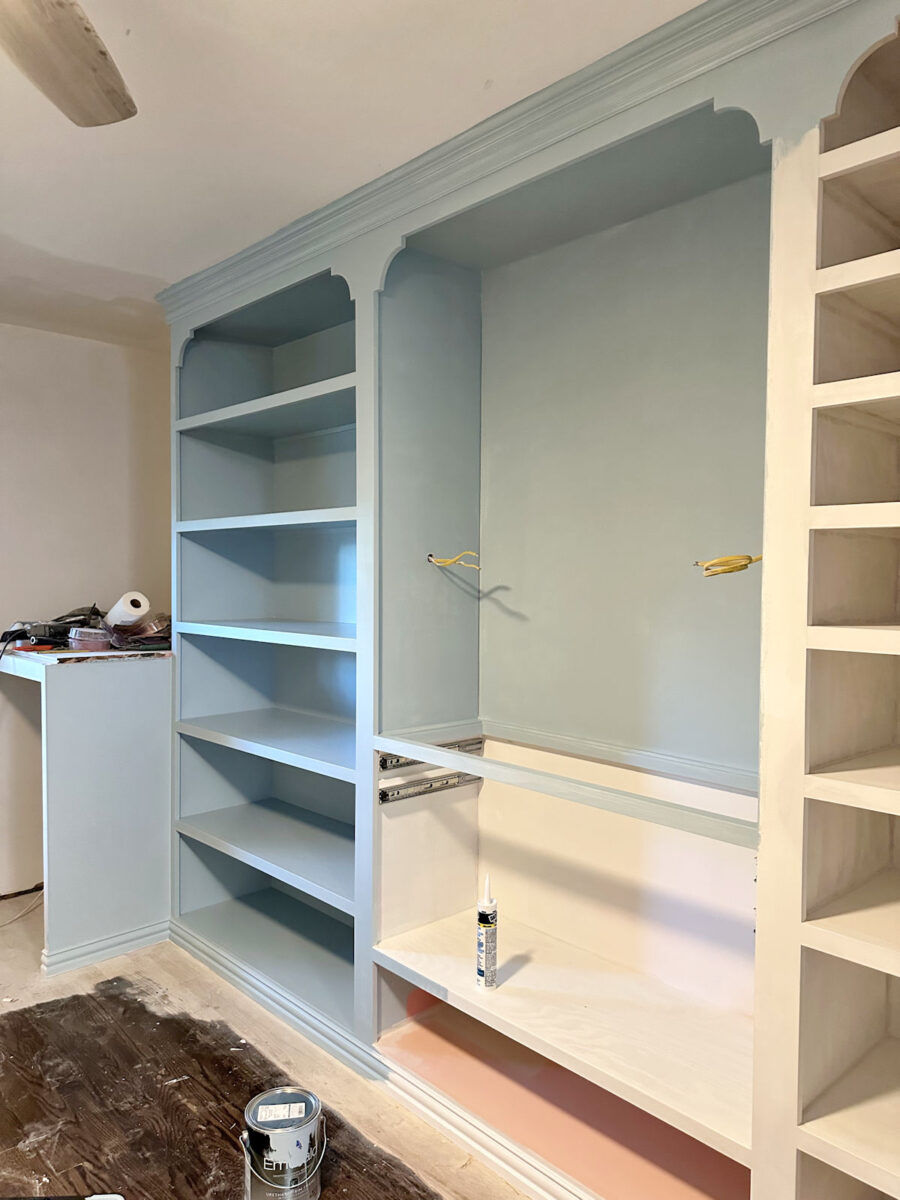
In truth, I like the colour a lot that I’m contemplating color-drenching the room with it. That mainly signifies that I might paint all the things within the room in that coloration — the entire cupboards, the entire trim (even the crown molding and baseboards that aren’t on the cupboards), the window trim, the door trim, and the ceiling.
The one factor areas that wouldn’t be coloration drenched on this lovely greenish blue coloration can be areas the place I plan so as to add wallpaper — the partitions across the washer and dryer and the one higher part within the middle cupboard on the wall on the best. Every little thing else can be painted Billowy Breeze.
I attempted to discover a good instance of a color-drenched room with mild wooden flooring, and I discovered this one on Instagram from Rock Creek Builders…
I feel that’s completely lovely. After all, that room is painted Benjamin Moore Hale Navy, which is method darker than the colour I’m utilizing. Hale Navy is under on the left, and the colour I’m utilizing (SW Billowy Breeze) is on the best. So you possibly can see what an enormous distinction there’s in coloration.
So my color-drenched room would find yourself a lot lighter and brighter than the color-drenched workplace from Rock Creek Builders. However the idea can be the identical (with the addition of wallpaper in my closet).
Anyway, it’s simply one thing I’m contemplating as a result of with the entire greenish-blue cupboards, I’m a bit of involved that any white trim would possibly stick out like a sore thumb. I’m typically a white ceiling sort of individual. In truth, the one ceiling in our home that isn’t painted white is the hallway toilet, which has a stained wooden ceiling.

And, after all, that room gained’t keep a rest room endlessly. It’s going to ultimately be a storage closet as soon as we construct the addition with the brand new visitor toilet.
I’ve needed to color-drench a room for some time now, and I feel this closet may be my alternative. And if I’m going to place a coloration on a ceiling, what’s higher than a light-weight greenish blue? So I feel I’m going to go for it. I don’t have to make use of the costly paint for the ceiling, and if I find yourself not liking it, I can all the time return and paint it white, proper?

Addicted 2 Adorning is the place I share my DIY and adorning journey as I transform and enhance the 1948 fixer higher that my husband, Matt, and I purchased in 2013. Matt has M.S. and is unable to do bodily work, so I do nearly all of the work on the home on my own. You’ll be able to study extra about me right here.

 Review – Sewing")


")


