

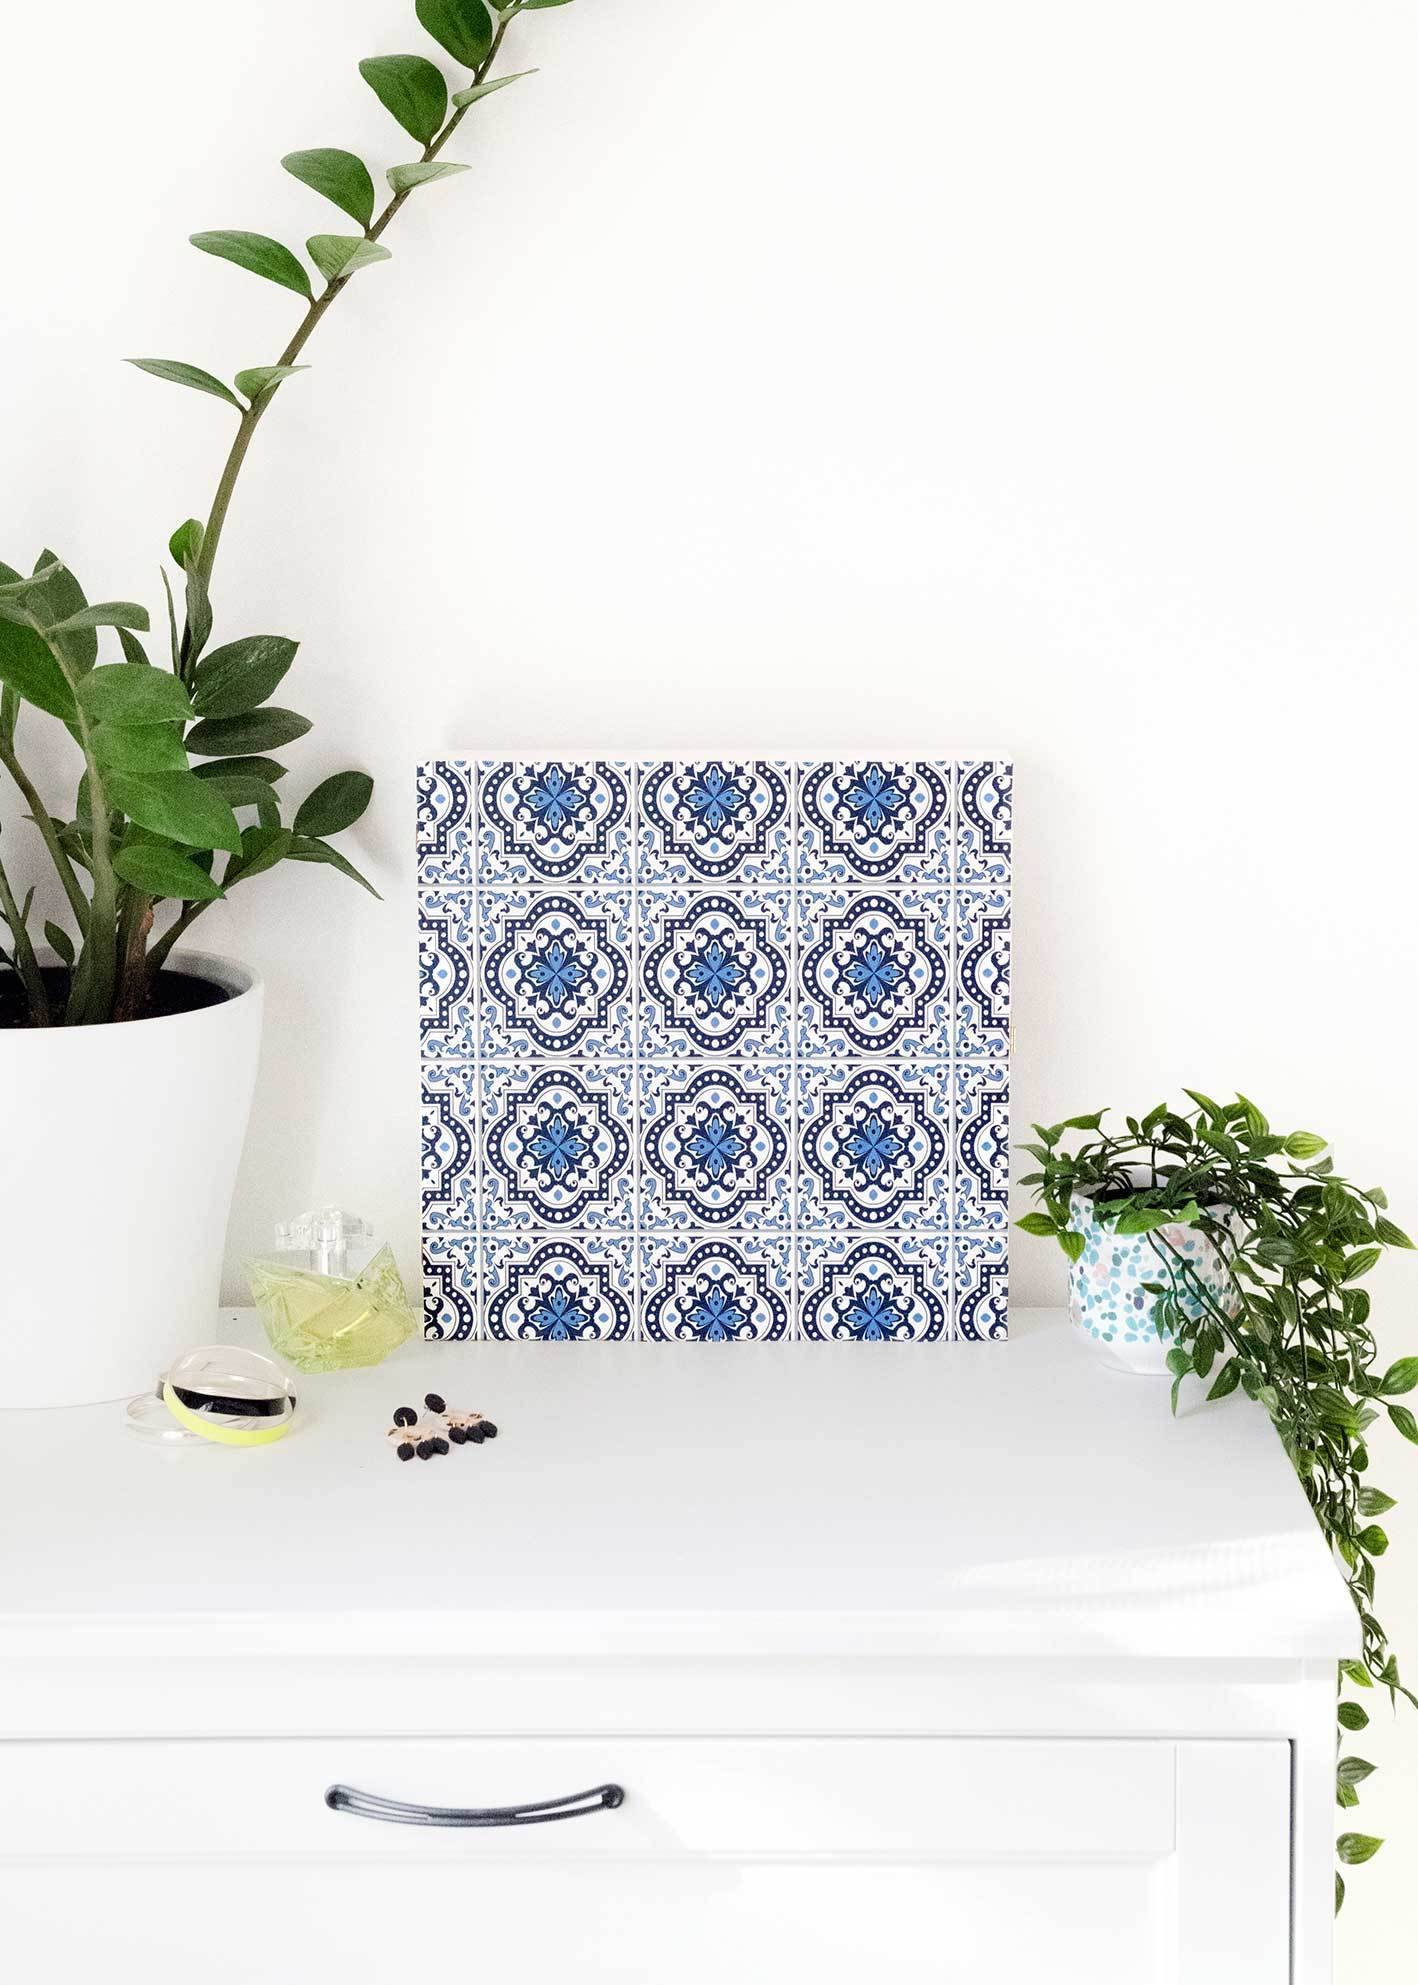
This artwork wall organizer gives useful storage whereas including a lovely ornamental ingredient to your partitions. It’s the proper answer for maintaining your bed room wanting polished whereas maintaining all of your jewellery organized and accessible.
These cute little jewellery holders formed like cacti and porcelain animals are undeniably cute, however let’s be trustworthy, they don’t all the time maintain a lot.
In the event you’ve obtained greater than a handful of necklaces, you most likely know the wrestle of watching your favourite items overflow onto your dresser, getting tangled and coated in mud.
Why This Artwork Wall Organizer Works
This intelligent DIY venture solves a number of issues directly.
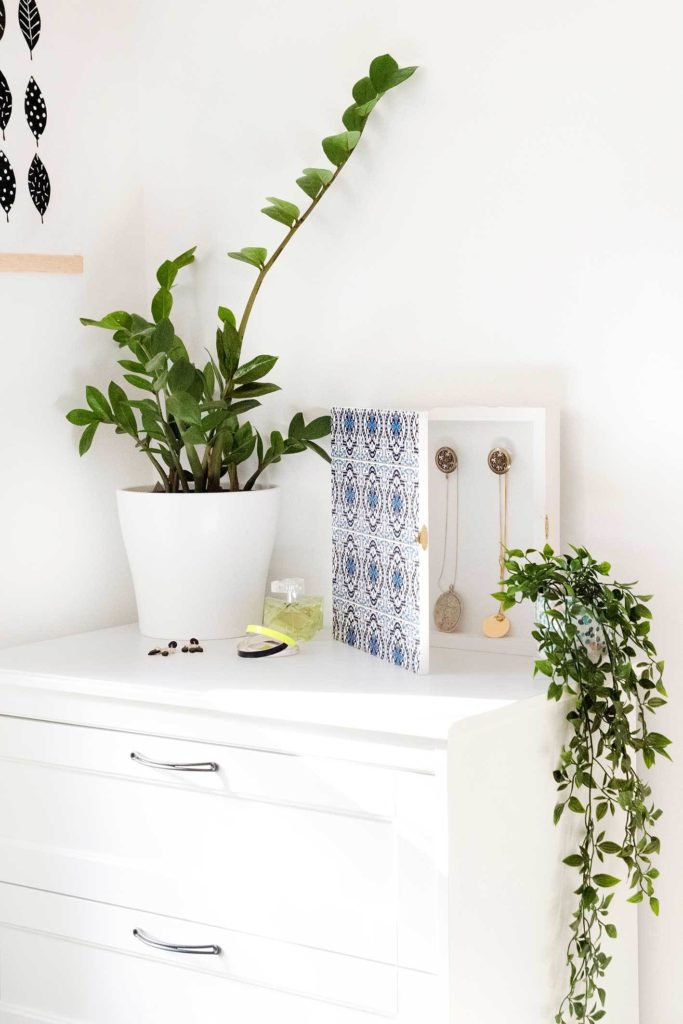
The hidden storage retains your bed room wanting clear and clutter-free, whereas the shadow field design protects your jewellery from mud and tangles.
You’ll be able to customise the entrance to match any decor type, from fashionable geometric patterns to classic florals.
It’s excellent for small areas the place each sq. inch counts, and it’s a budget-friendly various to these costly jewellery armoires that take up beneficial flooring area. Better of all, when the door is closed, nobody will realize it’s something greater than a fairly piece of wall artwork!
Supplies You’ll Want
Wooden shadow field body
MDF board
Ornamental contact paper or wallpaper
2 small hinges
Jewellery field clasp
Hooks or small ornamental knobs
Primer and white paint
Sandpaper
Noticed
Glue or robust adhesive
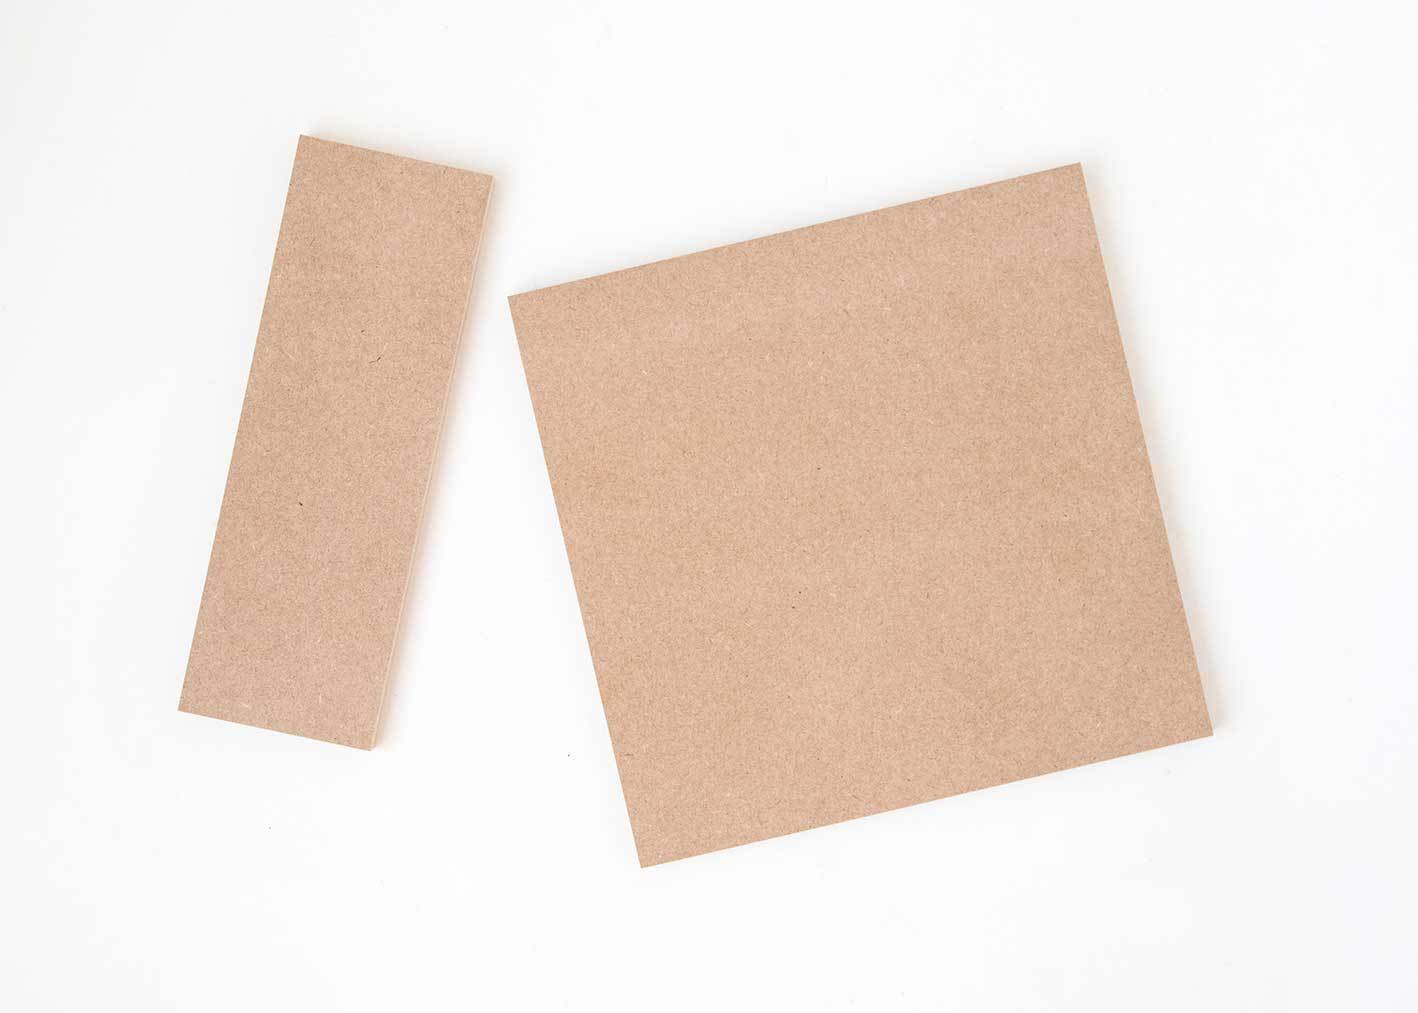
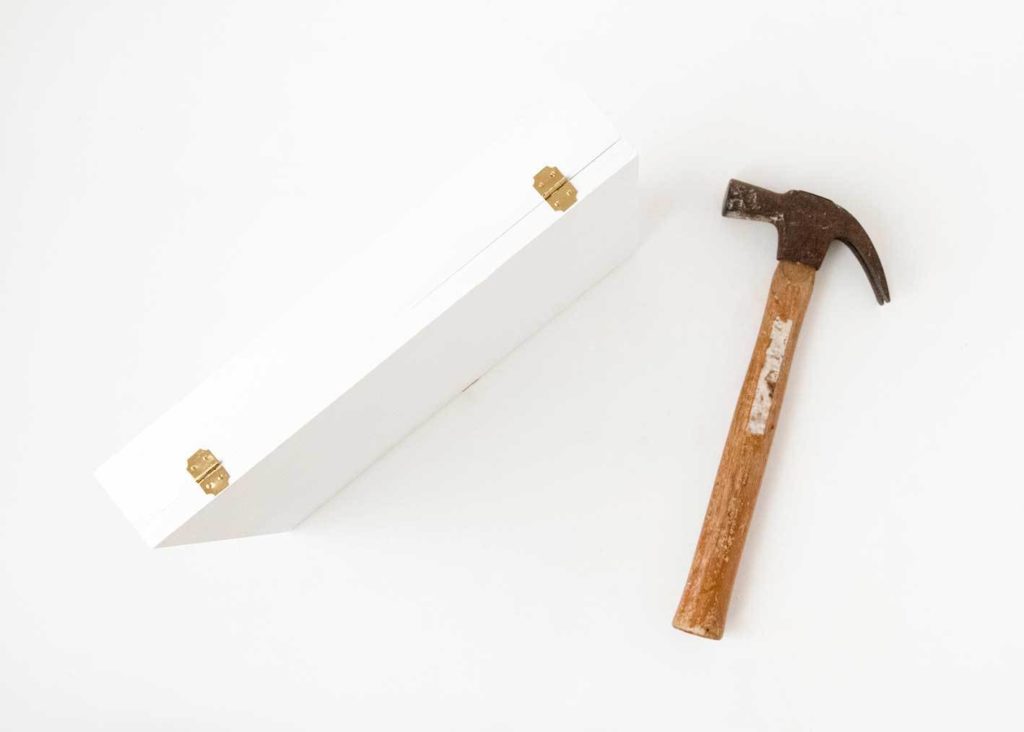
Reduce and Put together the MDF Door
Begin by measuring your shadow field body fastidiously. Reduce the MDF board to match these precise dimensions—this piece will turn out to be the door that conceals your jewellery storage.
Take away the glass from the shadow field body and set it apart (it can save you it for one more craft venture!).
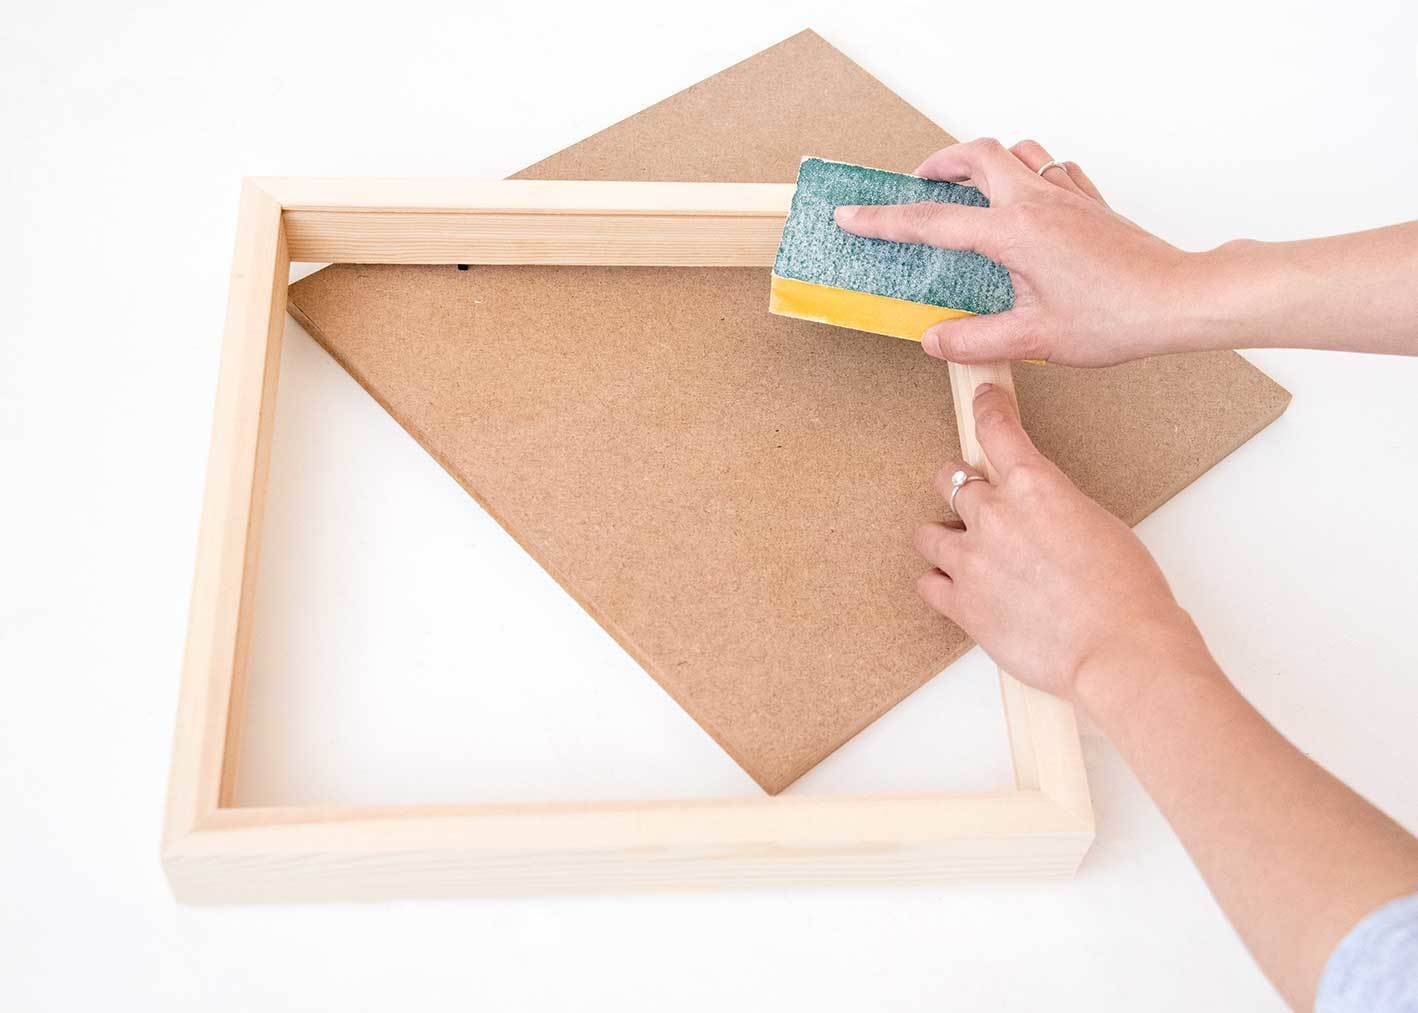
Sand each the body and the MDF board till they’re easy. This step is vital as a result of it helps the paint adhere higher and provides you a professional-looking end.
In the event you don’t have woodworking instruments at dwelling, don’t fear—most {hardware} shops provide free reducing providers. Simply carry your shadow field body measurements with you, they usually’ll minimize the MDF to dimension.
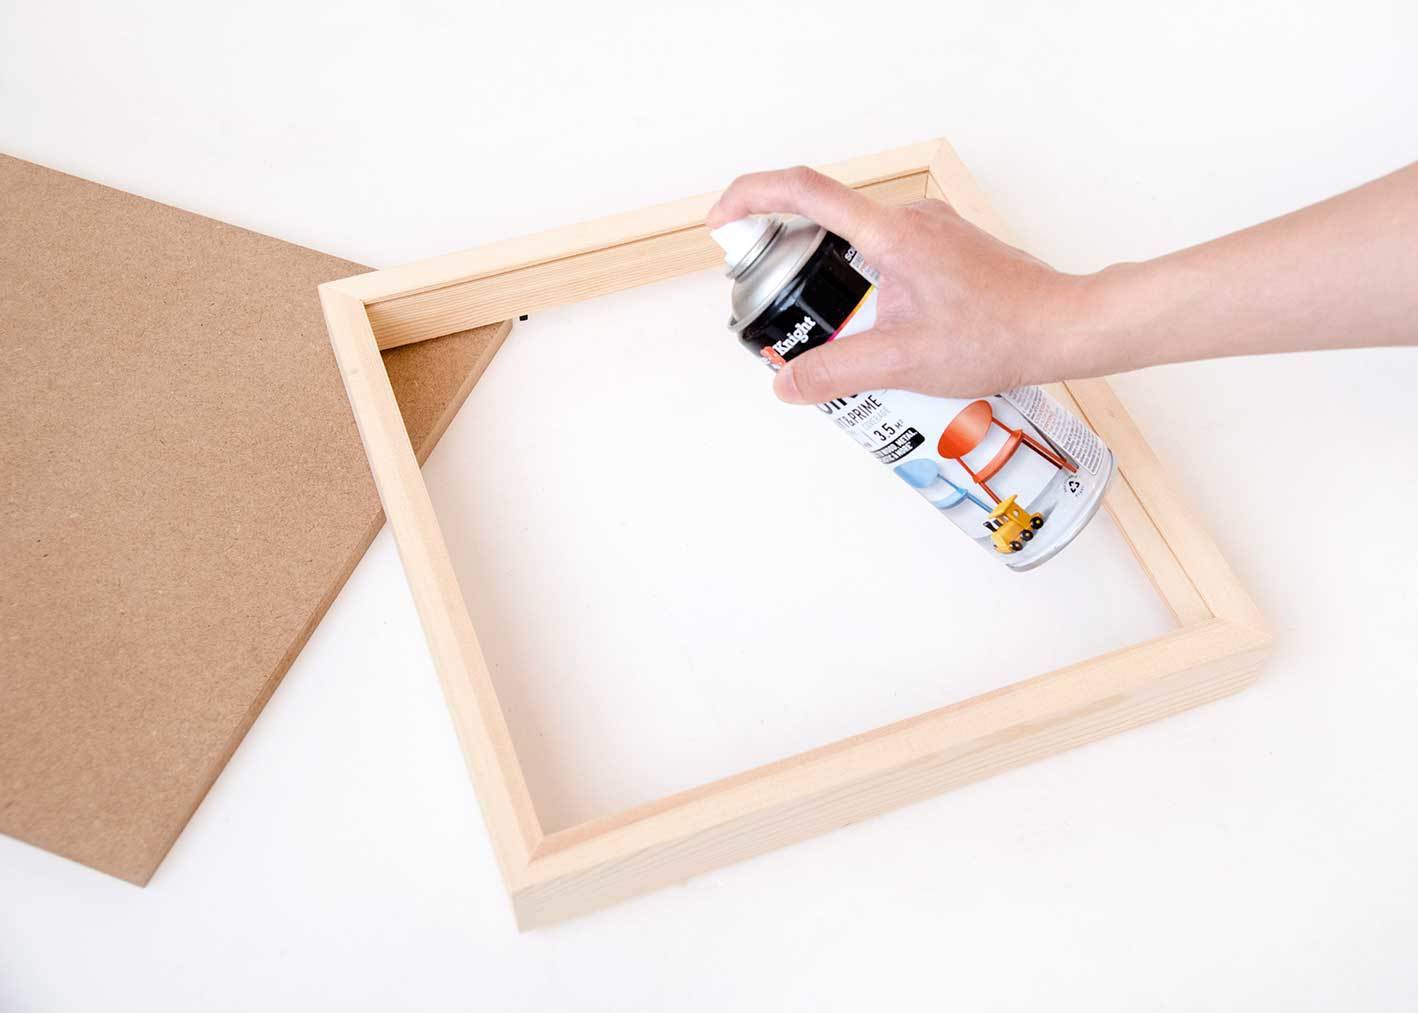
Prime and Paint
Apply a coat of primer to each the shadow field body and the MDF board. Primer is very vital for MDF as a result of it’s porous and might take in paint inconsistently with out it.
As soon as the primer is dry, paint each items along with your chosen colour. White creates a basic, clear look that works with any decor, however you may completely select any colour that matches your room!
Let the paint dry fully between coats. If you wish to add a classic contact, you may calmly misery the sides with sandpaper after the ultimate coat dries.
Connect the Hinges
Place two small hinges evenly spaced alongside one facet of your shadow field body. Earlier than you connect them, it’s a good suggestion to pre-drill the screw holes to stop the wooden from splitting.
Rigorously connect the MDF door to the body utilizing the hinges, then check that the door swings easily.
In case your door sticks or doesn’t shut evenly, strive adjusting the hinge placement barely. That is a kind of steps the place taking your time actually pays off—you need your artwork wall organizer to open and shut easily for years to come back.

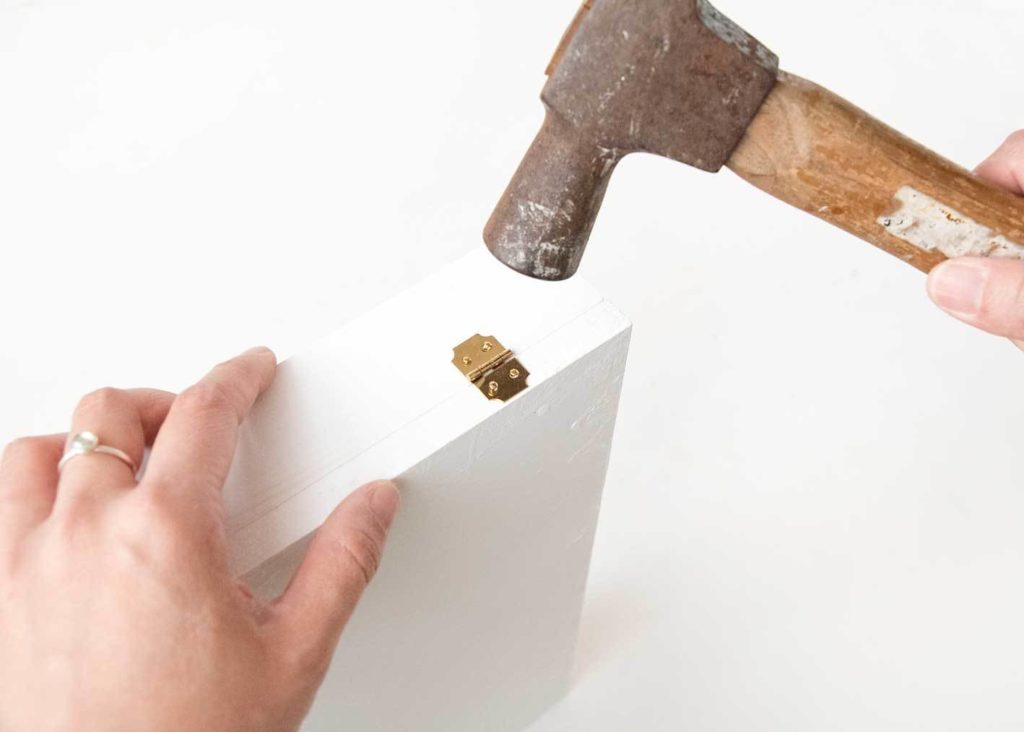
Add the Clasp
Set up a jewellery field clasp on the other facet from the hinges. Middle the clasp so the door closes evenly and stays securely shut when crammed with jewellery.
Magnetic clasps work nice in its place if you happen to choose a cleaner look. Be sure no matter clasp you select is robust sufficient to carry the door closed when it’s loaded along with your jewellery assortment.
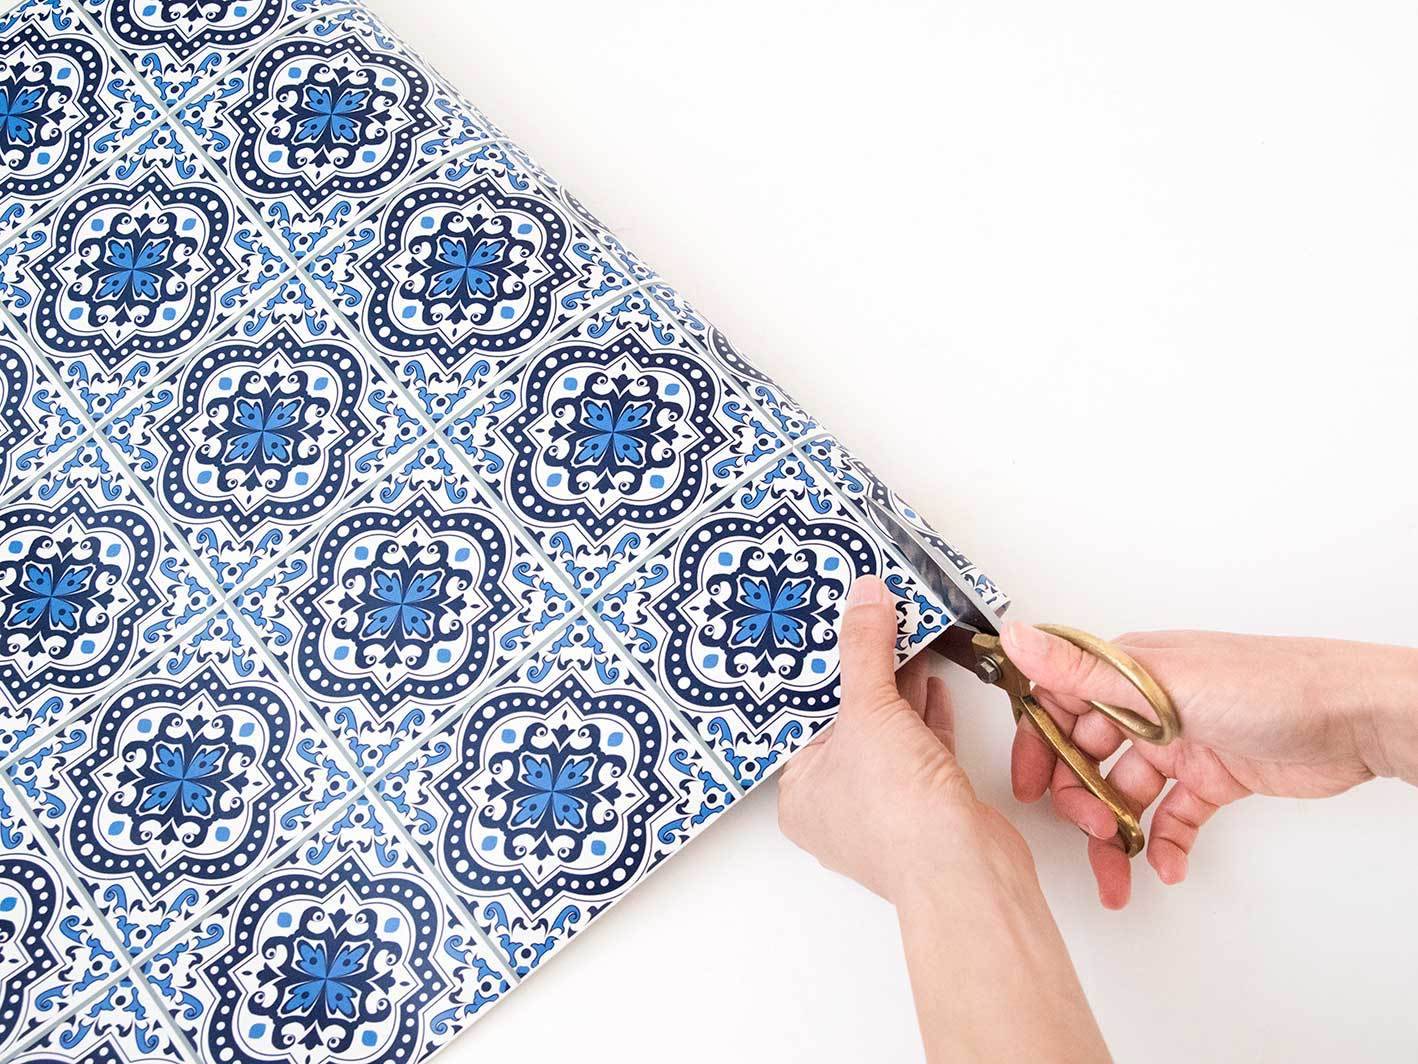
Enhance the Entrance
That is the place your artwork wall organizer actually turns into a chunk of artwork! Measure the entrance of your door and minimize ornamental contact paper or wallpaper to suit.
Whenever you’re prepared to use it, measure twice and minimize as soon as—you need this to look excellent.
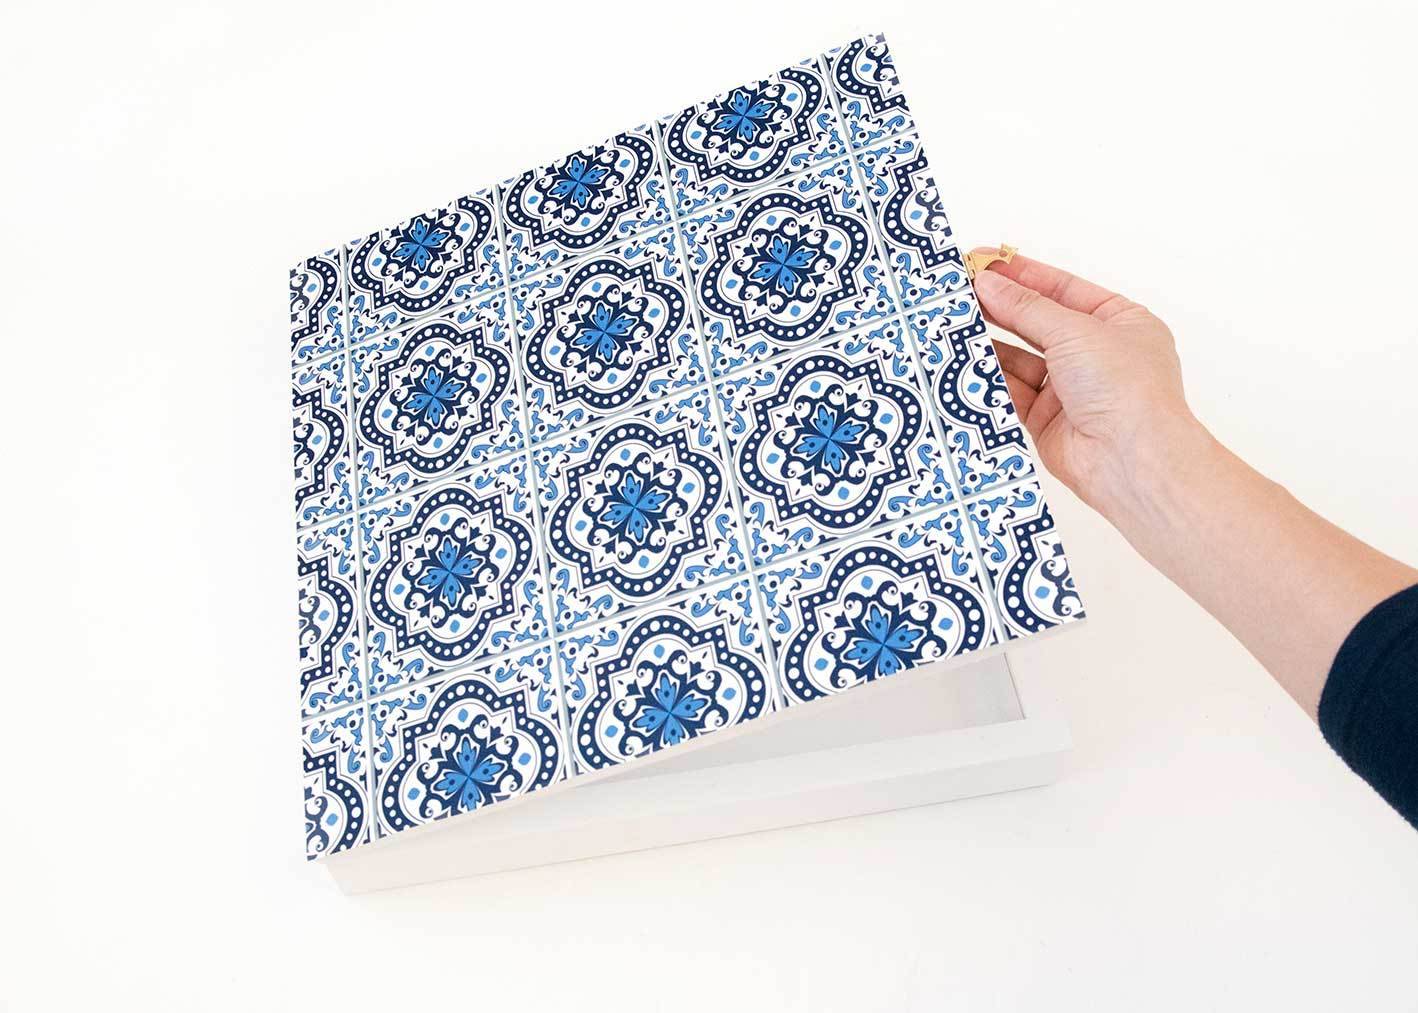
Apply the contact paper fastidiously to keep away from bubbles. Begin from one edge and easy it down as you go, utilizing a bank card or squeegee to push out any air pockets.
Your choices listed below are countless: geometric patterns for a contemporary look, floral designs for one thing softer, or summary artwork for a daring assertion. Select one thing that enhances your bed room’s aesthetic and makes you cheerful each time you see it.
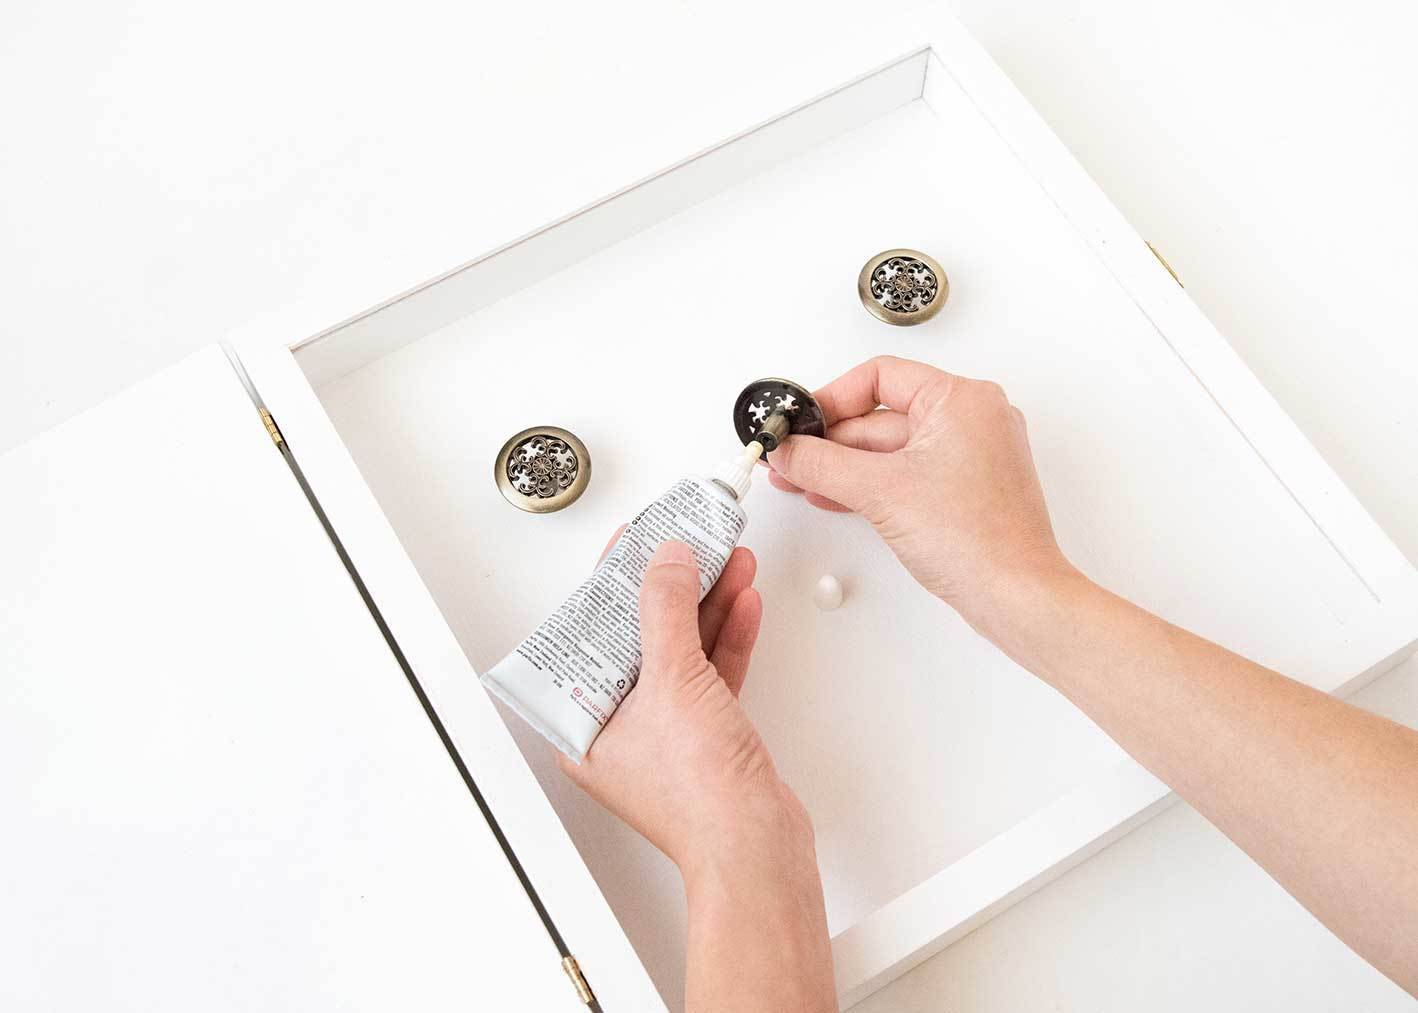
Set up Inside Hooks
Now for the useful half! Area your hooks evenly contained in the shadow field to accommodate totally different necklace lengths. Add ornamental knobs close to the highest for shorter items like bracelets and chokers. Think about using totally different hook sizes for numerous jewellery sorts—some items may want bigger, sturdier hooks.
Use robust adhesive or small screws to safe every little thing in place. Depart sufficient area on the backside for longer necklaces to hold with out getting tangled. Take into consideration your jewellery assortment as you intend the format—if in case you have largely lengthy pendant necklaces, you’ll wish to place hooks increased up.

Grasp and Arrange
Use image hanging {hardware} that’s applicable for the load of your stuffed organizer. In the event you’re hanging it on drywall, wall anchors are important for maintaining every little thing safe. Grasp your artwork wall organizer at a handy top—eye degree normally works properly so you may simply see and entry your jewellery.
Arrange your jewellery by sort or colour, no matter makes essentially the most sense for you. Grasp your items, shut the door, and step again to admire your handiwork. You’ve simply created a lovely piece of wall artwork that occurs to be hiding all of your jewellery!
Styling and Customization Concepts
Need to take this venture even additional? Match your contact paper to your bed room’s colour scheme for a cohesive look. You can create a complete gallery wall utilizing a number of artwork wall organizers in several sizes—one for necklaces, one for bracelets, and one other for rings and earrings.
Experiment with totally different body kinds to match your decor. A smooth fashionable body works superbly in up to date areas, whereas a distressed classic body provides appeal to cottagecore or farmhouse bedrooms. For much more performance, think about including a cork backing the place you may pin earrings, or line the inside with material to guard delicate items. You can even connect a small mirror to the within of the door for a useful bonus.
The fantastic thing about this venture is which you can change the contact paper seasonally or everytime you wish to refresh your look. It’s additionally an exquisite personalised present for buddies who love jewellery however wrestle with storage.
Upkeep and Care Suggestions
Caring to your artwork wall organizer is easy. Mud the outside similar to you’d some other wall artwork. Each few months, take a couple of minutes to reorganize the inside and untangle any items which may have gotten twisted collectively.
Over time, the hinges may loosen barely from common use, so maintain a screwdriver useful to tighten them when wanted. Clear the hooks often to stop any discoloration in your jewellery. When you have notably delicate items, think about including felt lining to the inside again panel for further safety.
Continuously Requested Questions
What dimension shadow field body works finest?
An 8×10 or 11×14 body works properly for most jewellery collections. When you have an in depth necklace assortment, go bigger—or higher but, create a number of smaller organizers for various jewellery sorts. There’s no improper dimension, so long as it suits your area and your assortment.
Can I take advantage of this for earrings too?
Completely! To retailer earrings, add a chunk of ornamental mesh or cork to the inside again panel. You’ll be able to cling stud earrings on the mesh or pin them to the cork. This works particularly properly if you happen to create a devoted earring organizer alongside your necklace storage.
Do I’ve to color it white?
In no way! Paint your artwork wall organizer any colour that matches your decor. Metallics like gold, rose gold, or silver create a glamorous, jewelry-box really feel. Deep jewel tones could make a daring assertion, whereas gentle pastels work superbly in female areas. That is your venture—make it uniquely yours!
What if I don’t have woodworking instruments?
Most {hardware} shops provide free reducing providers for purchasers. Deliver your shadow field body and its measurements to the shop, they usually’ll minimize the MDF to the proper dimension. This makes the venture accessible even if you happen to’re working with a minimal instrument assortment.
How a lot weight can this maintain?
A correctly put in shadow field with high quality hooks can comfortably maintain a number of necklaces and bracelets. For heavier assertion items, use stronger hooks and be sure to’ve mounted the organizer to wall studs or used applicable wall anchors for sturdiness. In the event you’re involved about weight, check it earlier than filling it fully.
Can I add a mirror inside?
That’s an excellent thought! Connect a small mirror to the within of the door utilizing robust adhesive. This offers you a handy spot to verify how your jewellery appears to be like earlier than heading out. Simply be sure that the mirror isn’t too heavy to your hinges to help.
Lively Time
3 hours
Whole Time
3 hours
Issue
Straightforward
Supplies
Wooden shadow field body
MDF board
Ornamental contact paper or wallpaper
2 small hinges
Jewellery field clasp
Hooks or small ornamental knobs
Primer and white paint
Sandpaper
Noticed
Glue or robust adhesive
Directions
Reduce and Put together the MDF Door
Reduce MDF to match your shadow field body dimensions. Take away the glass from the body, then sand each the body and MDF board easy.Prime and Paint
Apply primer to each the body and MDF board, then paint with white paint (or your most popular colour). Let dry fully.Connect the Hinges
Join the MDF board to the shadow field body utilizing two small hinges on one facet to create a door that swings open.Add the Clasp
Set up a jewellery field clasp on the other facet of the hinges to maintain your artwork wall organizer securely closed.Enhance the Entrance
Measure and minimize ornamental contact paper or wallpaper to suit the door. Apply it to create your “paintings” disguise.Set up Inside Hooks
Connect hooks or ornamental knobs contained in the shadow field to carry necklaces, bracelets, and different jewellery.Grasp and Arrange
Mount your artwork wall organizer on the wall, fill it with jewellery, shut the door, and revel in your hidden storage!
Making Lovely Storage Work for You
Creating this artwork wall organizer provides you the most effective of each worlds: lovely artwork that enhances your area and sensible storage that retains your jewellery organized and guarded. Whether or not you’re a newbie DIYer or somebody with loads of crafting expertise, this venture is totally customizable to match your type and talent degree.
The hidden storage idea works superbly for maintaining your bed room wanting clear whereas making certain your favourite items are all the time inside attain. You’ve created one thing useful that additionally brings magnificence to your partitions—and that’s what nice design is all about.
Able to create your individual hidden jewellery storage that appears straight from one of many nice design studios? Collect your supplies and provides it a do that weekend. Your jewellery (and your bed room) will thanks!

")
")


")


