

My entryway console desk makeover is lastly completed! I already know that individuals’s opinions will probably be cut up on this, however I ended up portray the console desk somewhat than attempting to make use of gel stain to attempt to protect a pure wooden end. After trying round the lounge and music room (i.e., the 2 adjoining areas), I spotted that I have already got quite a lot of pure wooden finishes in these areas, and I’m keen on painted finishes. So I made a decision to go for it.
I selected a dark-ish inexperienced known as Scallion from Behr. I went with inexperienced as an alternative of pink for 2 causes. First, I had already frolicked doing a makeover on my lamps utilizing artwork pastels (you possibly can learn extra about that right here) and it took some time to get the colour precisely what I needed. I wasn’t keen to repaint these. However the primary cause is as a result of after I stood again and regarded on the complete space, I spotted {that a} large pink piece of furnishings within the entryway would in all probability compete for consideration with the raspberry-colored sofa within the music room, and each are very seen as quickly as one enters the entrance door of our home. So, inexperienced was the colour.
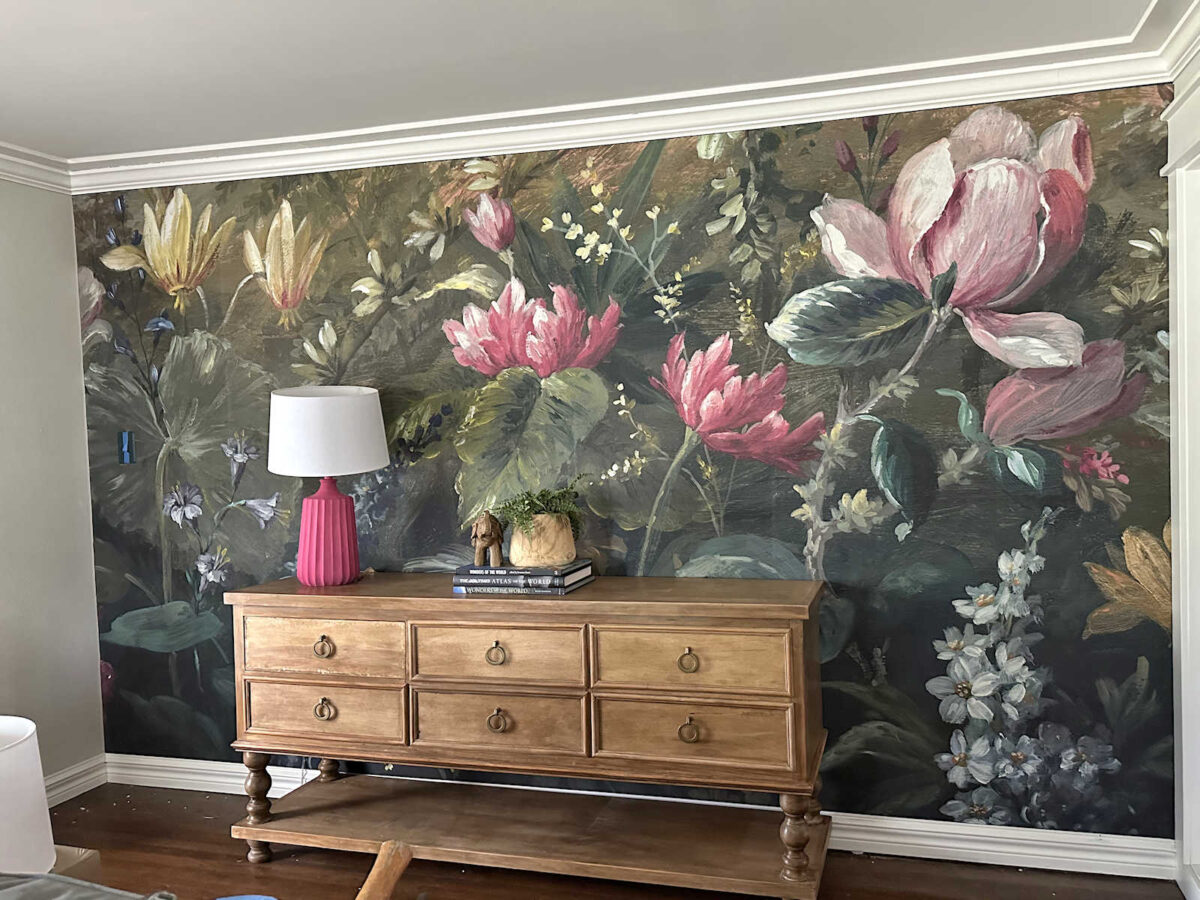
For some cause, the colours of each the console desk and the lamps look brighter in footage. They’re each a bit of darker in individual. However anyway, right here’s the ultimate consequence.
I’m nonetheless going so as to add some equipment and ending touches to the realm, however at the very least the primary items are lastly completed.
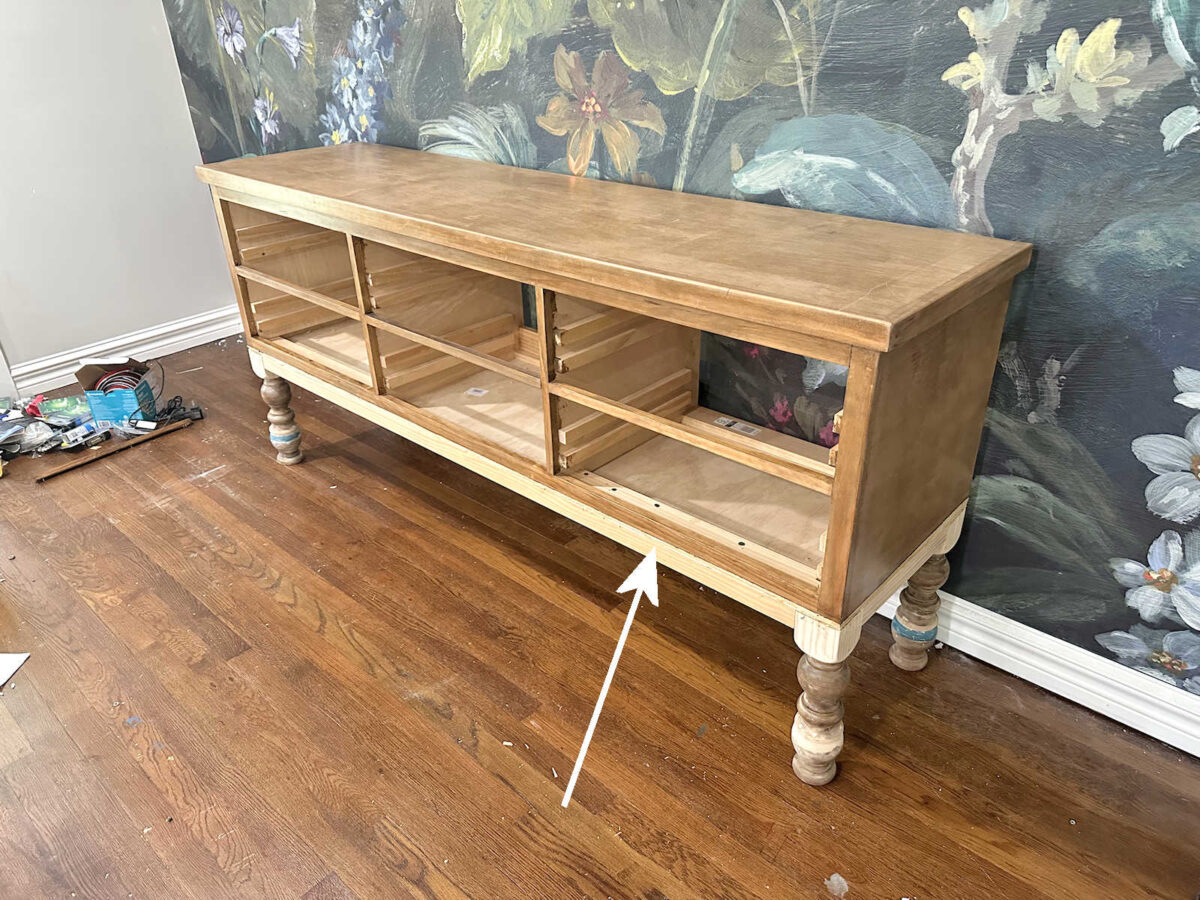
So let me again up and remind you the place this began. Right here’s how the console desk regarded earlier than its makeover. I do know quite a lot of you actually liked the pure wooden end on it, however the end actually bothered me. It would look superb in footage, however in individual, it was manner too orange and splotchy for my style. I’ve lived with it for a very long time like this, and I lastly determined that I didn’t need to dwell with this streaky, splotchy end anymore.
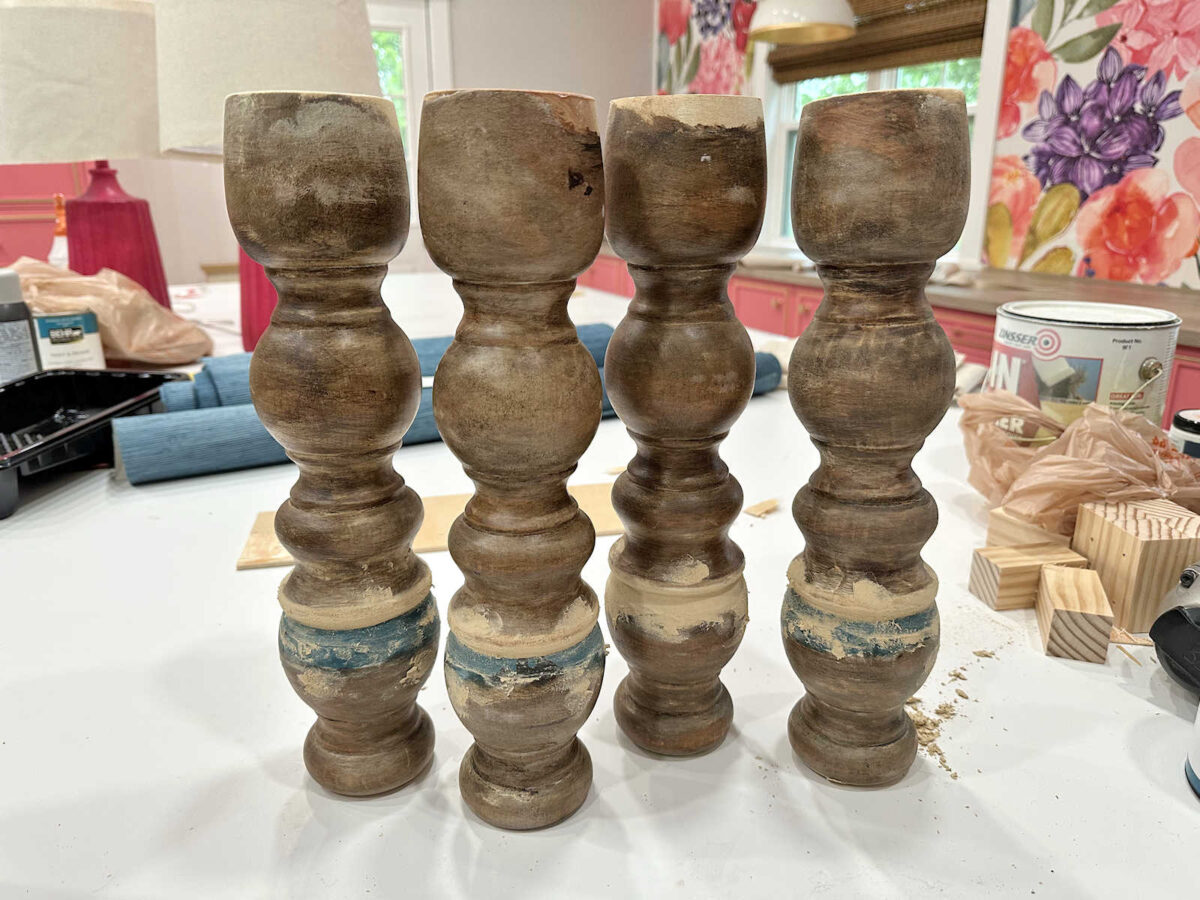
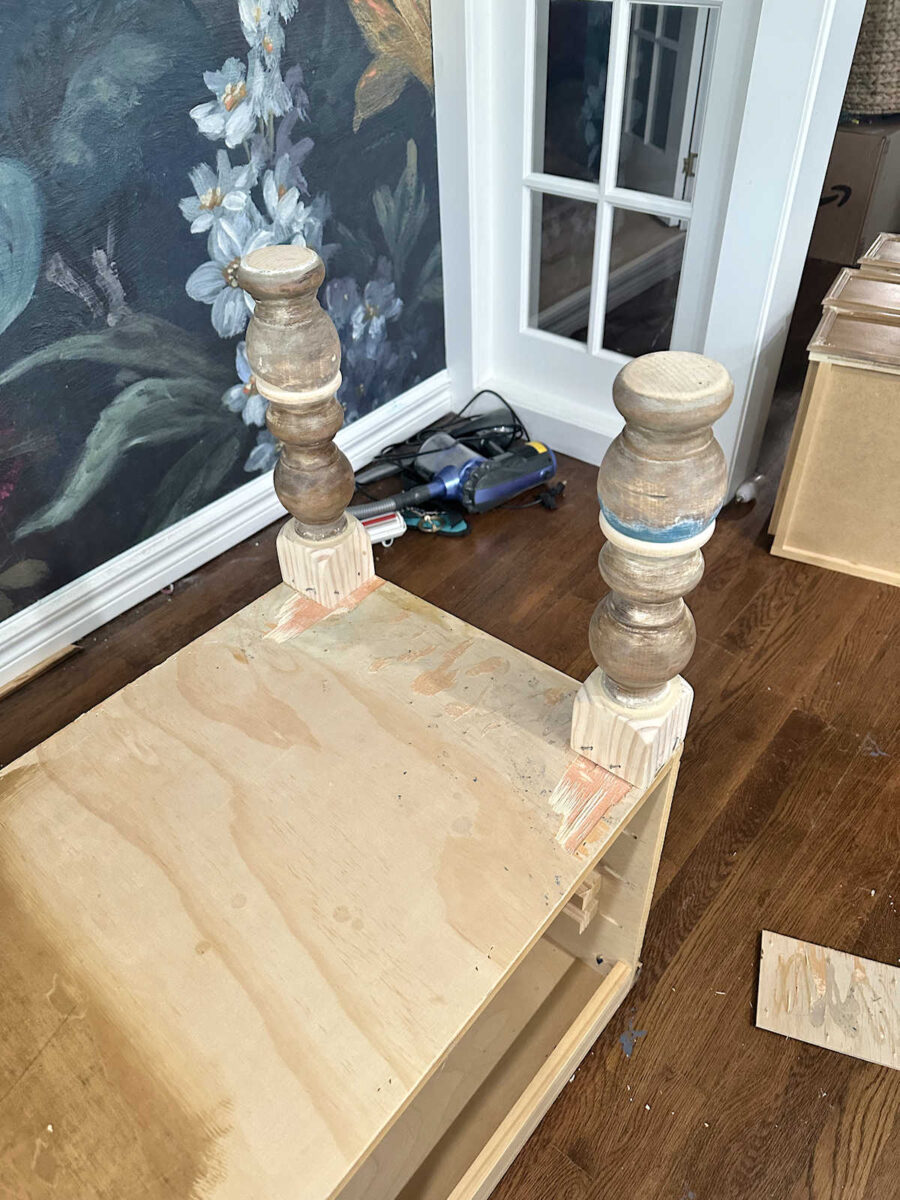
So since I used to be giving it a makeover anyway, I made a decision to take the recommendation that a few of you had and eliminate the decrease shelf. As soon as I eliminated the shelf, I had 4 turned legs that had been every in two components.
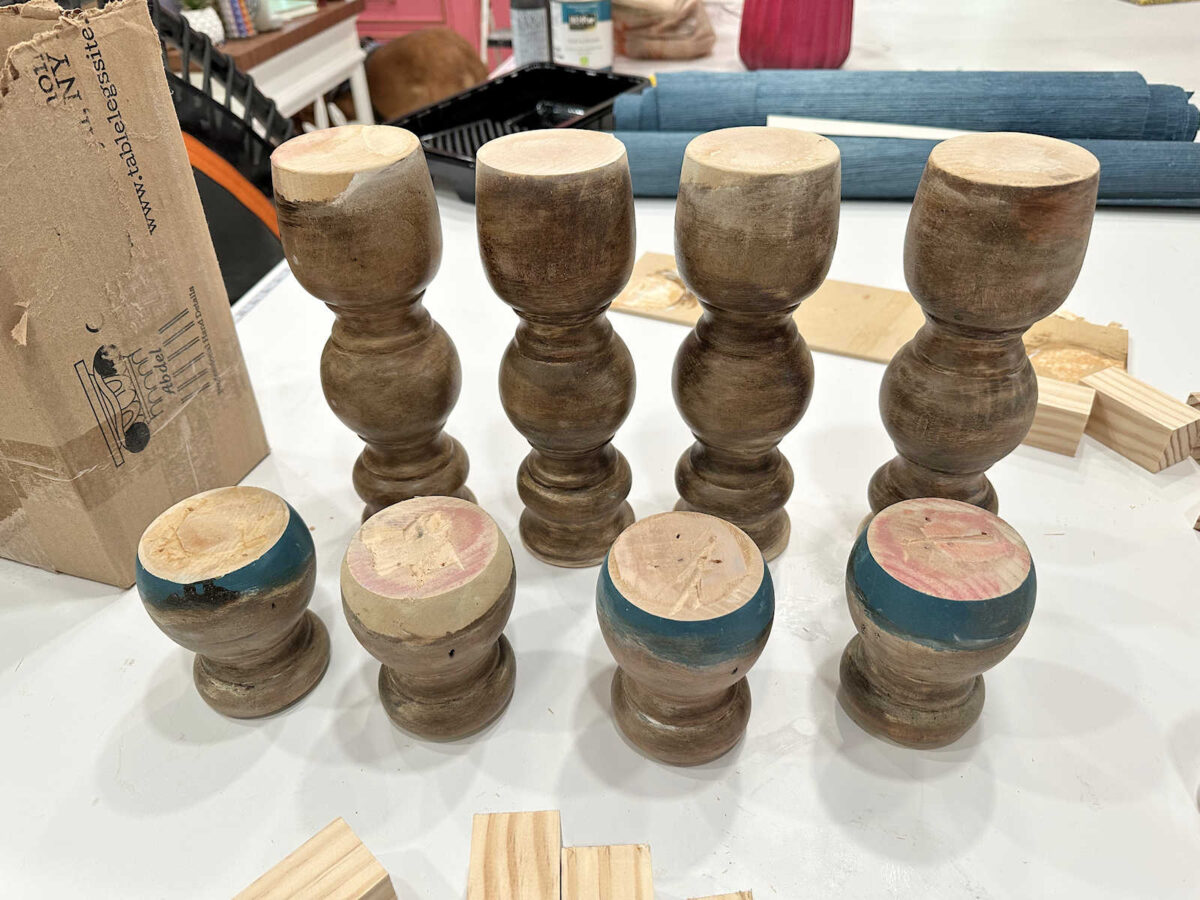
I glued and nailed these collectively after which used wooden filler to fill the crack the place the 2 items met.
After which I wanted so as to add a block on the high in order that I may connect the legs securely to the higher a part of the console desk. Utilizing a hand noticed, I lower off the highest turned part of every leg.
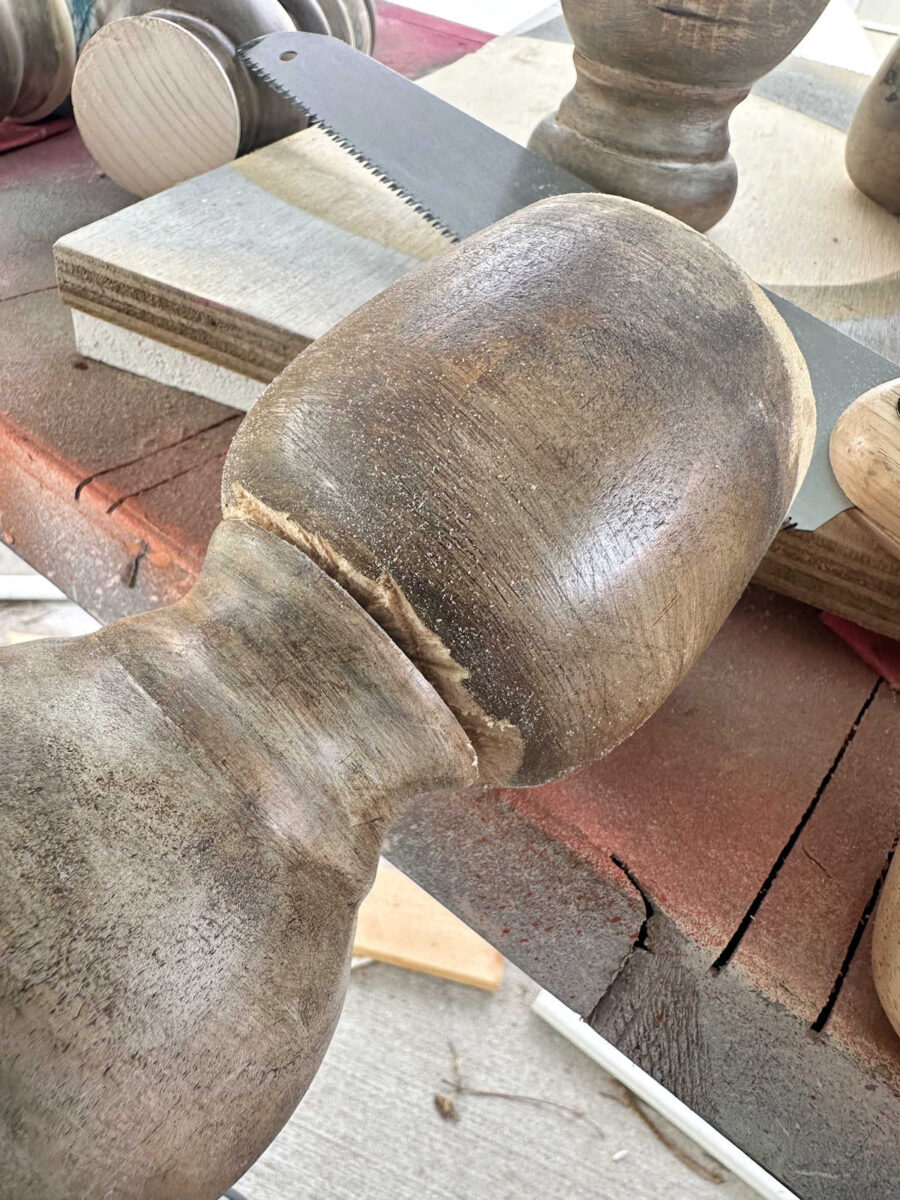
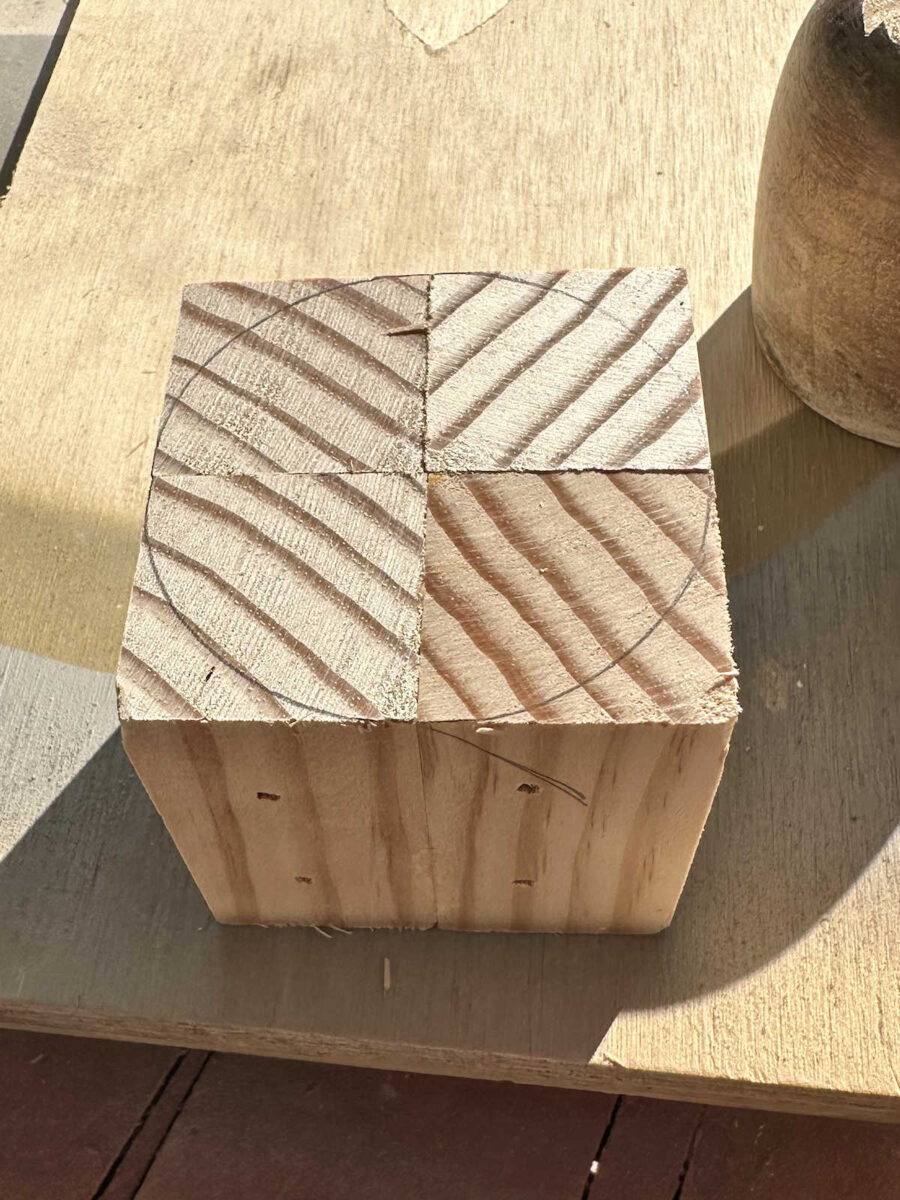
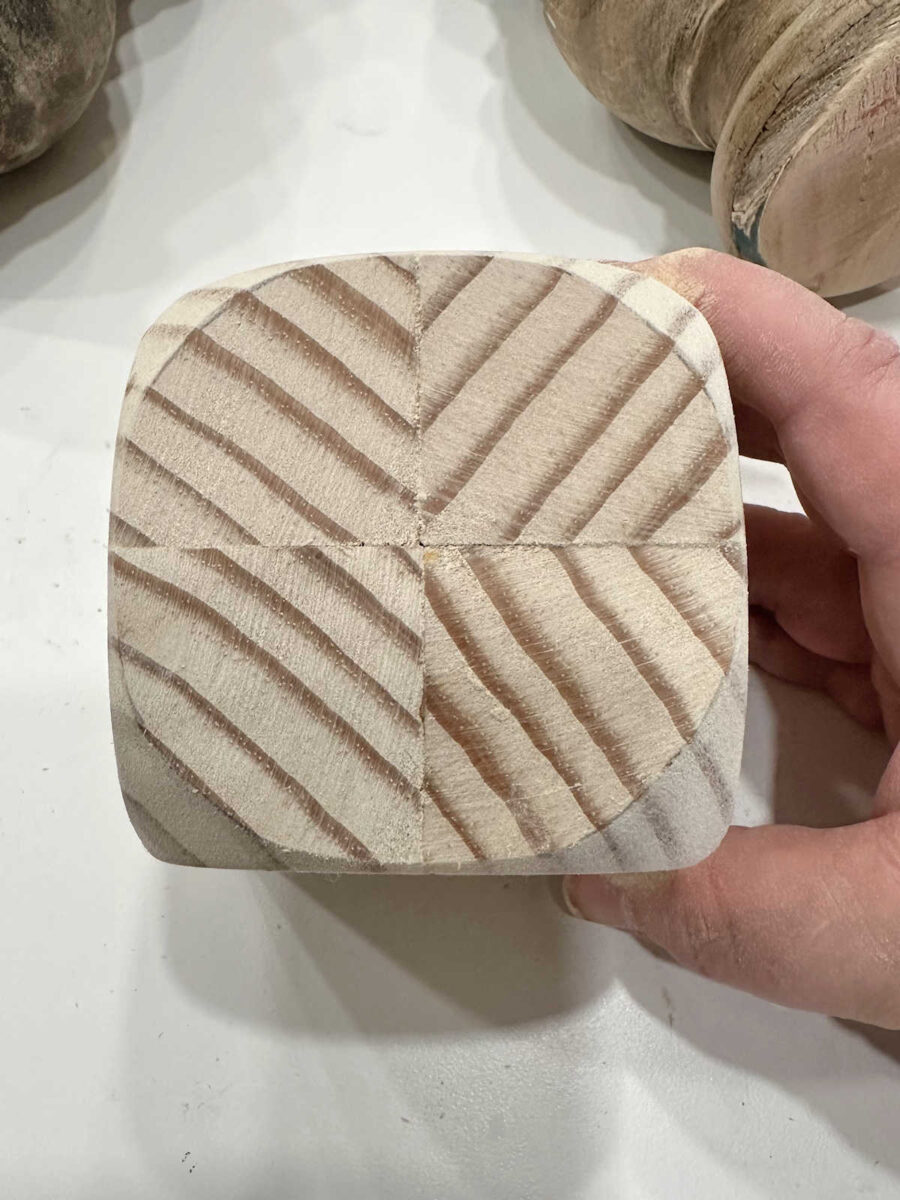
After which I used the highest easy finish of that turned part to hint a circle on the blocks that I made by gluing and nailing 4 2×2’s collectively.
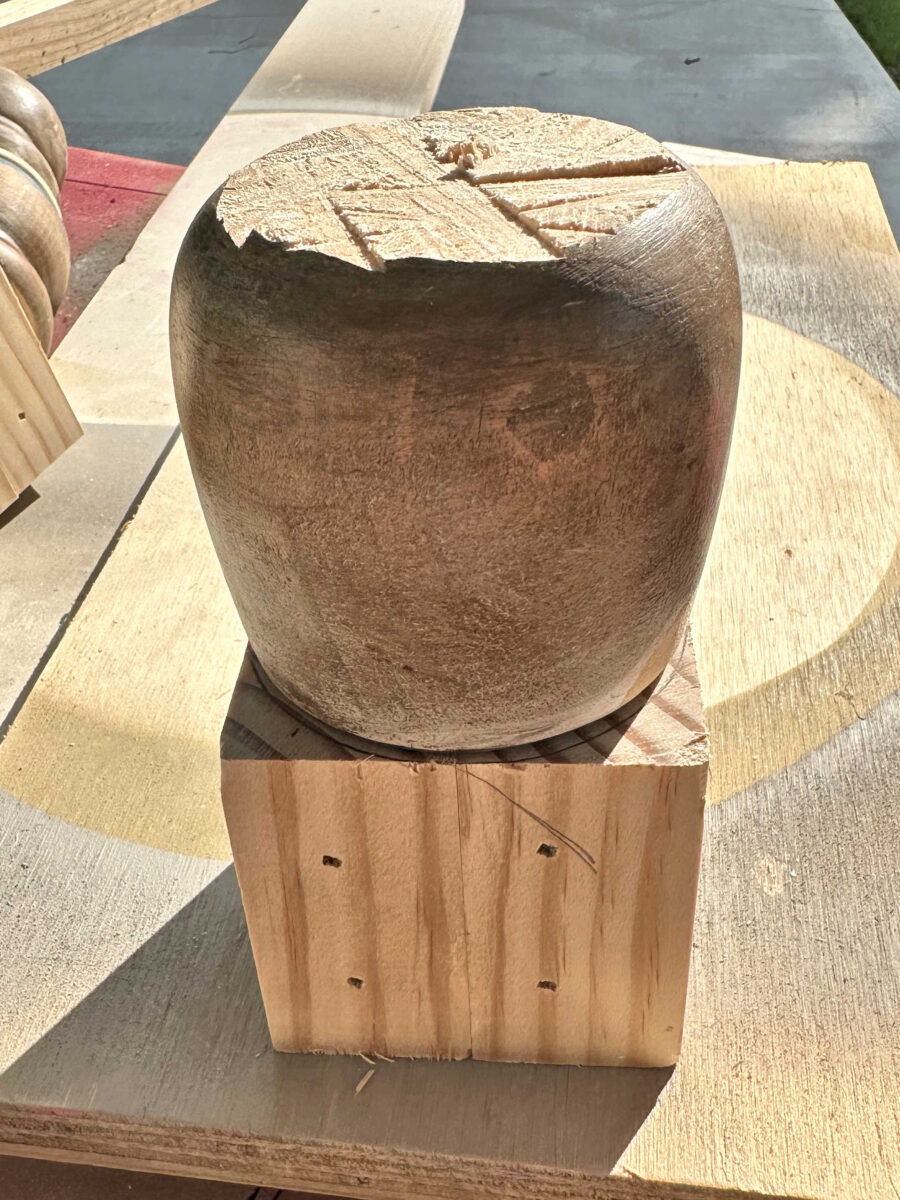
Right here’s what that regarded like with the circle traced on the highest of the block.
Subsequent, I used my orbital sander with an 80-grit sanding disc to sand down the corners at an angle till I reached the sting of the traced circle.
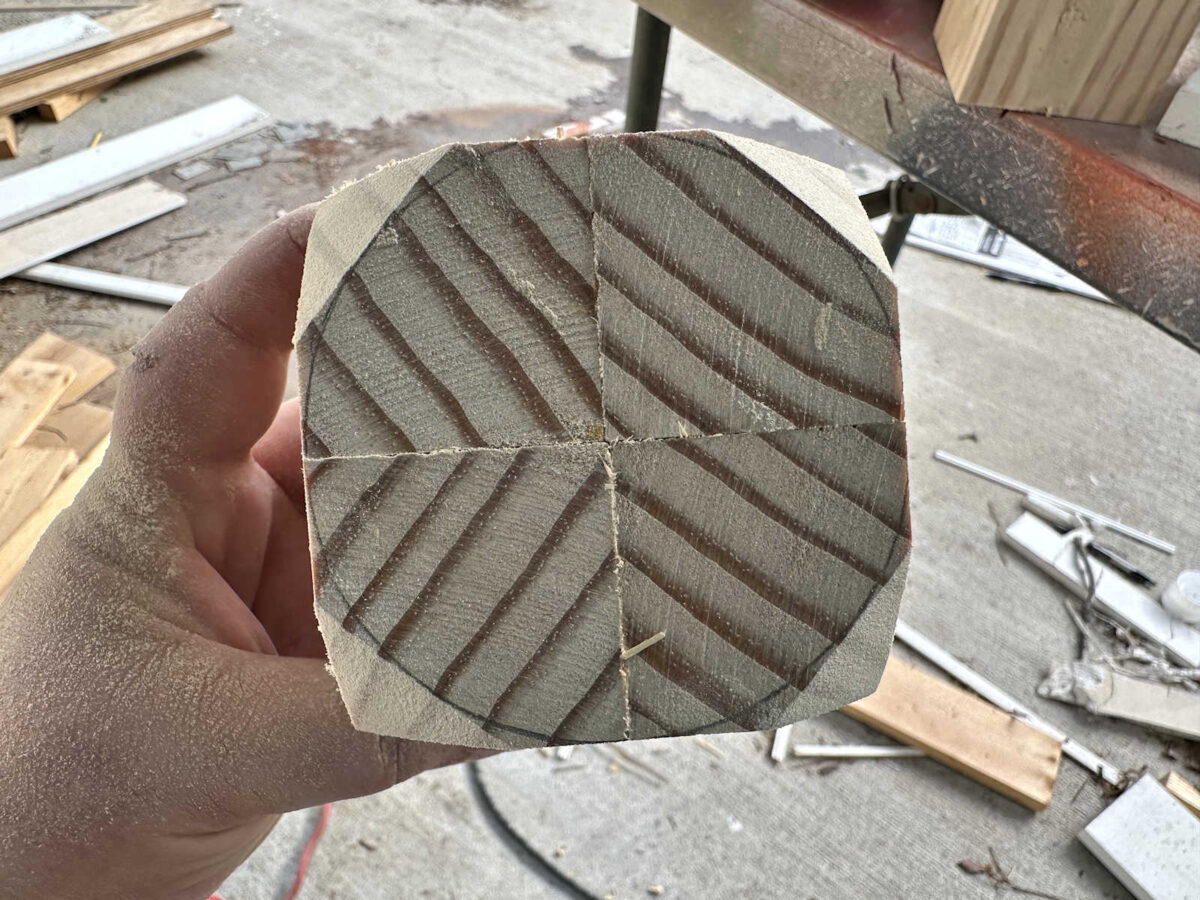
Right here’s what that regarded like from the facet…
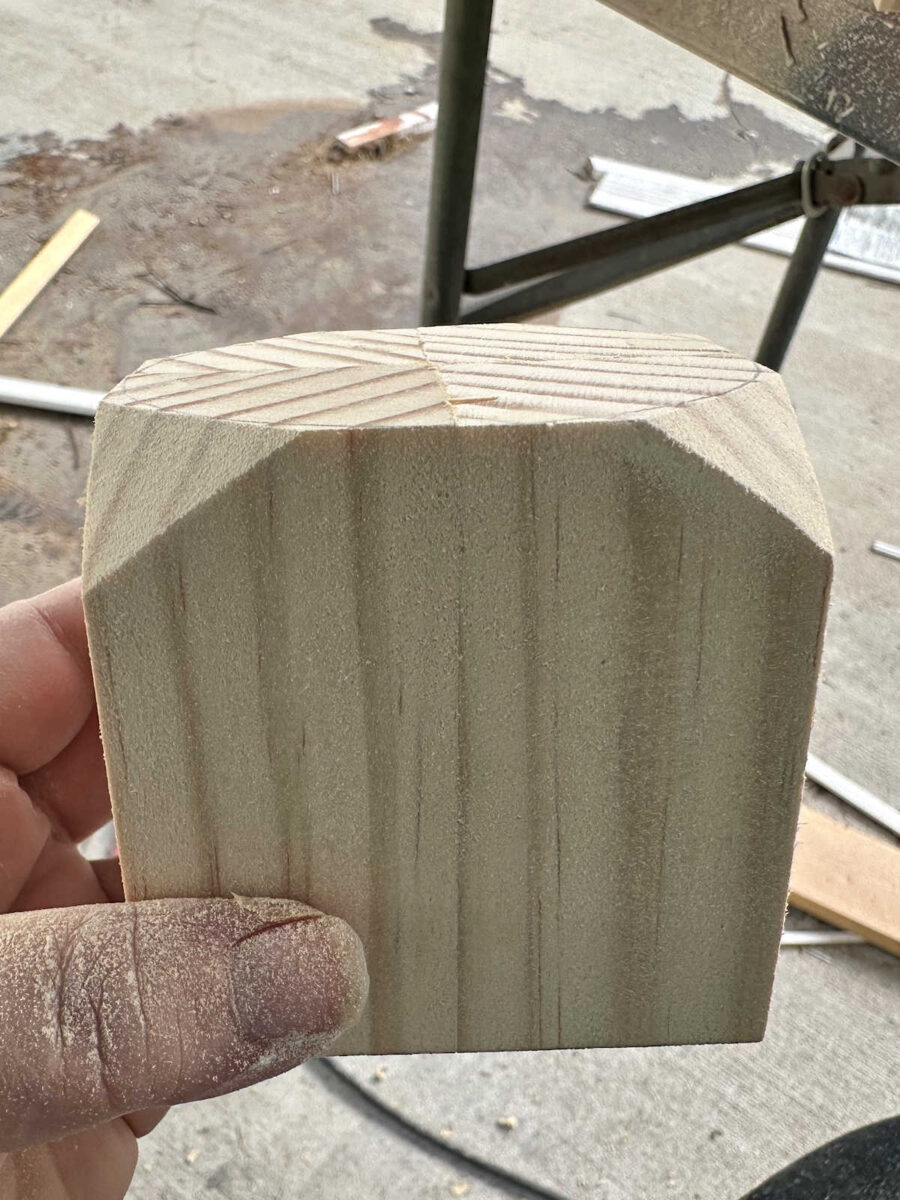
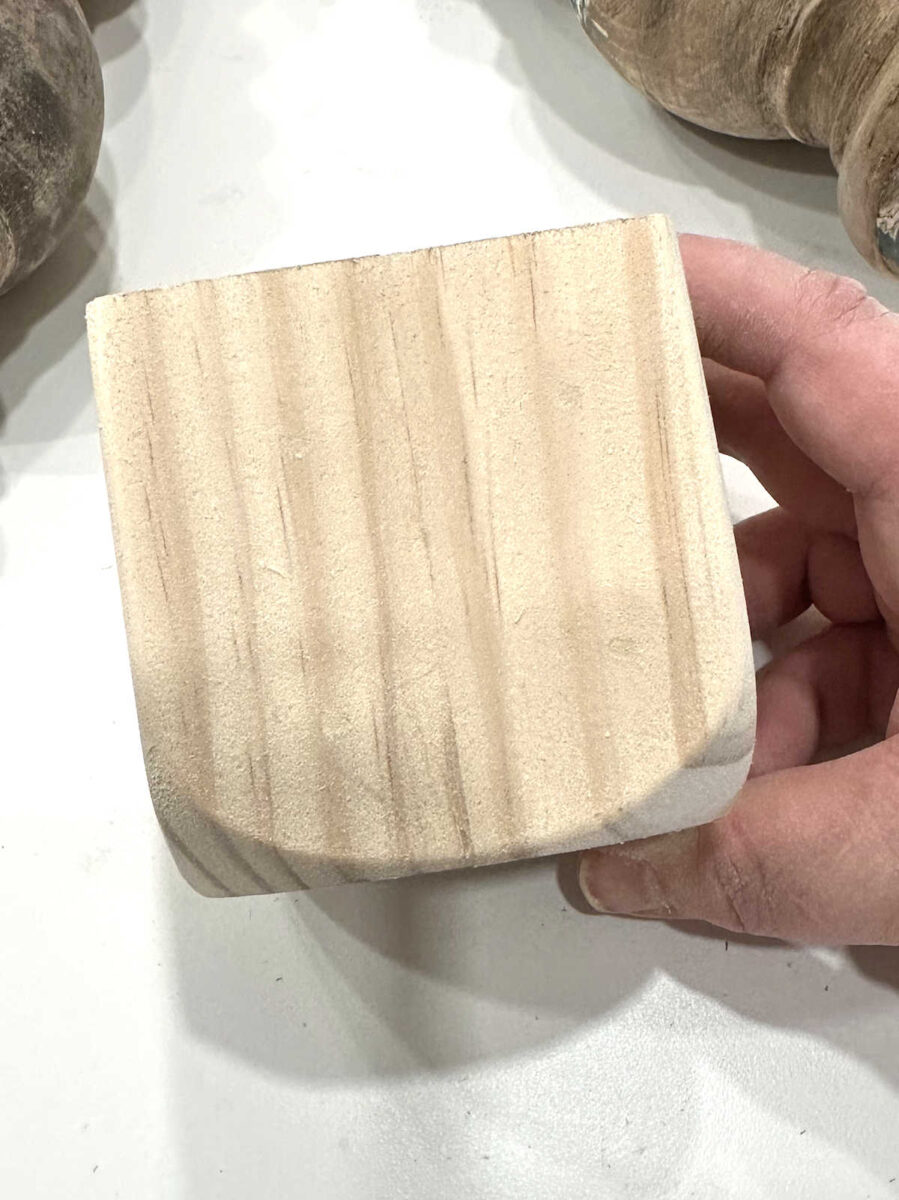
As soon as I had the corners sanded down, I began sanding all the best way round, protecting that very same angle with my sander, till the entire thing was sanded to satisfy the sides of the circle.
After which I did a bit of extra element sanding to spherical off these backside corners and mix them in with the facet edges on the block.
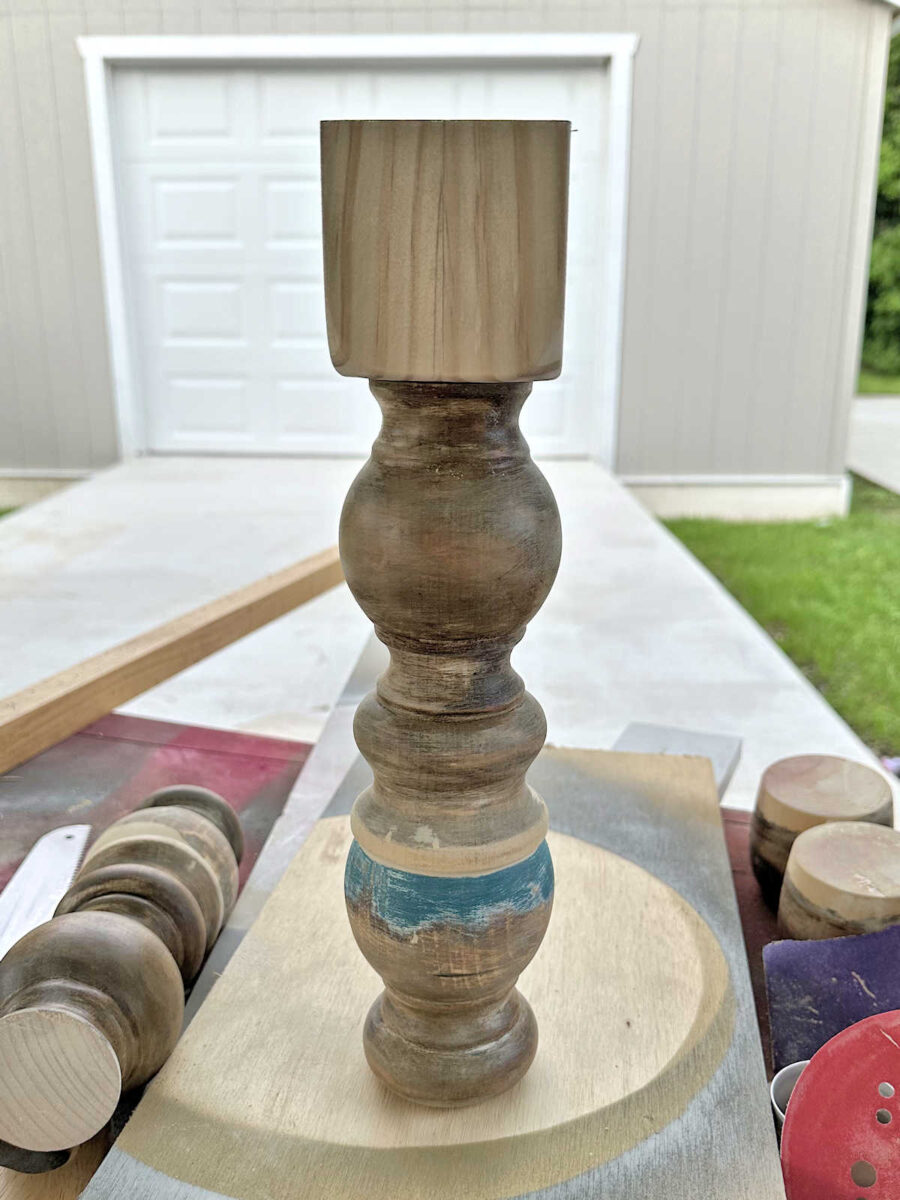
As soon as I had them sanded, I connected these blocks to the legs utilizing wooden glue and 18-gauge 1.5-inch nails. (The block proven right here hadn’t been fully sanded but, and it isn’t truly connected but.)
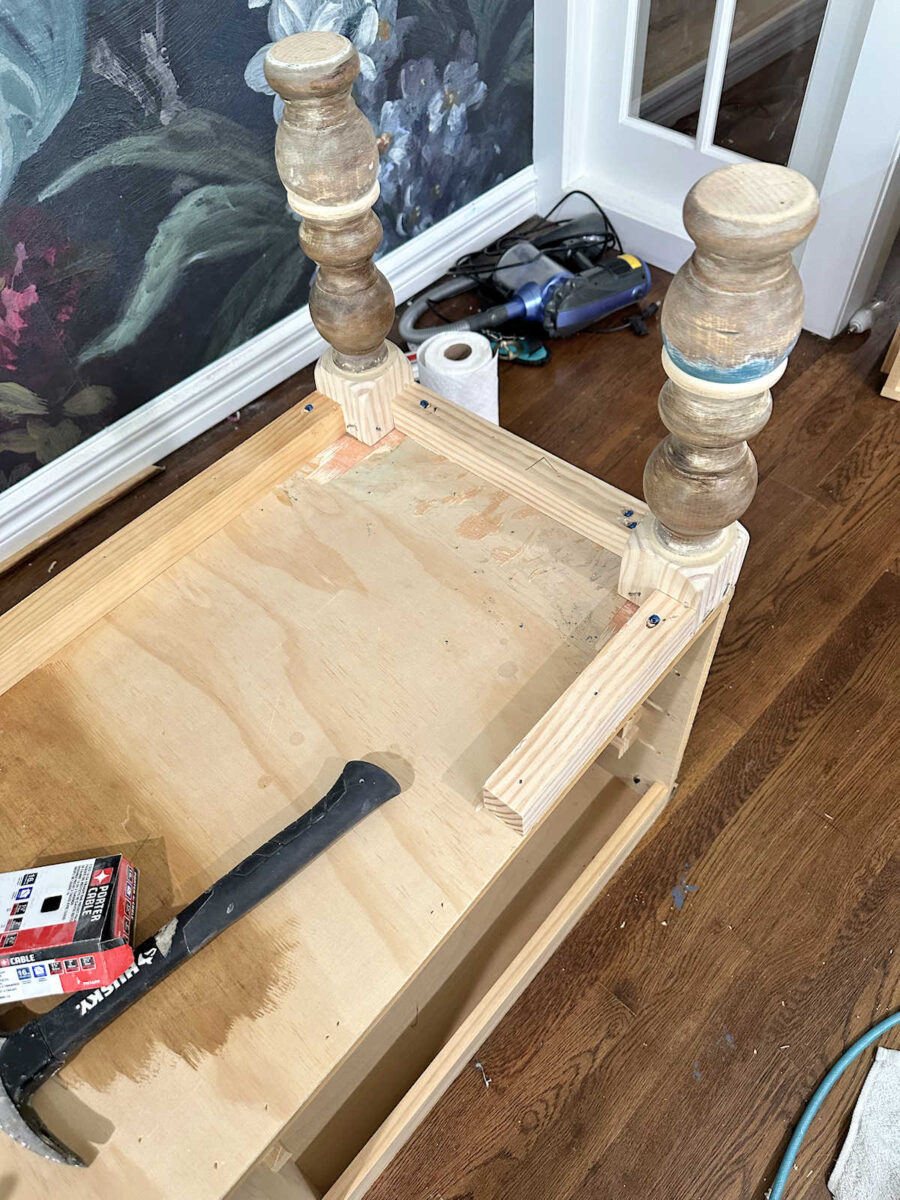
With my new Frankenstein legs accomplished, I connected them to the underside of the console desk utilizing a complete lot of wooden glue and some 16-gauge 2-inch nails toenailed in from both sides.
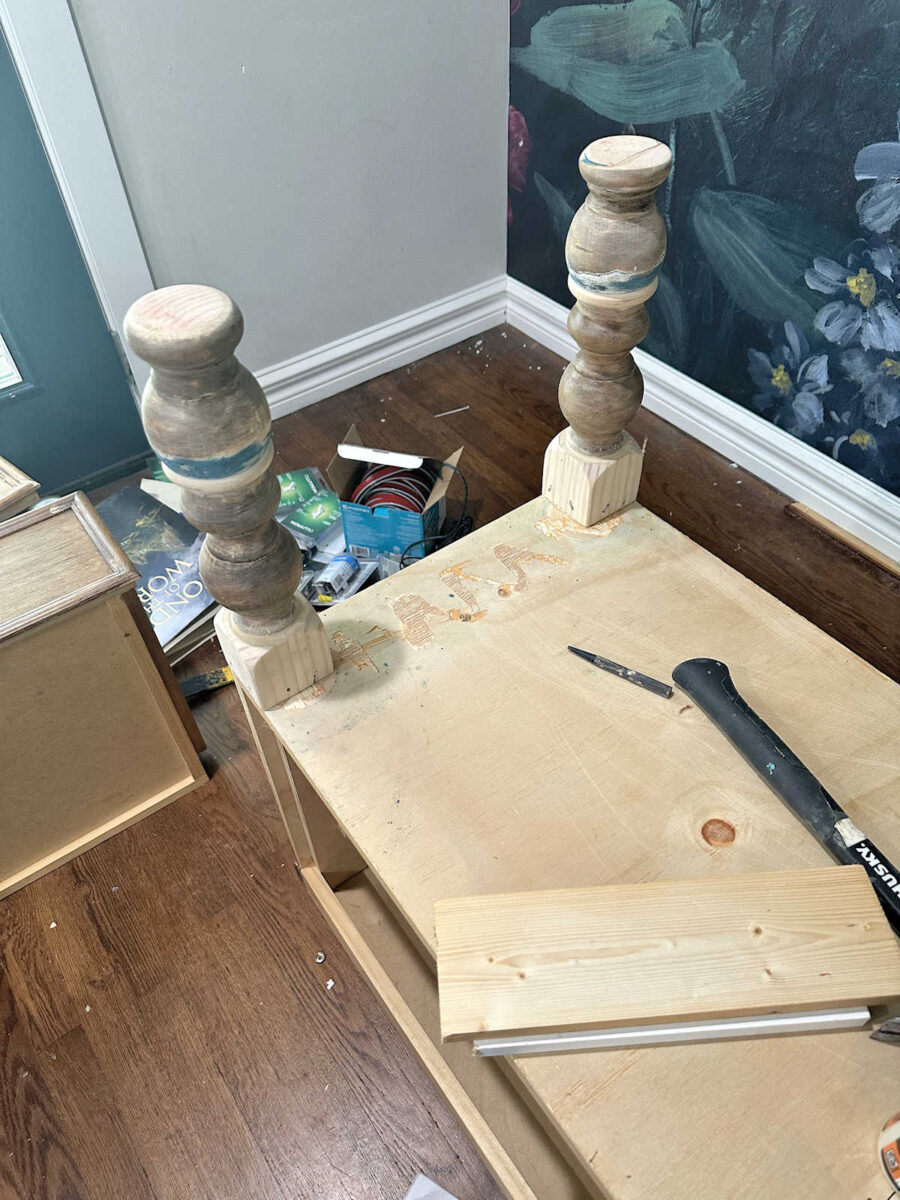
As soon as all 4 had been connected, I left them alone for some time in order that the wooden glue may dry.
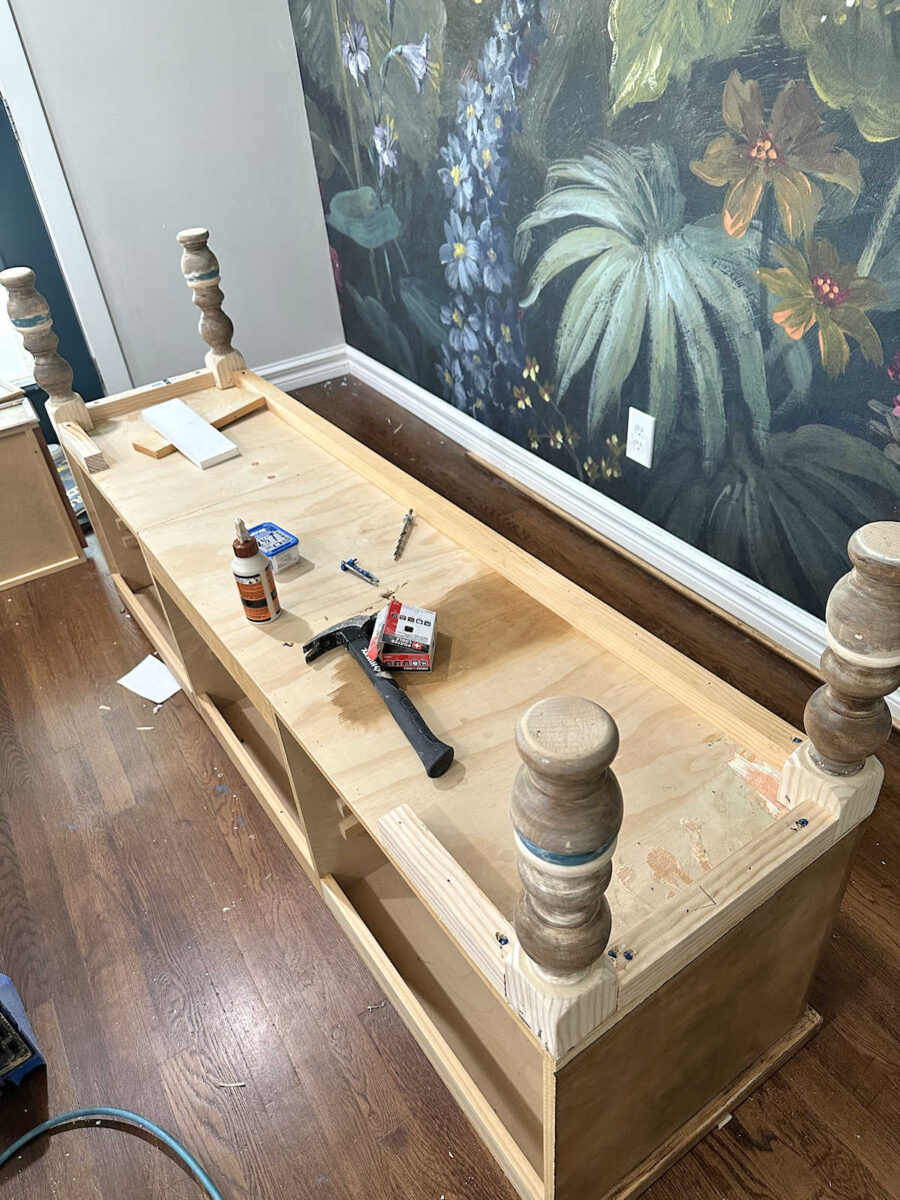
Subsequent, I lower lengths of two×2 lumber and connected them between the legs. I didn’t have sufficient 2×2 lumber available to succeed in the total span between the again legs, so I simply used smaller items and made certain they had been firmly towards the block on the again legs. I connected these 2×2 items of lumber with numerous wooden glue after which 2.5-inch 16-gauge nails to safe them to the underside of the console desk.
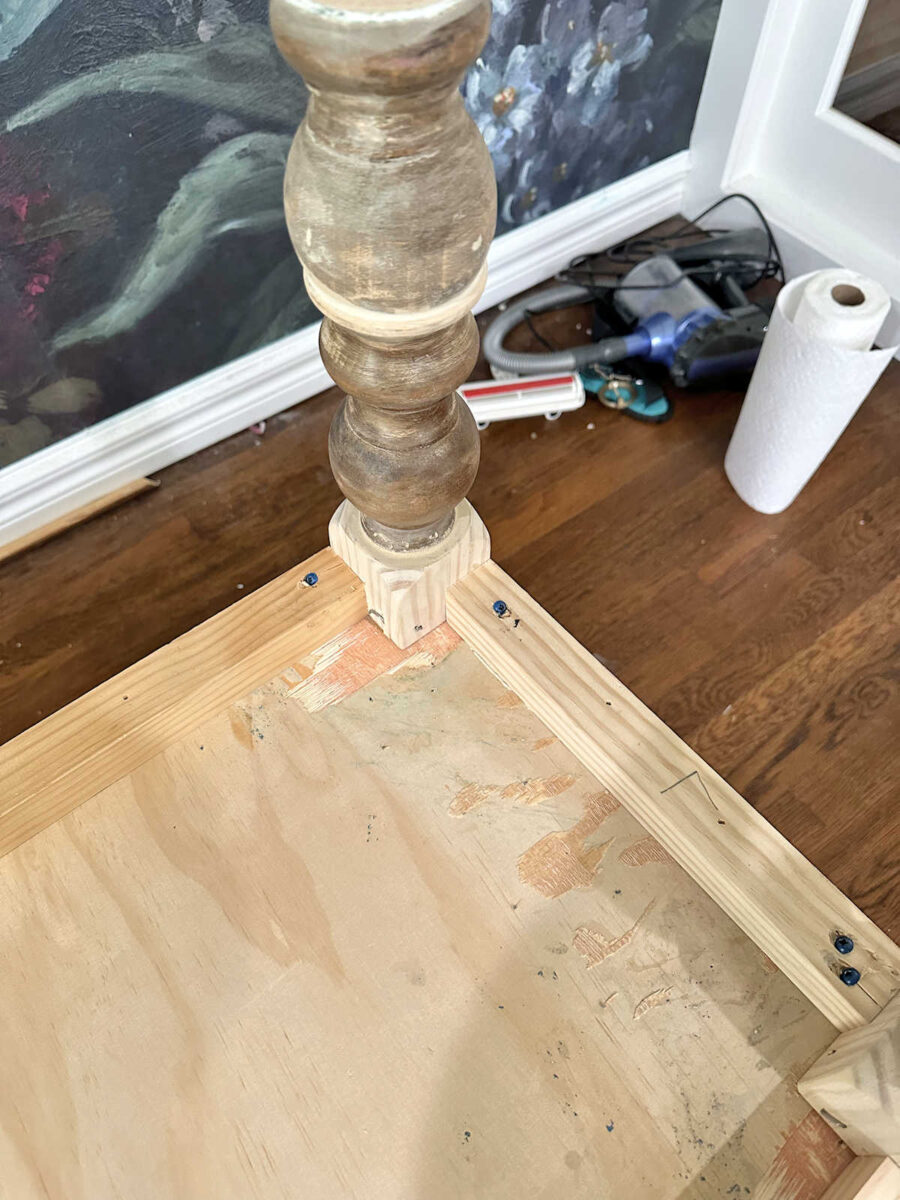
And eventually, I used 2.5-inch wooden screws and angled them in in order that they’d undergo the two×2 lumber and into the perimeters of the blocks on the legs.
I used to be going to make use of my Kreg pocket gap jig for this, however as I used to be attempting to regulate the drill bit for the appropriate depth, I by accident unscrewed the little screw on the collar of the drill bit an excessive amount of and it got here out all the best way. After which it fell on the ground and I couldn’t discover it. So I needed to make do with out my useful Kreg pocket gap jig and simply angle the screws in with out these clear pocket holes. It labored out superb in the long run, however it will have been a complete lot simpler with pocket holes. Drilling pocket holes first minimizes the chance (there’s just about zero threat) of the screw splitting the wooden because it’s getting into.
Right here’s what it regarded like as soon as it was flipped upright. I positively prefer it higher with out the shelf, and as I’ve already realized, it’s a complete lot simpler to scrub beneath the console desk with out that low shelf in the best way. However I nonetheless wanted to cowl the sides with trim.
I forgot to take an image of the trim earlier than I painted the console desk, however I discovered a 2 1/4-inch trim at Lowe’s that labored completely to connect to the underside and canopy over the two×2 lumber and the realm the place that 2×2 met the underside of the console desk.

Now that it’s all stated and finished, I’m actually glad I took the time to take away that backside shelf. I actually just like the extra open look. And as I stated, it’s a lot simpler to scrub below the console desk now.
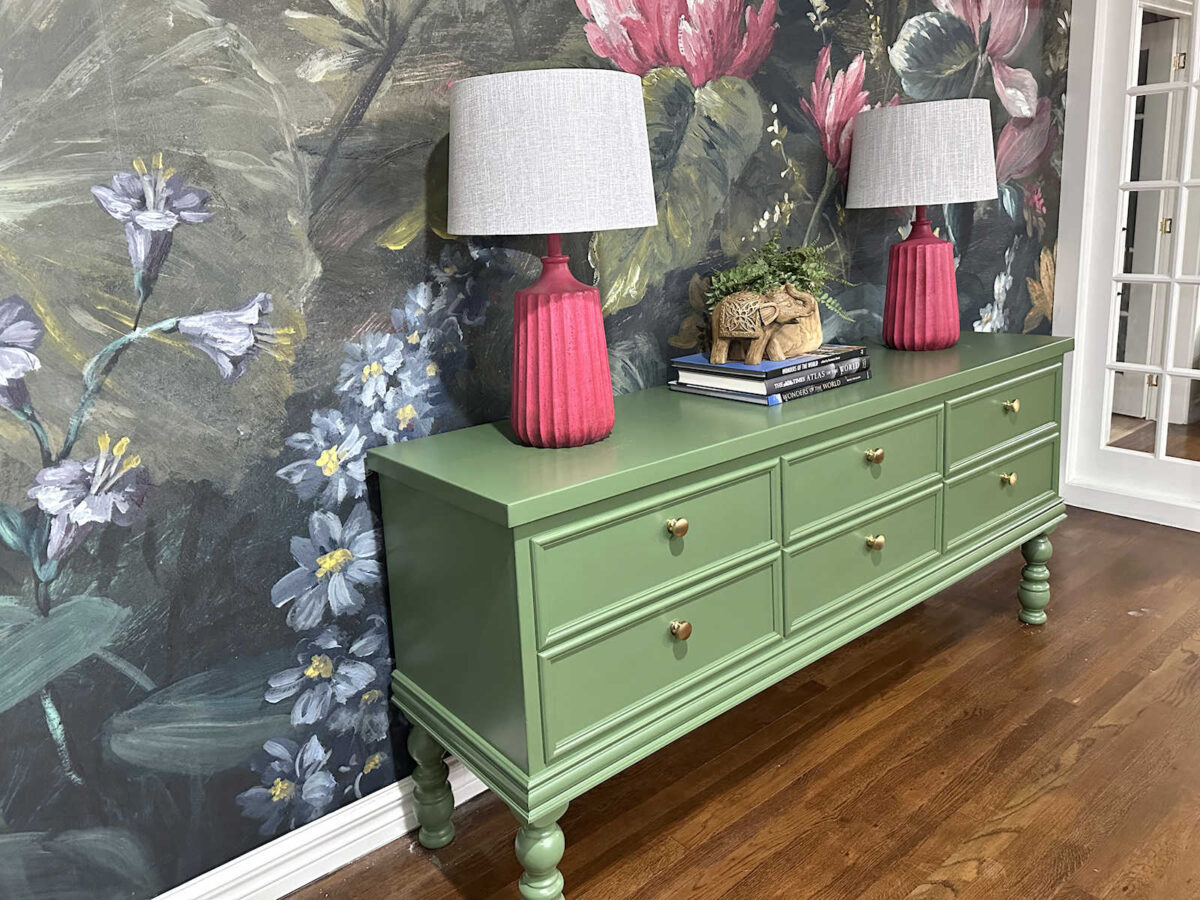
I swapped out the ring pulls for some quite simple giant gold knobs. I used to be prepared for a change there, too. I just like the simplicity of those.
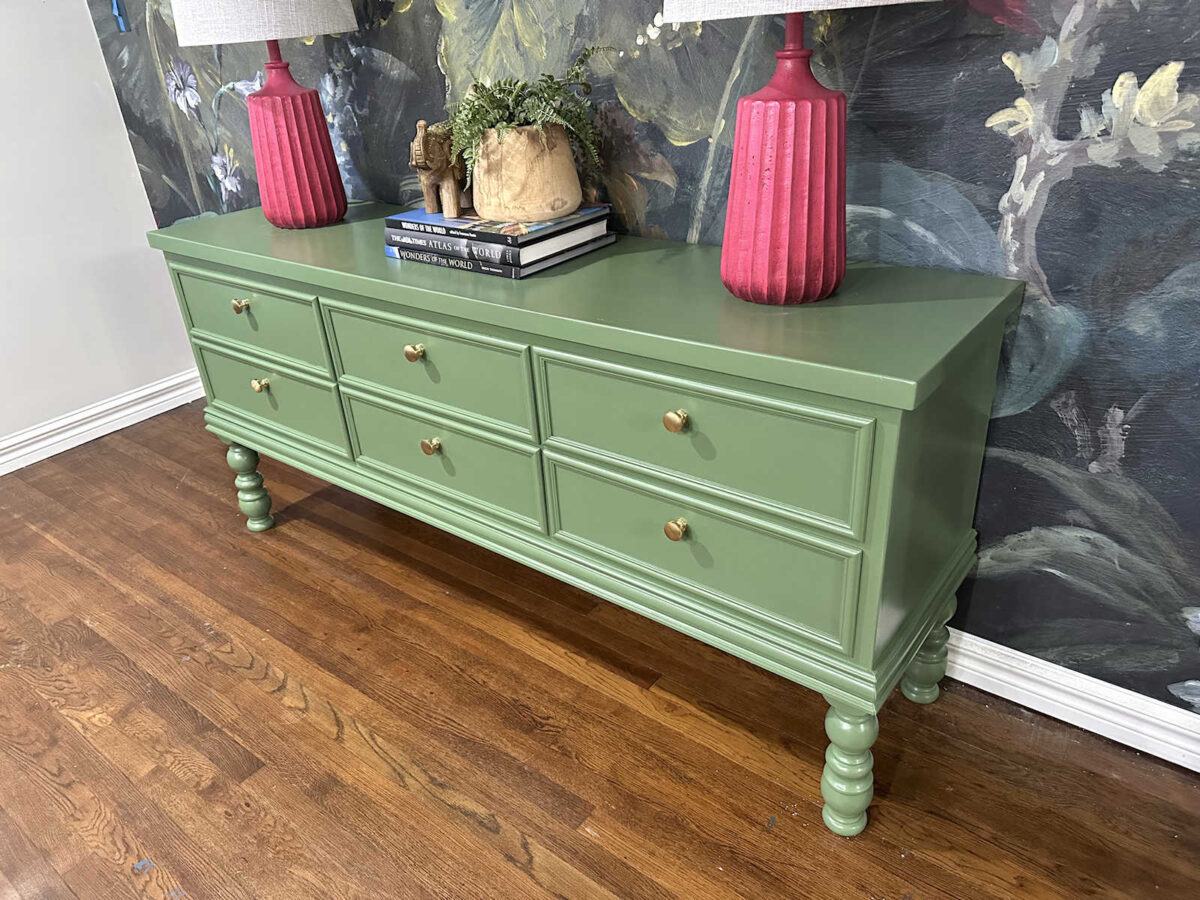
I’m not bought on the gadgets which are at present in the midst of the console desk, however I had these available, so I put them there for now. I’ll see what else I can give you. Or possibly I received’t. I’m unsure but. However I do have some concepts for the areas on both sides of the console desk. I feel these areas want a bit of one thing.
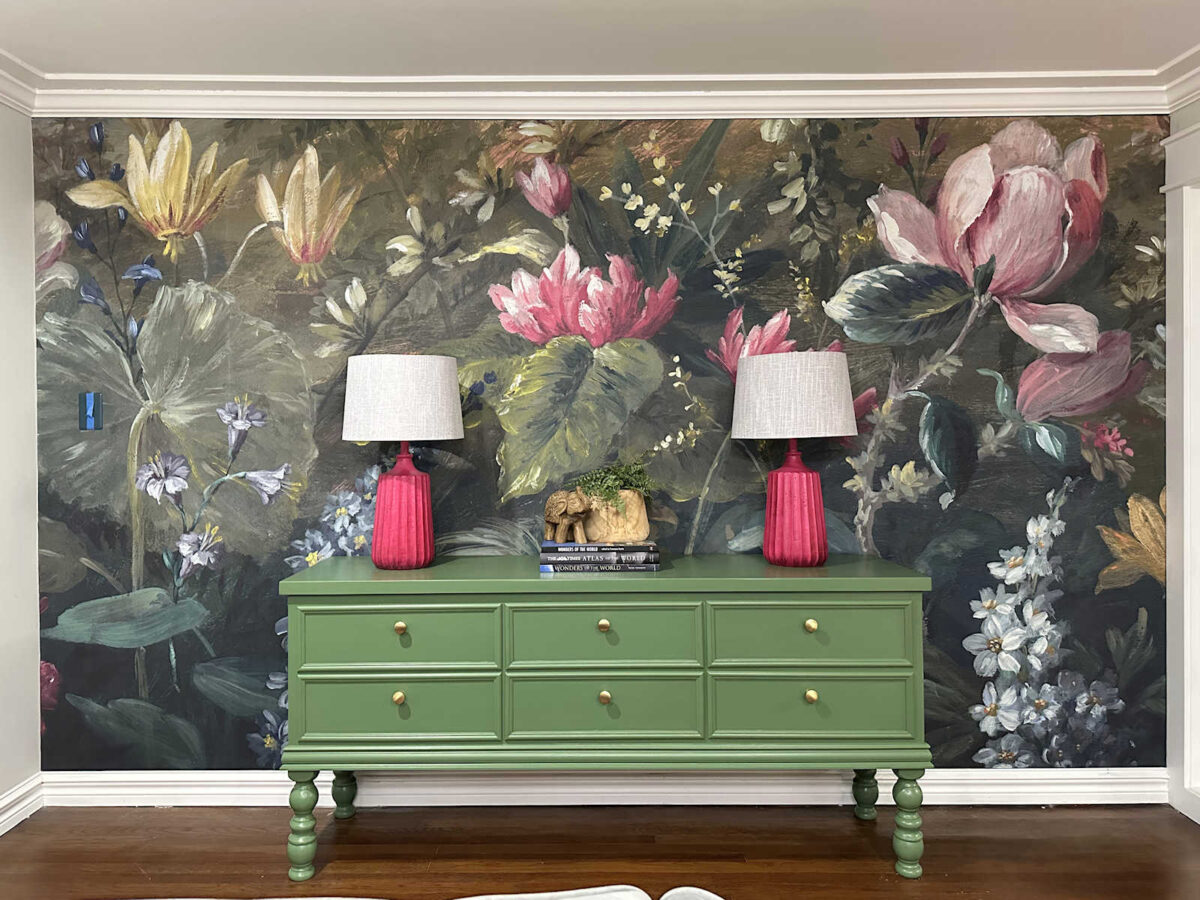
I’m glad to lastly have this finished, and I’m actually glad that I discovered a method to hold the turned legs. I don’t assume I’d have been happy with these easy, straight legs that I beforehand thought-about. And now that that is finished, I would like to complete up with some equipment, get all of my instruments cleared away, and get the lounge again so as. After which I’ll present you the entire space with the brand new look of the entryway wall.

Addicted 2 Adorning is the place I share my DIY and adorning journey as I rework and enhance the 1948 fixer higher that my husband, Matt, and I purchased in 2013. Matt has M.S. and is unable to do bodily work, so I do nearly all of the work on the home on my own. You may study extra about me right here.


")


")
