

The steps to the aspect door of my studio are lastly completed! I received the ultimate step executed yesterday — portray the concrete steps. I’m so relieved to have this challenge executed. It took me some time to determine precisely how I needed to complete the concrete steps. I knew I in all probability needed to color the steps from the outset of the challenge, however determining precisely what product to make use of was a problem for me. So I’ll let you know precisely what I used and why I made that call.
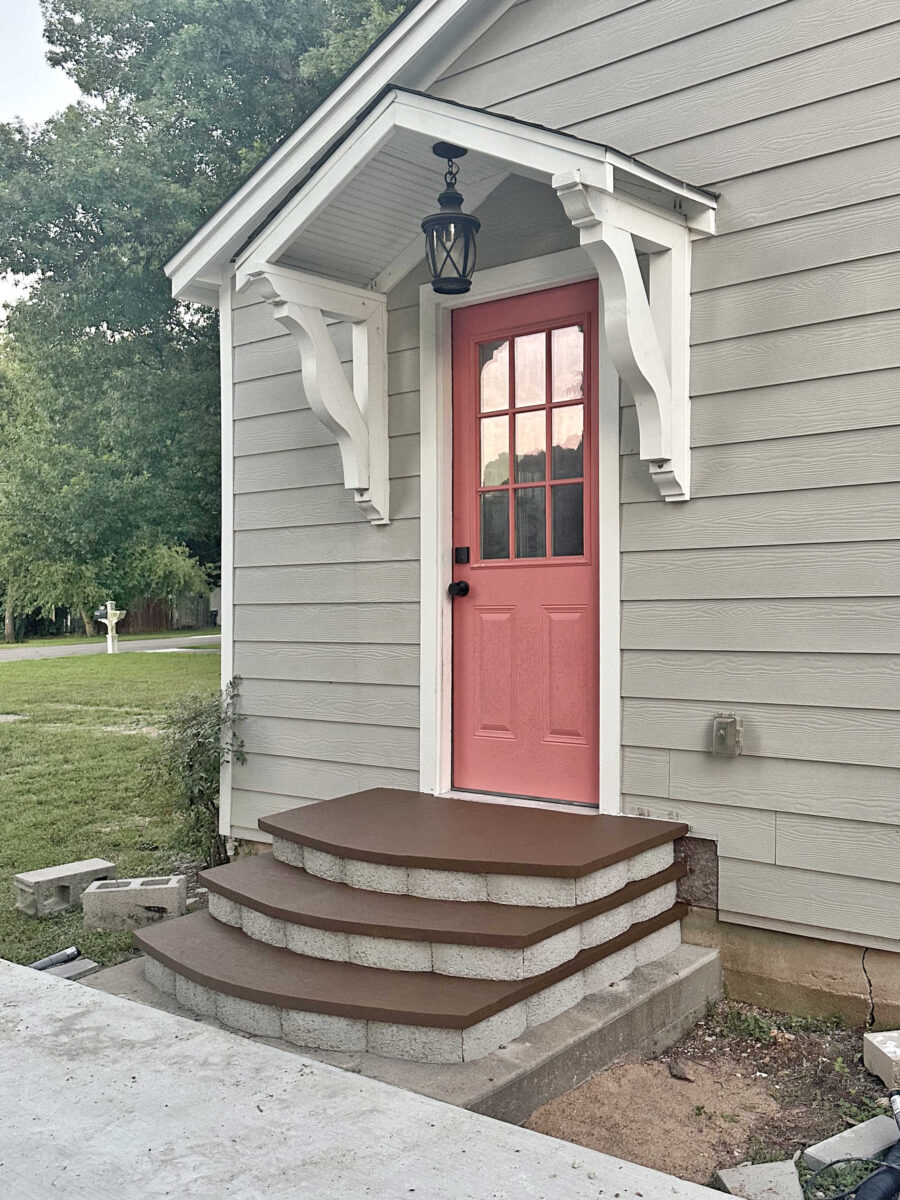
However first, right here’s a take a look at the completed steps.
I nonetheless must cowl these uncovered areas of OSB on both aspect of the steps the place the siding had been beforehand eliminated, however for now, at the very least these areas are waterproofed.
As I stated, I actually struggled with deciding on how I needed to complete the steps. Deciding on paint for the risers wasn’t tough in any respect. I simply used the identical paint that I used on the remainder of the home, together with the stone portion of the home, that has held up nice for a number of years now. For the risers, I used Sherwin Williams Length exterior paint in a satin end. However there are far fewer issues for portray risers than for portray steps. Clearly, the risers received’t get the wear and tear and tear that the precise steps will get since they’ll hardly ever be touched. However folks will truly stroll on the steps, so I put much more into this resolution.
Throughout one in all my many journeys to House Depot, I noticed this product referred to as Granite Grip. I had by no means seen this earlier than, so I got here house and did numerous studying about it, together with the method required to use the product and the shopper opinions.
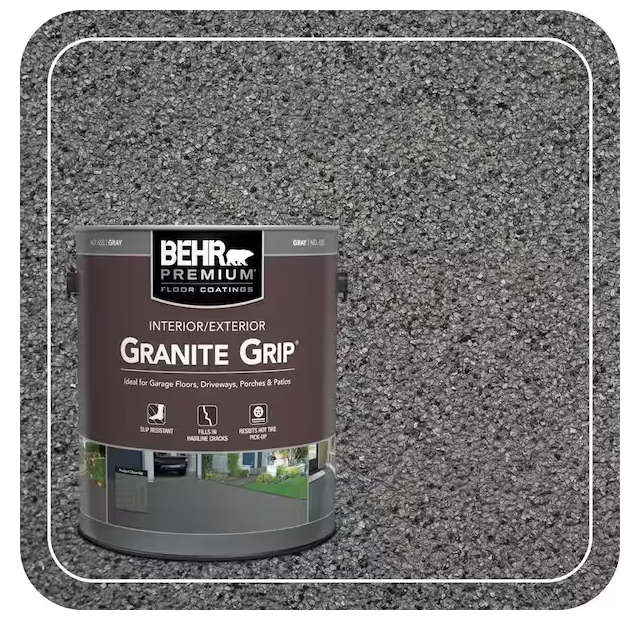
The entire course of appeared exhausting to me. It’s important to clear the concrete rather well, ideally with strain washing. As soon as it’s dry, then you need to use a chemical to etch the concrete. As soon as that’s washed off, then you need to let it dry completely after which prime it. After which lastly, you’ll be able to apply the Granite Grip. However from the opinions I learn, it’s a really thick product, and it must be utilized with a particular curler cowl (and adhesive curler cowl) which I didn’t even know existed till two weeks in the past. The opinions have been combined, however the individuals who cherished the product adopted the steps meticulously, and numerous them appeared sure that the individuals who didn’t have success with the product in all probability skipped steps and didn’t observe the directions exactly.
So I purchased the entire merchandise wanted — the Granite Grip in a darkish grey colour (one of many off-the-shelf colours accessible), the etching chemical, the particular primer really useful within the directions, and the adhesive curler cowl. However after a protracted day of engaged on the steps (I used to be nonetheless constructing the steps on the time) on a sizzling day and dealing within the direct daylight, I made a decision I didn’t wish to undergo all of these steps, so I returned every thing.
Two days later, I made a decision that I ought to by no means make these selections on the finish of a piece day once I’m exhausted, type of like how you need to by no means go grocery procuring once you’re actually hungry, so I went again to House Depot and acquired the entire merchandise once more. 😀
However I used to be nonetheless not sure. First, I used to be not sure concerning the colour. I actually didn’t need darkish grey steps. Certainly one of my essential objectives was to have consistency from these steps to the entrance porch to the steps that I’ll finally construct on the new bed room door, all of which may be seen from the entrance of our home. And as , I’ve additionally been trying to find a brand new answer for our entrance porch. The entrance porch is wooden (cedar, to be particular), however after making an attempt at the very least 4 totally different sealers/stains for exterior porches, I haven’t been glad with any of them. All of them appear to look nice proper after the porch is re-sealed, however that new, lovely look doesn’t appear to final lengthy in any respect.
So I went again on-line to see if there have been some other merchandise that I may use not solely on the concrete steps, but additionally on the entrance porch. And in my search, I got here throughout Behr Porch & Patio Flooring Paint.
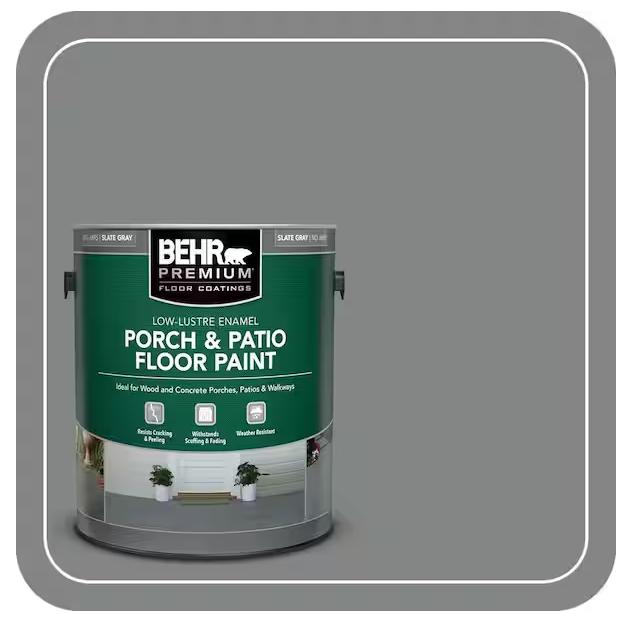
I even have expertise with this product. That is what I used to color the hardwood flooring in my studio. Right here’s what they appeared like proper after I completed the studio in October 2024.
And these flooring have held up amazingly nicely. I’ve been so impressed with how sturdy this paint is. My studio is a really excessive visitors space, however this paint has held up in opposition to all of it. So far, I haven’t needed to repaint any of the excessive visitors areas. It has held up in opposition to my abuse as I’ve introduced in lumber, plywood, instruments, and so on., whereas engaged on our bed room suite. It has held up in opposition to Matt’s wheelchair as he makes use of his train bike three hours a day. It has held up in opposition to a giant, rambunctious canine who received’t let me contact his toes (so clipping his nails is out of the query) who likes to play in right here. It’s the finest paint I’ve ever used on a ground.
I painted this ground in June 2024, after which went on to construct cupboards and end the studio, and y’all know I’m a really messy DIYer. And but, two years later, the ground nonetheless seems nice. It wants a superb cleansing, however the paint nonetheless seems nice.
However that’s indoor use, and I wasn’t positive about utilizing it outside. My essential concern is that painted surfaces may be slippery after they get moist, and I don’t wish to flip my steps into a possible slipping hazard when it rains. However then I seen that this product additionally is available in an anti-slip formulation. It’s mainly the identical paint with a sand-like product combined into it to provide it extra texture.
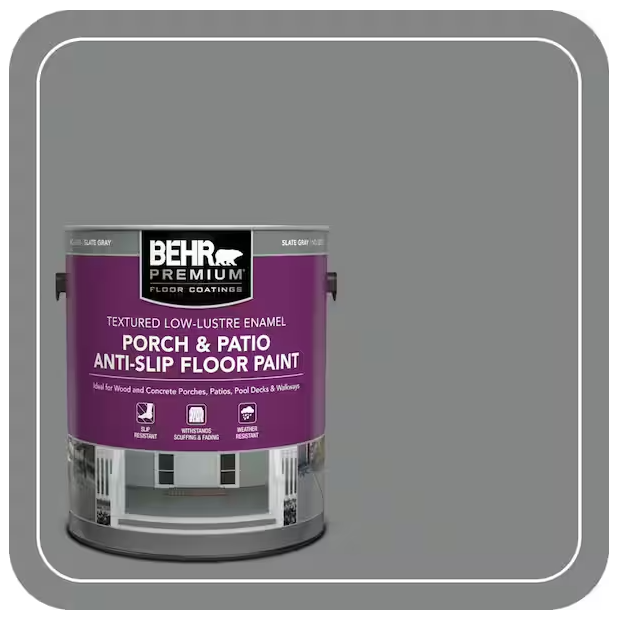
In order that’s what I lastly selected. I returned the Granite Grip and the remainder of these merchandise…once more…and I purchased my favourite trusted primer (Zinsser shellac-based primer) and a gallon of the Porch and Patio Anti-Slip Flooring Paint. And since this product may be combined in any of the Behr colour, I selected a colour that might work not solely on these steps, but additionally on the entrance porch. I’ll be utilizing this on all three areas in order that they coordinate with one another.
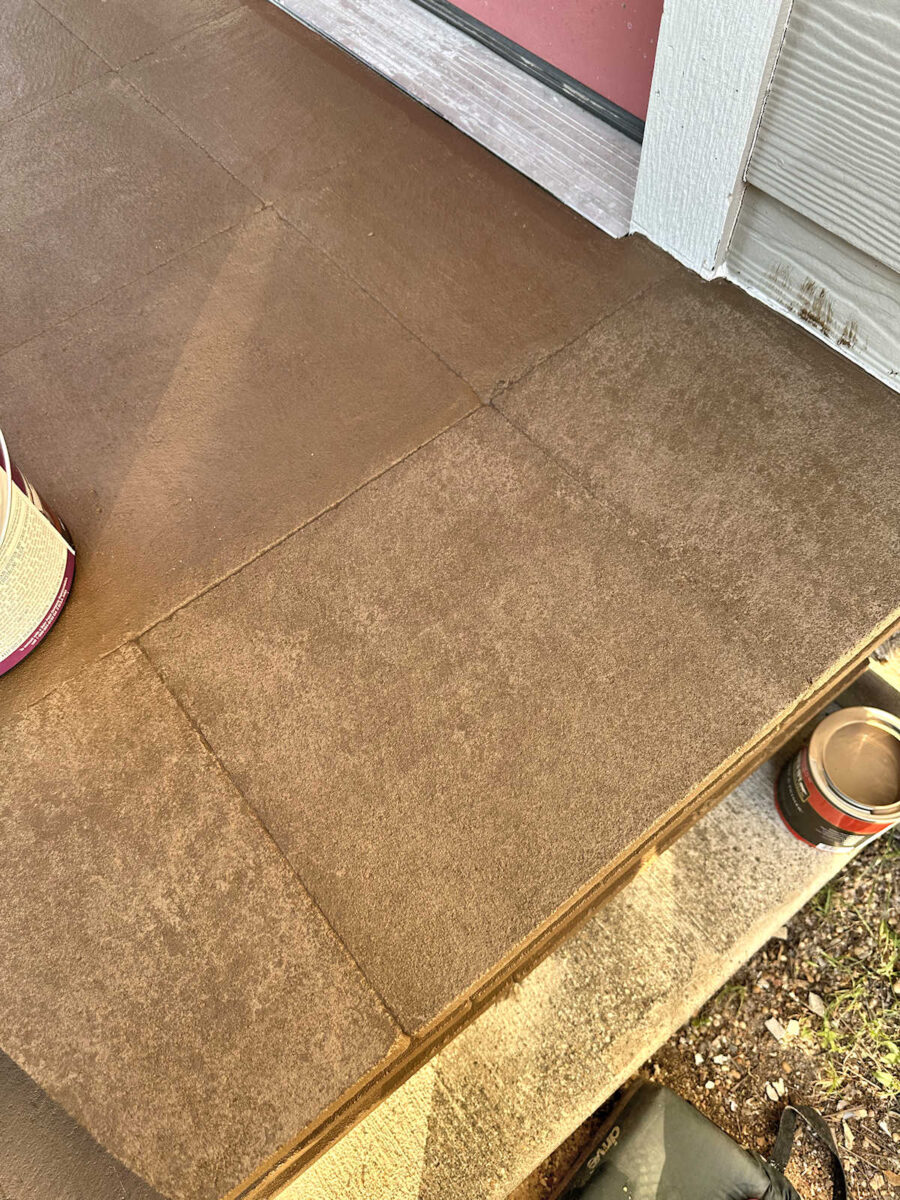
I confirmed you yesterday how I prepped and primed the concrete pavers. That is what they appeared like after they have been primed.

I let the primer dry in a single day, after which the steps have been prepared to color. Since this space is so small, I didn’t even hassle with a curler. I simply used a brush to use the entire paint. I brushed on the primary coat after which gave it a number of hours to dry. Then I utilized the second coat, however this time, as an alternative of brushing, I used extra of a pouncing methodology in order that the comb strokes wouldn’t present. I additionally had the concept of sponging on a bit little bit of exterior paint in a lighter colour to get a extra mottled look.
However after making an attempt that out on three of the pavers, letting that dry, after which standing again to take a look at them, I made a decision that the look wasn’t well worth the added effort. After letting it dry, after which it from a distance, it actually didn’t appear to make that a lot of a distinction.
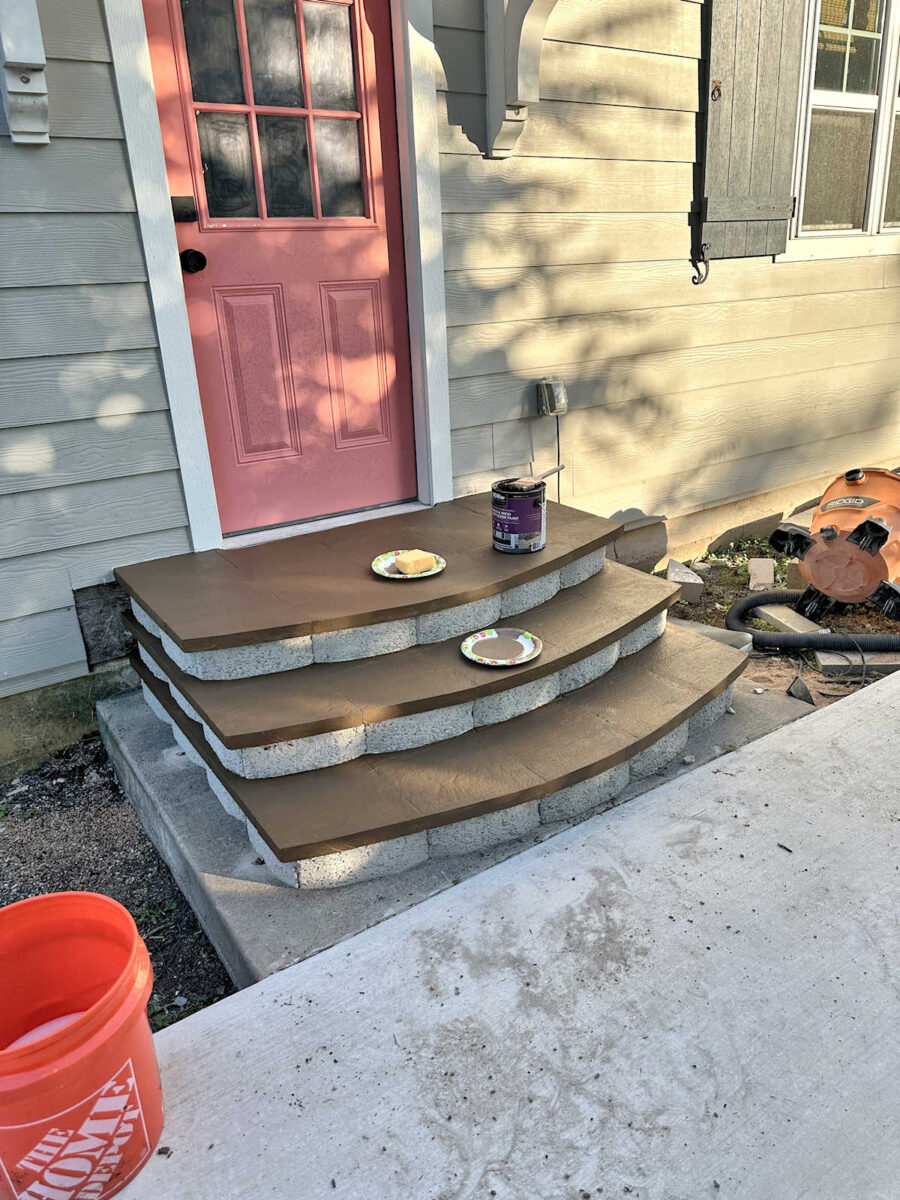
So I deserted that concept and simply painted the steps with the strong colour, utilizing that pouncing methodology with the comb on the entire space.
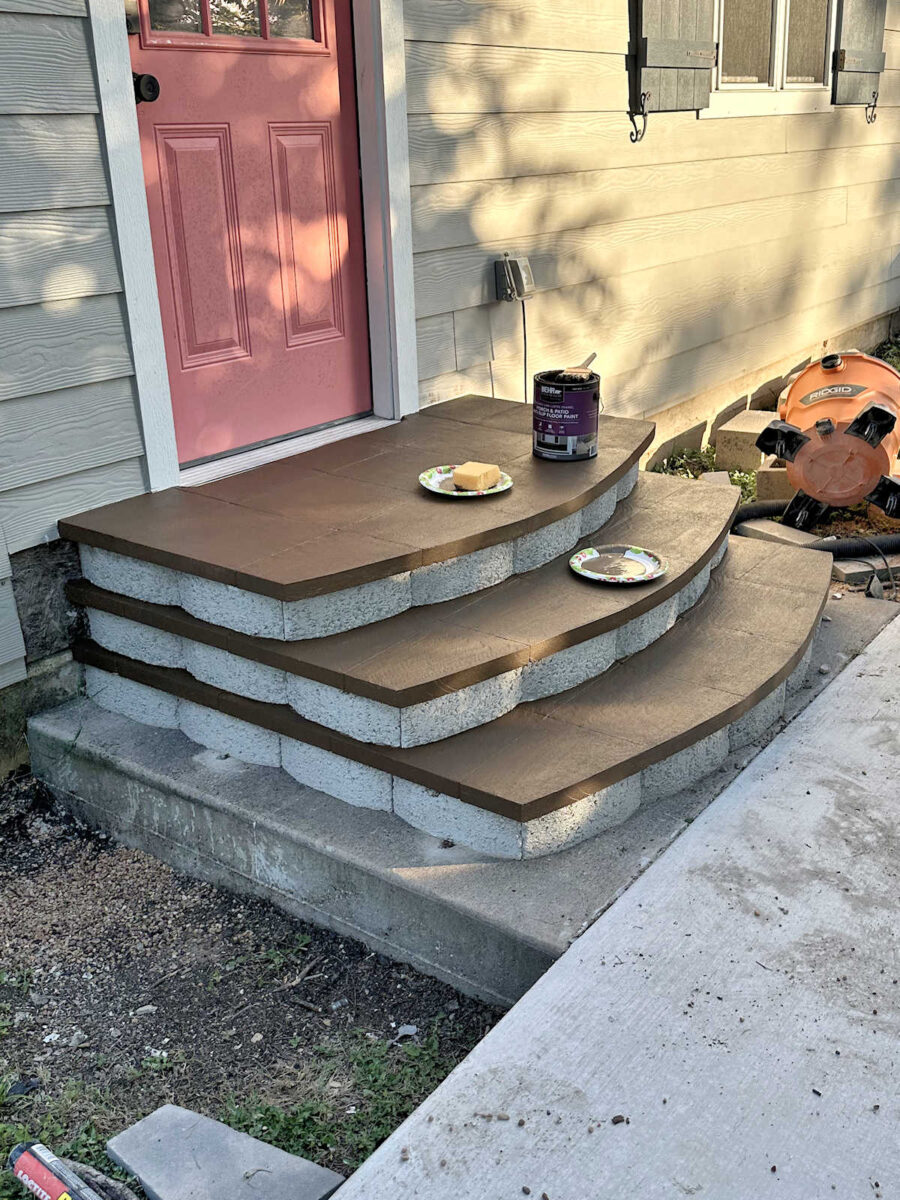
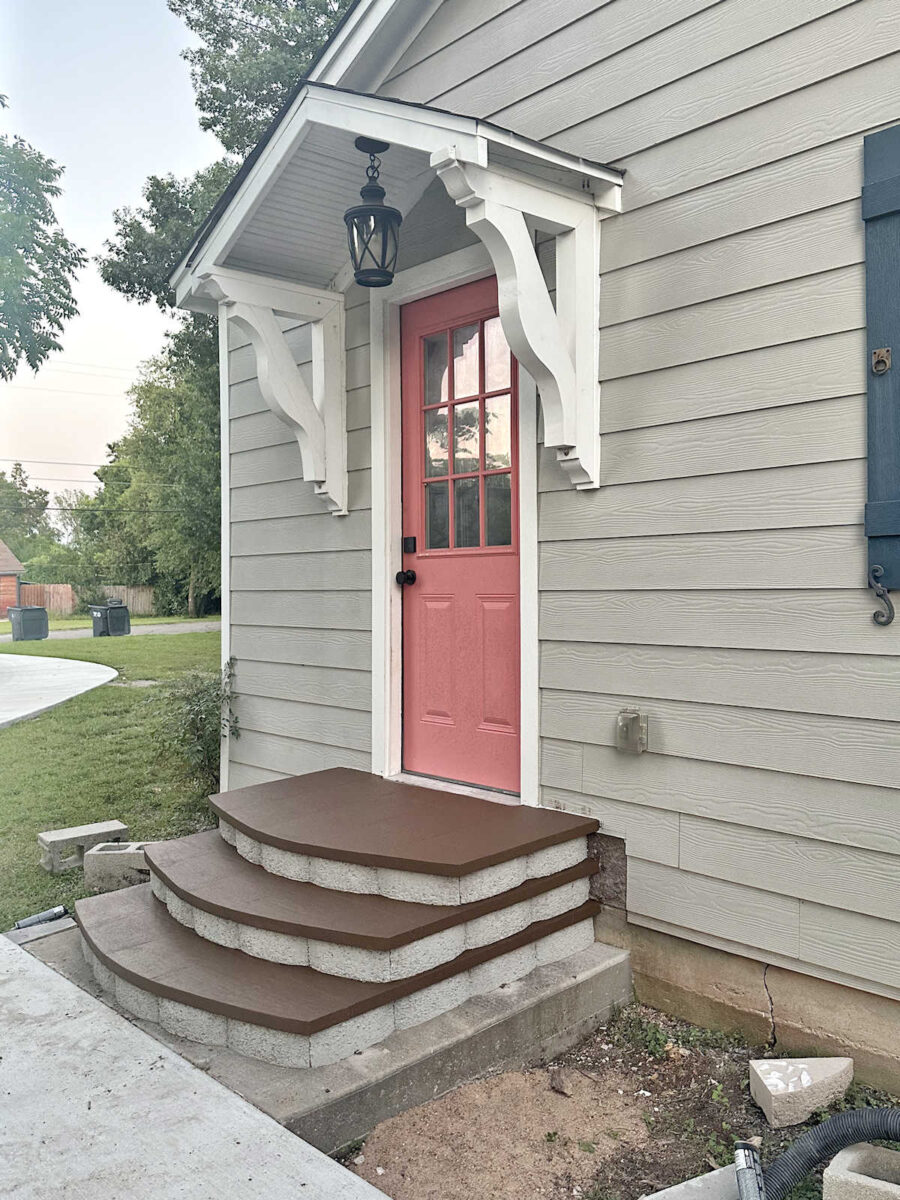
I’m more than happy with how these steps turned out. They have been numerous work, however I actually loved working with totally different supplies. I’m so accustomed to constructing with wooden, so this was very totally different for me. I cherished getting out of my consolation zone and studying new issues, although. There was numerous trial and error that went into this, however now that I’ve executed the entire course of from starting to finish, I believe I can do the following set of steps quicker. And fortunately, the steps to the bed room door are within the shade many of the day. Working within the direct daylight on this aspect of the home was actually exhausting. I needed to wait till about 8:00pm final night time to take good photos of the completed steps as a result of this space is within the direct daylight, with no shade cowl in any respect, from dawn till sundown.
I’m particularly excited to lastly have correct steps at this door. Right here’s a reminder of what I had earlier than. I used to be utilizing plain cinder blocks to get out and in of this door.

And right here’s the doorway with the brand new, completed steps. Now I simply must get the door repainted. Try how a lot that door has pale since I painted it. 😀 However once more, this door will get extra solar than any of the others.
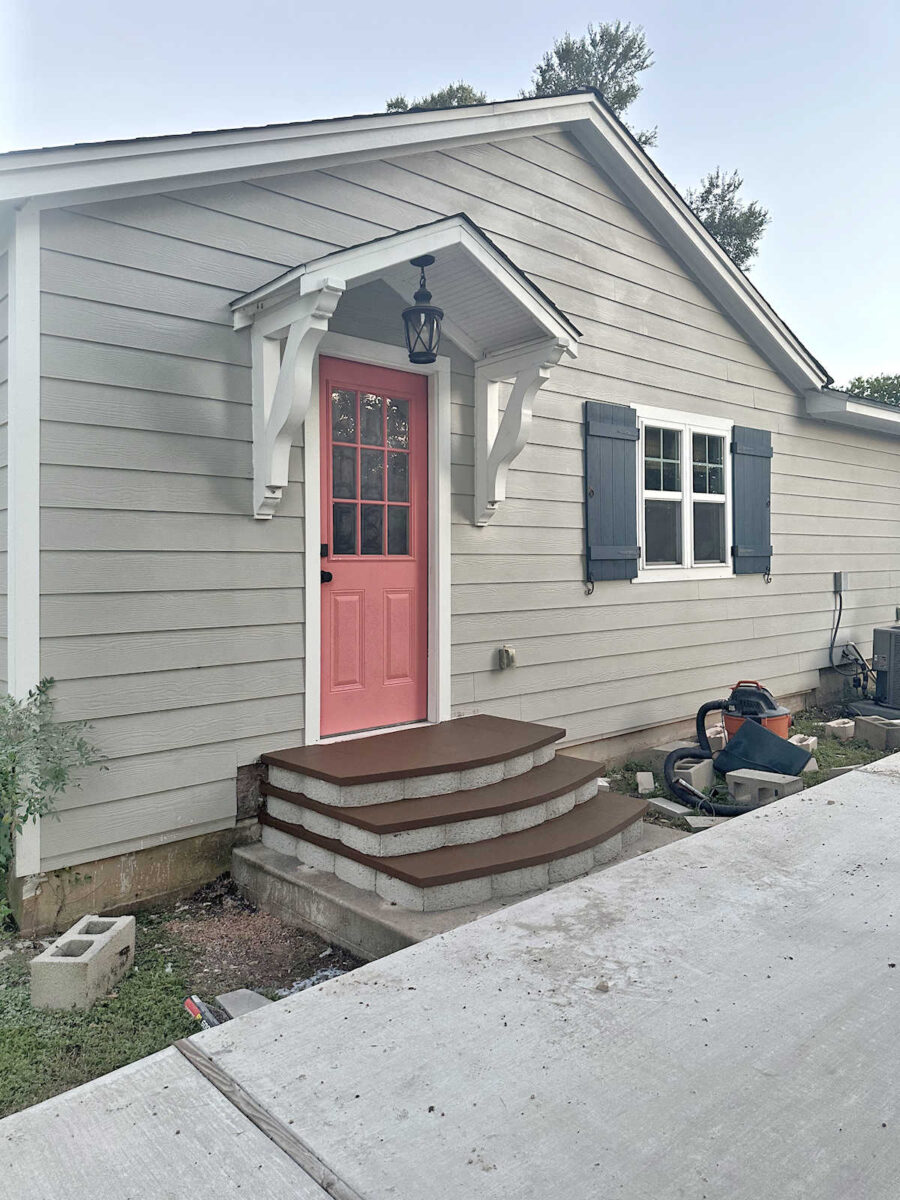
Now that the steps are fully completed, I can’t wait to get the door painted and get some landscaping in place on each side of this door! I believe it already seems cute, however I can simply think about how cute it’ll look as soon as I’ve some crops and a freshly painted pink door.
Extra About Our Home Exterior & Yard


Addicted 2 Adorning is the place I share my DIY and adorning journey as I transform and beautify the 1948 fixer higher that my husband, Matt, and I purchased in 2013. Matt has M.S. and is unable to do bodily work, so I do the vast majority of the work on the home on my own. You possibly can study extra about me right here.


")

")


