

I’m down to 2 remaining huge initiatives for my walk-in closet — the flower chandelier and framing out the doorway. After having a lot bother with the end on the island and mainly having to sand down the drawers and doorways and begin over final week, I made a decision to offer myself a break and give attention to the enjoyable venture this weekend. So I bought began on the flower chandelier. Framing out the doorway must wait a bit longer.
As a reminder, that is the chandelier that I’m utilizing as my inspiration for making my very own. I didn’t purchase this one as a result of it prices over $2500, and that’s simply out of the query for me. There’s no gentle fixture that I’d ever love a lot that I’d pay that sum of money for it.
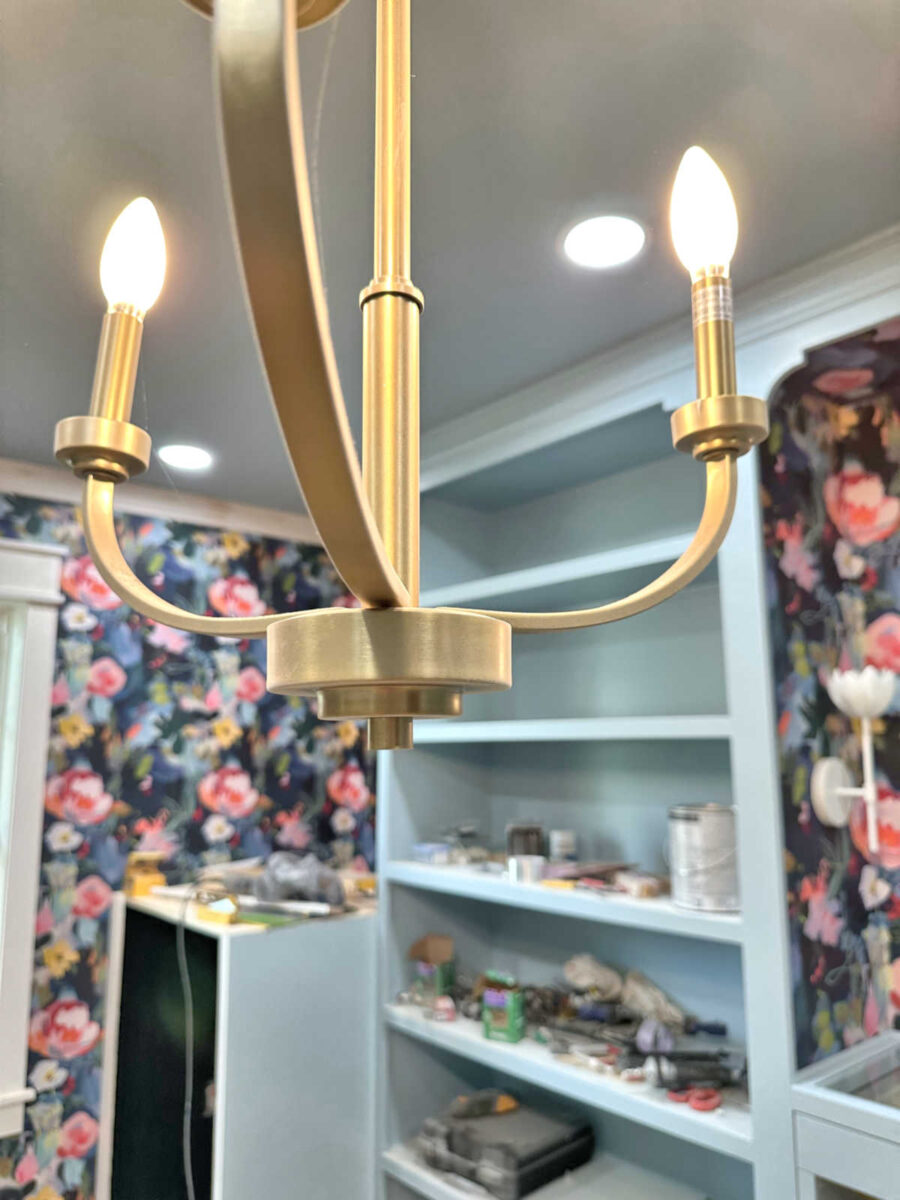
So I made a decision to attempt to make my very own impressed by that one. I wanted to start out with a quite simple chandelier with a selected form, so I made a decision to start out with this one. (Please excuse the previous image!)

I selected this one due to the particular form of the arms, but additionally due to this part on the backside that I assumed I may connect the flower stems to.
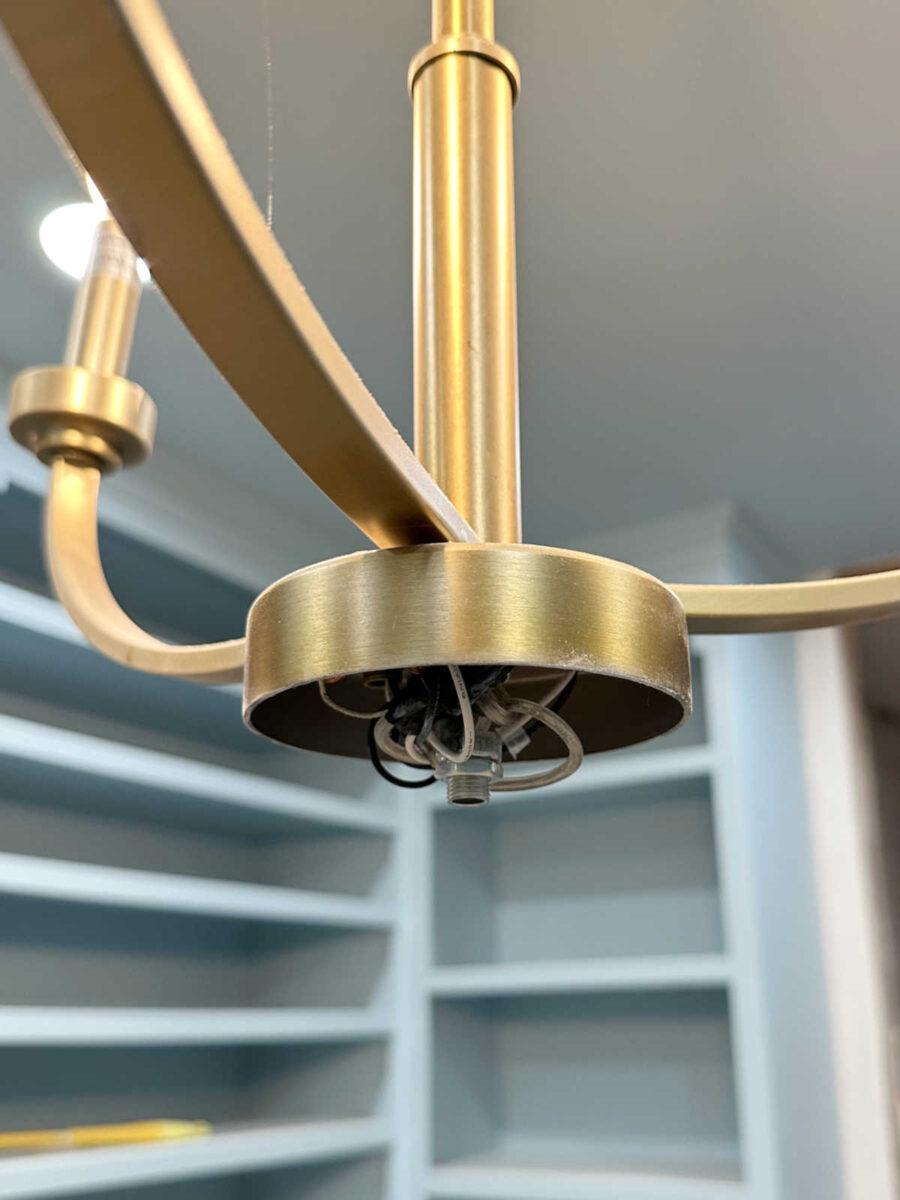
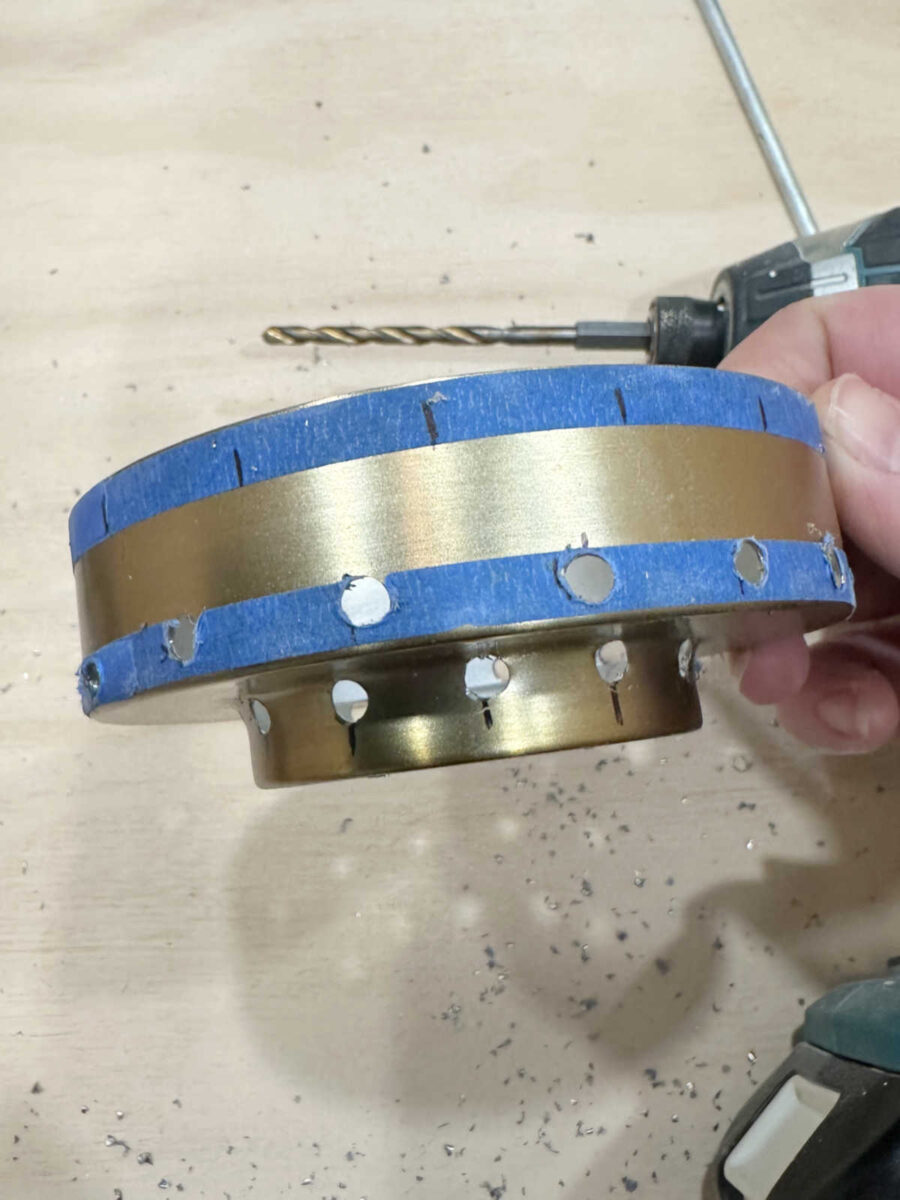
So I unscrewed that backside nut holding the underside cap on, and determined to connect the entire stems to this backside cap.
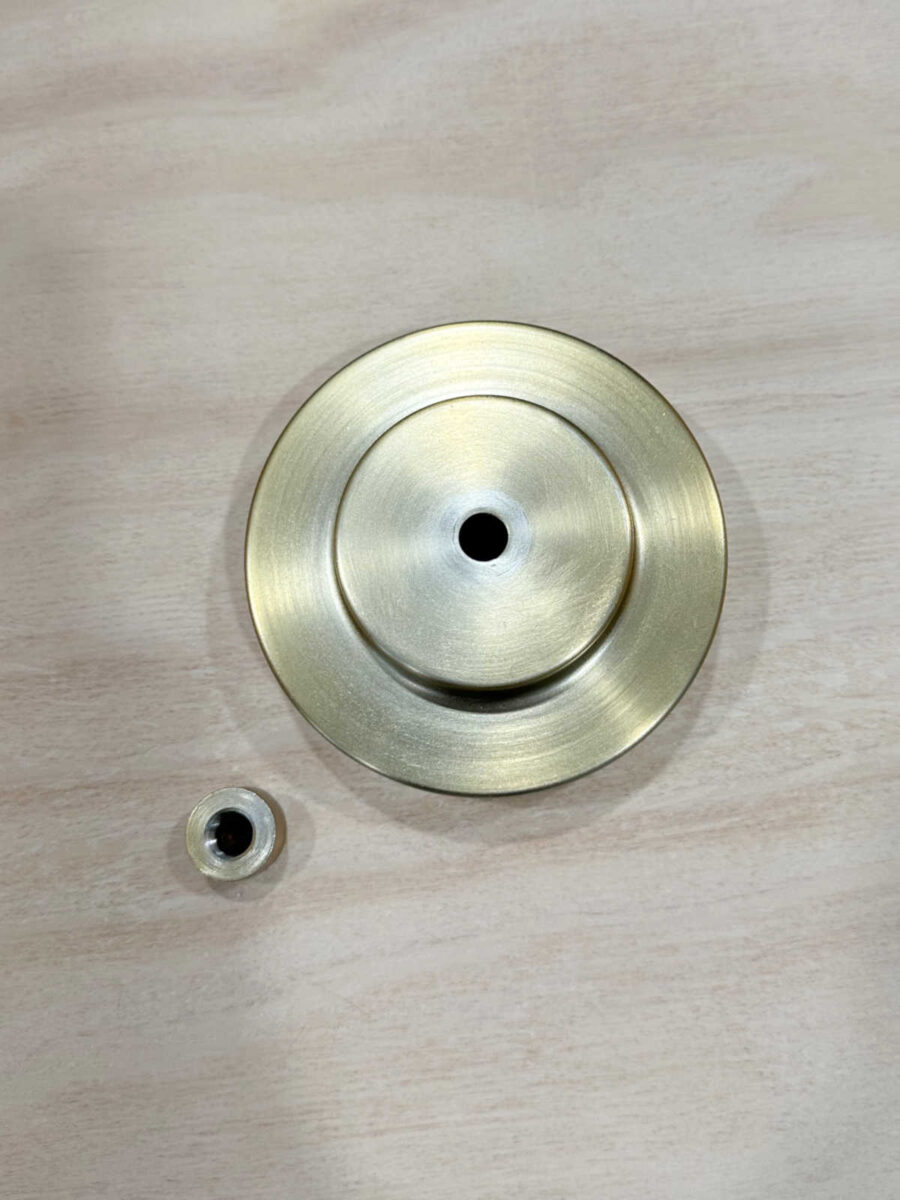
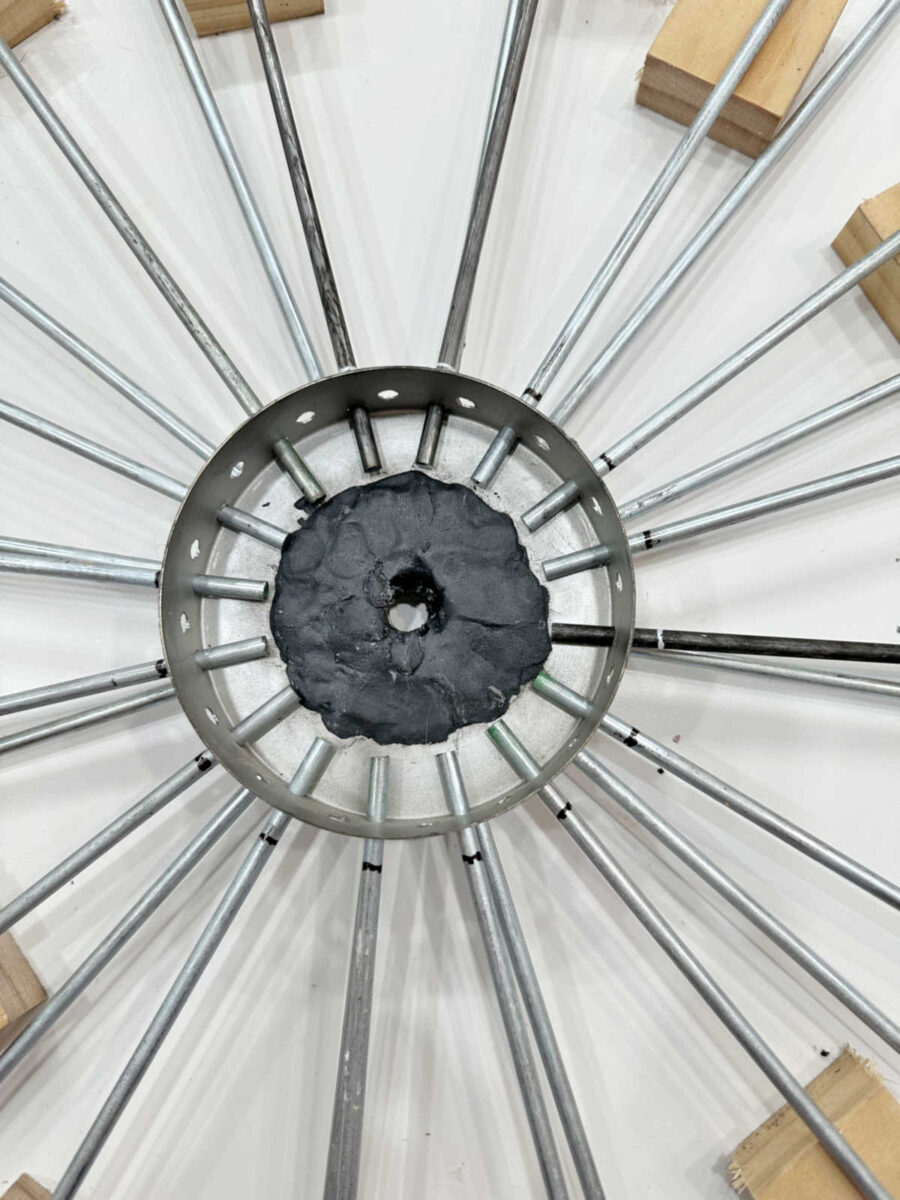
With that backside cap and nut eliminated, that is what I used to be left with. So I needed to take into account that the middle of the underside cap needed to be left open within the middle to make room for the wires that join the lights.
I had about 3/4″ perimeter across the within the underside cap that I may use to safe the stems with out interfering with the wires. and the bolts and nuts holding the sunshine arms onto the sunshine.

First, I needed to mark the place I wished the stems to enter the underside cap. I wished three rows of stems, and it labored out to house them about 5/8″ aside.
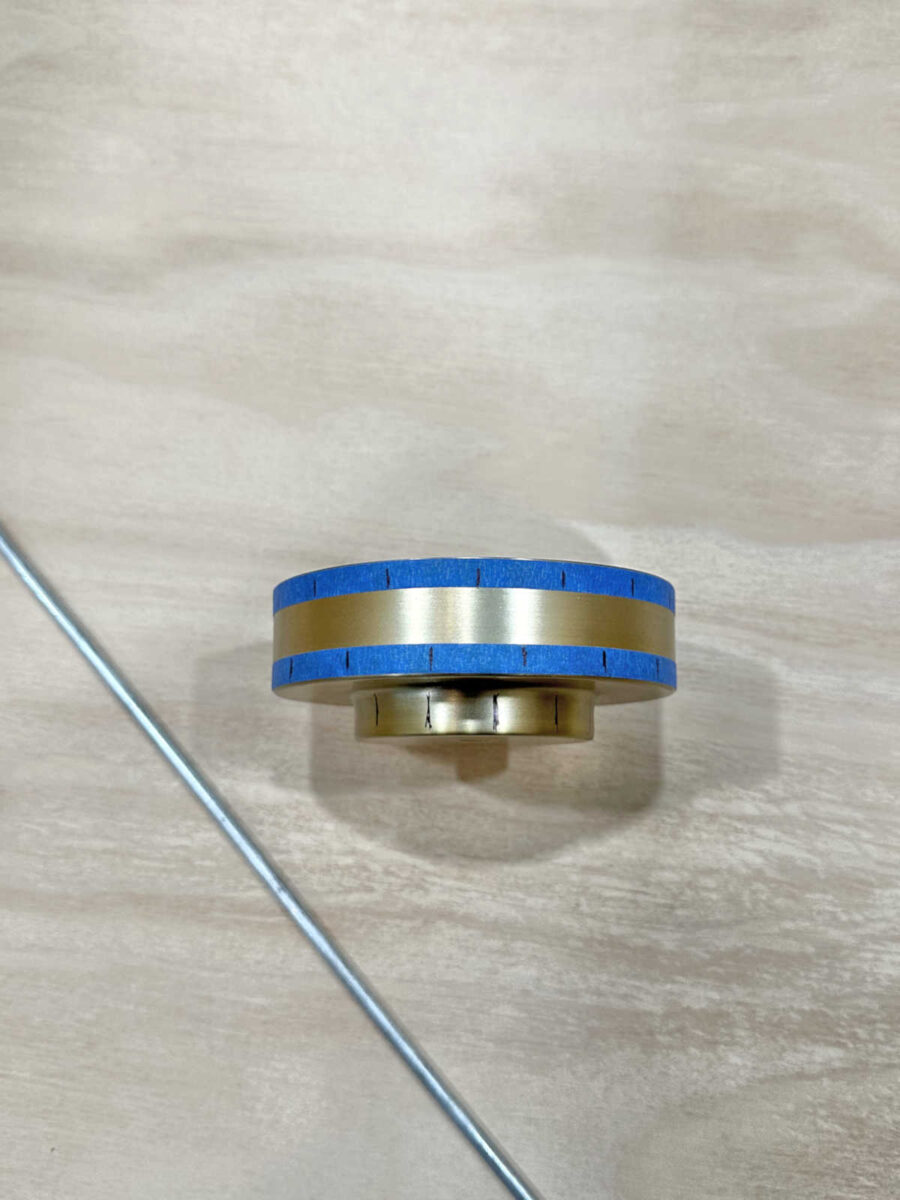
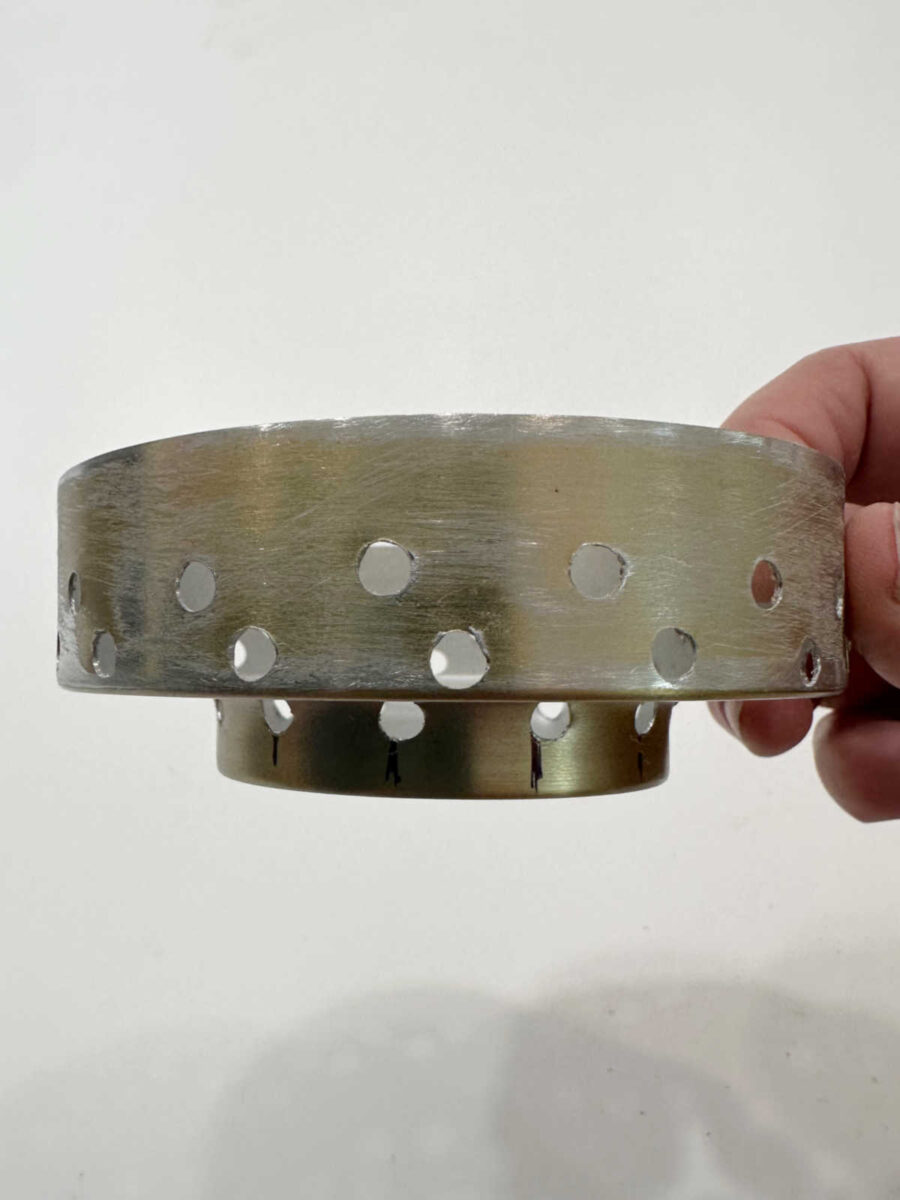
After which I used my drill to drill 3/16″ holes on every mark. It’s a bit difficult to get holes drilled completely by metallic and not using a drill press, however I did the very best I may utilizing my hand-held drill.
After which I continued on the subsequent row up.
I made a decision to maneuver the highest row down fairly a bit. It will have been very difficult (if not not possible) to reassemble the underside cap to the sunshine with the highest row of holes drilled to shut to the highest of the underside cap.
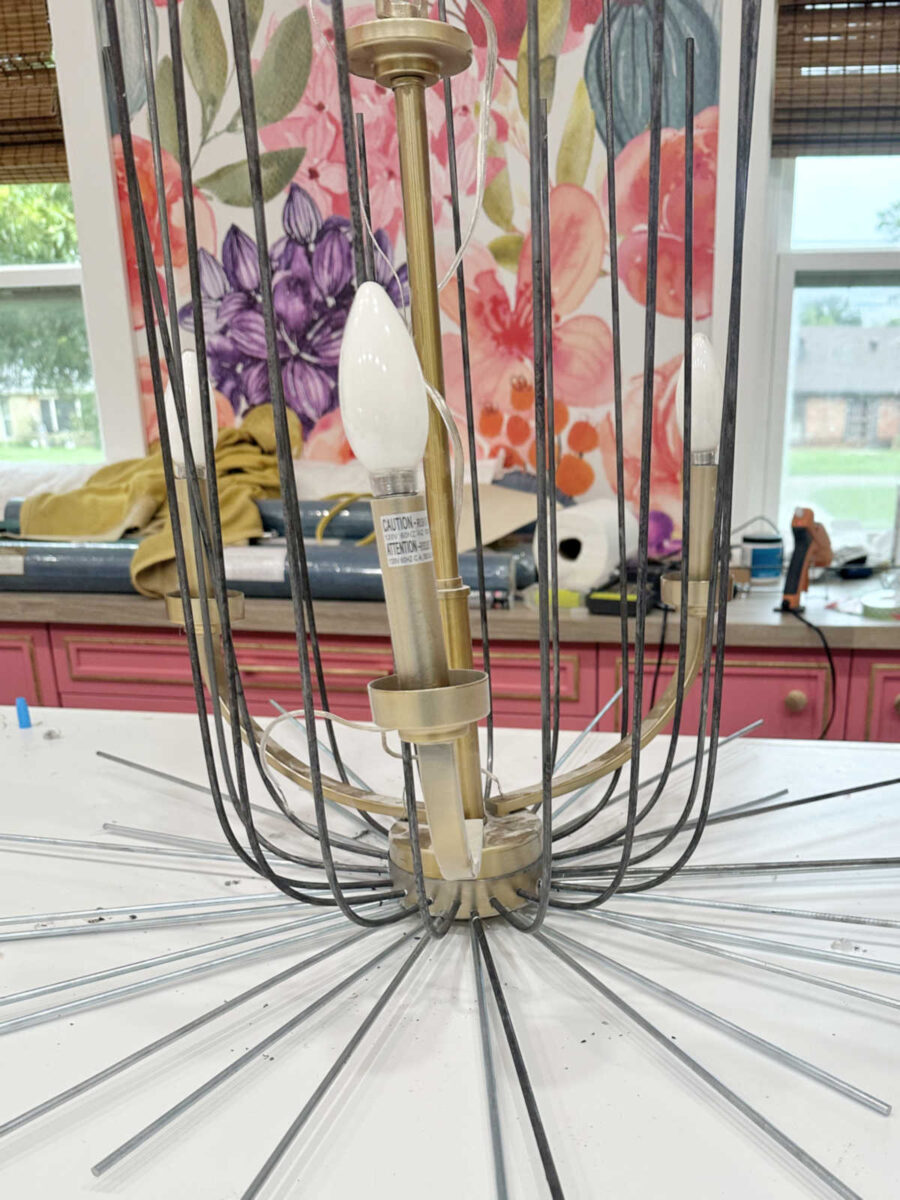
And with all of these holes drilled, I used to be prepared to connect the stems. I turned the underside cap over and began with the underside row. I used my miter noticed to chop the three/16″ metallic rods to about 14 inches lengthy, after which inserted them into the underside row of holes. I inserted about 3/4″ of the rod into the holes, after which I used sizzling glue to briefly maintain them in place
I used my utility knife to chop away any sizzling glue that squeezed out on the edges of the metallic rods and seemed messy.
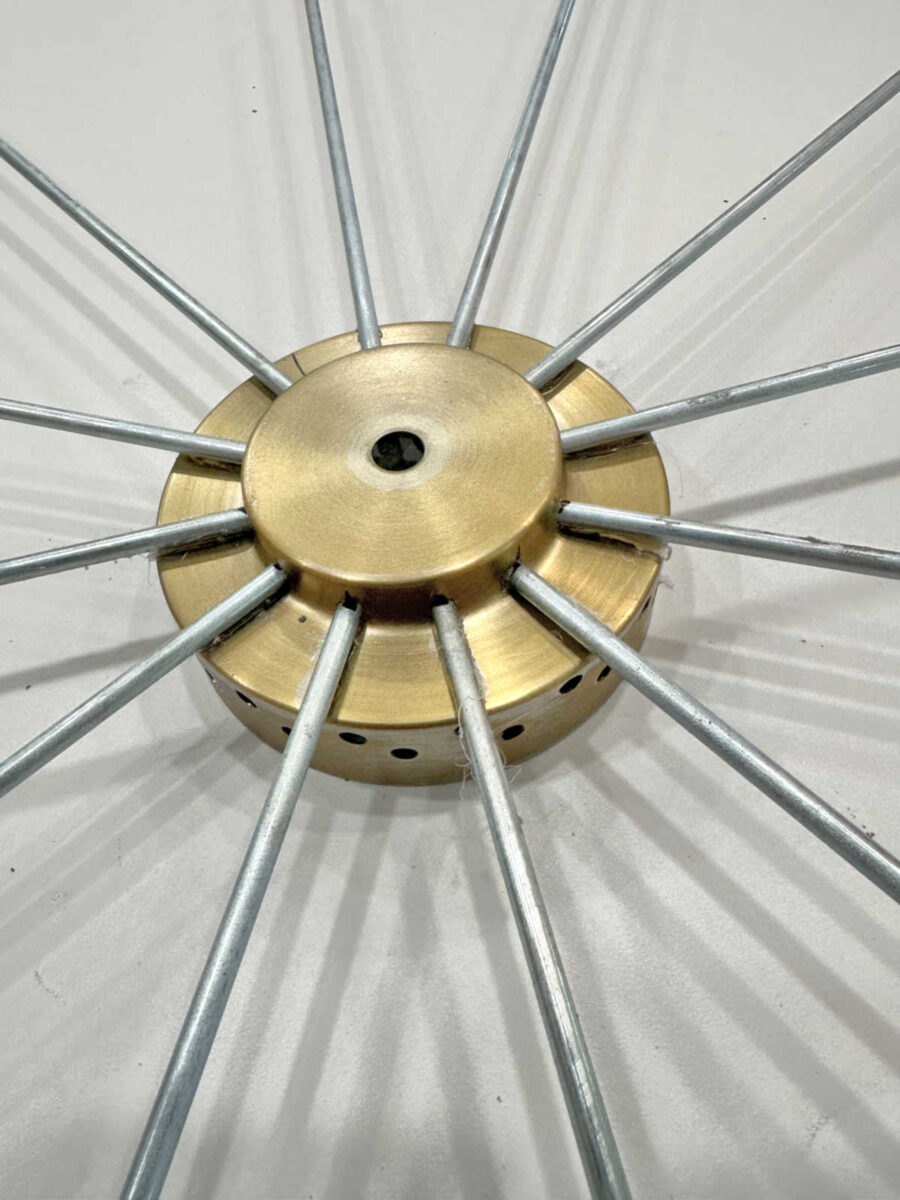
After which I very gently turned the entire meeting over in order that it was upright, and in order that I may safe the rods from the within of the cap. To do that, I used JB Weld SteelStik epoxy putty.
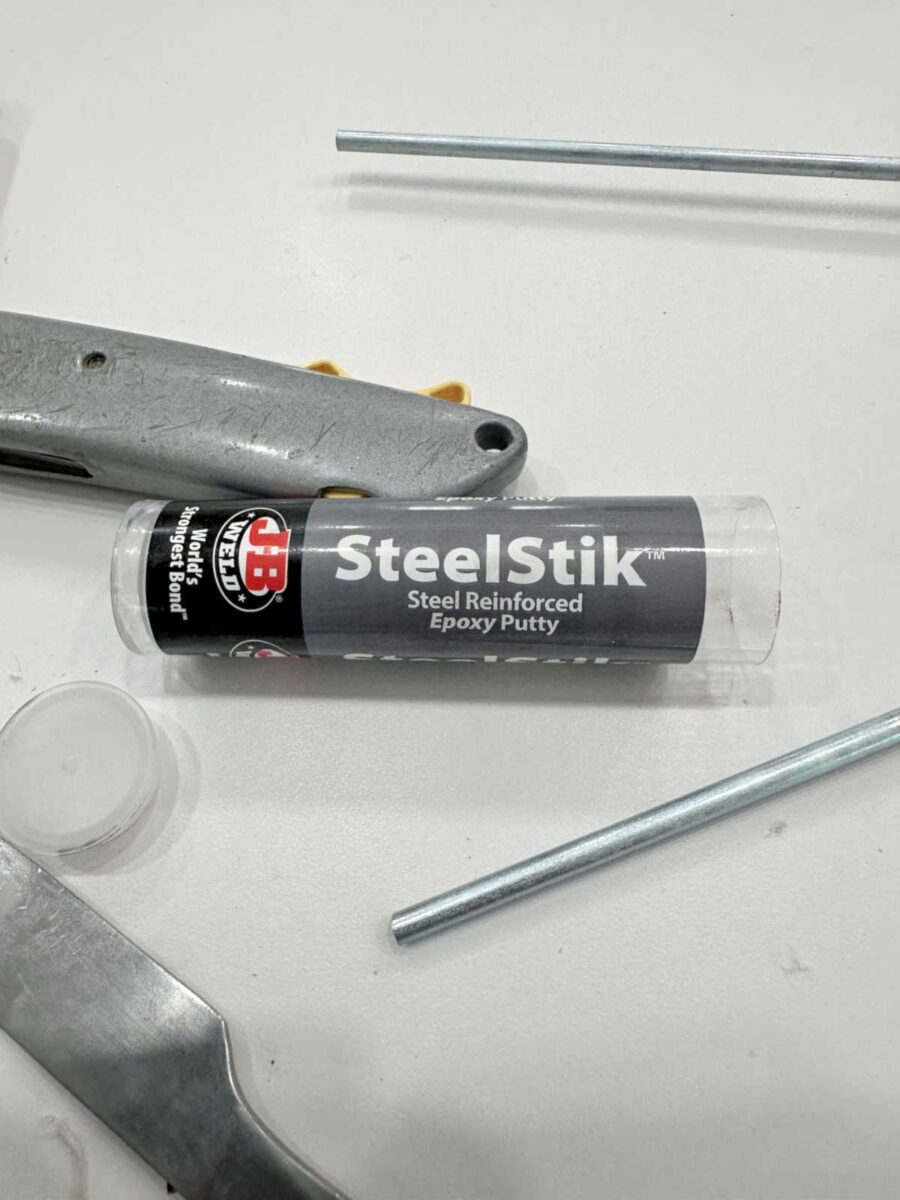
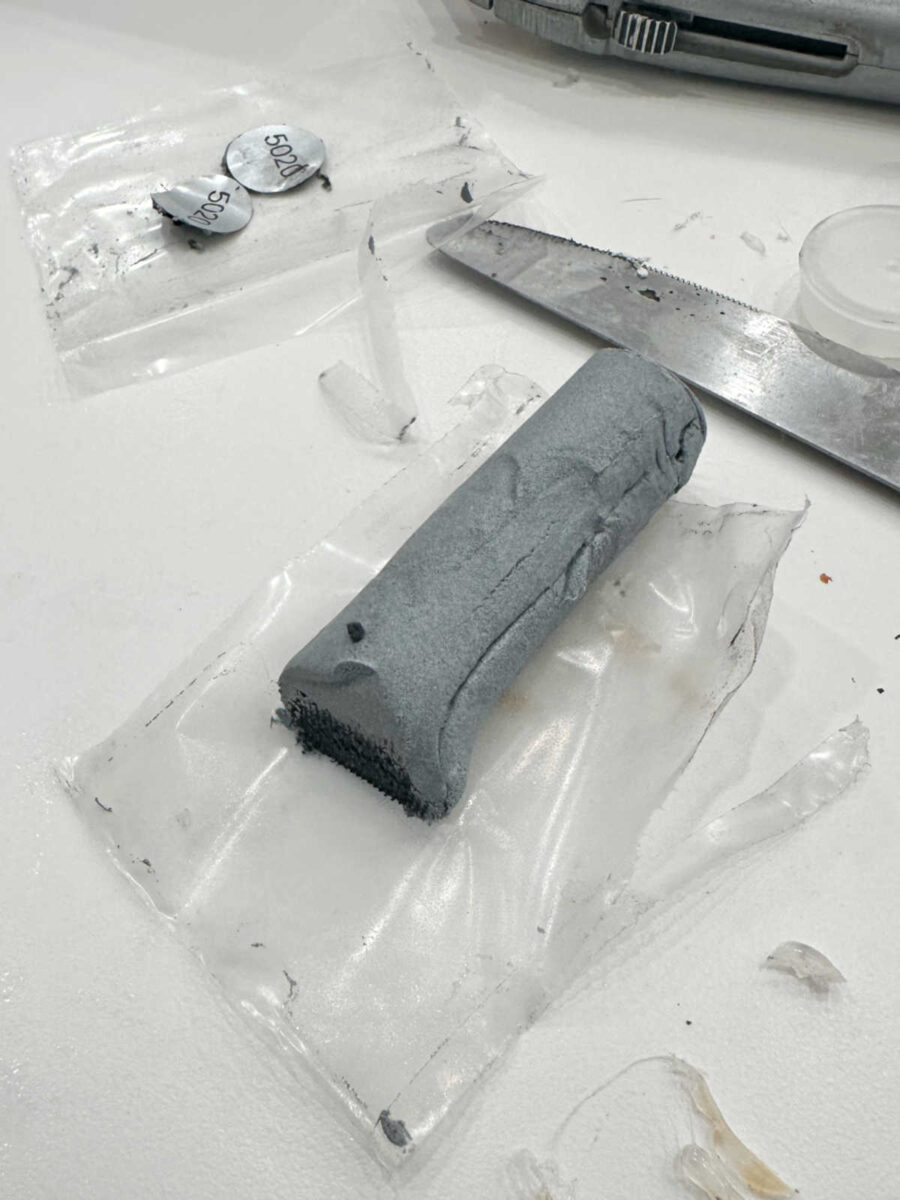
This can be a two-part putty that comes with the 2 components in a single roll. You possibly can see the grey half on the skin of the roll and the black half on the within of the roll beneath. So long as the 2 components stay separate, the putty stays delicate. However once you lower off as a lot as you want and blend the 2 components collectively, it prompts the putty after which you could have a restricted period of time earlier than it begins to harden.
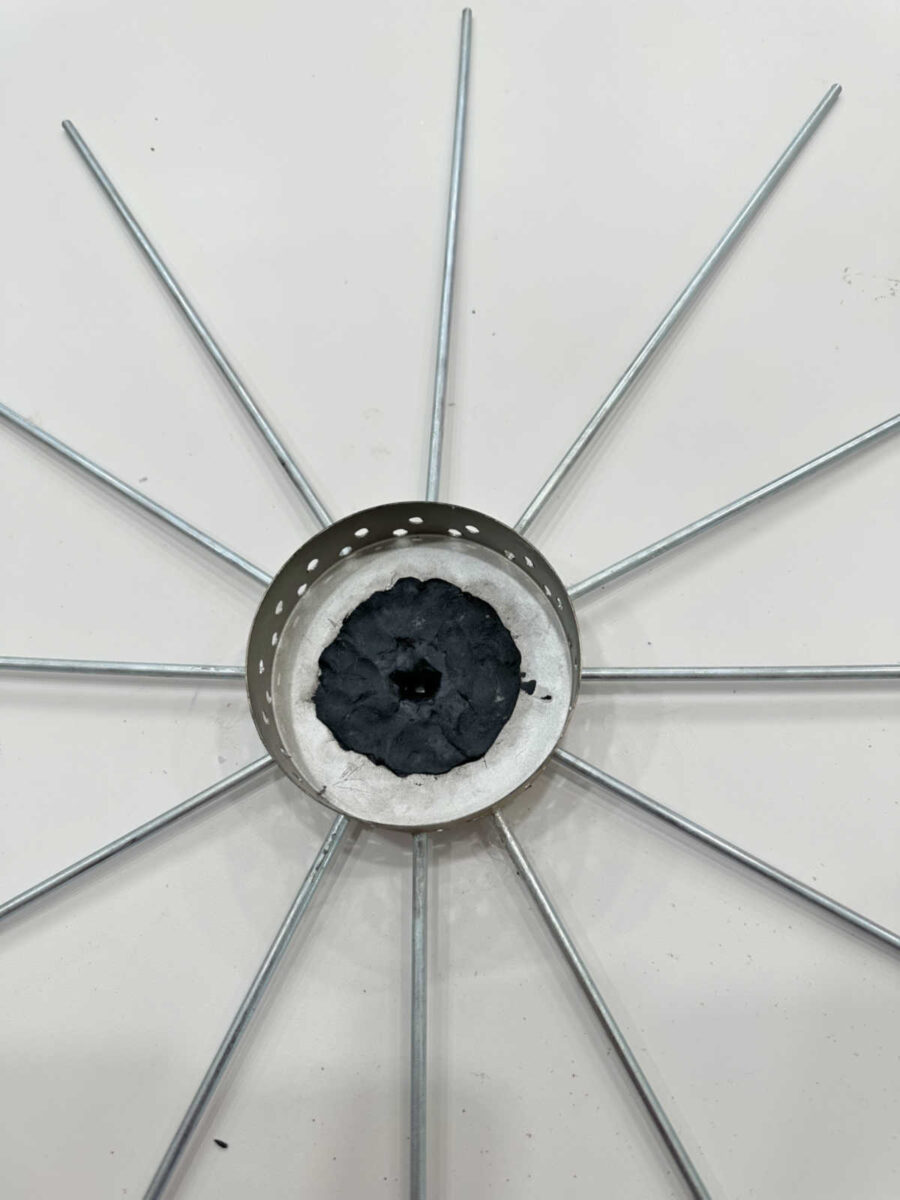
So I used about half of 1 roll, blended the 2 components along with my palms (like enjoying with Playdoh), after which smooshed it into the underside properly of the cap, securing these rods. I simply made positive that I left that middle gap open in order that this base cap may very well be reattached to the sunshine with the threaded rod and the underside nut.
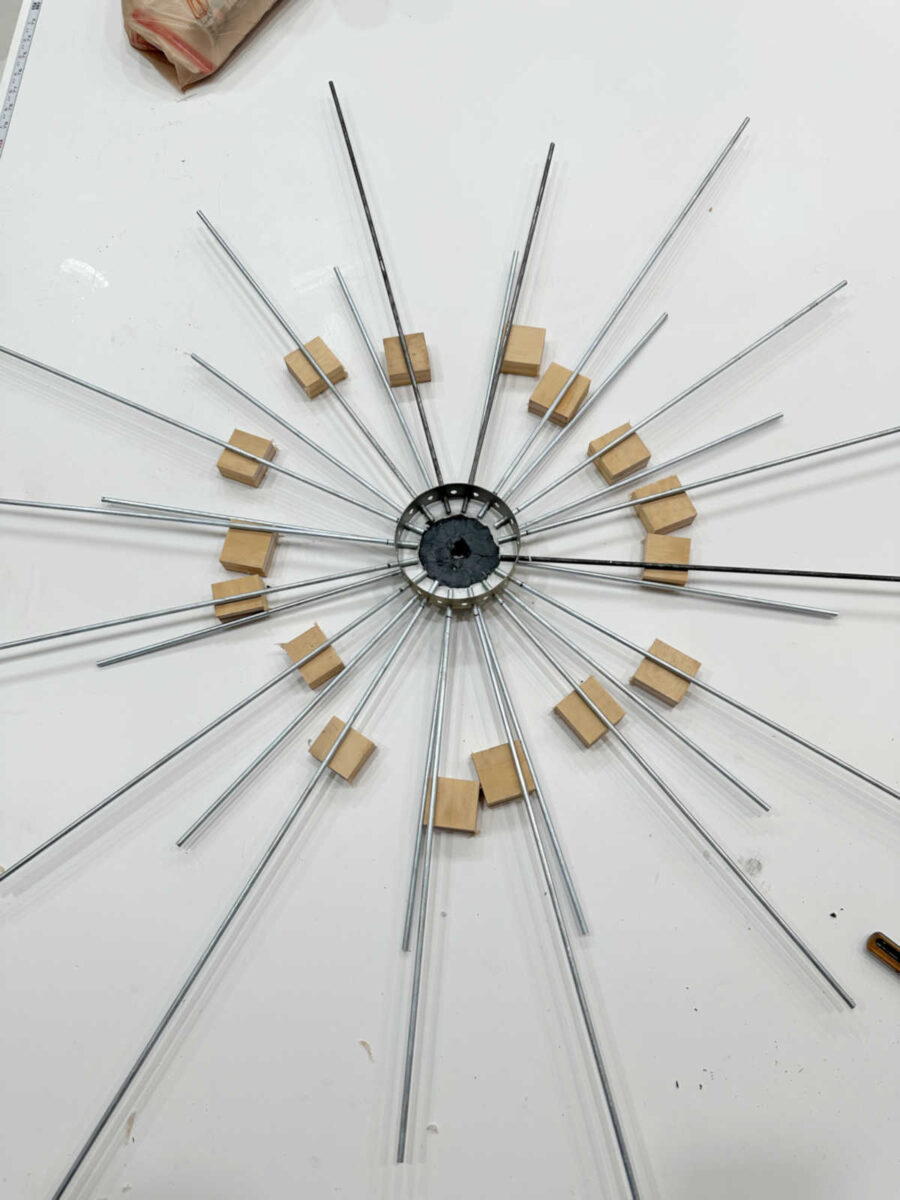
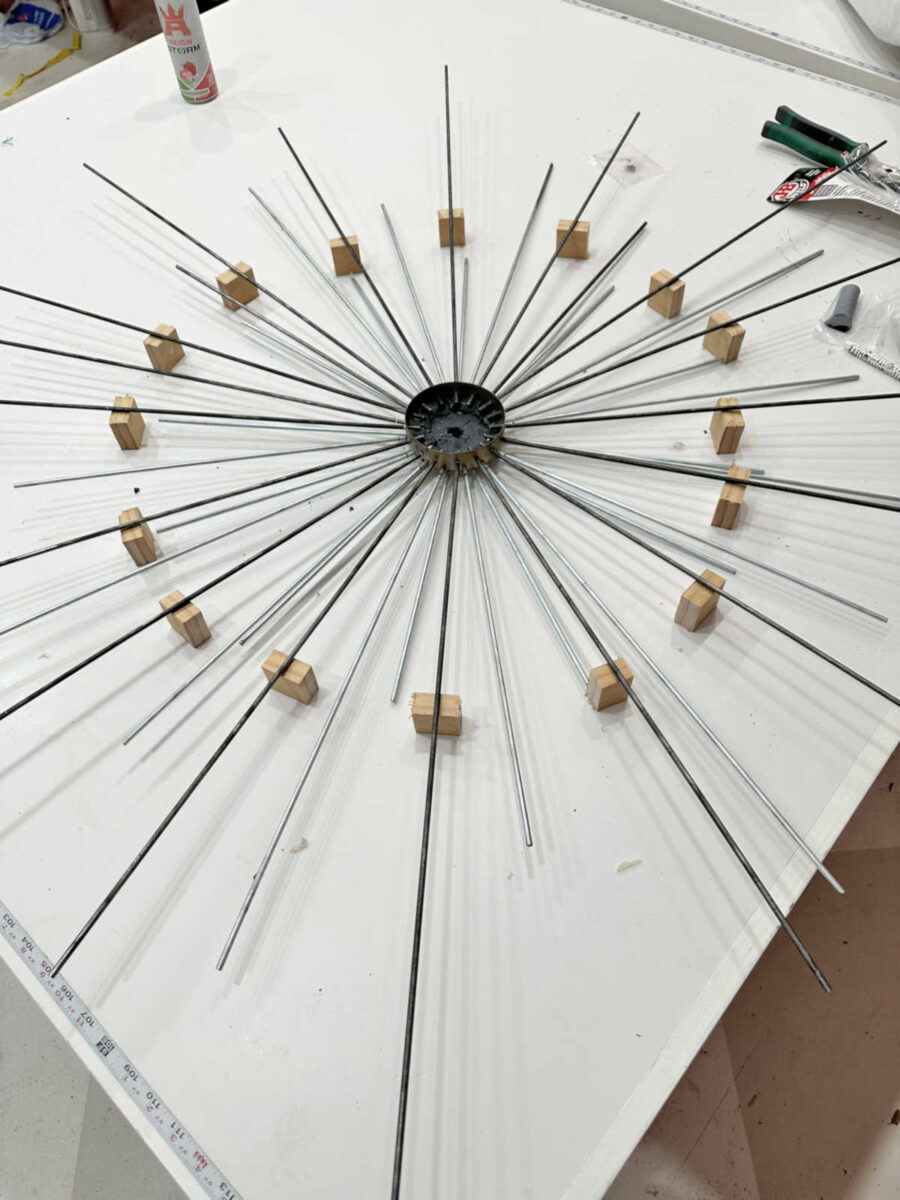
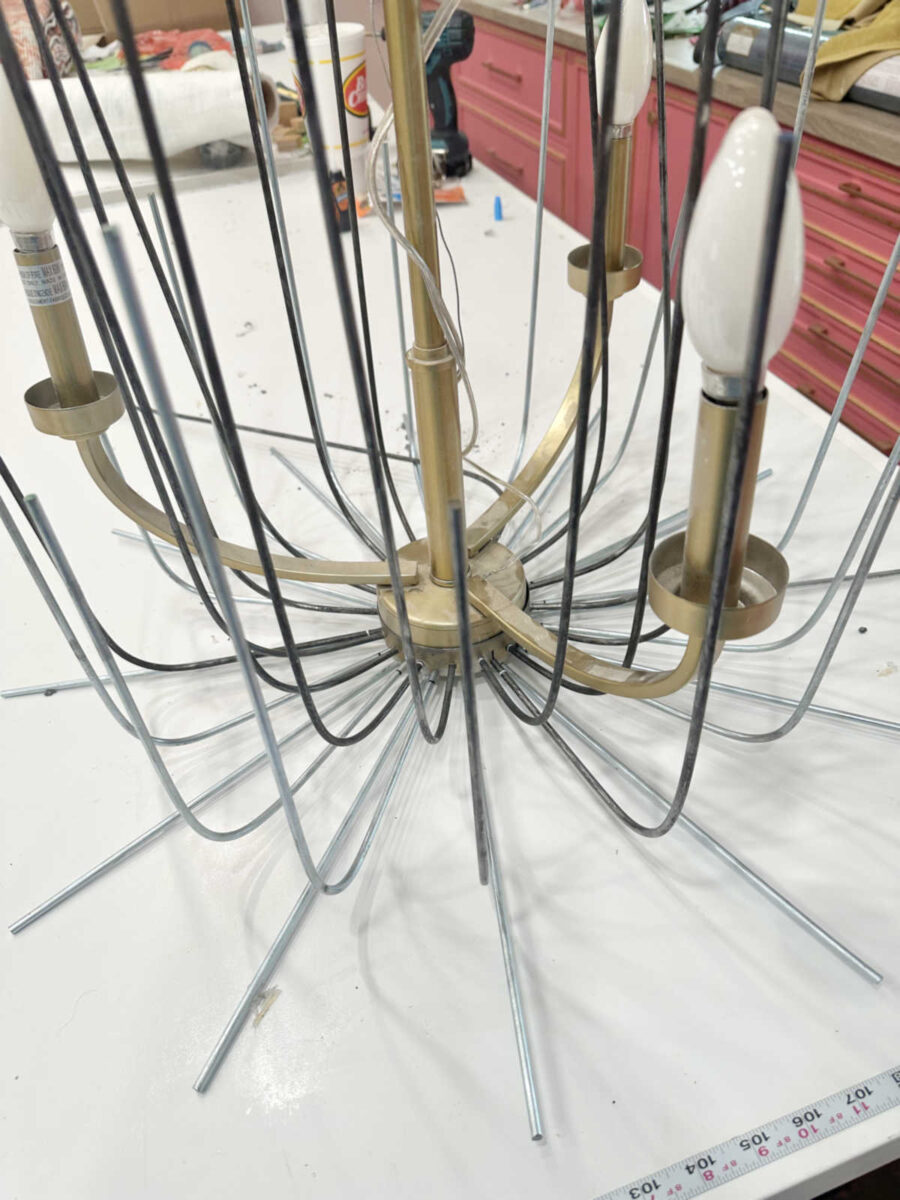
I left that to dry for about half-hour after which got here again and did the second row. I lower these rods longer and inserted them about 1/2-inch into the underside cap, after which secured these with one other layer of epoxy putty, ensuring that I left the middle a part of the underside cap open to depart room for the wires on the sunshine. I lower some scrap wooden to carry these off the desk in the proper place.
Right here’s a more in-depth take a look at what these seemed like earlier than I added the epoxy putty.
As soon as I added the epoxy putty to that row and let it dry for about half-hour, I got here again and did the identical factor for the third and ultimate row of metallic rods. As soon as I had the epoxy putty on this final row, I left the entire thing to dry and remedy in a single day.
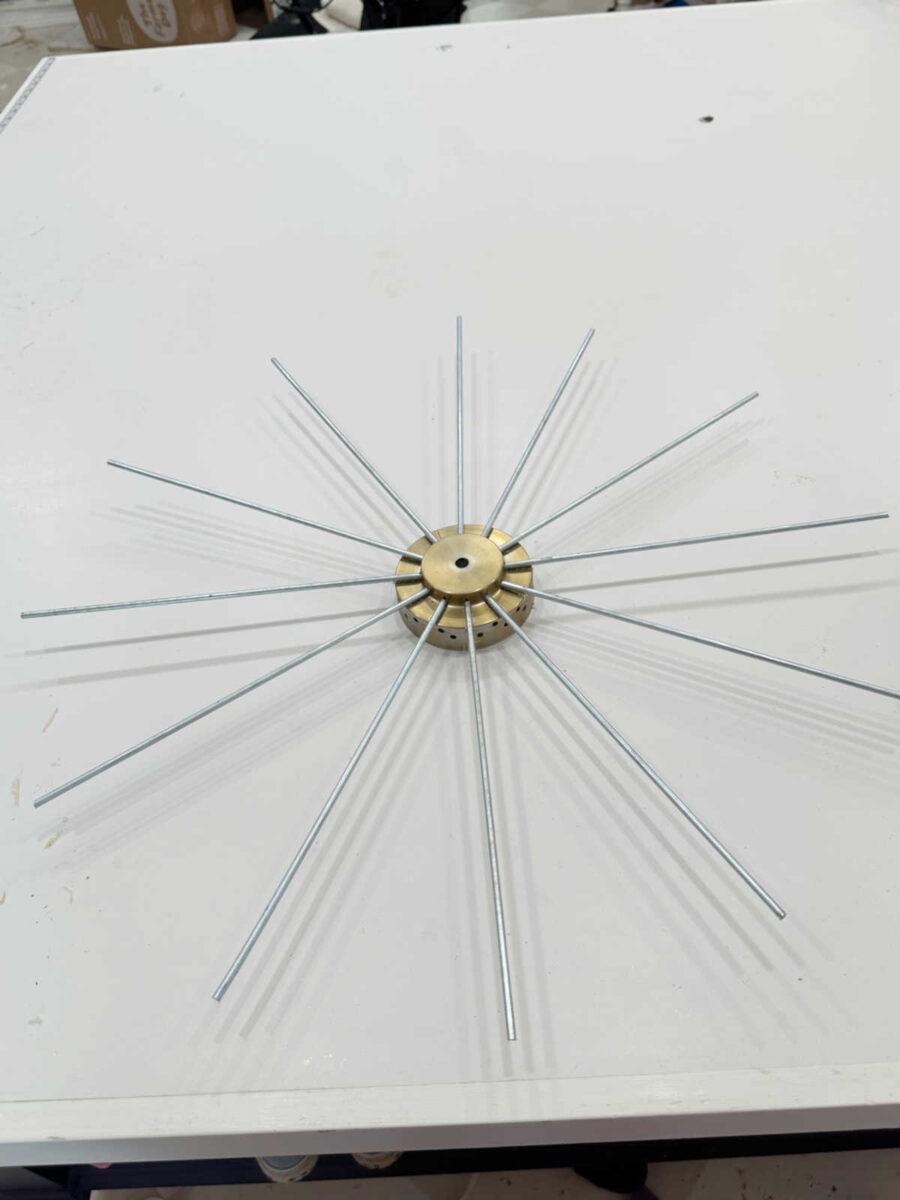
The subsequent day, the entire meeting was very safe, so I began bending the rods as much as make the flower stems. For the primary row, I used an empty quart paint can, and bent the rods across the can.
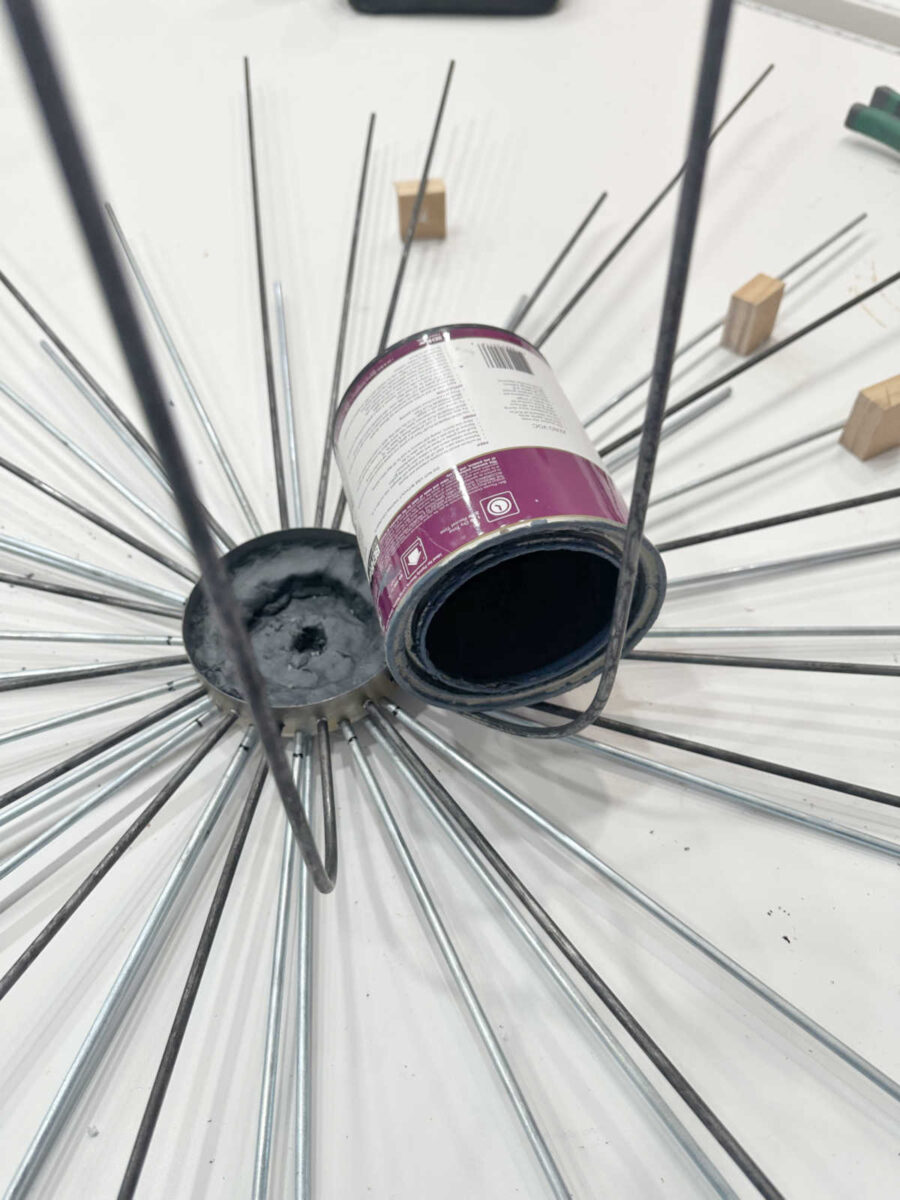
That truly labored means higher than I had anticipated it to work.
Right here’s what it seemed like with all of that first row accomplished…
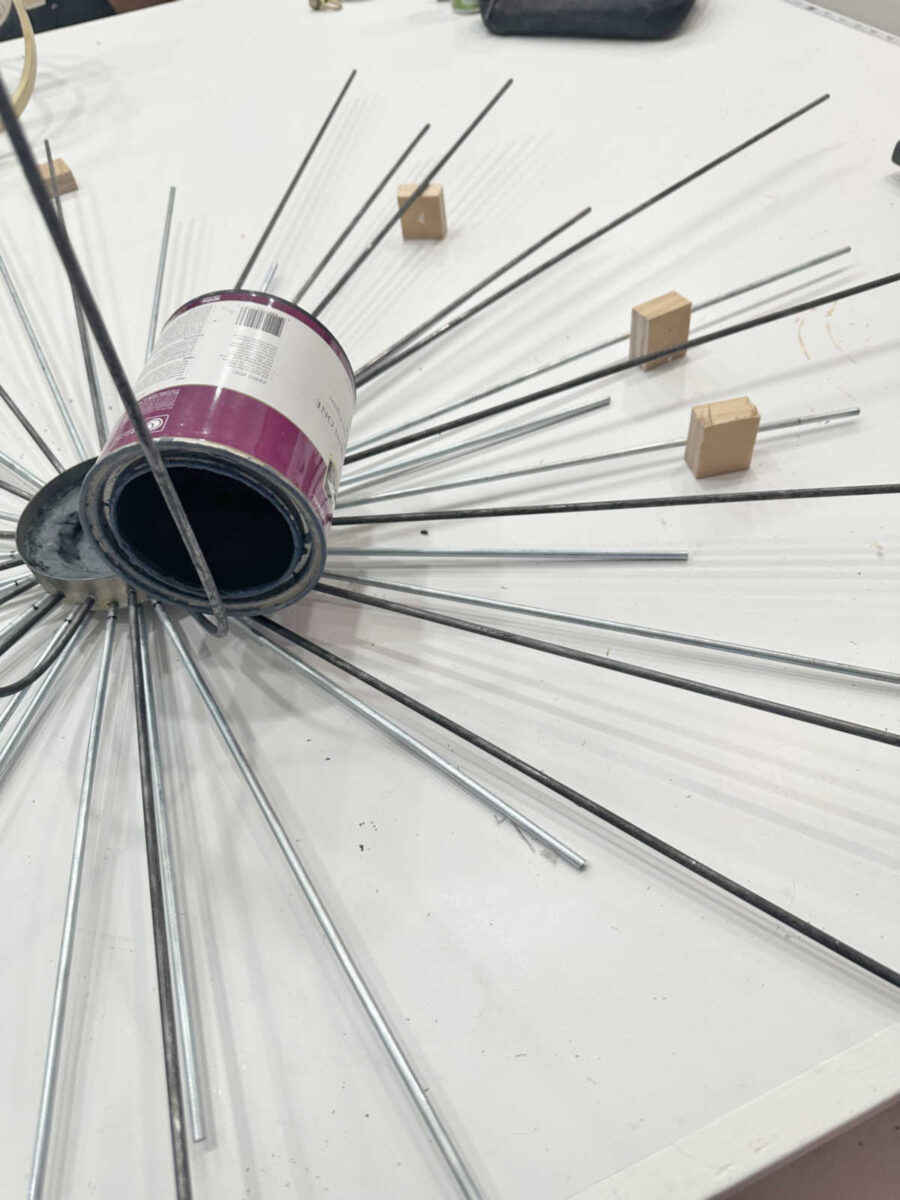
After which to do the second row, I wanted a smaller diameter curve, so I used a sprig paint can up in opposition to the primary row to bend the second row of metallic rods.
And right here’s what these seemed like as soon as they have been all accomplished.
That’s the place I ended as a result of I’ve a sneaking suspicion that I lower the wires for that backside row too brief, and that harassed me out. 😀 So I made a decision to sleep on it and take a look at it with contemporary eyes right this moment. Additionally, you may inform that I’m going to must do some surgical elimination of metallic from that piece that the underside cap matches over to make the entire meeting return collectively. My metallic cutter/grinder device hasn’t gotten an entire lot of use, so this would be the excellent alternative to make use of it. I’m additionally going to have to make use of it to chop all of those rods to the proper top, as I used to be simply guessing on the lengths that I’d want, and clearly a few of them are means too lengthy.
So at this level, I’m nonetheless not totally assured that I can pull this off. I’d say that my confidence stage is at about 60% this morning. Hopefully it should improve because the day goes on. Verify again tomorrow, and we’ll see if I can really do that!
Extra About My Stroll-In Closet/Laundry Room


Addicted 2 Adorning is the place I share my DIY and adorning journey as I rework and adorn the 1948 fixer higher that my husband, Matt, and I purchased in 2013. Matt has M.S. and is unable to do bodily work, so I do nearly all of the work on the home on my own. You possibly can study extra about me right here.


")


Considering My Next Steps – Addicted 2 Decorating®")


