


When you have hostas, you recognize that these herbaceous perennials are a few of the greatest shade vegetation for USDA Hardiness Zones 2 to eight.

In inexperienced, white, yellow, and variegated mixtures, the leaves – typically of huge proportions – brighten darkish areas of the panorama to carry them into vivid focus.
There are about 70 species from which to decide on, and mixing and matching ends in stunning panorama shows.
Our information to rising hostas has all you could know for profitable cultivation.
This quick article presents 5 suggestions for efficiently shifting vegetation from one a part of the panorama to a different.
Right here’s what we’ll cowl:
Let’s get began!
1. Accomplice with Nature
In early spring, pointed shoots seem that sign the top of winter dormancy. They point out the placement and dimensions of hosta clumps, making it straightforward to know the place to dig.
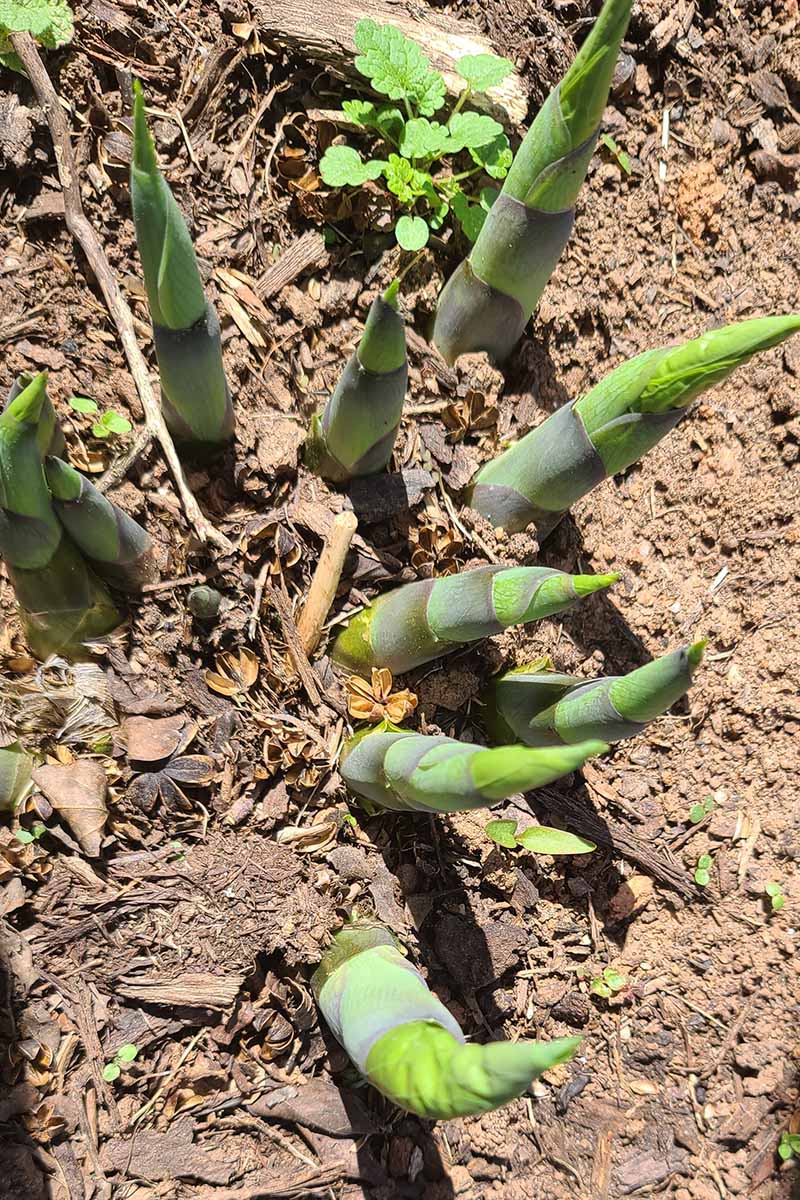
There’s much less danger of leaf harm throughout relocation with out totally developed foliage. Damaged leaves are an open invitation to opportunistic pests and ailments that readily penetrate weak plant tissue.
Suppose you’ll be able to’t get the job achieved within the early spring – no worries. You possibly can dig and transfer clumps through the rising season by means of early fall.
Nonetheless, restoration time could also be longer for vegetation with extra developed foliage, and roots could not have time to get established earlier than the arrival of first frost if hostas are transplanted too late within the season.
Along with the benefit of working with almost leafless vegetation in springtime, nature provides spring rain that fosters sturdy root progress, and meaning much less supplemental watering is required by us gardeners.
2. Be Ready
Earlier than wielding a shovel or backyard fork to carry a clump from the soil, take a tough measurement of its diameter and determine the place it’s going to go.
Select a location in full to dappled shade.
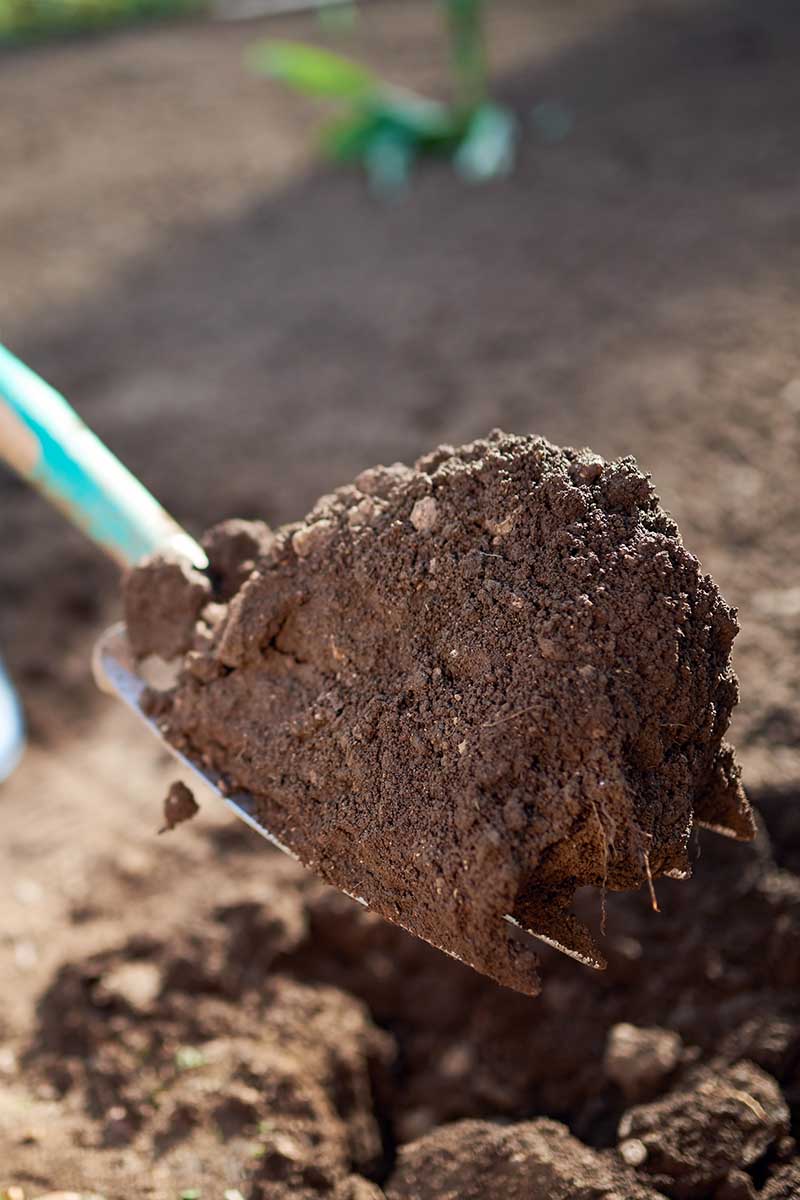
Work the soil down 12 to 14 inches and twice to a few occasions as huge because the clump you’re relocating. Take away stones and particles to realize an ethereal, crumbly consistency.
The best soil is organically wealthy and well-draining, with a comparatively impartial pH of 6.5 to 7.5. Add amendments like compost and humus to counterpoint poor soil as wanted.
Readying the brand new location earlier than digging allows a seamless transition by which vegetation are out of the bottom for as quick a time as doable.
3. Work Good
Hostas are sometimes fairly heavy.
Don’t water the day earlier than or the day of transplanting. If it has rained within the final day or so, postpone the job till issues dry out.
Hydrate earlier than working and exit within the morning earlier than the solar is excessive. Even early season daylight will be oppressive for hardworking gardeners in addition to hostas.
Unfold a tarp or previous sheet on the bottom close to the clump(s) you’re lifting.
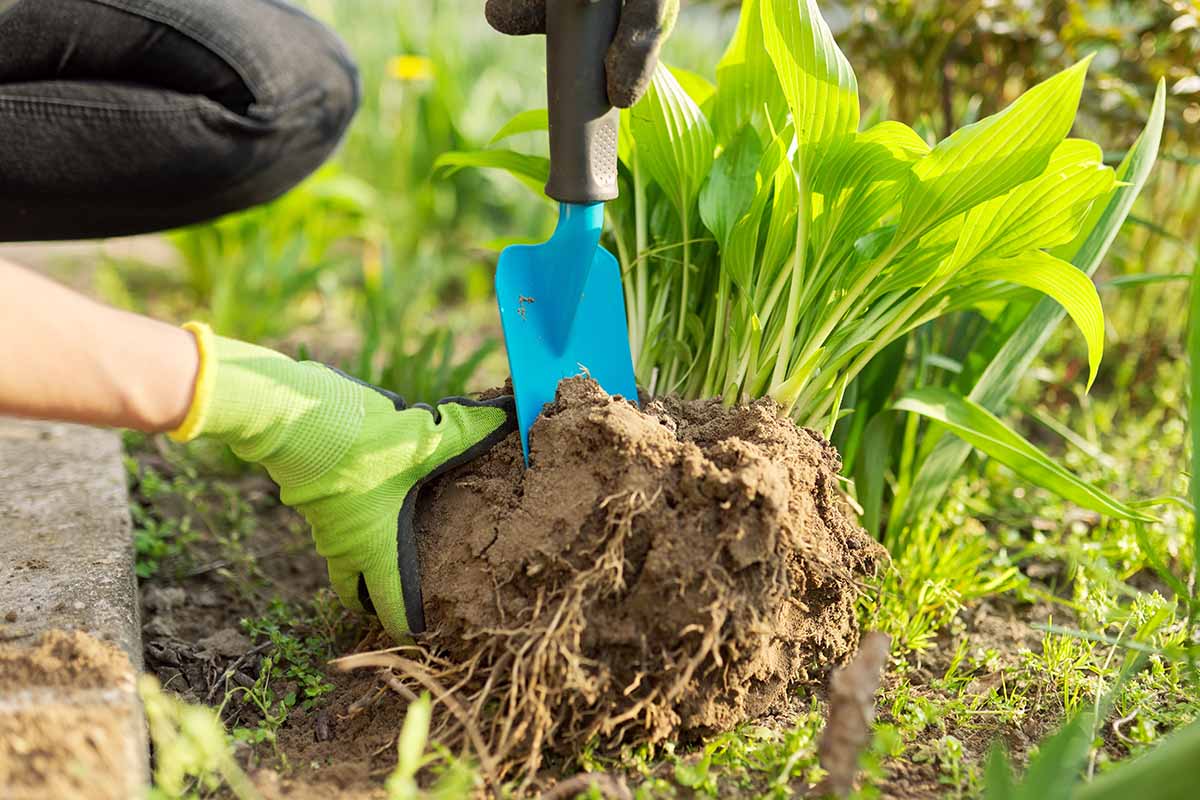
Use a long-handled shovel or backyard fork which you could push together with your foot. Insert it about six inches from small clumps and 12 inches from massive ones.
Push it in all the best way, lifting and digging round a clump. When it’s utterly loosened, ease the clump onto the tarp.
As heavy as it’s, preserve all of the soil connected to the roots to make the transition smoother. Baring the roots is pointless and tense to flora.
You possibly can divide the clump into two or extra items as desired, or slide it complete onto the tarp and drag it to the brand new web site.
And at last, take mature dimensions under consideration when relocating flora to keep away from speedy overcrowding sooner or later. Know your varieties. Some mature species develop to eight toes huge.
4. Transition Shortly
It’s important to plant uprooted flora instantly to reduce transplant shock.
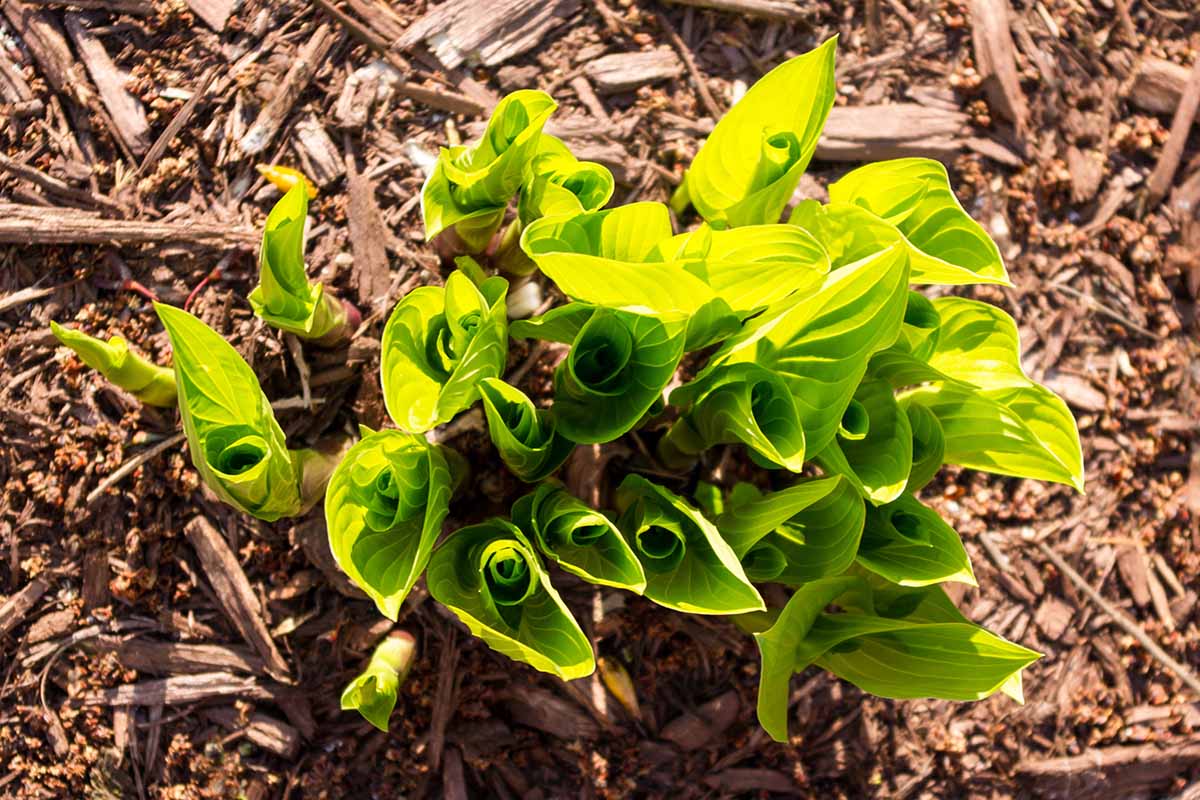
There’s usually a interval of wilting because it will get used to new environment, and it could not bloom till the next yr. Nonetheless, these vegetation are strong and bounce again with vigor as soon as the roots take maintain within the new soil.
If you happen to forgot to arrange the brand new web site upfront or should put gardening on a quick maintain, place the uprooted clump in a cool, shady location and lay a wrung out moist towel over the foundation ball.
The longer it’s out of the bottom, the slower the restoration will likely be, so don’t delay for too lengthy.
5. Nourish and Nurture
Make a nicely within the ready soil deep sufficient to set the uprooted mound on the similar top it was in its unique location.
Setting the hosta mound about an inch above floor stage can also be okay, as some settlement could happen. Nonetheless, planting too deeply could lead to rotting roots.
Backfill and tamp the soil firmly across the perimeter of the shoots.
To assist water retention whereas transplants are getting established, draw extra soil towards the plant to create a sheltering “moat” eight to 12 inches away from the perimeter of the crown and 4 to 6 inches excessive.
Water contained in the moat and tamp the soil firmly. Make sure you intention the nozzle on the soil and never the leaves to inhibit fungal progress. Water a second time and tamp once more.
Apply an all-purpose, slow-release granular fertilizer within the moat, forming a hoop of granules. Preserve it away from the shoots to keep away from burning them.
Add a two-inch layer of mulch over the moat space to additional assist moisture retention.
Whether or not you plant seedlings, divisions, nursery vegetation, or mature relocated clumps, preserve the soil moist whereas they change into established.
Present an inch of water per week within the absence of rain, totally moistening the roots with out oversaturation and ponding.
Feed month-to-month to help wholesome progress, avoiding direct contact with the foliage.
Resilient and Dependable
Prized for his or her spectacular shade mixtures and leaf sizes, easy-to-grow hostas are a shade gardener’s greatest good friend.

Whether or not you’re scaling down a crowded patch or relocating a whole mattress, the foliage bounces again from the disruption with vigor while you observe our 5 suggestions for fulfillment:
Act in early spring when there may be much less foliage and extra rain.
Get the brand new web site prepared first for a speedy transfer.
Take a smart method – hydrate, save your again, work early, and house generously.
Work quick to reduce transplant shock.
Assist a speedy restoration with vigilant watering and fertilizer purposes.
Preserve the following tips in thoughts to make transplanting go easily each time, and luxuriate in lush shade-garden foliage for a few years to come back.
Do you develop hostas? Have you ever tried transplanting them? Tell us within the feedback part under!
If you happen to discovered this text useful and want to learn extra about hostas, we suggest the next:
© Ask the Consultants, LLC. ALL RIGHTS RESERVED. See our TOS for extra particulars. Initially printed June thirteenth, 2022. Final up to date: Could 14th, 2025. Uncredited images: Shutterstock.


