

Properly, one other weekend has handed, and I nonetheless don’t have the closet primed and painted. However that doesn’t imply that I didn’t get an entire lot of essential work achieved! I spent the weekend not solely including the final two cabinets to 2 of the closet sections, but in addition redoing the ten cabinets within the two cupboards that flank the doorway to the closet.
I had initially deliberate so as to add cupboard doorways to the 2 closets flanking the doorway in order that I might have some closed storage within the room. However after giving it some thought, and seeing how these two sections seemed with the open cabinets, I made a decision to forgo the closet doorways and go away these sections open. I most well-liked the cohesive look of getting the entire closets lining the partitions open. I’ll have all of my wanted drawer storage within the middle island.
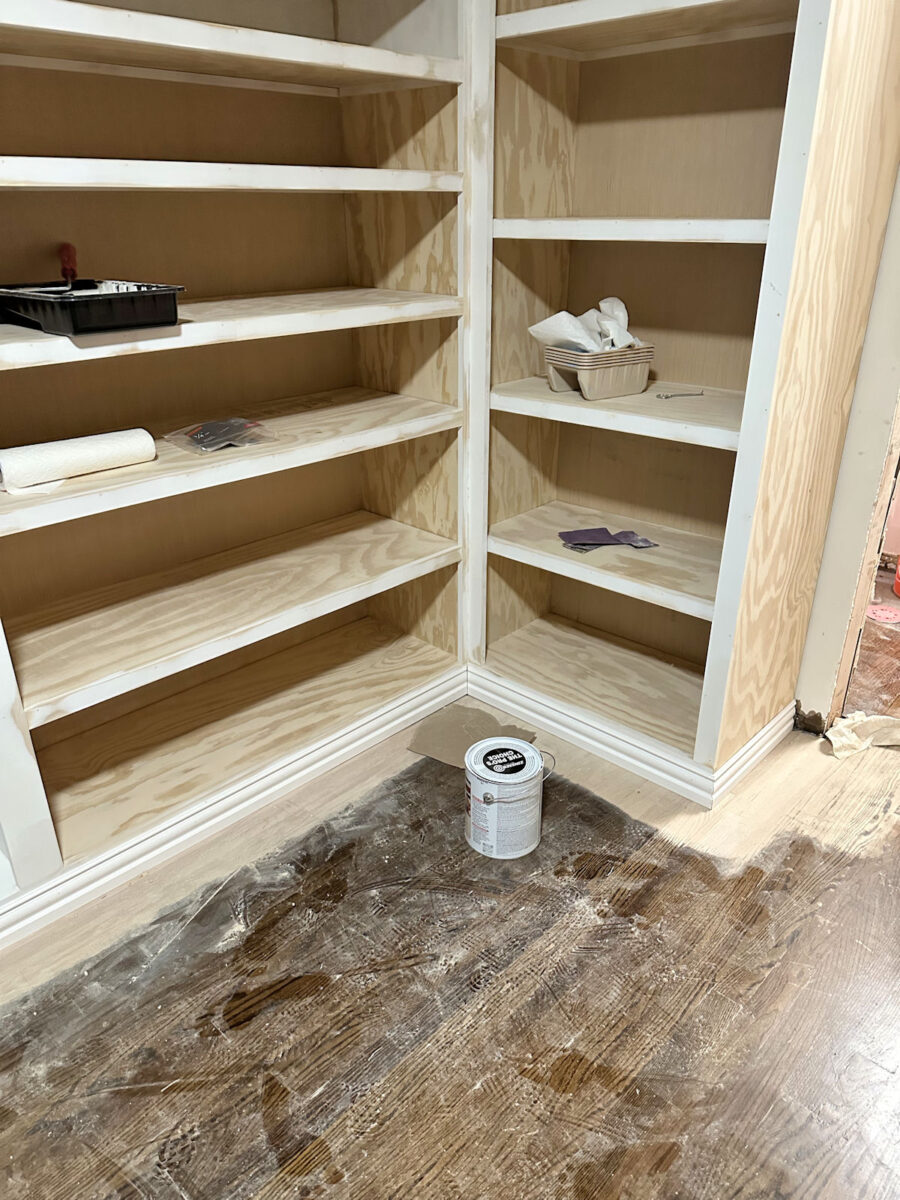
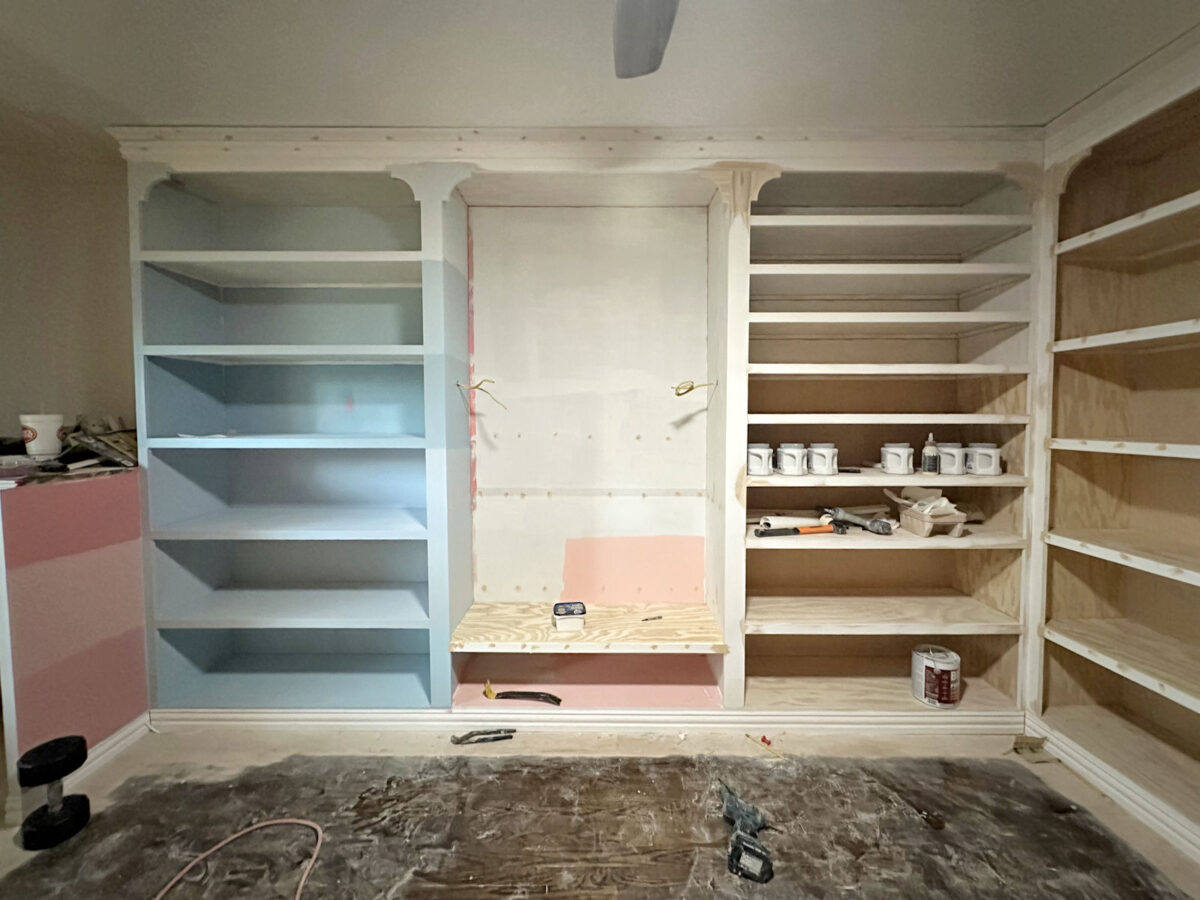
Since I had deliberate so as to add inset doorways on these cupboards, I reduce and put in the unique cabinets in order that they sat again from the entrance of the cupboard about 1.5 inches. As soon as the entrance trim piece was put in on the cabinets, they sat simply behind the entrance trim on the cupboards, leaving simply sufficient room for inset cupboard doorways. You’ll be able to see what I imply in these photos…
However entrance trim on the entire remainder of the cabinets within the room sits flush with the trim on the entrance of the cupboards. So now that I made a decision to go away the doorways off of these two cupboards, I had to determine easy methods to carry that entrance trim on these ten cabinets ahead in order that in addition they sat flush with the entrance trim on the cupboards. There’s no approach I might go away the doorways off of these cupboards and have them look fully completely different from the remainder of the cupboards.
I initially thought I might simply take away the entrance trim items, add a plywood extension to the cabinets, after which reattach the trim. That plan didn’t work out. Even when I had used an entire lot of wooden filler to fill within the joint between the principle shelf and the plywood extension, after which sanded them as easily as attainable, I feared that it could nonetheless be apparent that these extensions have been there. I didn’t need that sort of “make do” afterthought in my customized, built-from-scratch closet.
I lastly determined that the one approach I might get that clear look that I need could be to chop all new plywood for these ten cabinets. In order that’s what I did. I eliminated all ten cabinets, reduce new plywood for these cabinets, after which needed to wooden fill and sand them easy earlier than I might add them to the cupboards. (As a reminder, I used a lesser grade of plywood on this complete closet to economize, so among the items are sort of tough and wish wooden filler and plenty of sanding to make them easy.)
After which I made a decision to chop all new entrance trim items moderately than reuse the items that I had eliminated as a result of within the means of eradicating them, I sort of gouged the sides of a few of these items.
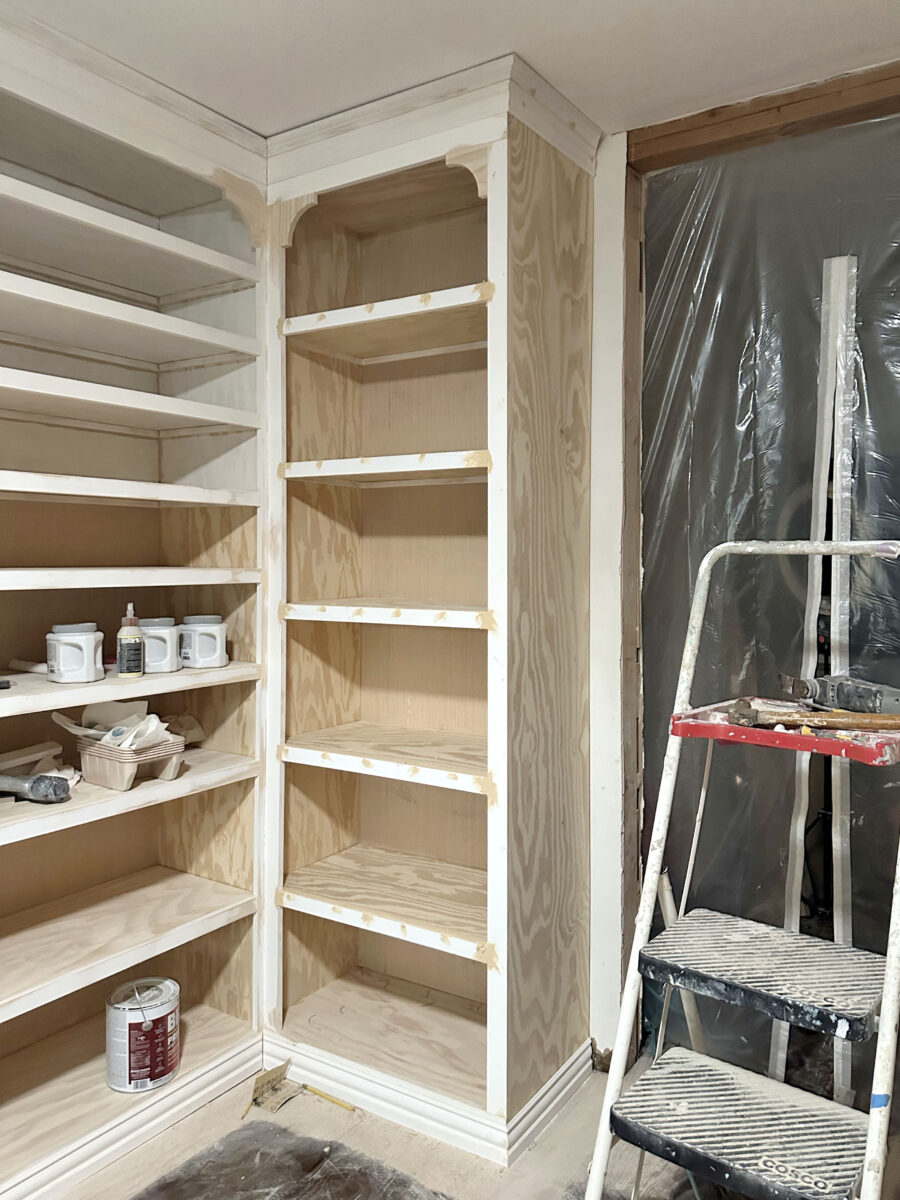
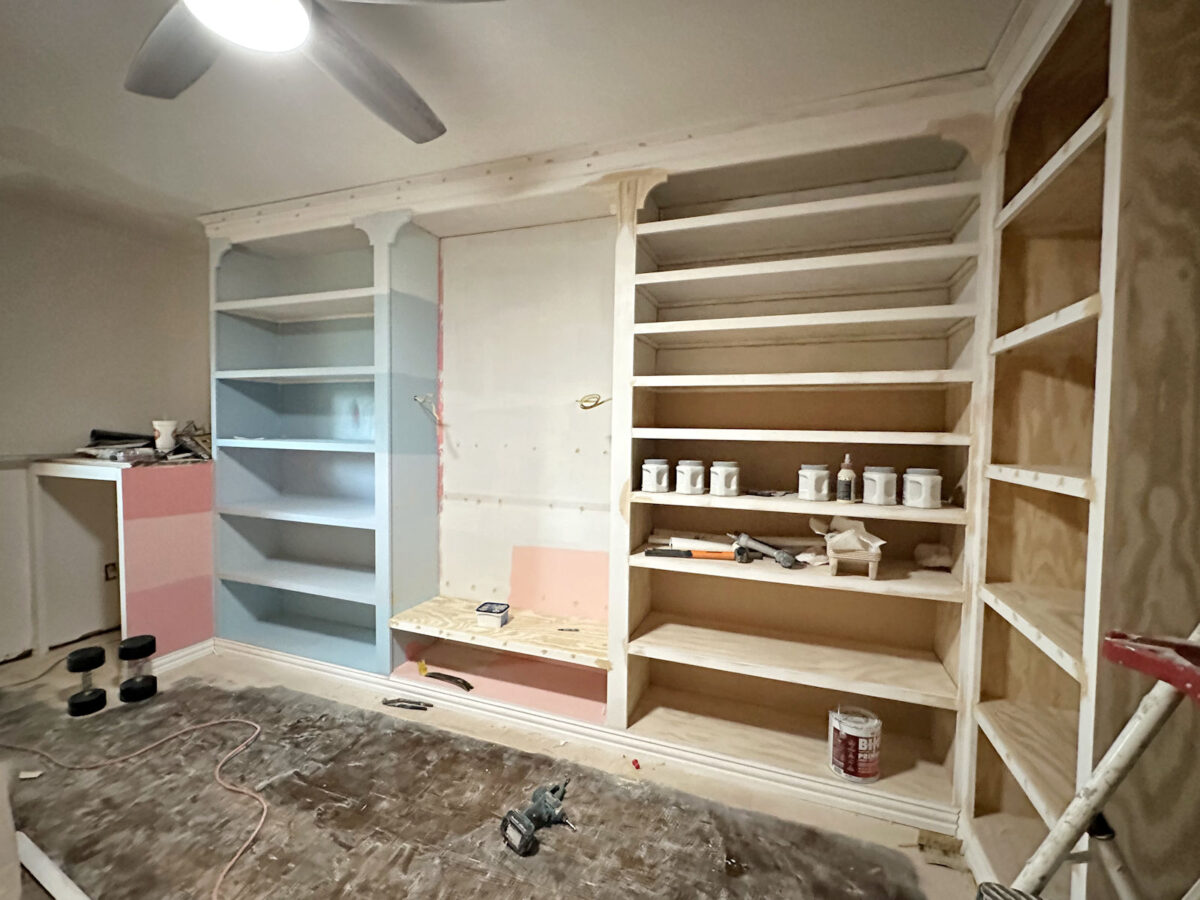
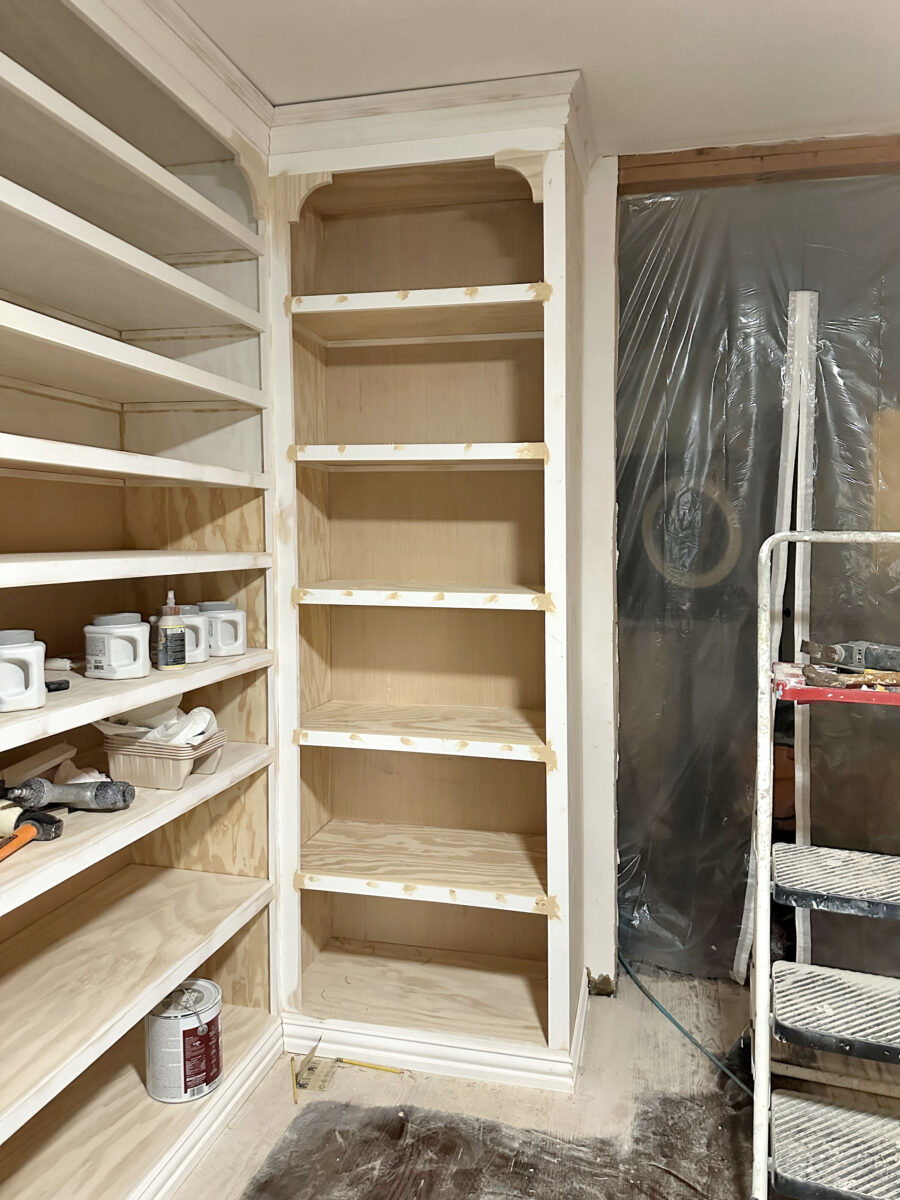
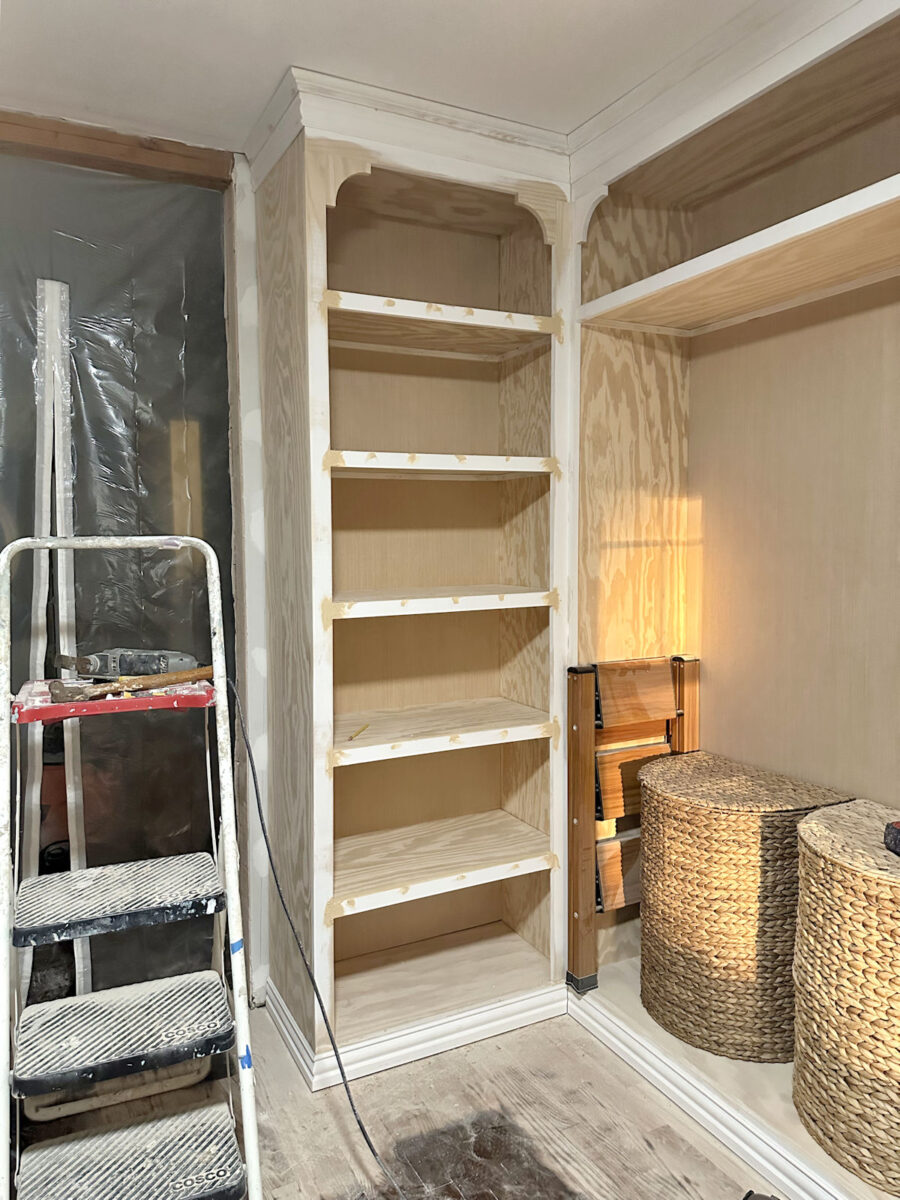
Anyway, that complete course of took up all of my Saturday, however I received all ten new cabinets put in, trimmed, and wooden stuffed. They nonetheless must be sanded, however right here’s how these finish cupboards look now.
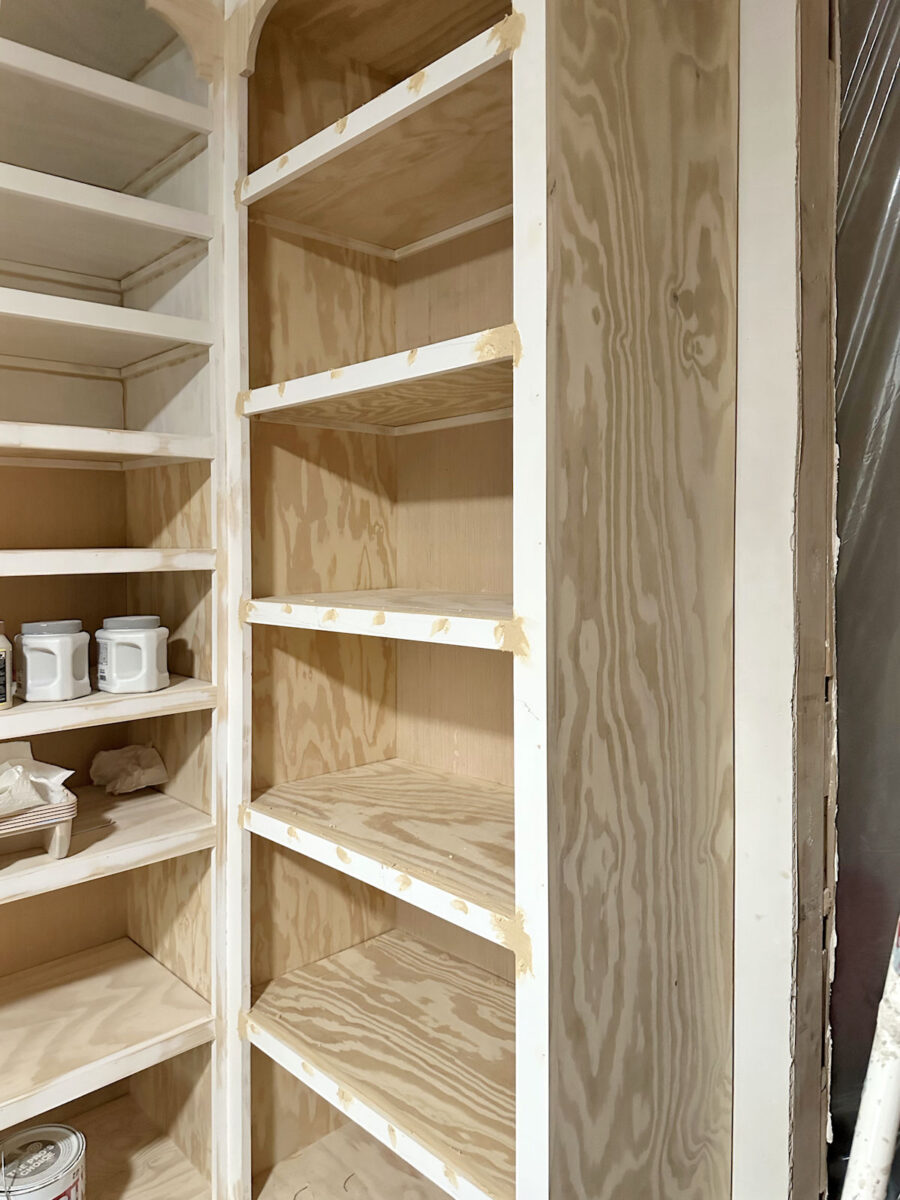
They now have cabinets that match the remainder of the cabinets within the closet, with the entrance trim of the cabinets sitting flush with the cupboard trim.
It was plenty of work to redo all of that, nevertheless it’s essential for me to get it proper. I by no means need my tasks to appear to be apparent DIY tasks, and I believe it’s essential to do it proper with a purpose to get an expert completed look. Imagine me, I didn’t wish to redo all of that. I had hoped that I might both dwell with the inset cabinets or discover a shortcut, however I knew I might by no means be happy if I left these shorter cabinets that seemed completely different from all the remainder of the cabinets. And shortcuts in a customized closet that I’m constructing from scratch didn’t set properly with me. If I’m going to go to the difficulty of constructing a customized, built-from-scratch walk-in closet, I need it achieved proper. No shortcuts.
I additionally received the opposite two cabinets put in that I’ve been needing so as to add. I added the center shelf to separate the 2 bars the place I’ll be hanging shirts. That piece of plywood had an apparent bow to it as soon as I put in it, so I sat two weights on it in a single day (45 kilos in all) to take away that bow.

That’s the one shelf in the complete room that I had this drawback with. Just a few others had slight bows to them after I put in them, however these have been simply straightened out as quickly as I added the entrance trim piece. However this one was unusually cussed, so it required weights in a single day. The weights took care of the problem.
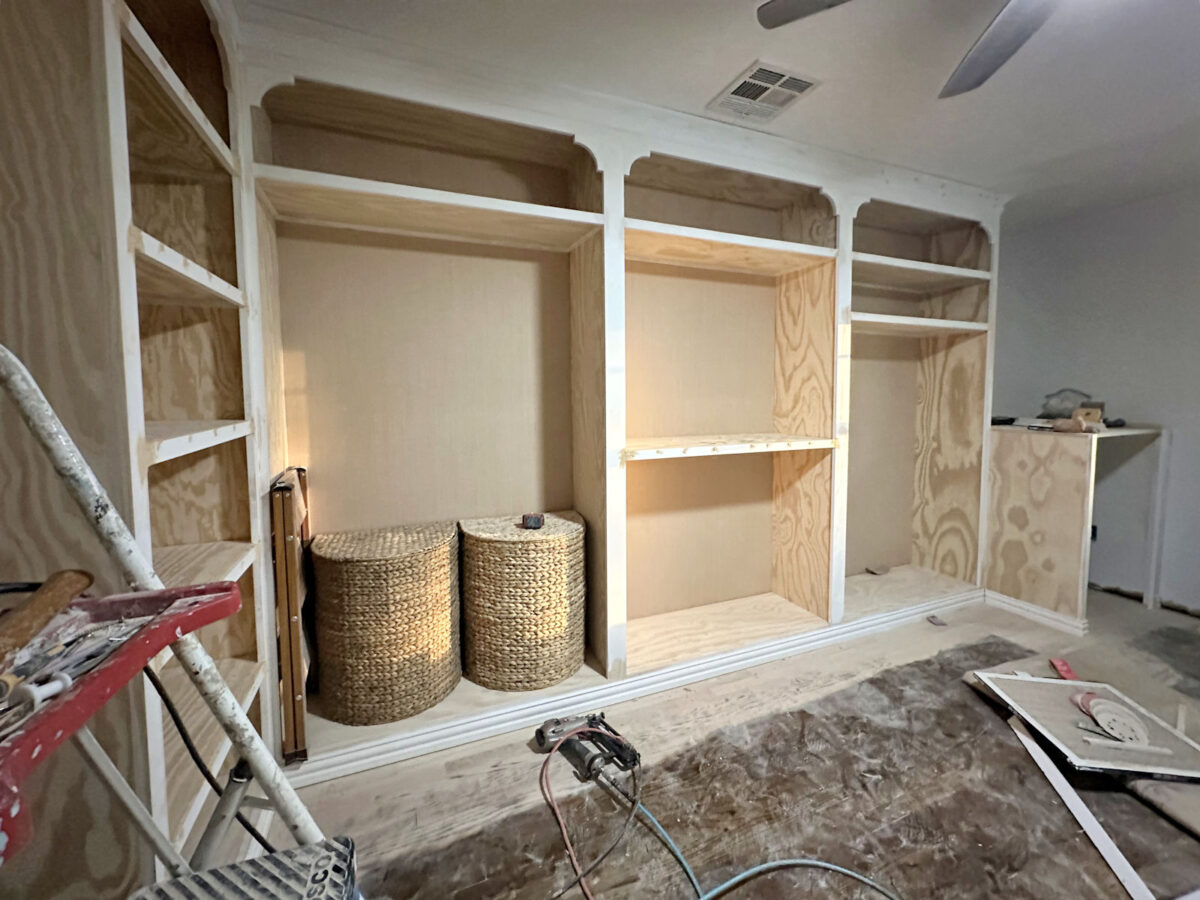
And eventually, I received the underside shelf put in the center part on the other wall…
I really put in that one twice. The primary time, I had it 4 inches greater in order that it was even with the decrease cabinets on the 2 sections on both facet. However the part simply above that shelf shall be my necklace storage, and I doubted that I had left sufficient room for the necklaces. So I eliminated the shelf, lowered it 4 inches, and reinstalled it.
So whereas I did get an entire lot of labor achieved this weekend, it wasn’t precisely the work I needed to do. I’m so anxious to see paint on these cupboards, however I can’t rush the method. The excellent news is that I simply have one shelf left so as to add. The final remaining shelf that must be added is the glass-top shelf that can cowl my earring/ring drawer, however I don’t wish to begin constructing that till I’ve that piece of tempered glass in hand. It’s imagined to arrive tomorrow, so as soon as that will get right here, I can add the framing items and entrance trim piece for that shelf, after which the entire constructing for the wall cupboards will formally be achieved.
Each massive challenge tends to have some extent the place I’ve to take a number of steps again earlier than I can transfer ahead once more. That’s what this weekend was all about, however I’m so glad I took the time to redo these cabinets and ensure that they matched the remainder of the room. Now they appear intentional, like they have been designed to be open cabinets from the start, moderately than wanting like an afterthought.
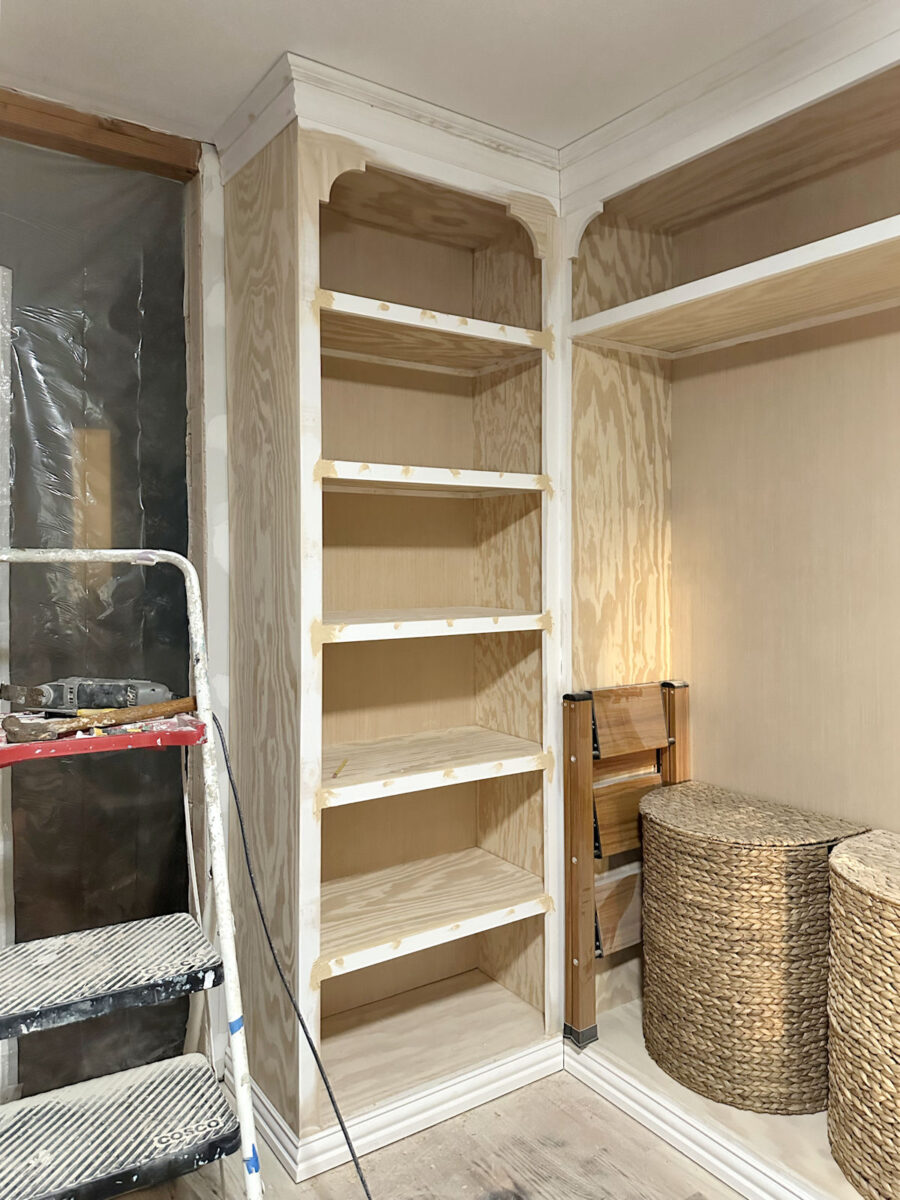
Right here’s how the entire room seems to be at this level…
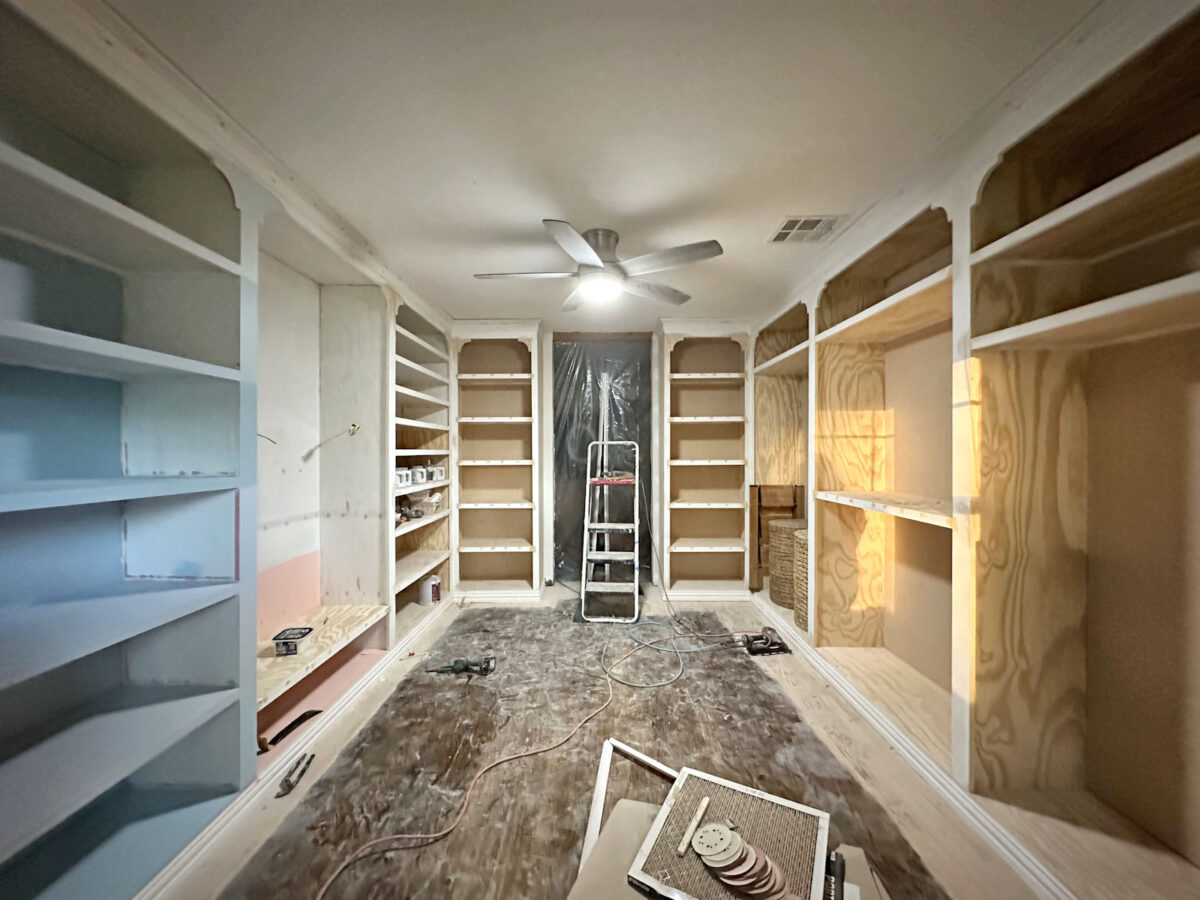
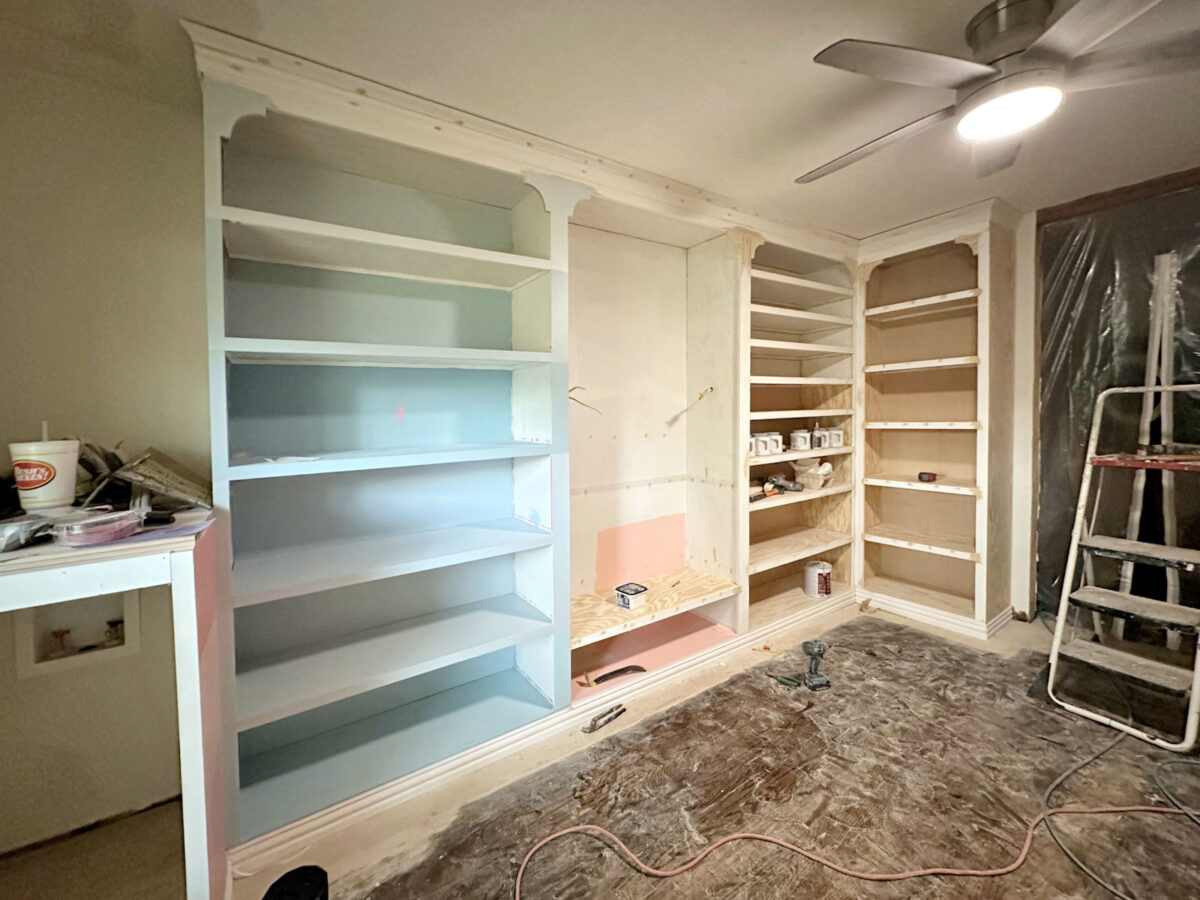
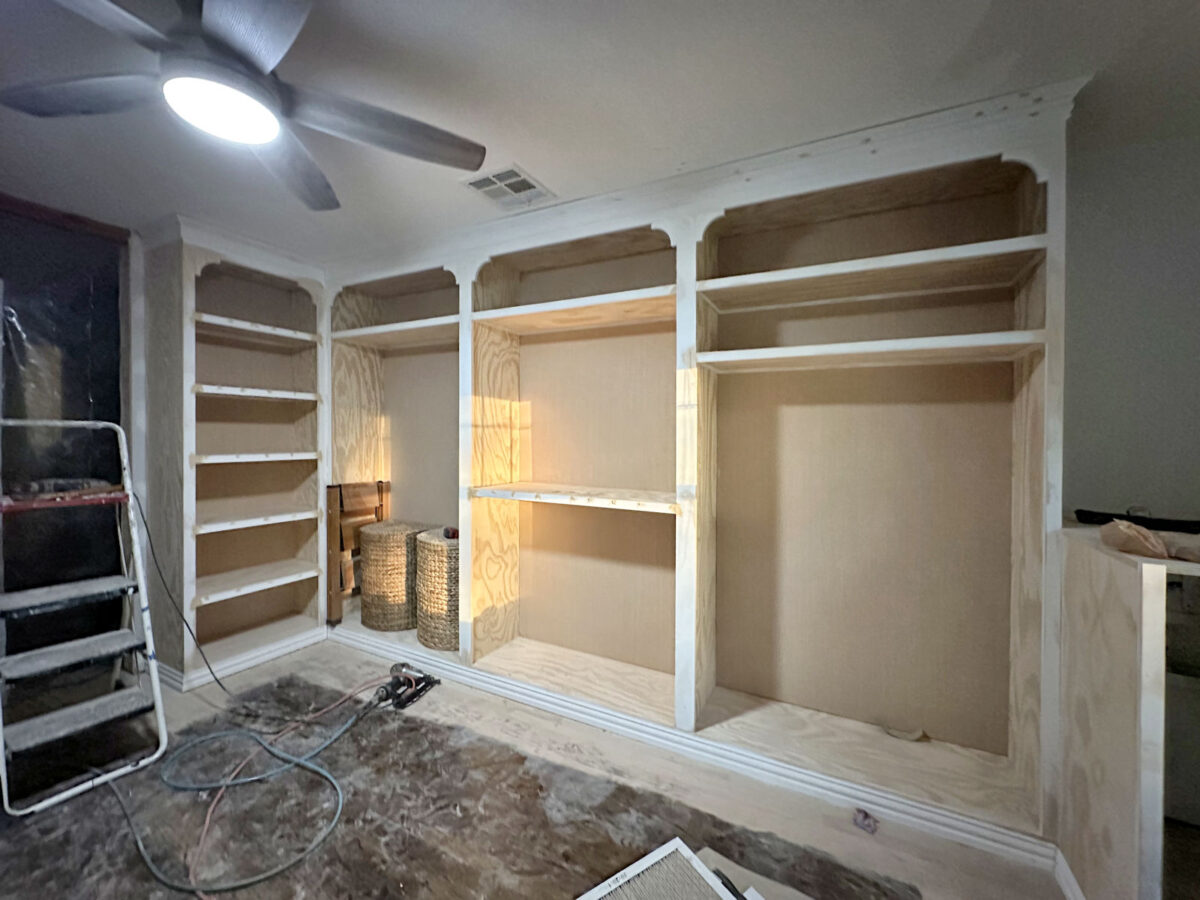
It’s getting there, y’all! I’m formally on my fifth week of engaged on this challenge, and whereas it’s going decrease than I had hoped, I’m so extremely enthusiastic about the way it’s turning out. There’s nothing higher than taking a look at one thing like this and feeling that pleasure of realizing that I constructed every part with my very own two fingers. It certain would have been a lot simpler to make use of IKEA Pax wardrobes to create my closet, nevertheless it simply wouldn’t have been the identical. They wouldn’t have match the room as properly, and I wouldn’t have that very same sense of, “I did that!” after I seemed on the closet. This one is all my very own creation and all my very own work, from the very starting. And I’m so near being prepared to color!
The A2D Every day:

Addicted 2 Adorning is the place I share my DIY and adorning journey as I rework and enhance the 1948 fixer higher that my husband, Matt, and I purchased in 2013. Matt has M.S. and is unable to do bodily work, so I do the vast majority of the work on the home on my own. You’ll be able to study extra about me right here.


")


