

Worms have dug their approach into my coronary heart, and also you’re about to grasp why! Utilizing the ability of worm castings, you’ll be able to fully remodel your backyard naturally. Grasp the observe of vermicomposting with this information on tips on how to use worms and kitchen scraps to create one of the best natural matter.
Relating to pleasant bugs, why do bees, butterflies, and ladybugs get all of the love? Whereas I admire these helpful bugs as a lot as the subsequent individual, I’m right here to shout out my love for worms from the rooftop gardens around the globe.
Whether or not you consider worms as associates or hard-working workers, they’re a welcome addition to my backyard day-after-day. Even when I can’t see them.
An unknown observe to many, vermicomposting harnesses the superpowers of the worm to create a number of the most potent fertilizers round. With vermicomposting in your facet, you’ll have the fullest, greenest vegetation within the neighbourhood by far!
Right here’s what I’ll be masking immediately…
What’s Vermicomposting?
Vermicomposting is the flowery phrase for having worms as pets. Or, extra technically talking, deliberately utilizing worms to decompose kitchen scraps and carbon supplies like paper and straw.
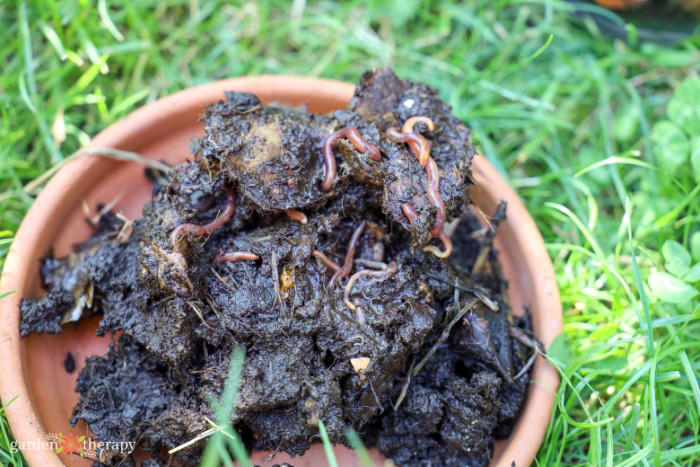
This ends in worm castings. And sure, worm castings is a pleasant phrase for worm poop.
Why on earth would you need worm poop, you ask? Worm castings have a a lot finer texture than soil and are glorious in terms of holding moisture. If you’d like a balanced backyard fertilizer, they’re extremely nutritious, although the N-P-Okay values will fluctuate based mostly on the worm’s eating regimen.
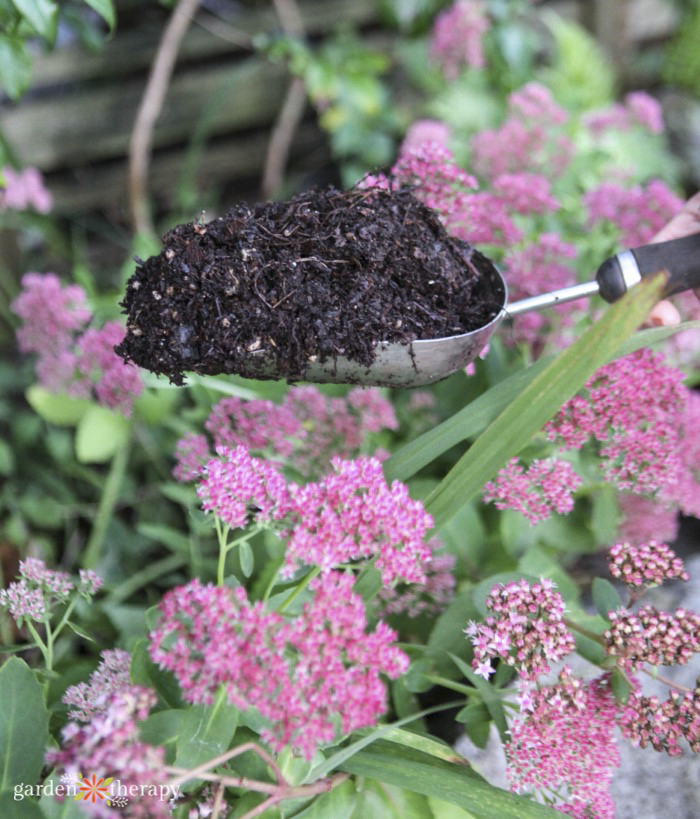
Worm castings appear like very wealthy soil. You will note darkish brown, teeny tiny bits of fabric. While you harvest them, you attempt to depart behind all of the worms and take their castings in gratitude.

Composting vs Worm Castings
You may add worm castings on to your soil or as an exquisite addition to your compost.
Much like composting, you want greens, browns, water, and air with a view to make vermicompost. BUT, you want one other very important ingredient…worms!
As talked about earlier, vermicompost holds moisture. This is because of its excessive focus of humus, a carbon-based substance that not solely retains soil hydrated however spongy texture additionally helps to aerate the soil. Mixed with the excessive ranges of vitamins, vermicompost tends to be extra worthwhile than compost within the backyard.
You will note that mirrored on the retailer too. You should purchase worm castings wherever that additionally promote compost. Vermicompost can have the next price ticket than compost, which is why making your personal vermicompost bin is so worthwhile!
Since you will have residing creatures in your vermicompost, that you must preserve your bin cool. Compost then again values warmth to decompose materials and this helps to kill pathogens, weed seeds, and different points. Which means that vermicompost should still have some pathogens and different tiny bugs inside.
Nevertheless, the additional vitamins and advantages of vermicomposting are effectively value it. The method is totally protected for you and your plant infants.
Sorts of Worms
Not all worms are born equal. When it rains, you’ll be able to’t merely go exterior and accumulate worms off the sidewalk to place in your vermicomposting bin.
For vermicomposting, you don’t use the earthworms you’ll discover out and about in your backyard. As an alternative, you need hungry worms who will fortunately eat away your kitchen scraps.
Purple Wigglers (Eisenia fetida) are the most typical worm used for vermicomposting. They don’t like soil, as a substitute opting to outlive in decomposing leaves, manure, and different decomposing supplies. Because of this they thrive in a vermicomposting bin!
One other in style choice is purple worms (Lumbricus rubellus). They like related circumstances, though you can find them additional down within the bin, they usually could reproduce a tad slower than purple wigglers. However they’ll fortunately eat away and create some worm castings to your profit.
Taking Care of Your Worms
Create a Residence
To make a house appropriate for a worm king, that you must fulfill their 4 wants:
Browns: the bedding and shelter for the worms to dwell in. They may also eat this too.
Greens: backyard waste and kitchen scraps for the worms to feast on.
Water: sometimes, the kitchen scraps present all of the water that’s wanted.
Air: air holes in your vermicomposting bin, together with loosely packed materials, are mandatory.
You’ll additionally want a bin itself. See beneath for a straightforward DIY model. When you present all these supplies, your worms will shortly get all the way down to enterprise and begin digesting the meals and bedding. Each month, their inhabitants ought to double, and they’ll slowly construct up the area.
Don’t fear about increasing your worm bin. As a rule, you don’t have to fret about taking worms out or including extra. They’re self-regulating creatures. As soon as the meals or area runs low, the worms will cease multiplying and management their very own inhabitants. It’s a worm-eat-worm world on the market.
Feeding Your Worms
Consider worms as gluten-free, uncooked vegans. They’ve a really explicit eating regimen! Worms like to eat any uncooked vegetable scraps, eggshells, espresso grinds, flowers, and inexperienced leaves from the backyard.
When it comes to kitchen scraps, there are specific issues it would be best to exclude out of your vermicomposting bin.
Keep away from…
Cooked meals
Dairy
Meat
Bones
Vinegar
Oil
Citrus
Juicy meals like tomatoes or watermelons
Plant seeds
Like us, they want a balanced eating regimen to remain wholesome. Guarantee that not more than 20% of the meals is made up of 1 materials. A combination is sweet!
Worms on Trip
Worms could sound like excessive upkeep, however they’ll just do wonderful on their very own. They will simply final a month on their very own with none new meals being added to their bin. Feed them earlier than you permit and whenever you get house, and they’ll fortunately do their very own factor whilst you’re away.
Troubleshooting
Rotate The place You Place Meals Scraps
Some issues could go awry together with your bin. To verify your bin is a hospitable place for the worms to dwell, alternate the place you place your meals scraps within the bin.
Every week, designate a brand new nook for the scraps. After a month, the worms can have eaten and digested the primary nook of the scraps.
Foul Odour
An odour can be attainable and signifies one thing has gone improper. Have a look at your 4 corners and see if you will get to the basis of the issue. As an example, numerous acidic supplies can change the pH, and the worms migrate away to the other facet of the bin the place life is sweet.
Clear out the supplies that appear to be inflicting the issue and substitute any bedding as mandatory. The bin needs to be spick and span once more very quickly.
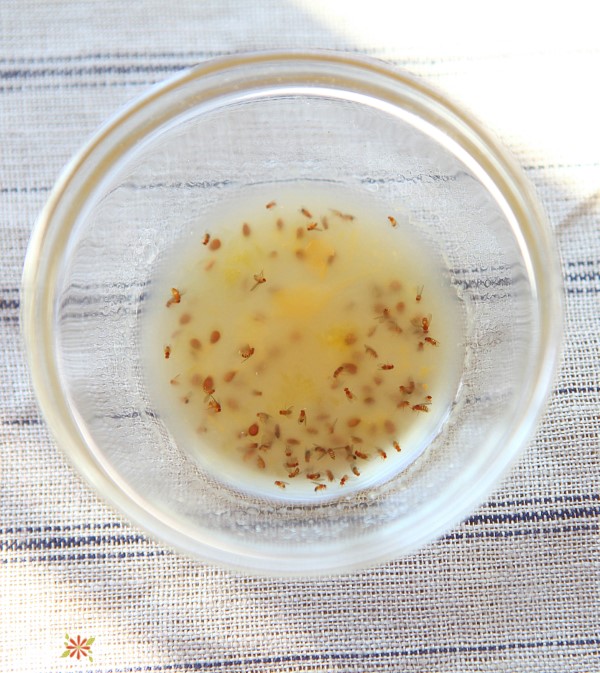
Fruit Flies
If fruit flies can’t get sufficient of the vermicomposting bin, ensure that the bedding stays on high of the meals. You might also need to keep away from any fruit or sweet-smelling scraps that appeal to fruit flies.
And if all else fails, you can also make a fruit fly entice and nestle it on high of the bedding to attempt to seize the pests.
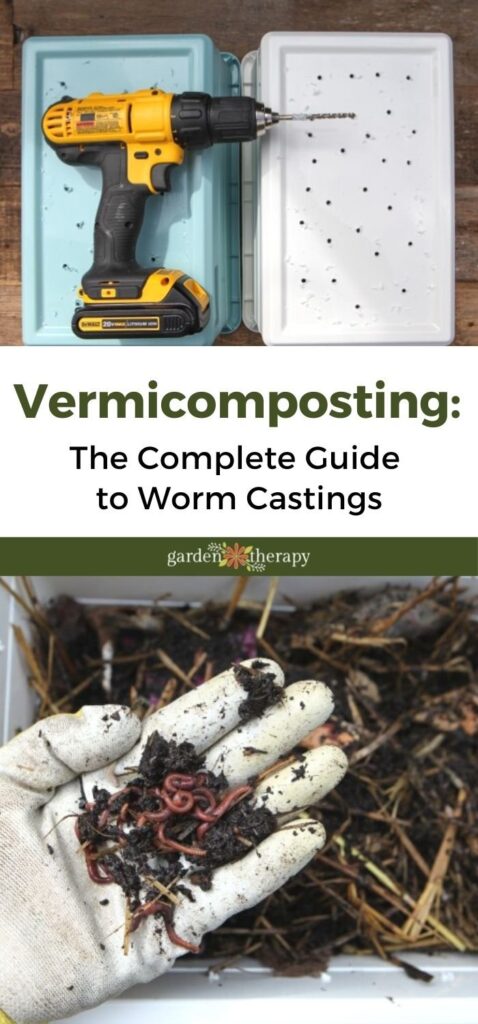
DIY Vermicomposting Bin
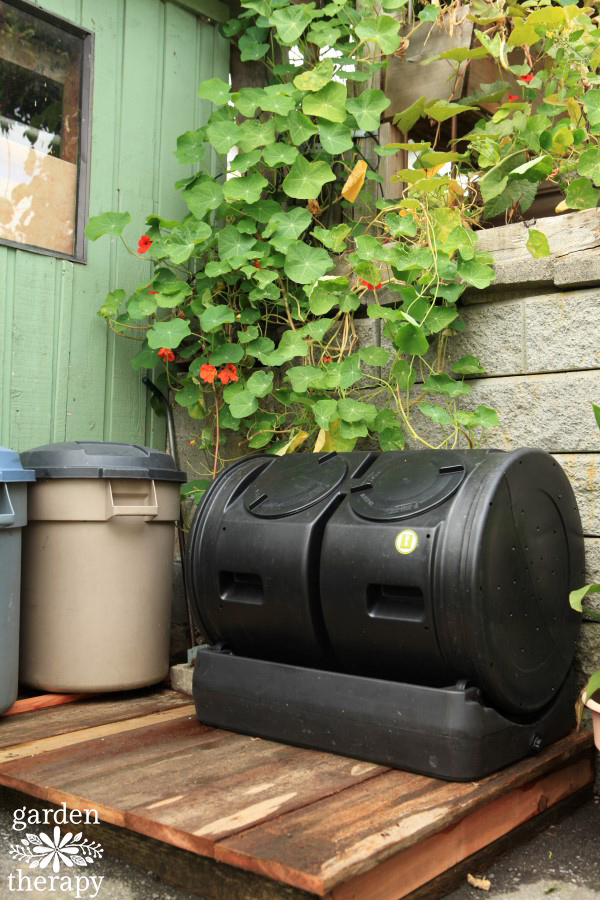
Through the years, I’ve used many alternative vermicomposting bins. Nevertheless, my favorite comes from Pau Farré, who teaches workshops on vermicomposting at Metropolis Farmer right here in Vancouver, BC. This challenge and 80 extra might be present in my Backyard Alchemy E book.
This design works completely for my city backyard, staying small however offering loads of worm castings.
However I even have a worm resort model all through my backyard that I’ve shared in my e-book, The Regenerative Backyard. It helps people work with nature moderately than in opposition to it by displaying the steps to make over 80 permaculture tasks I take advantage of in my backyard.
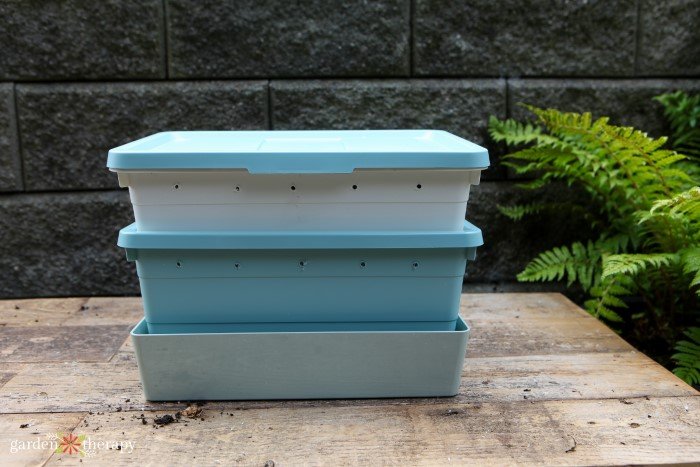
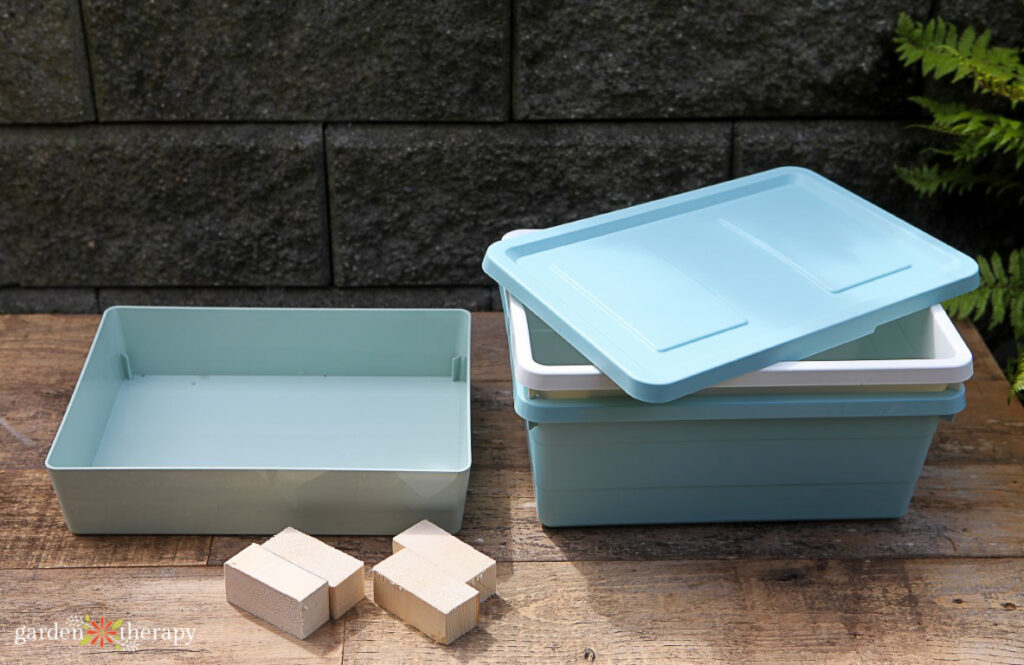
Supplies
Two nesting plastic bins (one with a lid)
One shallower bin in the identical width
Energy drill or hammer and nails
Eight 2-3’ sq. wooden blocks for risers
Dry supplies (shredded newspaper, straw, dried leaves)
½ lb purple wigglers (roughly 500 worms)
Kitchen scraps
Make It!
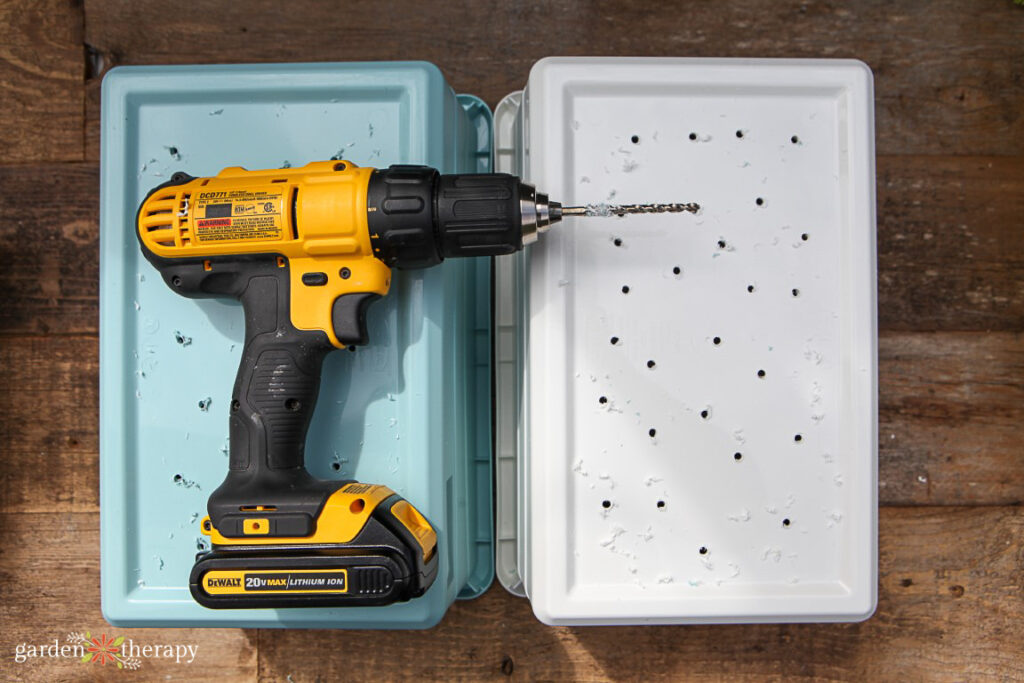
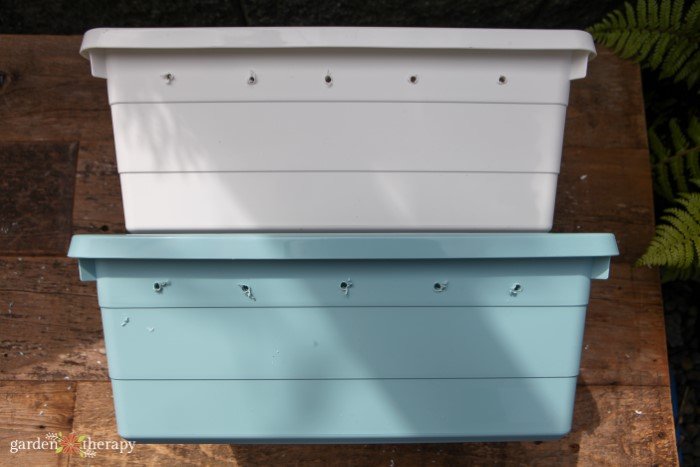
Utilizing your energy drill (or hammer and nails), make drainage holes on the backside of your two nesting bins. Make air holes on the edges of the bin. The air holes needs to be spaced across the perimeter of the bin, above the place the 2 bins overlap.
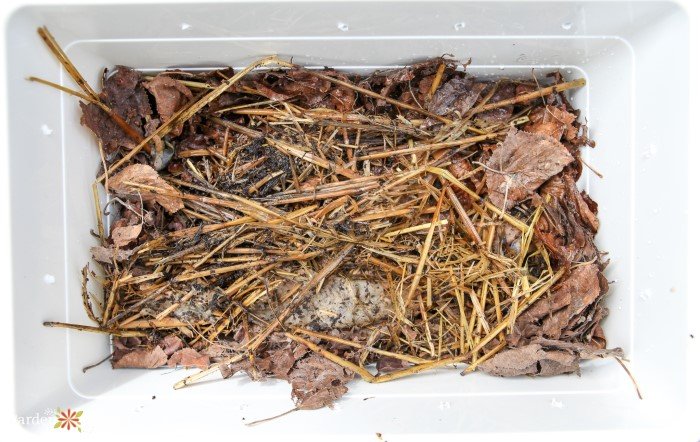
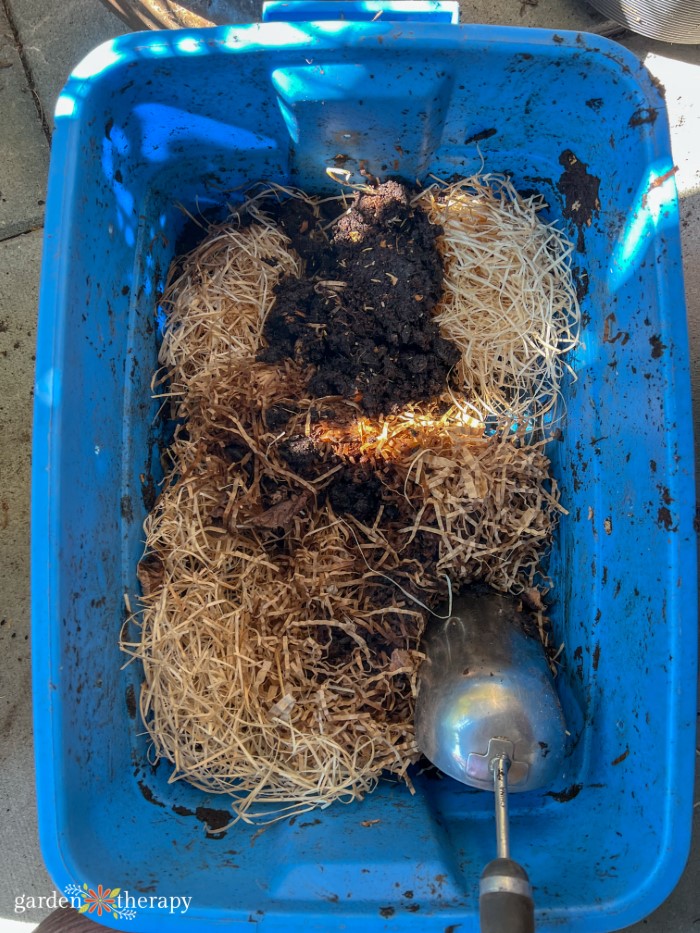
Fill one of many tall bins 1/3 full with the combination of dry bedding supplies. Moist down the bedding till it reaches the consistency of a wrung-out sponge.
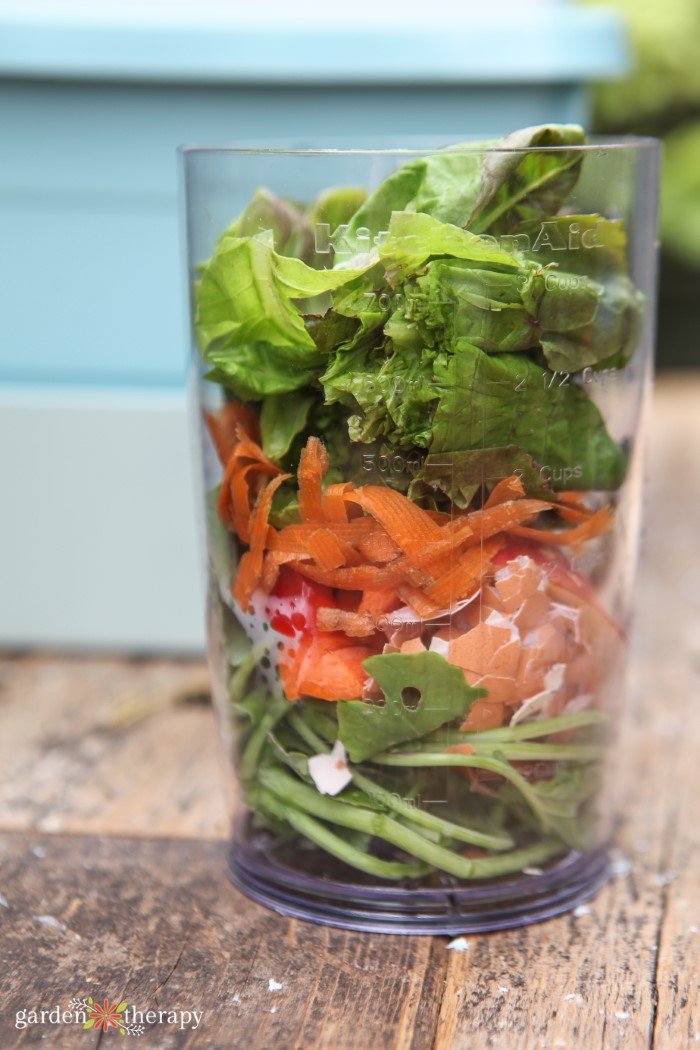
Add your worms to at least one nook of the bin. On high of the worms and bedding, add 4 cups of roughly chopped kitchen scraps. Cowl the kitchen scraps with one other layer of dry supplies, leaving them dry this time.
Place 4 of the wood risers within the shallow bin to permit room for the leachate to empty. Set down the center bin on high of the risers, then add 4 extra risers within the bin. Place your worm bin on high and safe it with a lid.
Hold the vermicomposting bin exterior in a cool, shady spot in the summertime and a heat, coated spot within the winter. The temperature needs to be between 5-30°C. When you dwell in an space with a chilly winter, transfer the worms to a storage or place a blanket excessive of the bin if it doesn’t get too chilly.
Harvesting Worm Castings
My DIY vermicomposting bin makes harvesting worm casting bins simple, amassing in a single simple bin. When you’re prepared for worm castings, cease feeding the worms for just a few weeks till you discover that every one the kitchen scraps have been digested.
Take away the dry high layer of bedding and transfer the worms to the center bin. You need to arrange the empty center bin with new bedding and kitchen scraps, simply as you initially arrange the bin. This time, miss the worms.
Put your new bin on high of the one which comprises all of the worms and castings. The worms will now migrate up by way of the holes to get to the bin with the meals. This leaves you with a pleasant, clear provide of castings to make use of within the backyard. You may harvest worm castings each 3-4 months to your backyard.
Use Worm Castings
Vermicompost is sweet for any and all vegetation, together with potted vegetation reminiscent of houseplants and succulents. To make use of worm castings, you’ll be able to sprinkle them over high of the soil and let the vitamins work their approach down.
Alternatively, you’ll be able to combine the vermicompost with the common topsoil when planting potted vegetation inside or within the soil exterior. It particularly helps to present clay or sandy soil extra natural materials. In addition they work extraordinarily effectively in making a seed beginning combine.
The one time you wouldn’t need to use worm castings is when you have already got soil wealthy in natural materials. In any case, an excessive amount of of factor can flip dangerous.
Similar to including an excessive amount of fertilizer to a plant, you’ll be able to overdo it with vitamins. Use worm castings sparingly, treating it as potent fertilizer.
FAQ About Worm Castings
You may add worm castings every time they’re prepared. Worm castings usually take about 3-4 months to be prepared for harvest.
I like so as to add it particularly within the spring and summer season through the rising season because it acts as a potent fertilizer. You may depart the worm castings for longer within the fall and winter, ready so as to add them to your seed-starting soil combine.
The N-P-Okay values will fluctuate based mostly on what the worm is consuming. Total, the castings are extremely nutritious and well-balanced in case you are feeding combination of kitchen scraps.
Deal with your worm castings as a potent fertilizer. So sure, an excessive amount of of factor is completely attainable. In case your soil is already excessive in natural materials, you don’t want worm castings. Total, you may add it as often as you would possibly fertilizer, and your vegetation could be fully wonderful.
Worms like temperatures between 5-30°C (41-86°C F). For these with delicate winters, preserve them in a coated place within the winter. For these with harsher winters, you need to transfer your worm bin to a storage or place a blanket over the bin.
I’ve misplaced worms earlier than within the winter. I don’t beat myself up over it, as a substitute beginning recent within the spring with some new worms, bedding, and kitchen scraps.
And that’s it on all issues worm poop! Remember to preserve a watch out for extra data and tasks from my permaculture and backyard books, Backyard Alchemy and The Regenerative Backyard. I’ve solely simply scratched the floor of permaculture with vermicomposting! Let me know within the feedback down beneath if you’ll add worms to your composting routine.
DIY Vermicompost Bin
Give your backyard a significant increase with worm castings! This is tips on how to construct a vermicompost bin that is small however has loads of energy.
With an influence drill (or hammer and nails) drill drainage holes on the backside of the 2 nesting bins. Additionally use the drill to make air holes on the edges of the bins across the perimeter the place the bins overlap.
Fill one of many tall bins a 3rd full with a mixture of the dry bedding. Moist it down so it seems like a wrung-out spunge.
Add the worms to the bin within the nook. Then high with 4 cups of kitchen scraps which can be roughly chopped.
Add a layer of dry bedding, leaving dry this time.
Add 4 wood risers within the shallow bin. It will permit room for the leachate to empty. Then, set down the center bin on high of the risers. Subsequent, add 4 extra risers to the bin. Lastly, place your worm bin on high and add the lid.


")
")


