

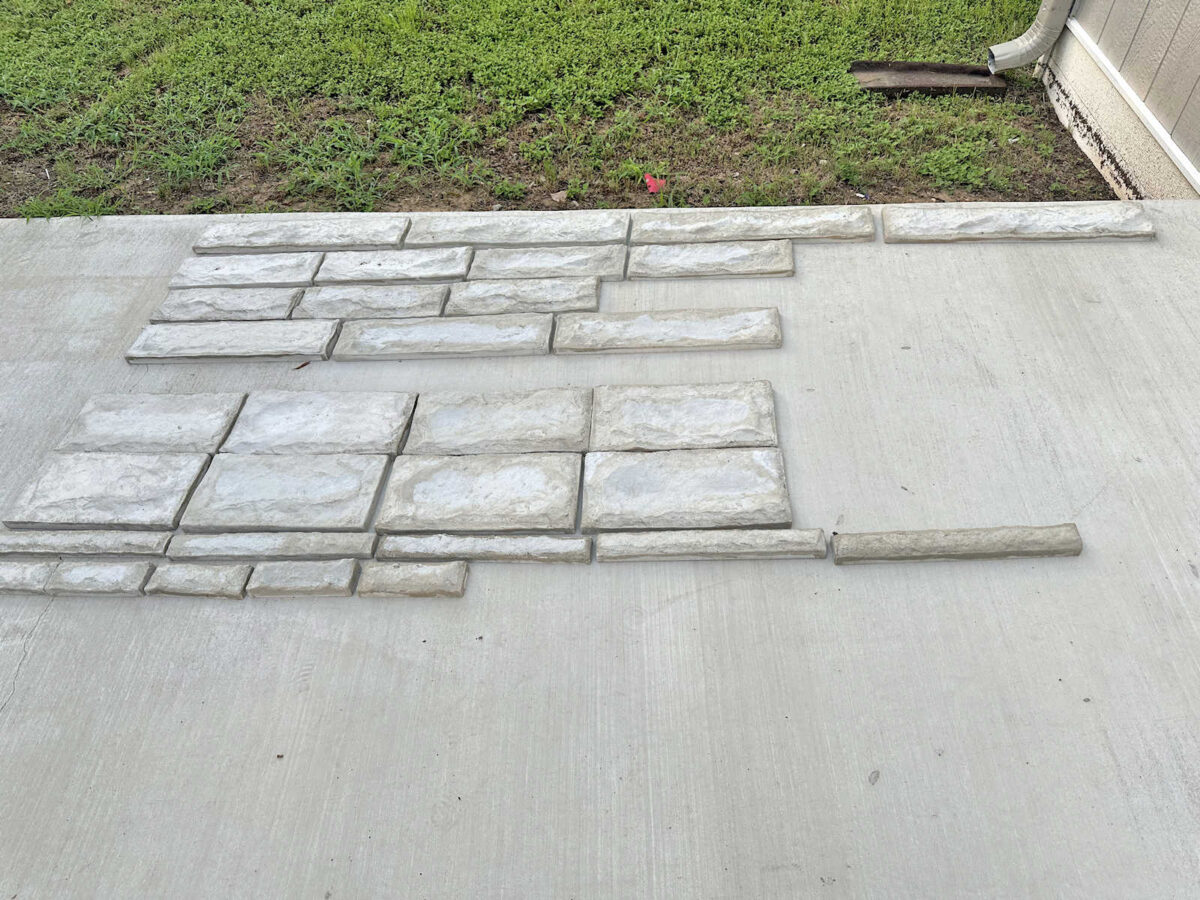
In the present day is the day, y’all. It’s the day that I’ll lastly be capable to begin attaching my fake Austin stones to the skirting space of the entrance porch. We’ll be having a stupendous day right here in central Texas (scorching, however no less than no rain within the forecast), and I’ve all the huge stones prepared and ready, and about half of the small stones able to go.
I solely have half of the small stones to this point as a result of I want so a lot of these two sizes, however I solely have one mould of every measurement. Whereas I solely want three or 4 of every of the large-size stones to finish the porch skirting space, I want many extra of the 2 small measurement stones — 9 of 1 and ten of the opposite. And people small stones take simply as lengthy to pour, treatment, and demold as the large stones. However I no less than have sufficient to get began on the skirting whereas I proceed to pour the remainder of the small stones that I’ll want to complete the entire skirting space.
I did wish to present you a giant downside that I bumped into with my silicone mould design, and the change that I made to them to make the job of pouring these stones a lot quicker and simpler.
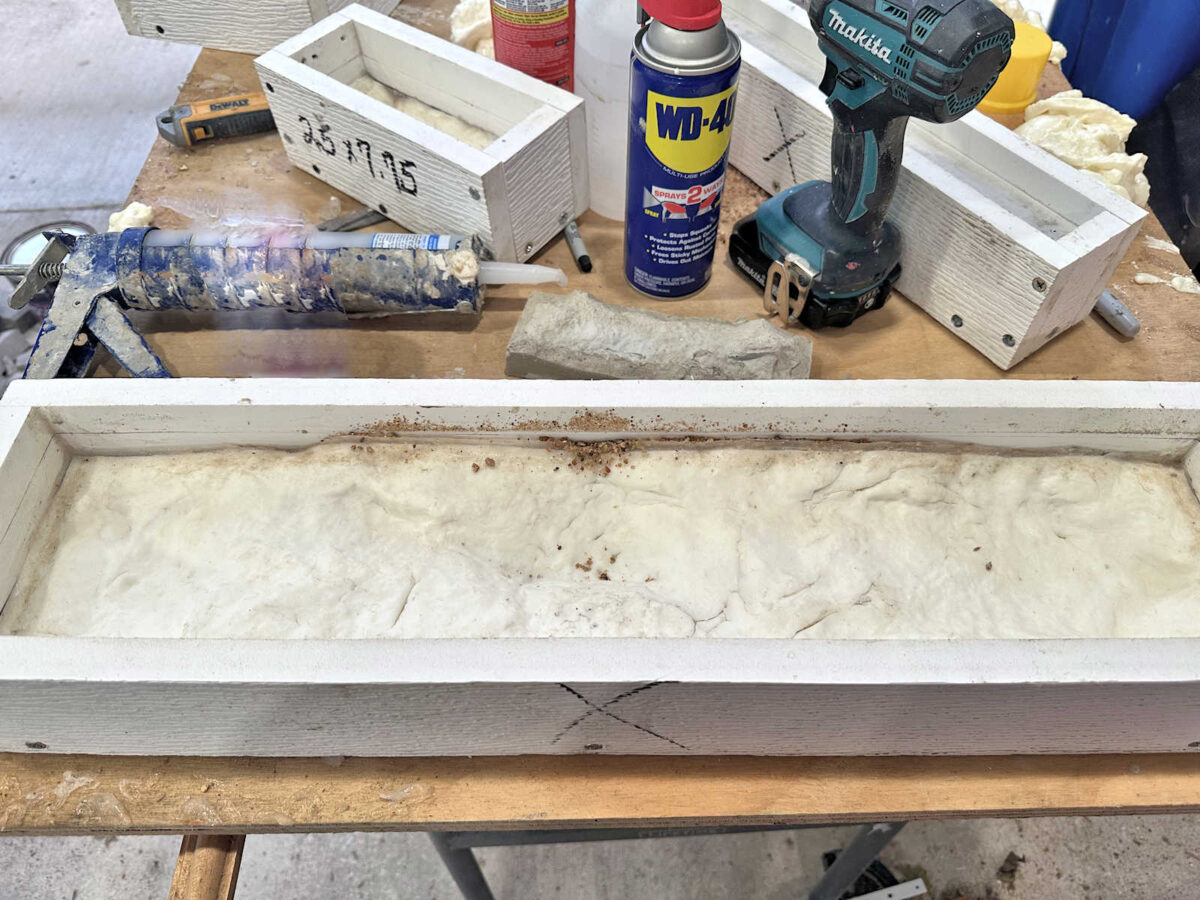
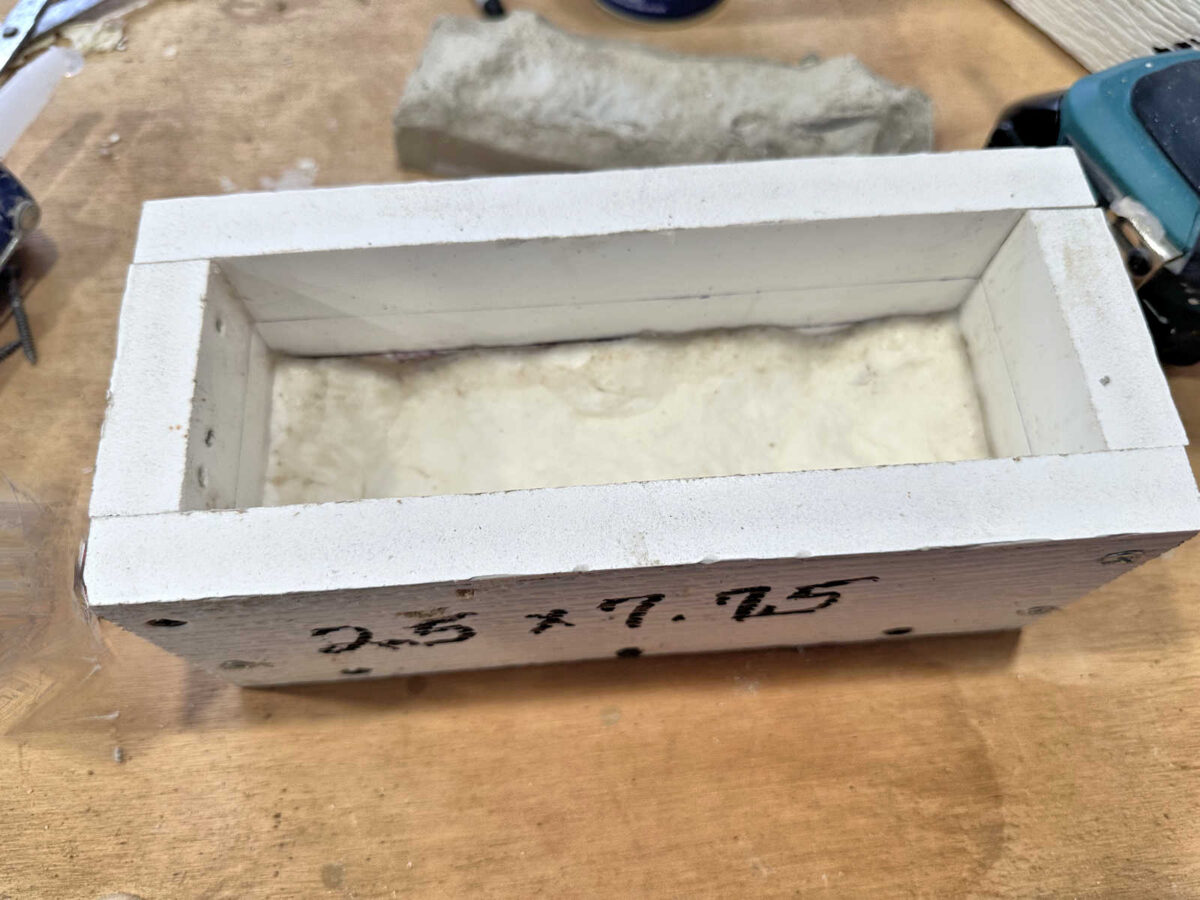
After I initially made the mould varieties for the textured silicone mats, I wanted one thing to put beneath the silicone mats to carry the perimeters straight and provides the mats help beneath. In any other case, I’d find yourself with wavy edges on my stones…
I ended up utilizing the kind of sand that you’d use beneath paver stones. I already had the sand available, and it appeared simple sufficient to elevate the perimeters of the silicone mat, drop some sand beneath, after which alter the silicone mat in order that the perimeters have been straight.
As soon as I had the mat on the proper peak all the best way round, and utterly supported beneath, I vacuumed away the surplus sand after which caulked across the edges of the silicone mat the place it met the PVC boards that I used to make the molds.

I assumed that may be principally a one-and-done course of. I knew that with a purpose to demold every stone, I must take away one facet of the mould, so I assumed that meant I might simply must re-caulk one facet of every mould earlier than pouring the subsequent stone. That turned out to not be the case. As I eliminated every stone, it pulled the silicone mat up a bit together with the stone. And that dislodged different areas of the mat. As soon as these different areas of the silicone mat have been pulled away from the caulk, sand would come out. And since I used to be utilizing silicone caulk between the silicone mat and the PVC boards, which always remained sticky, the sand would get caught within the caulk and create an enormous mess.
So I used to be principally having to undergo half of the mold-building course of earlier than every new pour — including extra sand, shifting the sand round, getting the silicone mat excellent, clear up the surplus sand, after which re-caulk the entire thing. That was so time-consuming!
I knew there needed to be a better manner, and there needed to be a greater answer than utilizing sand beneath the silicone mats. I simply wanted one thing to fill within the gaps between the silicone mat and the underside of the mould field, nevertheless it wanted to be one thing that may dry and maintain its form as an alternative of shifting round just like the sand did each time I demolded a stone.
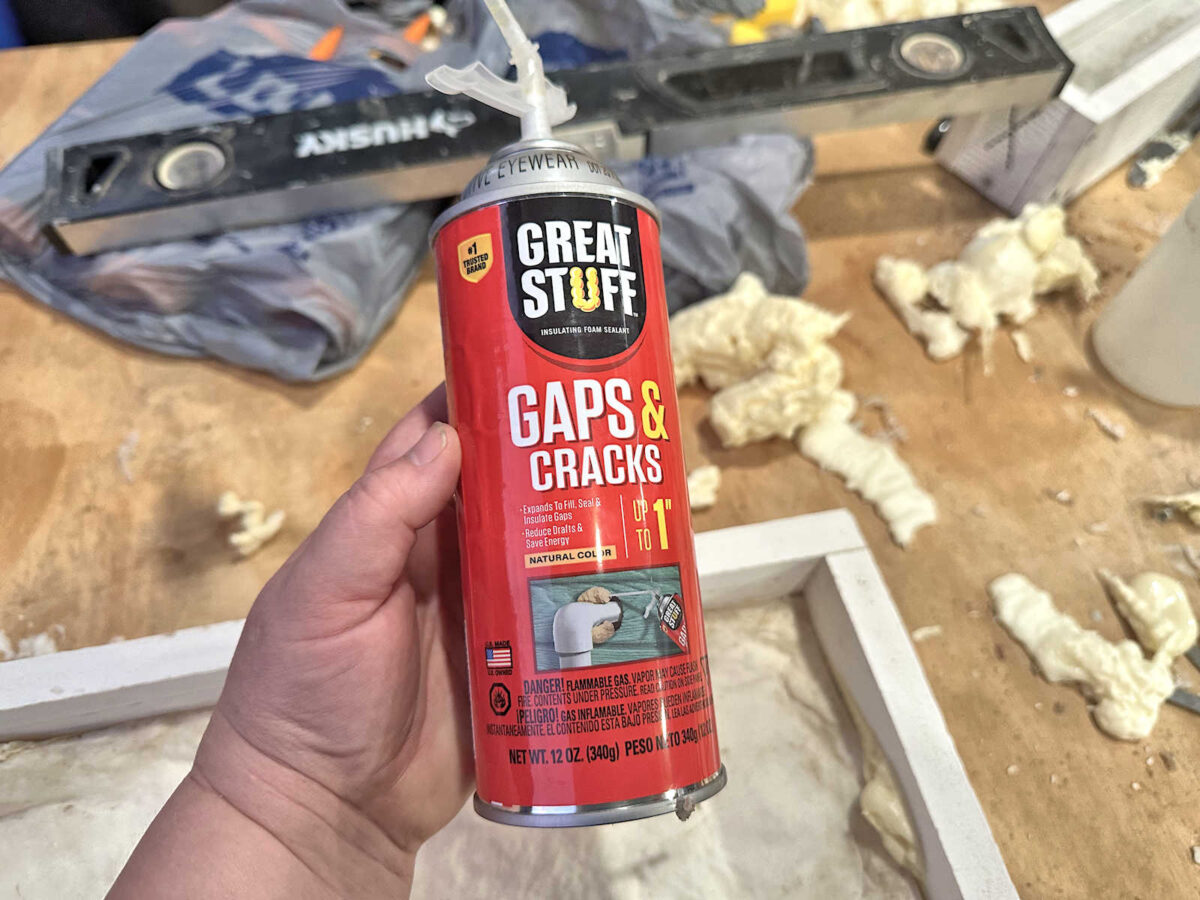
I lastly determined that the right product for that’s Nice Stuff increasing spray foam. It will fill in these areas, and as soon as it cured, it might maintain its form. I particularly selected this model as a result of, after a fast google search to seek out the quickest curing spray foam accessible at huge field shops, this was the one. It units inside about quarter-hour and cures in an hour.
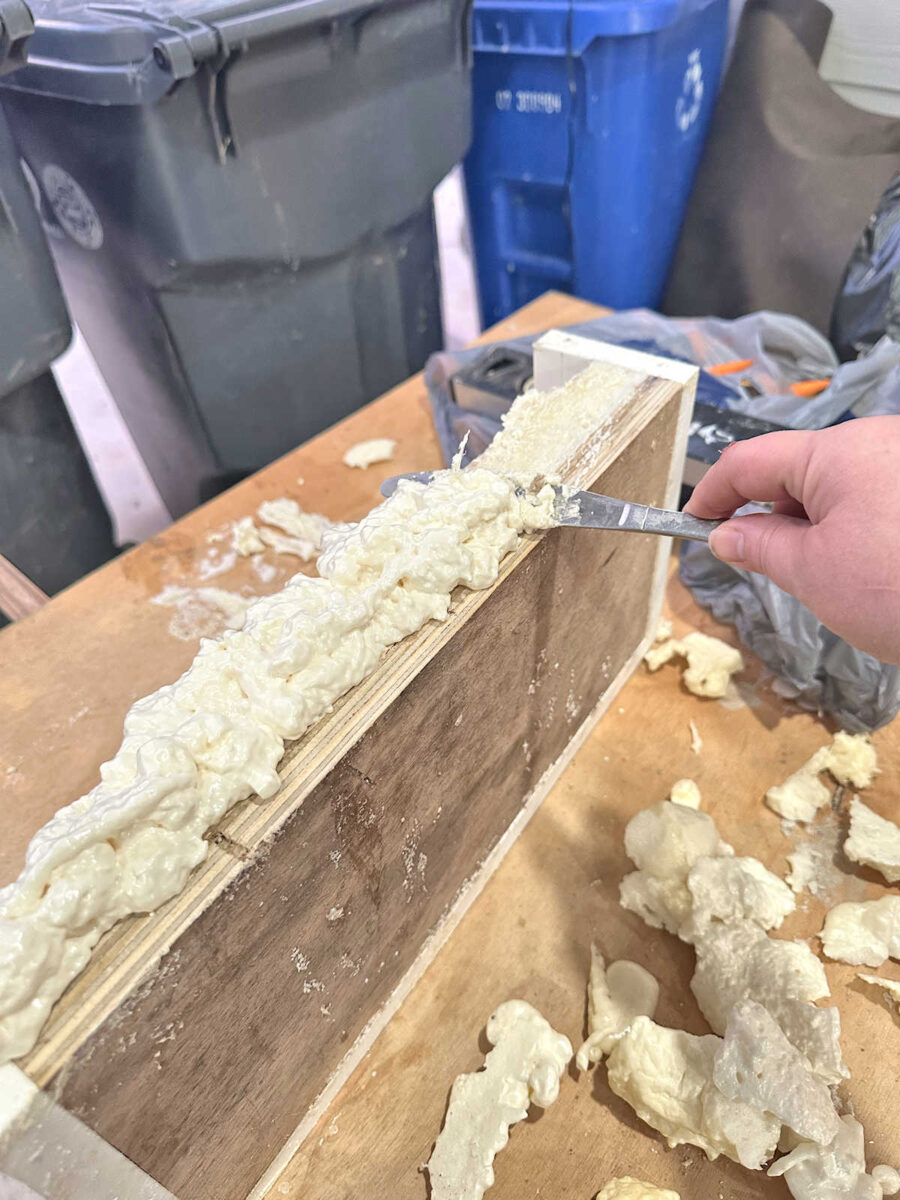
So I took one facet of every mould off, emptied the sand, and bought every mould cleaned up by eradicating all the remaining sticky caulk with sand caught in it. After which I lined up the silicone mat alongside the straight guideline that I had drawn on each indicating the place the perimeters of the silicone mat wanted to be. I held it in place with one hand as finest as I might, after which I sprayed the spray foam between it and the underside of the mould field. It did its factor and expanded and got here out of the open facet. Whereas it expanded, I simply stored pushing the silicone mat into place to ensure it stayed lined up on the mould field.
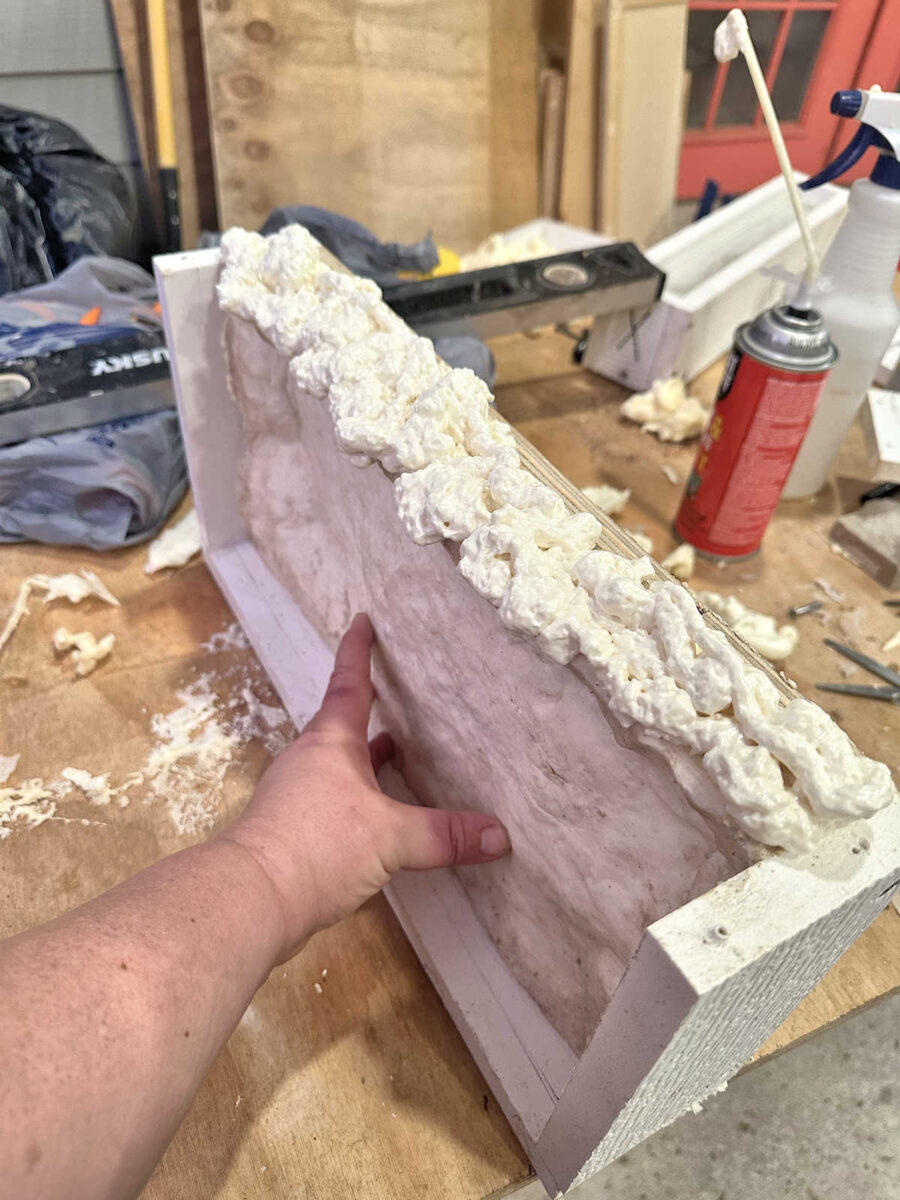
After it stopped increasing, I scraped off the surplus that had come out the facet…
After which I screwed that facet of the field again on and made positive the mat was nonetheless lined up on it’s guideline. I needed to push it down extra in some areas, and that brought about the spray foam to return out between the field and the mat. However I simply left it and let the froth dry utterly. As soon as it was absolutely dry, I minimize away the surplus foam, re-caulked, and was able to pour the subsequent stone.
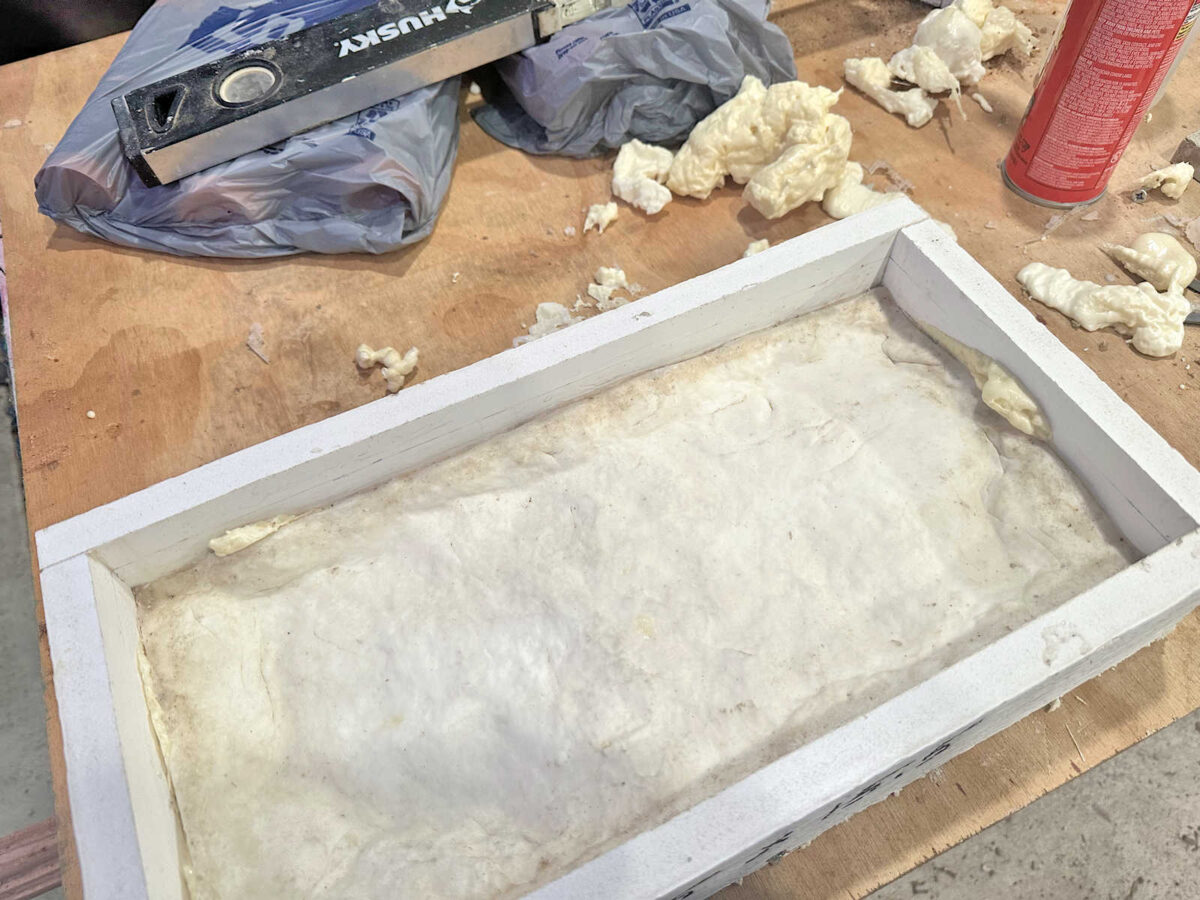
This made the entire course of a lot simpler and cleaner. I not needed to cope with shifting sand. I not needed to cope with principally remaking the mould once more between pours. The froth held its form, and since it’s very sticky when it’s moist and had grabbed onto the silicone mould, it additionally held the silicone mat in place as I demolded the stones.
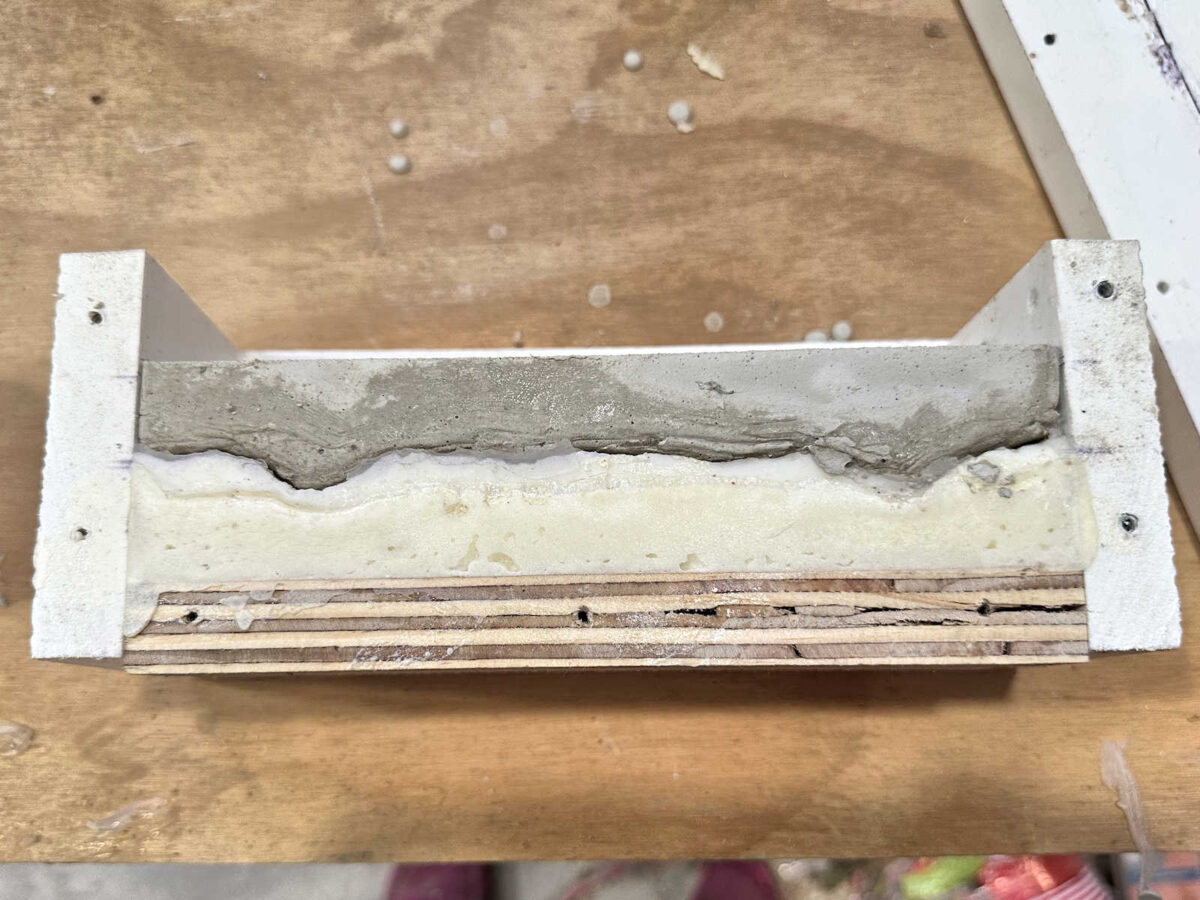
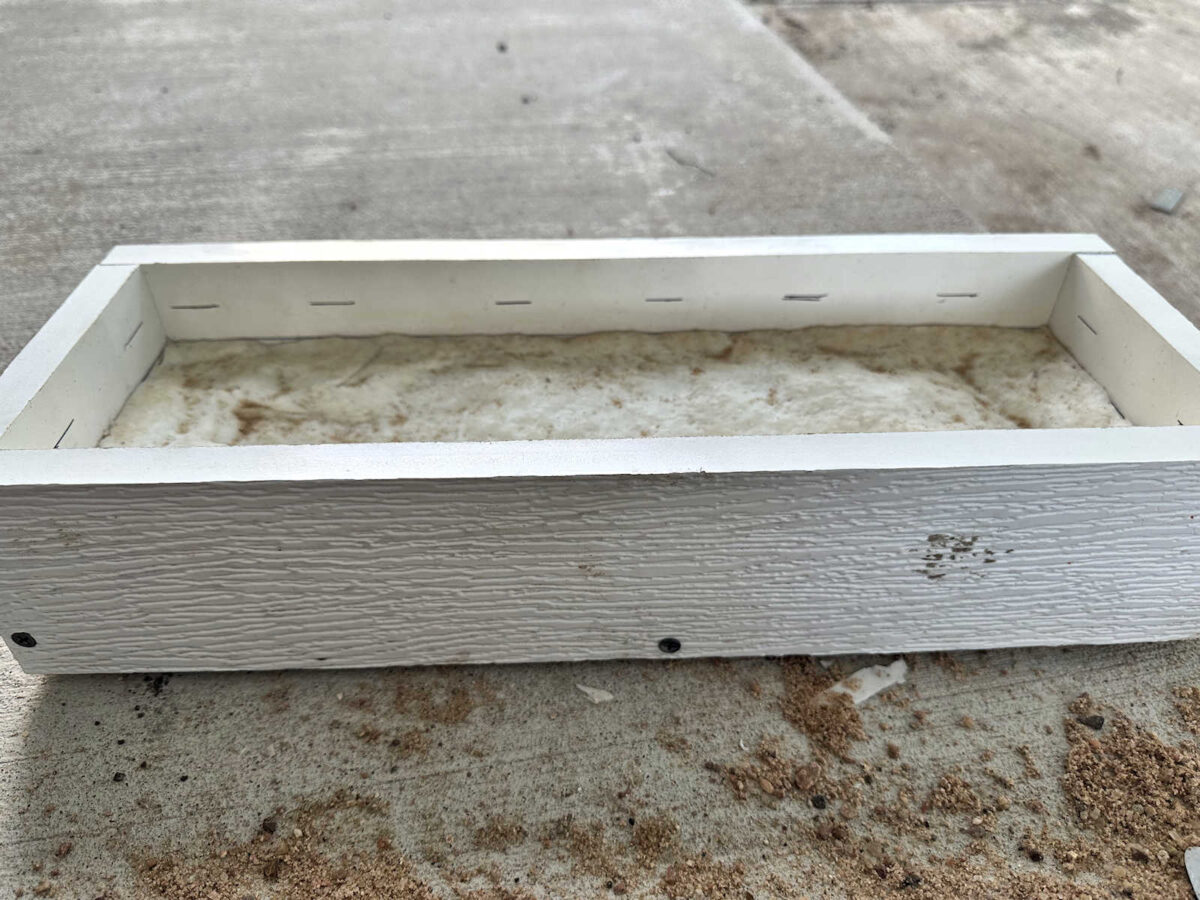
I used to be capable of elevate the stones off of the mat whereas the mat stayed in place on the opposite three sides.
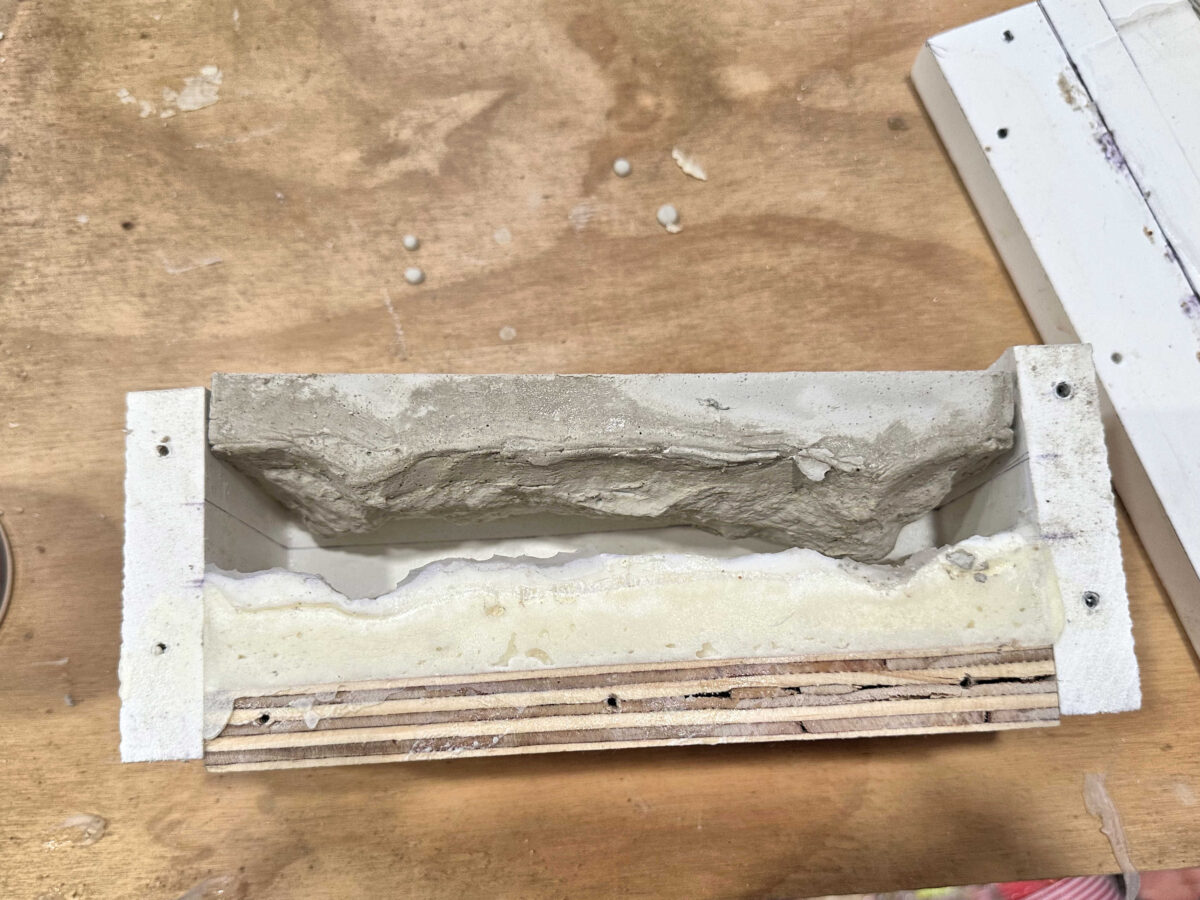
The stone got here out very cleanly and three sides of the mould remained utterly intact.

Then I simply needed to put the facet of the mould again on, re-caulk one facet and two corners, and I used to be prepared for the subsequent pour.
I want I had thought to do it this fashion from the very starting, however in fact, DIY is all about trial and error. And now, if I ever do one other undertaking like this, I do know the precise manner (and the a lot simpler manner) to construct a mould utilizing a silicone textured mat. And who is aware of? I may be utilizing these molds for an additional undertaking sooner or later. I’m undoubtedly going to hold onto them simply in case I wish to make one thing else to match the Austin stone on our home.
So whereas I’m not fairly completed pouring stones, I’m able to get began attaching them to the skirting space of the entrance porch. I hope to have some progress to point out you tomorrow!
Extra About Our Home Exterior & Yard


Addicted 2 Adorning is the place I share my DIY and adorning journey as I rework and embellish the 1948 fixer higher that my husband, Matt, and I purchased in 2013. Matt has M.S. and is unable to do bodily work, so I do nearly all of the work on the home on my own. You may be taught extra about me right here.


")


